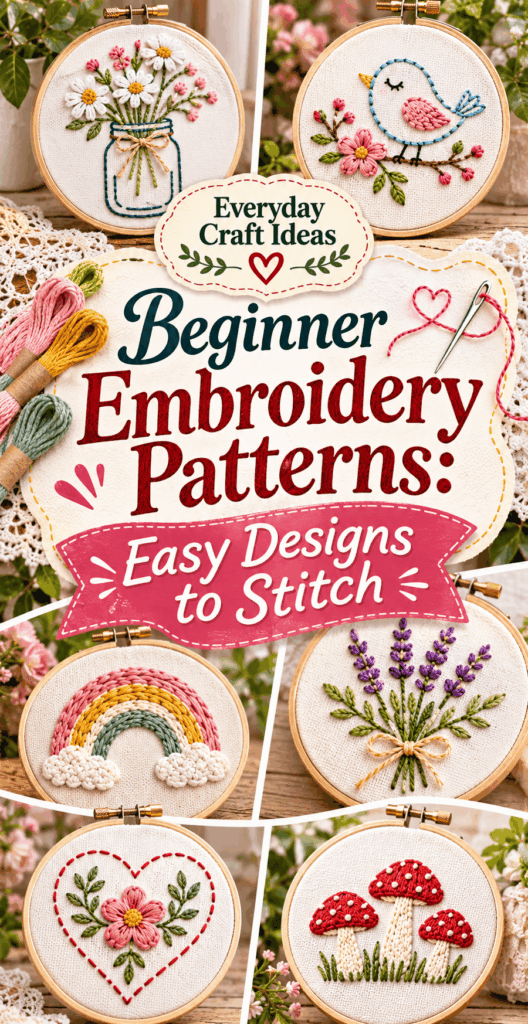
Beginner Embroidery Patterns: Easy Designs to Stitch
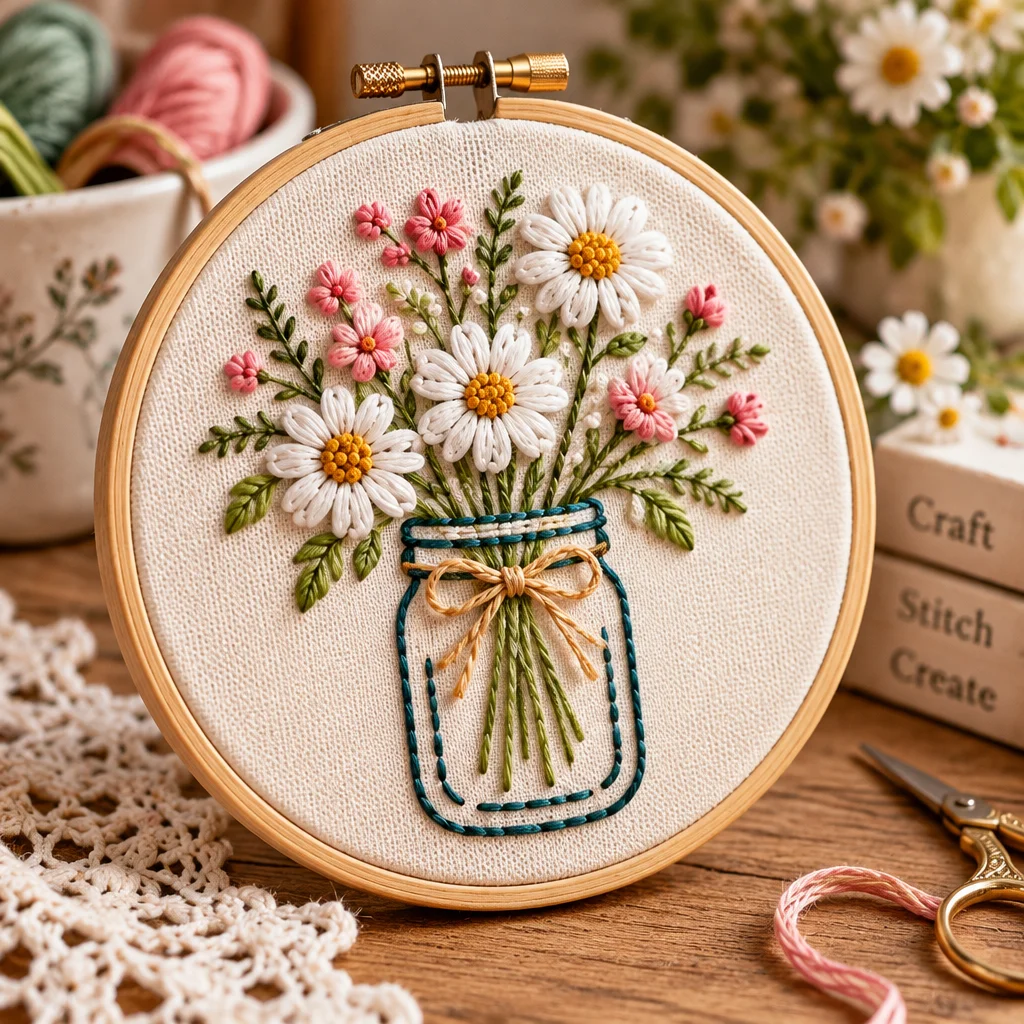
Beginner embroidery patterns are the quickest way to go from “I have floss and a hoop” to finished, giftable stitches you actually feel proud of. If you are brand new, the right pattern keeps decisions simple: where to place stitches, how dense to stitch, and what to do when something looks a little off. In this guide, you will learn what supplies matter most, how to prep fabric, how to use or resize a pattern, and several easy design ideas you can complete in an evening. If you enjoy learning crafts step by step, you might also like this friendly cross stitch for beginners guide for a counted approach, or this collection of crochet projects for beginners when you want a different kind of relaxing, portable craft.
Introduction and project overview
Hand embroidery is simply decorating fabric with thread using a needle, and it is one of the most forgiving crafts to learn because you can remove and redo stitches without ruining the whole project. When you choose beginner embroidery patterns, you are usually looking at designs made from a few basic lines and filled areas: small florals, leaves, stars, initials, simple animals, and tiny sayings. These patterns are meant to be stitched with a limited set of beginner-friendly stitches such as backstitch, satin stitch, and French knots.
This article will walk you through the whole process from start to finish: selecting fabric, hooping, transferring or printing patterns, stitching the design neatly, and finishing the back so it is ready to hang or gift. You will also get troubleshooting help for common issues like puckering, uneven outlines, and knotty thread. The goal is not perfection. The goal is learning control, thread handling, and how to read a simple pattern so each future project feels easier.
Materials and tools needed
You can start embroidery with a small kit, but a few smart choices make beginner embroidery patterns much easier to stitch cleanly. Here is what you need and why it matters:
- Fabric: Quilting cotton is a great starter because it is stable and easy to pierce. Linen looks beautiful but can be slubby and challenging at first. Choose a light color so you can see your lines clearly.
- Embroidery floss: Standard stranded cotton floss separates into 6 strands. Most beginner designs look best with 2 to 3 strands, which keeps stitches smoother and reduces bulk.
- Embroidery needles: Sizes 7 to 9 crewel (embroidery) needles are beginner-friendly. They have a sharp point to pierce woven fabrics and an eye large enough for floss.
- Hoop: A 6 inch hoop is ideal for small beginner motifs. Use wood or plastic, but make sure it tightens well to prevent fabric slipping.
- Small scissors: Sharp tips help trim close without fraying surrounding stitches.
- Pattern transfer tool: Water-soluble pen, heat-erase pen, or a pencil for light fabrics. For dark fabrics, use chalk pencil or a transfer method like tissue tracing.
- Optional but helpful: Needle threader, beeswax or thread conditioner, and a light box or sunny window for tracing.
Good lighting is also a “tool.” Eye strain leads to messy tension and frustration, so set yourself up comfortably.
Skill level and estimated time
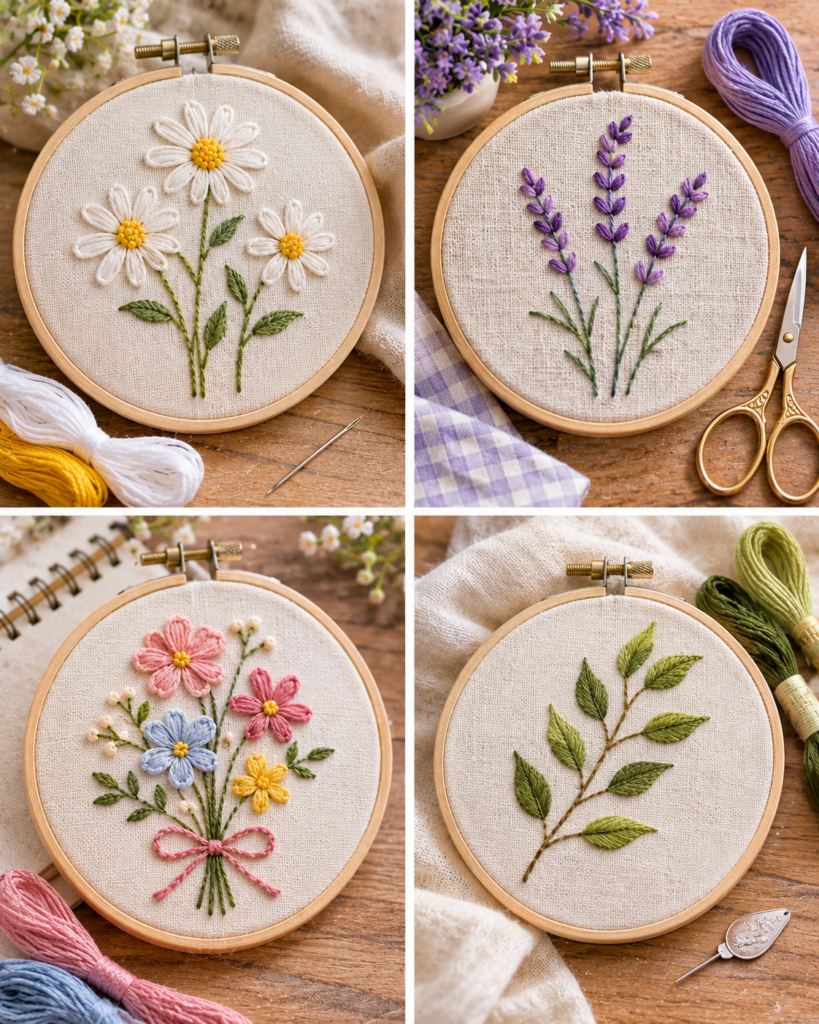
Most beginner embroidery patterns fall into a true beginner skill level when they use just outlines and a small amount of filling. If you can thread a needle and tie a knot, you can start. The skills you build first are consistent stitch length, gentle tension, and learning how to separate floss strands without tangling.
Estimated time: A small 3 to 4 inch design can take 1 to 3 hours depending on stitch choice and how often you pause to rethread or adjust. A 6 inch hoop design with a few filled shapes typically takes 4 to 8 hours. If you are stitching lettering or lots of satin stitch, plan extra time because accuracy matters more than speed.
Project size and use: Beginner patterns are perfect for hoop art, decorating a tote bag pocket, adding a small motif to a shirt collar, or stitching a patch you can sew onto a backpack. If you are making a gift, pick a pattern with bold outlines and minimal filling so it looks crisp even if your stitches vary slightly.
Remember that embroidery is repetitive by nature. Short practice sessions of 20 to 40 minutes are often better than pushing through and making avoidable mistakes when you are tired.
Preparation and safety tips
Embroidery is low-risk, but a little prep prevents the most common frustrations: puckering fabric, transfer lines that will not disappear, and sore hands. Start by pre-washing fabric if it might shrink later, especially if you plan to wash the finished item. Iron it flat so your pattern transfers accurately.
Hoop the fabric correctly: place the inner ring under the fabric and press the outer ring on top, then tighten. Pull the fabric edges evenly until it feels like a drum, but do not overstretch. Overstretching can distort the weave and make stitches look uneven when you remove the hoop.
Safety tips: Keep scissors closed when not in use, and store needles in a needle minder or pin cushion so they do not get lost in cushions or carpets. If you experience wrist or thumb soreness, loosen your grip and take breaks. A thimble can help if you find yourself pushing the needle too hard, but do not force the needle through thick layers. Instead, use fewer strands of floss or a sharper needle.
Finally, test your marking tool on a fabric scrap. Some “water-soluble” pens can leave a faint shadow if ironed or left too long.
Project ideas and variations
Choosing the right design is half the success with beginner embroidery patterns. Look for patterns with clear lines, a limited color palette, and repeated shapes that let you practice without feeling overwhelmed. Below are three practical ways to pick a design based on your goal and budget.
Beginner friendly option
Simple leaf wreath or single sprig: Outline the stems with backstitch and fill leaves with fishbone stitch or long and short stitch (or keep it extra simple with straight stitches). This teaches you directionality, meaning your stitches follow the shape instead of fighting it. Keep the design small, around 3 to 4 inches, so you can finish quickly and learn what you like.
Budget friendly option
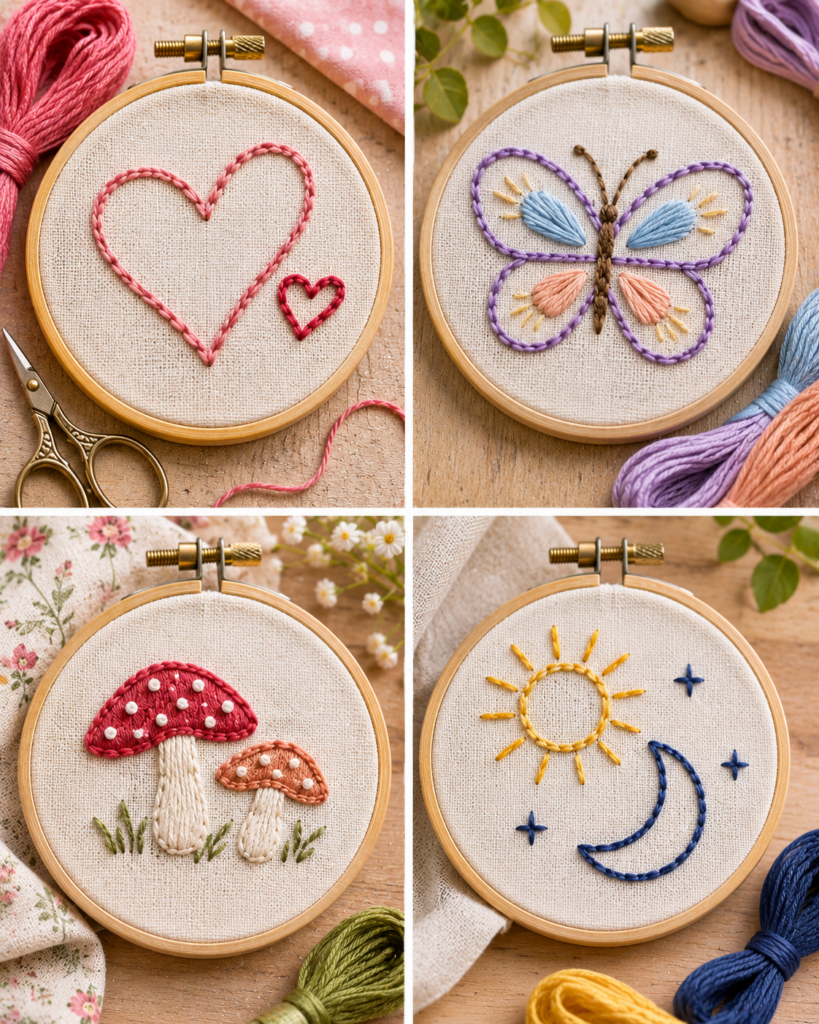
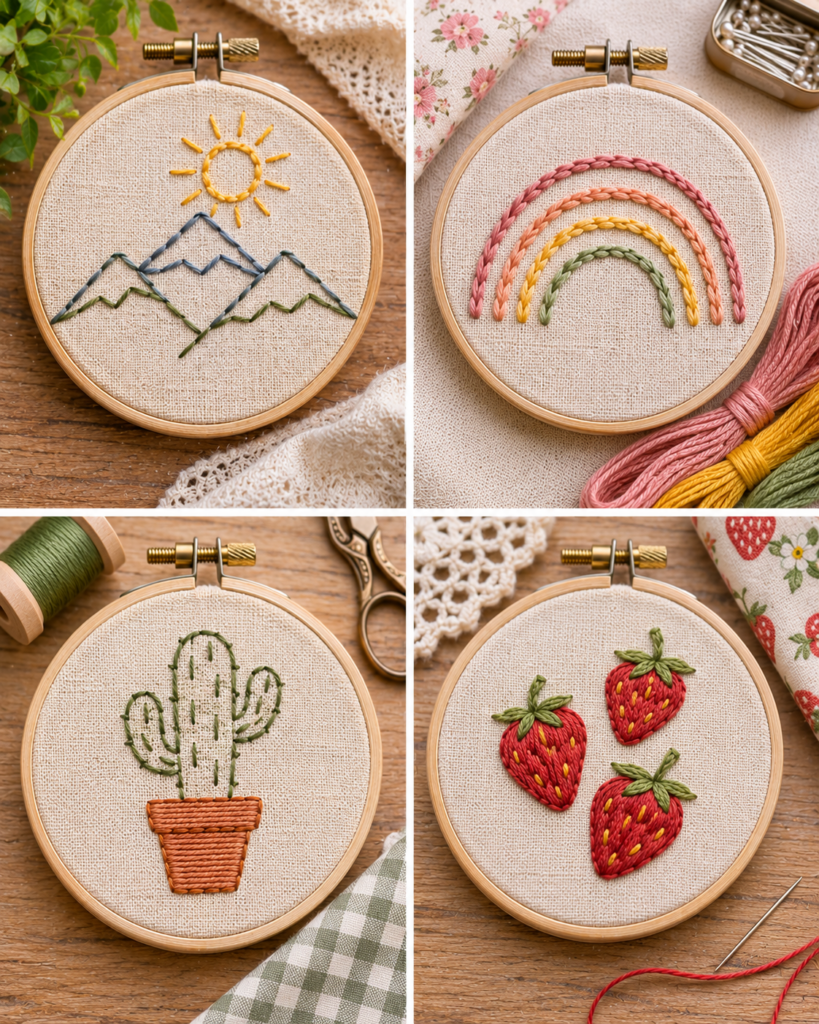
Monochrome line art: Use one color of floss and stitch everything in backstitch or stem stitch. A tiny animal outline, a minimalist mountain line, or a small mushroom trio looks stylish and costs very little. This is also a great way to use up leftover floss from other crafts. If you like small accessories, you might enjoy pairing your embroidery hobby with simple jewelry like these easy beaded bracelet patterns for beginners for quick wins between longer projects.
Creative and personalized option
Initial plus small florals: Stitch a single letter using split stitch for smooth curves, then add tiny flowers using lazy daisy petals and French knot centers. Personalization makes beginner embroidery patterns feel special without adding much difficulty. You can stitch initials on a handkerchief, a baby bib, or a small fabric notebook cover. If you want to turn your finished embroidery into a keepsake cover, this bookbinding for beginners notebook tutorial is a great next step.
Printing or pattern use instructions and sizing tips
Patterns can be used from a book, downloaded as a PDF, or drawn by hand. The key is getting the design onto fabric at the size you actually want. Most beginner embroidery patterns look best when the smallest details are not too tiny. If a detail is smaller than about 1/8 inch, it can turn into a blob when stitched with multiple strands.
- Choose your final hoop or item first: A 6 inch hoop is a classic display size. If you are stitching on clothing, measure the placement area and consider seams and stretch.
- Resize the pattern: Print at 100 percent first. If it feels too big or small, reprint at 80 to 120 percent. Keep a note of your favorite scale for future prints.
- Transfer the design: For light fabrics, place the printed pattern under the fabric and trace at a sunny window or light box using a water-soluble pen. For darker fabrics, use dressmaker’s carbon transfer paper and trace with a stylus or pencil.
- Keep lines thin and simple: Thick marker lines can show through light stitches. Draw the cleanest, finest lines you can.
- Plan stitch direction and strand count: Decide early if outlines will be 2 strands and fills 3 strands, for example. Consistency is what makes beginner work look polished.
If you are unsure, stitch a tiny test leaf in the margin to confirm the scale and strand count before committing to the full design.
Common mistakes and troubleshooting
Every stitcher hits a few snags. The good news is that most problems in beginner embroidery patterns have simple fixes.
- Puckering or ripples: This usually comes from pulling too tight or hoop tension changing mid-project. Re-tighten the hoop, and aim for “snug” stitches rather than cinched. If your fabric is thin, consider backing it with a second layer of cotton or a light stabilizer.
- Tangled thread: Cut shorter lengths, about 18 inches. Separate floss strands one at a time and recombine. Let the needle dangle occasionally to unwind twists.
- Uneven outlines: For backstitch, keep stitches the same length, around 1/8 inch for curves. On sharp corners, take a shorter stitch right at the turn to keep it crisp.
- Gaps in satin stitch: Satin stitch needs an outline. Use split stitch around the shape first, then lay satin stitches side by side without overlapping. If the fabric shows through, add one more strand or stitch closer together.
- French knots that pull through: Use at least 2 strands, keep tension on the wraps, and insert the needle close to where it came up but not in the exact same hole.
If you need to remove stitches, do it gently. Slide the tip of a needle under the stitch on the back and lift, then clip. Avoid ripping, which can distort fabric threads.
“I tried a small leaf sprig as my first of the beginner embroidery patterns you suggested. I kept my floss to two strands and used shorter thread lengths, and it made a huge difference. My backstitch finally looked even, and finishing the hoop neatly made it feel like real decor.”
Finishing and styling tips
Finishing is where your project starts looking intentional. Once stitching is complete, remove any visible transfer marks following the pen instructions. Water-soluble ink should be rinsed with cool water. Heat-erase ink can disappear with a warm iron, but test first because some inks can reappear in cold temperatures.
To finish in a hoop for wall art:
- Press from the back: Place the embroidery face-down on a towel and press gently. The towel protects the stitches from flattening too much.
- Re-hoop neatly: Center the design, tighten the screw, and smooth the fabric evenly.
- Gather the back: Run a long basting stitch around the outer edge of the fabric circle, pull tight to gather, and knot securely.
- Cover the back: Cut a felt circle and glue or stitch it over the gathered fabric for a clean finish.
Styling ideas: Keep it minimal with one hoop on a shelf, or group three small hoops in a vertical line. Beginner embroidery patterns with matching themes, like a flower set or seasonal icons, look cohesive even if each hoop uses different stitches.
Storage and care
Proper care keeps your stitches bright and prevents creases. If you are storing unfinished work, loosen the hoop slightly or remove the fabric to avoid permanent hoop marks. Roll the fabric around an acid-free tube or store it flat in a project bag. Keep floss scraps and needles contained so they do not snag your fabric.
Cleaning finished embroidery: If it is hoop art, dust lightly with a clean, dry brush or microfiber cloth. For embroidered items that must be washed, hand wash in cool water with a small amount of gentle soap. Do not scrub directly on stitches. Rinse well, press between towels to remove moisture, and lay flat to dry. Iron from the back while slightly damp for best results.
Sun and fading: Display away from direct sunlight. Cotton floss can fade over time in strong light, especially bright reds and purples.
Pest prevention: Natural fibers can attract moths in long storage. Store clean items in sealed bins with lavender sachets or cedar nearby, but keep oils away from the fabric to avoid staining.
Common Questions
How many strands of floss should I use for beginner embroidery patterns?
A good default is 2 strands for outlines and 3 strands for fills, but it depends on fabric and scale. On tightly woven cotton, 2 strands often looks crisp and prevents bulky knots on the back. If your stitches look thin or the fabric shows through, increase by one strand. Keep strand count consistent within each section so the design looks intentional rather than patchy.
Why does my fabric get loose in the hoop while I stitch?
Fabric loosening is usually caused by an under-tightened screw or by pulling thread too hard, which gradually shifts the fabric. Tighten the hoop screw firmly, then smooth the fabric evenly from the center outward. If the hoop still slips, wrap the inner ring with cotton twill tape to add grip. Re-tighten occasionally, especially after long stitching sessions.
What is the best way to start and end thread without bulky knots?
To start, you can use a small knot for practice, but a neater method is to anchor with tiny stitches in an area that will be covered by later stitching. To end, run the needle under several stitches on the back to secure the thread, then trim close. Avoid long “travel” threads across open areas, since they can show through on thin fabric and snag later.
How do I keep my stitches smooth and not twisted?
Thread naturally twists as you stitch. Let the needle hang freely every so often to untwist, especially before long satin stitches. Using shorter lengths of floss helps a lot. You can also gently run the floss between your fingers to flatten it before making a stitch. If you like, a tiny bit of thread conditioner can reduce fraying and improve glide.
Can I stitch beginner embroidery patterns on clothing without ruining it?
Yes, but choose stable areas like collars, pockets, denim jackets, or woven shirts. Use a stabilizer on the back to prevent puckering and to protect stitches from rubbing. Keep designs modest in size and avoid heavy fills on thin fabric. Wash gently inside out. If the garment is stretchy, use an appropriate cut-away stabilizer and avoid pulling the fabric while stitching.
What if my transferred lines won’t come out?
If water-soluble ink lingers, soak briefly in cool water and gently agitate, then rinse. Do not iron until the marks are gone, since heat can set some inks. For pencil, keep lines very light from the start, or stitch with slightly thicker outlines to cover them. In the future, test your transfer tool on the exact fabric, and remove markings soon after finishing.
Frequently Asked Questions About Beginner Embroidery Patterns: Easy Designs to Stitch
What embroidery pattern is easiest for beginners?
The easiest patterns are simple outlines with a few large shapes: leaves, hearts, stars, mushrooms, or a single flower sprig. Look for designs that use mostly backstitch or stem stitch with small accent stitches like French knots. Avoid patterns packed with tiny details or heavy satin stitch fills at first, since they require tight control and can show gaps. A 3 to 4 inch motif is a great starter size.
Which embroidery stitches should I learn first?
Start with backstitch for clean outlines and lettering, then learn stem stitch for smoother curves like vines. Add satin stitch for filling small shapes, and learn French knots for quick flower centers and texture. Straight stitch is also essential for simple rays, whiskers, and tiny details. With those four or five stitches, you can complete a wide range of beginner embroidery patterns without feeling stuck.
How do you transfer an embroidery pattern?
For light fabric, place the printed pattern under the fabric and trace using a water-soluble pen at a window or with a light box. For darker fabric, use transfer paper or a chalk-based method so lines show. Keep your lines thin and avoid pressing too hard, which can stretch the weave. Always test your marking tool on a scrap, and remove lines as directed before long-term display.
What fabric is best for hand embroidery?
For beginners, medium-weight quilting cotton is the easiest because it is stable, smooth, and widely available. Linen and linen blends are beautiful and traditional, but the weave can be uneven and may challenge stitch consistency early on. Avoid very stretchy knits until you have more experience, unless you use the right stabilizer. Whatever you choose, iron it first and keep the grain straight in the hoop.
How do you finish an embroidery hoop?
To finish a hoop for display, trim the fabric to leave a 1.5 to 2 inch margin outside the hoop. Sew a running stitch around the edge, pull to gather, and knot securely. For a polished look, cover the gathered back with a felt circle attached with glue or small stitches. If you plan to gift it, write the date or initials on the felt with a fabric-safe pen.
Final thoughts
Learning embroidery is a series of small wins, and beginner embroidery patterns are designed to give you those wins quickly: clean outlines, simple fills, and motifs that look charming even with “learning” stitches. Pick one small design, use 2 to 3 strands of floss, and focus on gentle, even tension. When you finish, take the extra few minutes to press from the back and clean up the hoop finish. Your next step is simple: choose one pattern idea from this guide, transfer it to cotton fabric, and stitch just the outline today. Tomorrow, add the details. You will be surprised how fast your hands learn.