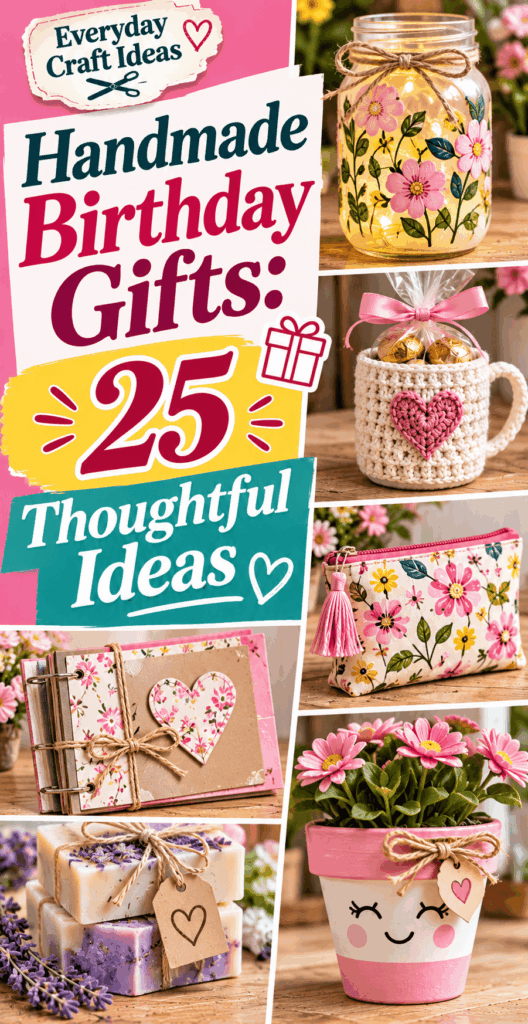
Handmade Birthday Gifts: 25 Thoughtful Ideas
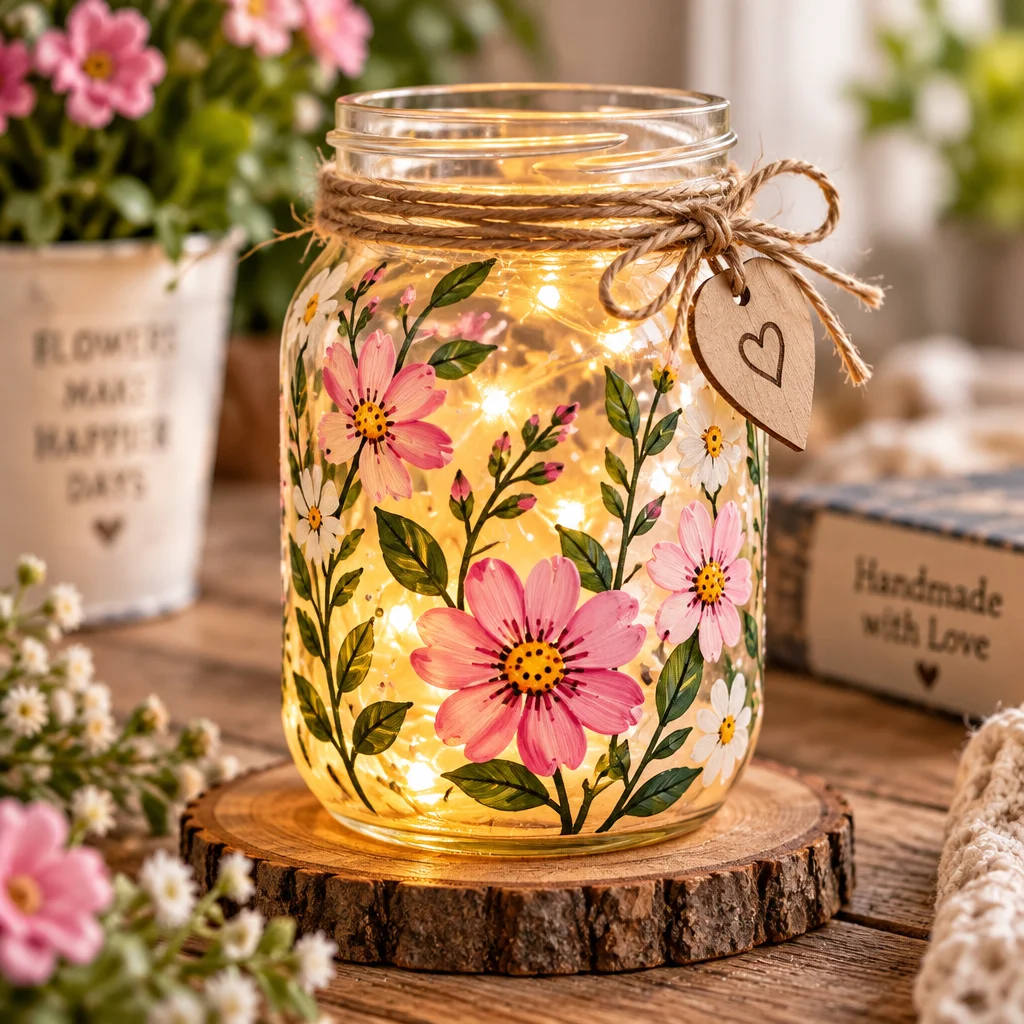
Handmade Birthday Gifts are one of the easiest ways to give something personal without spending a fortune. When you make a gift, you can match the colors they love, add an inside joke, and build in the kind of usefulness that store bought items often miss. This guide shares 25 realistic, beginner-friendly DIY ideas with clear options for different skill levels, time frames, and budgets. If you have a sewing machine (or even just a needle and thread), you might also like these easy sewing gift ideas. If you want a keepsake that feels extra meaningful, a simple handmade notebook is a great starting point, and this bookbinding for beginners guide walks you through it.
Choosing a birthday gift to make
The best Handmade Birthday Gifts start with a little planning. Before you buy supplies, think about where the gift will live and how the person will use it. A desk organizer is perfect for someone who works from home, while a relaxation kit fits a friend who is always busy. Your goal is a finished item that feels intentional, not complicated.
Also consider the “hidden time” in DIY: drying time for paint, curing time for glue, and the time it takes to redo a step if you make a mistake. If you only have one evening, choose projects with short dry times like paper crafts, simple sewing, or a memory jar. If you have a weekend, you can add steps like sealing a tray, stitching a zipper pouch, or binding a notebook.
Finally, choose materials you can handle confidently. If you are new to crafting, felt, cardstock, cotton fabric, and acrylic paint are forgiving. Avoid rushing into resin, glass cutting, or heavy power tools for a birthday deadline. A simple project finished neatly will always beat a complex one done in a hurry.
Match the gift to the recipient, budget and time
Make a quick three-part decision: recipient, budget, and time. Recipient means lifestyle and preferences: minimalists usually love practical items in neutral colors, while sentimental people adore photos and handwritten notes. Budget includes not just supplies, but tools. If you do not own a grommet setter or specialty punch, pick a design that does not require one.
Time is the big one. For a 30 to 60 minute session, choose projects like a personalized bookmark, a mini plant with a custom tag, or a lettered art print. For 2 to 4 hours, try a tote bag, zipper pouch, or decorative tray. For 4 to 8 hours spread over a couple days, you can do a small notebook binding project, a relaxation kit with multiple handmade parts, or a curated mini gift basket with several coordinated items.
Tip for success: choose one “wow” element. It can be a monogram, a photo, a color theme, or a short message. That single focal detail is what makes Handmade Birthday Gifts feel boutique and thoughtful, even when the construction is simple.
25 thoughtful handmade birthday gifts
Below are 25 Handmade Birthday Gifts grouped by style and skill. Each idea includes the core concept, difficulty level, typical time, and a few practical tips so you can actually finish. Keep your first attempt simple, then add upgrades like lining, topstitching, or a protective sealant as you gain confidence.
Basic tool kit that covers most projects:
- Measuring tools: ruler or tape measure, plus a pencil. Accurate measuring prevents warped frames, uneven hems, and crooked labels.
- Cutting tools: sharp scissors for paper and dedicated fabric scissors for cloth. Dull blades cause frayed edges and sloppy corners.
- Adhesives: PVA craft glue for paper, fabric glue for hems, and double-sided tape for clean paper finishing. Let glue cure fully before wrapping.
- Finishing supplies: acrylic sealer or clear varnish for painted items, and an iron for crisp fabric seams.
Memory jars, photo frames, lettered art and personalized bookmarks
- 1) Memory jar (easy, 45 to 90 minutes): Fill a jar with rolled notes, each with a memory, compliment, or “coupon.” Use cardstock so notes do not tear. Add a label and ribbon. Tip: write a few longer notes so it feels substantial.
- 2) Photo frame with decorated mat (easy, 60 to 120 minutes): Buy an inexpensive frame, then create a custom paper mat with patterned paper and a short message. Use acid-free tape so photos do not yellow over time.
- 3) Painted photo frame (beginner, 2 hours plus dry time): Lightly sand glossy frames, paint with acrylic, then seal. Troubleshooting: if paint beads up, the surface still has oils. Wipe with rubbing alcohol first.
- 4) Lettered art quote (beginner, 60 to 120 minutes): Use brush pens or acrylic paint markers on heavy paper. Practice the quote on scrap first, then draw light pencil guidelines to keep lines straight.
- 5) Personalized bookmark (easy, 20 to 40 minutes): Laminate cardstock, punch a hole, and add a tassel. Variation: add a photo strip or pressed flower sealed inside a clear sleeve.
If you are making for a grandparent or someone sentimental, you may also enjoy these meaningful handmade gift ideas for grandparents for more photo and memory-based inspiration.
Fabric totes, zipper pouches, snack bags and glasses cases
- 6) Simple fabric tote (confident beginner, 2 to 4 hours): Use sturdy cotton canvas or denim. Box the corners for a flat bottom. Add an inner pocket for keys to make it genuinely useful.
- 7) Lined zipper pouch (intermediate beginner, 2 to 3 hours): Choose a medium zipper (20 cm is beginner friendly). Tip: press seams often and sew slowly near the zipper pull to avoid wobbly stitching.
- 8) No-zip envelope pouch (easy, 60 to 90 minutes): Use a snap or Velcro closure. Great for earbuds or gift cards.
- 9) Reusable snack bags (beginner, 1 to 2 hours): Use food-safe laminated cotton or ripstop nylon. If the recipient will wash them often, stitch the seams and avoid adhesives. Safety note: do not claim “fully waterproof” unless you are using appropriate materials and seam sealing.
- 10) Soft glasses case (beginner, 90 minutes): Add a layer of quilt batting for padding. Make sure the opening is wide enough so glasses do not snag.
For more fabric-based Handmade Birthday Gifts, browse this collection of simple sewing projects that make great gifts.
Crochet coasters, scrunchies, mini plants and yarn keychains
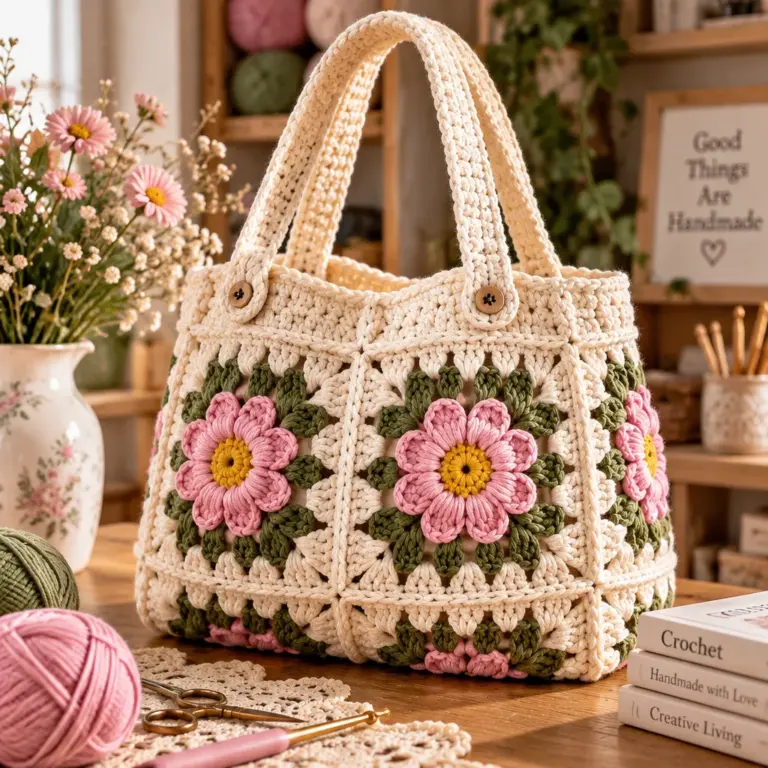
- 11) Crochet coasters set (beginner, 2 to 4 hours): A basic circle or square pattern works. Use cotton yarn so coasters absorb condensation. Block them flat with a light steam press (do not touch acrylic yarn with a hot iron).
- 12) Crochet scrunchie (easy, 45 to 90 minutes): Crochet around a hair elastic. Tip: pick soft yarn that will not snag hair. Add a matching tag for a boutique feel.
- 13) Yarn tassel keychain (easy, 20 to 30 minutes): Wrap yarn around cardboard, tie tightly, and trim evenly. Add a keyring. Variation: use two colors for an ombré look.
- 14) Mini plant gift with custom stake (easy, 30 to 60 minutes): Pot a small succulent or pothos cutting. Add a hand-lettered plant stake from a craft stick sealed with clear tape. Care note: include a simple watering instruction card.
- 15) Macramé mini key fob (beginner, 30 to 60 minutes): Use cotton cord and a simple square knot pattern. Pull knots tight and trim ends neatly to prevent fraying.
Painted plant pots, decorative trays, bath sachets and relaxation kits
- 16) Painted terracotta pot (beginner, 60 to 120 minutes plus dry time): Seal the outside with acrylic sealer after painting. Leave the inside unsealed so the pot can breathe. Use painter’s tape for crisp stripes.
- 17) Stenciled plant pot (beginner, 90 minutes): Use a stencil brush and dab paint lightly to prevent bleeding under the stencil. Remove the stencil while paint is still slightly wet.
- 18) Decorative catchall tray (intermediate beginner, 2 to 4 hours plus curing): Paint a wooden tray or sturdy box lid. Seal with a clear topcoat. Safety note: use water-based sealer in a ventilated area and let it cure fully before use.
- 19) Lavender sachets (easy, 30 to 60 minutes): Sew small cotton squares, fill with dried lavender, and stitch closed. Add a warning tag: “Do not ingest. Keep away from pets who chew.”
- 20) Relaxation kit (easy to moderate, 1 to 3 hours): Combine a sachet, a handwritten playlist card, a decorated tea mug tag, and a small candle. The “handmade” part is the curated, personalized packaging and notes.
Troubleshooting paint: If brush strokes show, add a tiny bit of water to acrylic paint and apply two thin coats instead of one thick coat. Thick paint cracks more easily on pots and trays.
Recipe-card bundles, decorated notebooks, paper flowers and mini gift baskets
- 21) Recipe card bundle (easy, 60 to 120 minutes): Handwrite family recipes on index cards, punch a hole, and tie with a ring. Include “favorites” and “quick weeknight” sections. Tip: use waterproof pen to avoid smears.
- 22) Decorated notebook (beginner, 1 to 2 hours): Customize a store-bought notebook cover with paper collage and a clear protective cover, or make your own with simple binding. If you want to bind from scratch, follow this beginner notebook binding tutorial for clean results.
- 23) Paper flower bouquet (beginner, 1 to 3 hours): Use crepe paper or cardstock. Curl petals with the edge of scissors carefully (avoid cutting yourself) and glue in layers. Add floral tape to wrap stems.
- 24) Mini gift basket (easy, 45 to 90 minutes): Choose a theme like “cozy night in” or “desk upgrade.” Add one handmade item (bookmark, coaster, sachet) and a few small store-bought complements.
Book-lover gifts, garden markers, desk organizers, pet keepsakes and travel pouches
- 25) Book-lover bundle (easy to moderate, 1 to 3 hours): Pair a personalized bookmark with a small reading log notebook and a “to be read” jar. For a holiday version of this idea, see these thoughtful handmade gift ideas for Christmas and adapt the packaging to birthdays.
- Bonus variation: garden markers (easy, 45 minutes): Paint flat stones or write on craft sticks, then seal. Use outdoor sealer and let it cure fully so the writing does not wash off.
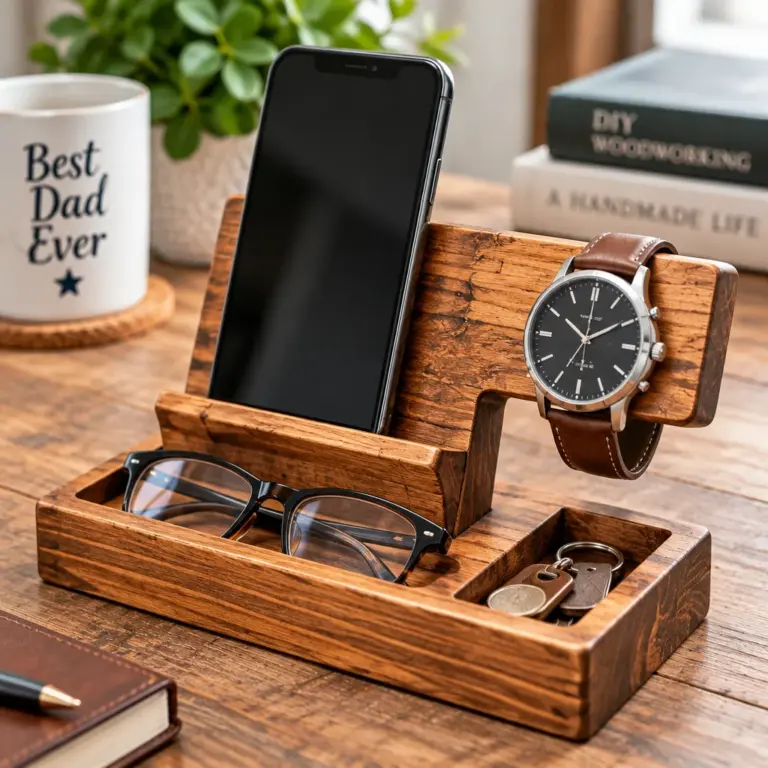
- Bonus variation: desk organizer (moderate, 2 to 4 hours): Cover small boxes with paper or fabric and label them. Use double-sided tape for crisp corners and less glue warping.
- Bonus variation: pet keepsake tag (easy, 30 to 60 minutes): Make a small collage frame with a paw print photo and a short note. If including pet treats, store them separately so oils do not stain paper items.
- Bonus variation: travel pouch (moderate, 2 to 3 hours): Sew a simple pouch with divided sections for cords and earbuds. Add a snap tab to hold a charger cable.
“I made the memory jar and a matching bookmark for my sister’s birthday. The jar took me one evening, and writing the notes ended up being the most meaningful part. I used scrap paper and a thrifted jar, and it still looked polished once I added a label and ribbon.”
How to personalize a handmade birthday gift
Personalization is what separates Handmade Birthday Gifts from generic crafts. You do not need fancy equipment. Small, consistent choices like a color palette, a repeated motif, or a monogram make a set look cohesive. The easiest approach is to pick two main colors and one accent, then use them across the item and its packaging.
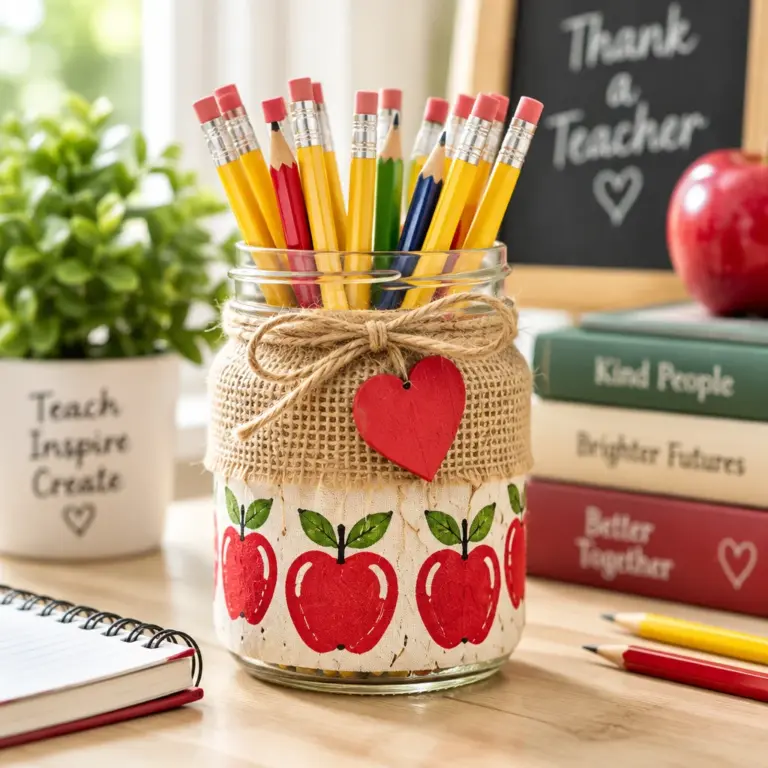
Personalization also includes how the gift functions. Think about the recipient’s routines: a teacher might appreciate a pouch sized for dry-erase markers; a friend who travels often might want a slim cable pouch; a reader might love a bookmark with a sturdy laminated finish. If you can solve a tiny everyday problem, your handmade gift becomes something they reach for weekly.
Finally, make your craftsmanship part of the personalization. Crisp edges, pressed seams, even paint coverage, and clean lettering show care. Build in time for finishing steps, because “neat” is what makes DIY feel gift-worthy.
Choosing colors, initials, photos and meaningful messages
Choose colors based on what they already use. Look at their phone case, favorite hoodie, or home decor and borrow that palette. For initials, keep it readable: simple block letters or a clean script is better than overly flourished fonts that look messy when hand-drawn.
Photos work best when they are high contrast and printed at the right size. For frames and notebooks, matte photo paper reduces glare and fingerprints. Add meaningful messages sparingly: one great line on a tag or inside cover feels intentional, while too many quotes can feel cluttered. If you worry about handwriting, print the message and mount it neatly, or trace letters lightly in pencil before inking.
Making gifts useful rather than overly complicated
When beginners try to “impress,” they often add too many techniques at once: zippers, curves, thick layers, and intricate painting. Instead, keep the build simple and upgrade the usability. Add a lining to a pouch so seams are protected. Add a pocket inside a tote. Seal a painted tray so it wipes clean. Punch a reinforced hole in a bookmark so the tassel does not tear out.
A good rule: add only one new skill per project. If you are learning zippers, keep the pouch shape basic. If you are learning lettering, use a simple frame. This approach leads to better results, less frustration, and Handmade Birthday Gifts that look polished.
Last-minute gifts and wrapping ideas
Even rushed Handmade Birthday Gifts can look intentional if you choose fast projects and finish them neatly. Plan around drying time. Paper crafts, handwritten sets, and simple fabric items made with hemming tape can be completed quickly. If you are painting, use quick-dry acrylic and apply thin coats so it dries faster and more evenly.
Wrapping matters just as much as the gift. A simple kraft paper wrap with a clean label and a small handmade tag often looks better than busy printed gift wrap. Add a color-coordinated ribbon or twine and one small focal element like a paper flower or a stamped tag.
Last tip: include a care card when relevant. A one-sentence note like “spot clean only” or “wipe with a damp cloth” protects your work and helps the recipient enjoy it longer.
Projects for a short crafting session
- 20 to 30 minutes: yarn tassel keychain, laminated bookmark, quick lettered quote card, mini plant tag.
- 45 to 60 minutes: memory jar with 20 notes, lavender sachet, paper flower topper for a gift.
- 60 to 90 minutes: no-zip envelope pouch, decorated notebook cover, recipe card starter set.
Keep your materials limited to what you already have. Matching colors and clean cutting instantly elevate quick gifts.
Packaging fragile or irregular handmade gifts
For fragile items like painted pots or frames, cushion with tissue paper and pack tightly so the item cannot shift. If the gift has an irregular shape (paper flower bouquet, relaxation kit items), use a shallow box or basket and fill gaps with crinkle paper or rolled tissue. Secure loose pieces with removable tape or a paper belly band so they do not rattle.
For fabric items, fold neatly and add a simple belly band label. If you worry about lint, place the item in a clear bag before tying with ribbon. Always let paint or sealer cure fully before wrapping, or the wrap can stick to the surface and ruin your finish.
Frequently Asked Questions About Handmade Birthday Gifts: 25 Thoughtful Ideas
What handmade birthday gifts are easy for beginners?
Start with projects that are mostly straight lines and simple materials: memory jars, laminated bookmarks, paper flower toppers, lavender sachets, and decorated photo frames. These teach core skills like clean cutting, simple assembly, and neat finishing without requiring tricky steps like zippers or complex shaping. Focus on accuracy and finishing: straight edges, consistent lettering, and fully dried glue make beginner projects look professional.
What can I make for a birthday at the last minute?
Choose fast, low-dry-time Handmade Birthday Gifts: a bookmark plus a handwritten note, a small memory jar, a mini plant with a custom tag, or a recipe card bundle tied on a ring. If you can sew, an envelope pouch with a snap closure is faster than a zipper pouch. Prioritize one strong personal touch, like initials or a meaningful message, and keep the rest clean and simple.
How can I make a homemade gift feel special?
Make it feel “finished.” Add a neat label, a coordinated color theme, and a short care card. Include one thoughtful detail that only you could add: a shared photo, an inside joke, a favorite quote, or a practical customization like an extra pocket. Also, take 5 minutes to improve presentation: crisp folding, trimmed threads, erased pencil lines, and smudge-free ink are the difference between crafty and gift-worthy.
What if my DIY gift doesn’t look perfect?
Small imperfections are normal, but you can fix most issues. For fabric, press with an iron and trim stray threads. For paint, sand lightly after it dries and apply a second thin coat, then seal. For paper projects, recut wobbly edges and use double-sided tape to avoid glue wrinkles. If something feels too messy, simplify: cover a mistake with a label, patch, or decorative strip and call it a design choice.
What supplies are worth buying if I plan to make gifts regularly?
A few versatile tools go a long way: sharp scissors (paper and fabric separate), a metal ruler, a self-healing cutting mat if you do paper often, quality double-sided tape, and a reliable all-purpose craft glue. If you sew, a seam ripper, pins or clips, and an iron are essential for clean results. For painting, buy a basic set of brushes and a clear water-based sealer for durability.
Are handmade gifts safe for kids and pets?
They can be, but you need to choose materials carefully. Avoid small detachable parts for young children, and skip buttons, loose beads, or keyrings that could be choking hazards. Use non-toxic, water-based paints and let finishes cure fully before gifting. For pets, avoid essential oils and anything chewable with strings or tassels. If you include sachets or scented items, label them clearly and suggest keeping them out of reach.
Final thoughts and choosing the right handmade gift
The most successful Handmade Birthday Gifts combine three things: a realistic project, neat finishing, and a personal detail that shows you know the recipient. Pick an idea that fits your schedule, then keep the construction simple and spend your extra time on the details: pressing seams, sealing paint, trimming edges, and packaging beautifully. If you are unsure what to make, start with a memory jar, a personalized bookmark, or a small pouch, then build a themed mini gift basket around it. Choose one project from the list, gather your supplies today, and give yourself enough time for drying and final touch-ups.