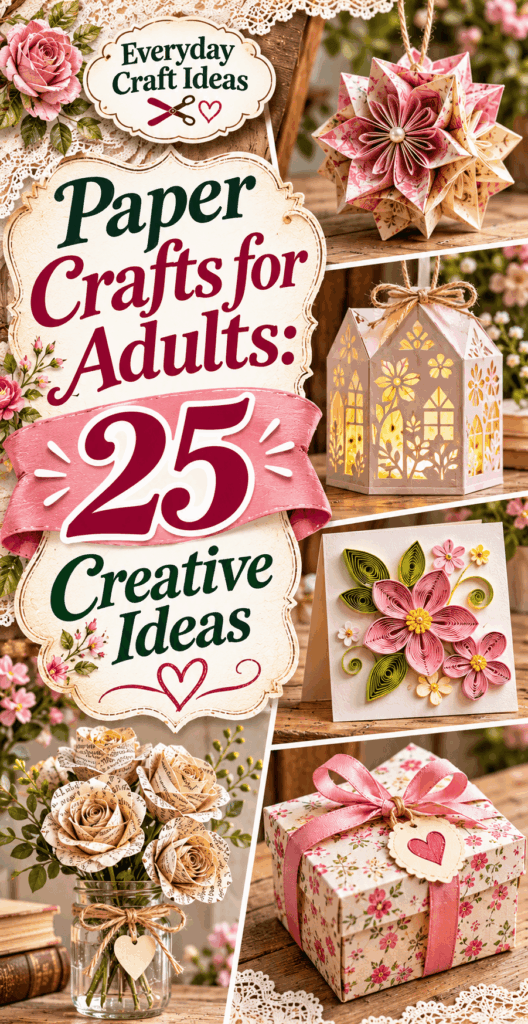
Paper Crafts for Adults: 25 Creative Ideas
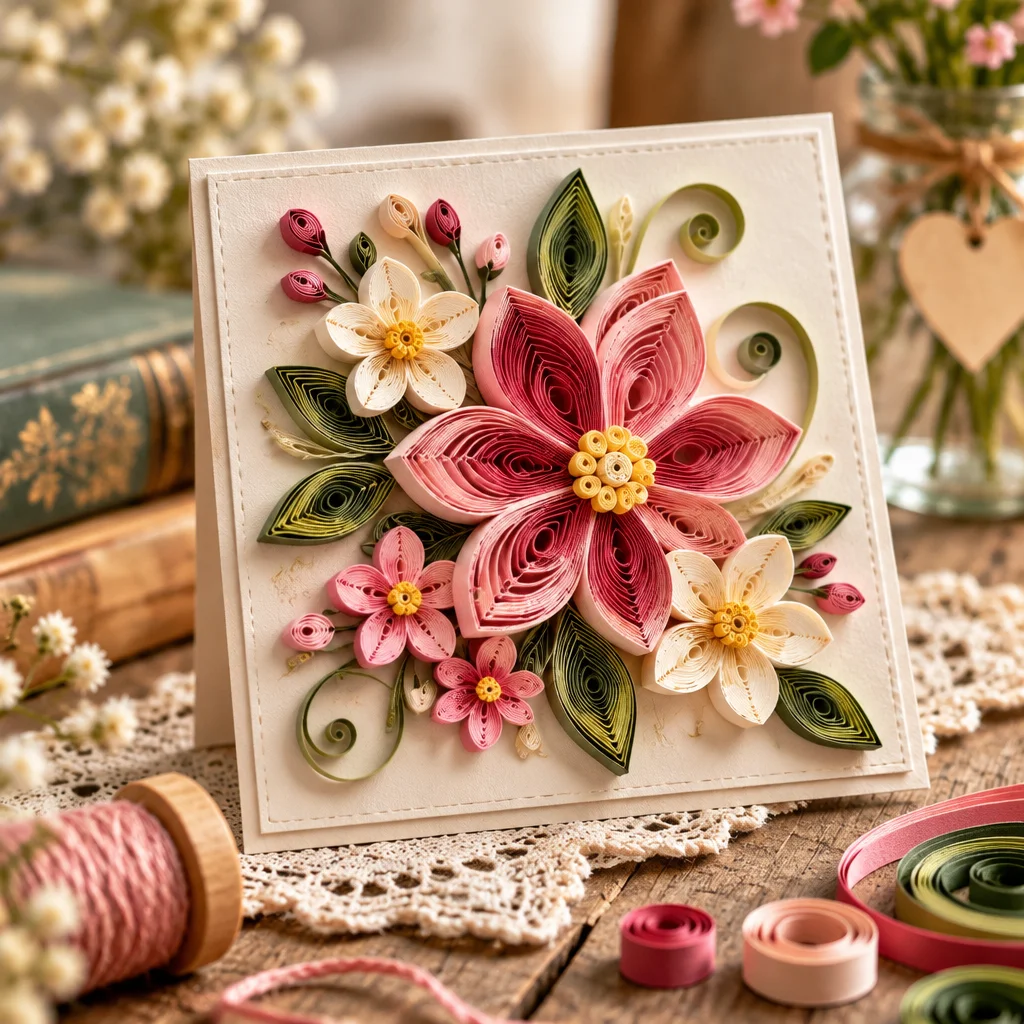
Paper Crafts for Adults are one of the easiest ways to make something beautiful with minimal space, low-cost supplies, and a big creative payoff. Whether you want a relaxing evening project, handmade home decor, or thoughtful gifts, paper is wonderfully forgiving and endlessly versatile. In this guide, you will learn the tools that make paper crafting smoother, plus 25 creative ideas with practical tips so your finished pieces look polished, not “school project.” If you are crafting for a season or celebration, you might also like these fresh spring craft ideas for adults or these pretty Valentine’s crafts for adults that pair beautifully with paper flowers, cards, and gift wrap. Grab your scissors and let’s make something you will actually want to display.
Getting started with paper crafts for adults
Most Paper Crafts for Adults boil down to three core skills: cutting, folding (also called scoring when you pre-crease), and gluing. If you set up a small, tidy workstation, you will get cleaner results and enjoy the process more. A clear table, good lighting, and a cutting mat go a long way. Keep a small bin nearby for paper scraps and a clean cloth for wiping glue strings off your fingers.
Before you start any project, decide two things: the final use (wall art, card, gift topper, decor) and the environment (humid bathroom, sunny window, or dry shelf). These choices affect paper type and adhesive. For example, a wreath on a front door needs stronger glue and heavier paper than a card insert.
It also helps to do a tiny “test run.” Cut and glue a small sample piece to check how your paper behaves. Some cardstock cracks on tight folds, and some patterned paper shows glue stains easily. That quick test prevents wasted time later and helps you choose the right tool for the job.
Essential cutting, folding and gluing tools
- Sharp scissors and a craft knife: Scissors are best for curves and quick cuts; a craft knife (with a fresh blade) excels at straight lines and intricate corners. Always cut on a self-healing mat.
- Metal ruler: A metal edge stays true and will not get nicked like plastic. Use it with a craft knife for crisp borders and frames.
- Bone folder or scoring tool: This smooth tool makes folds crisp without cracking fibers, especially on heavier cardstock. In a pinch, use the back of a butter knife, gently.
- Adhesives: Use a glue stick for large flat areas, liquid craft glue for strong joins, and double-sided tape for perfectly clean edges. A low-temp hot glue gun is useful for 3D flowers and wreaths, but it is bulkier.
- Tweezers and clips: Tweezers place tiny pieces accurately; small binder clips hold seams while glue sets.
25 creative paper craft ideas for adults
The projects below are grouped by style so you can pick what matches your mood: floral and organic, graphic wall decor, folded origami-style makes, stationery, upcycling, and sculptural decor. Most can be completed in 30 to 120 minutes, and many are ideal for batch crafting. Whenever you see “batch,” it means you can cut multiples at once for gifts or party decor.
A quick tip before you choose: if you want a guaranteed win, start with something forgiving like accordion ornaments or bookmarks. If you want a statement piece, go for geometric wall art, a paper wreath, or a mobile.
Rolled roses, crepe-paper poppies, leaf branches and paper succulents
- Rolled roses (Beginner to intermediate, 20 to 45 minutes each): Cut a spiral from cardstock or text-weight paper. Keep the outer edge smooth, then roll from the outside in. Loosen slightly so petals “bloom,” and glue the base. Troubleshooting: if the rose looks tight and cone-shaped, unroll half a turn and re-glue; if the edges fray, switch to a slightly heavier paper.
- Crepe-paper poppies (Intermediate, 45 to 75 minutes): Crepe stretches, which makes realistic petals. Cut petal shapes with the grain so you can cup them. Fringe a black center strip, wrap it around floral wire, then layer petals. Finishing: lightly curl petal edges with a bone folder for a natural ruffle.
- Leaf branches (Beginner, 30 minutes): Cut repeated leaf shapes from green paper, score a center vein, and glue leaves along a paper-wrapped wire stem. Variation: use book pages for neutral “botanical” branches and tint the edges with watered-down acrylic paint.
- Paper succulents (Intermediate, 45 to 90 minutes): Cut graduated leaf shapes, curl the tips, and build from the center outward. Use tacky glue for control. Pro tip: mix paper shades for depth, and ink the edges slightly darker for realism.
Geometric wall art, quilling monograms, landscapes and wall medallions
- Geometric wall art (Intermediate, 1 to 2 hours): Create triangles, diamonds, or hexagons from cardstock and mount them on a backing board. Use double-sided tape for flat, clean results. Troubleshooting: if shapes look uneven, make one sturdy template and trace everything from it.
- Quilling monograms (Intermediate, 60 to 120 minutes): Cut paper strips (or use pre-cut quilling strips), roll coils with a slotted quilling tool, and pinch into teardrops and marquises. Glue shapes inside a monogram outline. Finishing: frame behind glass to keep dust off.
- Layered paper landscapes (Beginner to intermediate, 60 to 90 minutes): Cut simple hill silhouettes in 4 to 7 layers, stacking from background to foreground. Add a sun or moon circle behind the top layer. Depth tip: use foam tape between layers for a shadow-box effect.
- Wall medallions (Beginner, 30 to 60 minutes): Fold strips into loops and fan them into a circle, then cap with a decorative center. These are great party decor and easy to scale up or down.
Origami mobiles, gift boxes, accordion ornaments and geometric bowls
- Origami mobiles (Intermediate, 1 to 2 hours): Fold cranes, stars, or butterflies from origami paper. Hang from a hoop with clear thread. Balance matters: hang heavier pieces closer to the center so the mobile stays level.
- Gift boxes (Beginner to intermediate, 20 to 40 minutes): Use sturdy cardstock and score folds before creasing. For clean corners, glue tabs with a thin layer of liquid glue and clamp briefly with clips.
- Accordion ornaments (Beginner, 15 to 30 minutes): Fold strips back and forth, pinch at the center, and fan open. Use these for holiday trees, party backdrops, or table settings. Variation: edge the paper with metallic marker for instant polish.
- Geometric bowls (Intermediate, 60 to 120 minutes): Score and fold a polygon net, then assemble with strong double-sided tape or tacky glue. These are best as catchalls for dry items like keys or clips, not food. If you want extra durability, brush on a thin coat of matte Mod Podge and let cure fully.
Pop-up cards, handmade envelopes, notebook covers and bookmarks
- Pop-up cards (Beginner to intermediate, 30 to 60 minutes): Start with simple box folds (two parallel cuts and a valley fold). Use a heavier card base (at least 200 gsm) so it stands. Troubleshooting: if the card will not close flat, your pop element is too tall or not centered on the fold.
- Handmade envelopes (Beginner, 15 to 25 minutes): Use an envelope template and a bone folder to crease flaps. Seal with double-sided tape for a smooth edge. Add a wax seal sticker or belly band for gifting.
- Notebook covers (Beginner, 30 to 45 minutes): Wrap cardstock around a plain notebook, miter corners, and glue down. Protect with clear book-cover film or a thin layer of decoupage medium.
- Bookmarks (Beginner, 10 to 25 minutes): Laminate with clear packing tape (burnish well) or use cardstock with a tassel. Great idea: make corner bookmarks by folding a square into a pocket triangle and decorating it.
Magazine beads, book-page garlands, paper mosaics and cardboard collages
- Magazine beads (Beginner, 45 to 90 minutes): Cut long triangle strips from glossy pages, roll tightly around a skewer, and seal with a thin coat of glue. When dry, string into jewelry or garlands. Tip: roll with the printed side out for vibrant color.
- Book-page garlands (Beginner, 30 to 60 minutes): Fold pages into hearts, fans, or simple flags and string with twine. These look especially cozy for fall gatherings. If you are decorating seasonally, pair this idea with these Thanksgiving crafts for adults for a warm, layered table setup.
- Paper mosaics (Intermediate, 60 to 120 minutes): Tear or cut small pieces and glue within a drawn outline. Tearing gives softer edges; cutting gives a modern look. Use a glue stick for speed, then press under books (with wax paper on top) to dry flat.
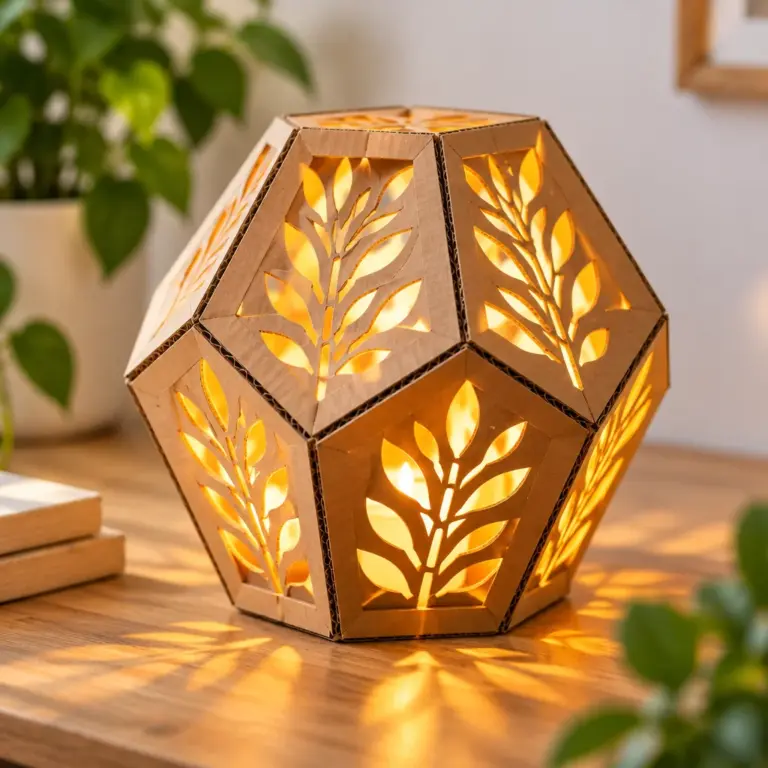
- Cardboard collages (Beginner to intermediate, 60 to 90 minutes): Layer corrugated cardboard, kraft paper, and scraps for texture. Seal with matte medium. Safety note: cut cardboard with multiple light passes of a craft knife, not one hard push.
Paper wreaths, gift toppers, hanging stars, lanterns and mini sculptures
- Paper wreaths (Intermediate, 1 to 2 hours): Wrap a foam or cardboard ring, then add flowers, leaves, or folded cones. Use hot glue carefully and work in small sections. Seasonal variation: soft pastels and florals work well with these Easter crafts for adults for a coordinated entryway.
- Gift toppers (Beginner, 10 to 20 minutes): Make mini rosettes, tiny stars, or layered tags. Double-sided tape keeps toppers flat in transit.
- Hanging stars (Beginner to intermediate, 30 to 60 minutes): Fold and glue multiple points for 3D stars. Use thread and a small bead as a stopper knot.
- Paper lanterns (Beginner, 20 to 40 minutes): Cut slits in a folded sheet, roll into a cylinder, and secure. Use only LED tea lights, never real flames, because paper ignites easily.
- Mini sculptures (Advanced, 2 to 6 hours): Build animals or abstract forms with paper strips and tabs, similar to low-poly modeling. Choose heavyweight cardstock and take time to pre-fold tabs for accuracy.
How to make paper crafts look more professional
The difference between “cute” and “store-bought” is usually precision and finishing. Professional-looking Paper Crafts for Adults rely on consistent measurements, clean edges, and adhesives that do not show. Work slowly during the first few cuts and folds, because accuracy early prevents frustration later.
If your projects often look messy, it is rarely your creativity. It is usually one of these issues: dull blades that tear fibers, too much glue, or paper weight that does not match the technique. Fix those three and your results will improve immediately.
Choosing paper thickness for each technique
Use origami paper or light text-weight paper for crisp folds and models with many layers. Choose cardstock (around 200 to 300 gsm) for boxes, wall art, and anything that must stand up or hold a shape. For flowers, crepe paper is best when you want stretch and realism, while double-sided scrapbook paper is great for garlands and stars because the back looks finished.
If you notice cracking on folds, score first and fold with a bone folder. If the project feels flimsy, move up one paper weight or add a hidden backing layer.
Clean cuts, crisp folds and invisible glue lines
- Change blades often: A sharp blade slices fibers instead of dragging them. This single habit makes edges look instantly cleaner.
- Cut with light passes: Especially on cardstock, do two to three light cuts along a ruler instead of forcing one deep cut. It prevents slips and ragged corners.
- Score before folding: Scoring creates a “hinge,” so the fold lands exactly where you want it and stays crisp.
- Use the right adhesive: Glue stick for wide coverage, tape runner for fast clean edges, liquid glue for tight joins, and hot glue for 3D pieces where bulk is hidden.
- Press while drying: For flat items, press under books with wax paper on top to prevent warping and shine.
Reader testimonial: “I always thought my paper projects looked a bit messy until I started scoring folds and switching to double-sided tape for edges. My pop-up cards finally close properly, and the glue doesn’t show. It made a bigger difference than buying fancy supplies.”
Paper craft projects for different skill levels
One reason Paper Crafts for Adults are so addictive is that you can match the project to your energy level. Some days you want a simple, repetitive craft that calms your mind. Other days you want a challenge with measuring, layering, and sculpting. Choosing the right difficulty keeps you from quitting mid-project.
A good rule: if you are learning a new technique, simplify everything else. For example, if you are learning quilling, use one color palette and a simple monogram. If you are learning box making, skip tricky lids and focus on crisp corners.
Relaxing beginner crafts for an afternoon
- Accordion ornaments and paper medallions: Minimal measuring and very forgiving. Great for batch crafting.
- Bookmarks and gift toppers: Quick wins that let you practice clean cuts and neat adhesive.
- Book-page garlands: Repetitive folding is soothing, and imperfections look charming.
- Simple rolled flowers: Start with larger spirals so the petals are easier to control.
Layered and sculptural projects for experienced crafters
- Shadow-box landscapes: Precise cutting and spacing create depth. Foam tape placement matters.
- Geometric bowls and complex origami mobiles: Accuracy and symmetry are key, plus you need patience for multiple folds.
- Paper succulents and crepe poppies: Shaping and realistic assembly take practice, but the results are show-stoppers.
- Low-poly mini sculptures: Best if you enjoy careful assembly and don’t mind working slowly.
Frequently Asked Questions About Paper Crafts for Adults: 25 Creative Ideas
What paper crafts can adults make at home?
You can make flowers, wreaths, wall art, greeting cards, gift boxes, origami decor, and upcycled projects like magazine beads or book-page garlands. For small spaces, focus on flat projects such as cards, bookmarks, mosaics, and framed landscapes. If you have a bit more room, mobiles and wreaths are great statement pieces. Most Paper Crafts for Adults only require scissors, a ruler, and a reliable adhesive.
What paper crafts are relaxing for beginners?
Try accordion ornaments, medallions, simple garlands, and basic rolled roses. These are repetitive in a good way and do not require perfect measuring. Use thicker paper to make handling easier, and choose a limited color palette so the project looks cohesive even if your cuts are not perfectly identical. Put on music, work in batches, and aim for “neat enough” rather than flawless.
Can I make paper crafts without a Cricut machine?
Yes. A cutting machine is convenient, but it is not required for most Paper Crafts for Adults. A metal ruler, sharp craft knife, and a simple template will get you very far. For repeated shapes, cut one sturdy template from cardstock or thin cardboard, trace it, and stack-cut a few sheets at once (as long as your scissors can handle it). Save intricate designs for later as your cutting control improves.
How do I stop paper from warping when I glue it?
Warping usually happens from too much moisture in liquid glue. Use a glue stick or double-sided tape for large flat areas. If you must use liquid glue, apply a very thin layer and spread it evenly to the edges. Then press the piece under books with wax paper on top until fully dry. Also consider using heavier paper for the base layer, especially for collages and mosaics.
What is the best adhesive for paper flowers and 3D projects?
For flowers, tacky glue gives you a strong bond without the bulky bumps that hot glue can leave. Hot glue is helpful when you need an instant grab, like attaching flowers to a wreath form, but it can create strings and lumps. A good approach is to assemble petals with tacky glue, then use small dots of hot glue only for final mounting where the glue will be hidden.
How do I seal or protect finished paper crafts?
Framed projects are easiest to protect because glass blocks dust and handling. For unframed decor, a light coat of matte Mod Podge or clear acrylic sealer can add durability, but always test first because some papers wrinkle or darken. Keep paper crafts out of direct sunlight to prevent fading, and avoid humid spots like bathrooms unless you use sealed materials and sturdy adhesives.
Final thoughts and picking your next paper project
Paper Crafts for Adults are perfect when you want something creative, practical, and genuinely doable with beginner tools. Start by choosing one technique to practice, like crisp folding for boxes or clean cutting for wall art, then build from there. If you want a quick win today, make a set of bookmarks or a simple pop-up card. If you want a weekend project, try a paper wreath or a shadow-box landscape. Gather your paper, swap in a fresh blade, and set a small goal, like finishing one flower or one card. Small, finished projects build skill faster than big unfinished ones.