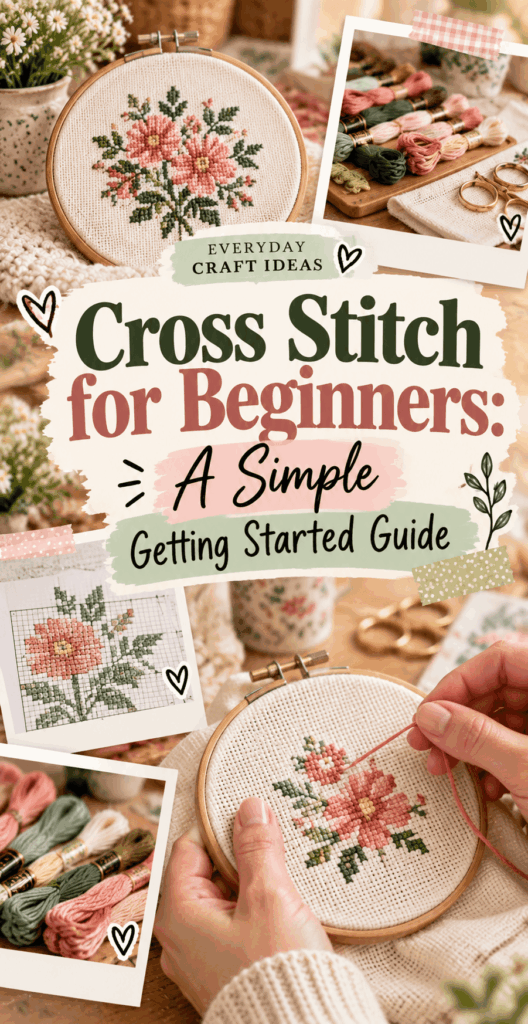
Cross Stitch for Beginners: A Simple Getting Started Guide
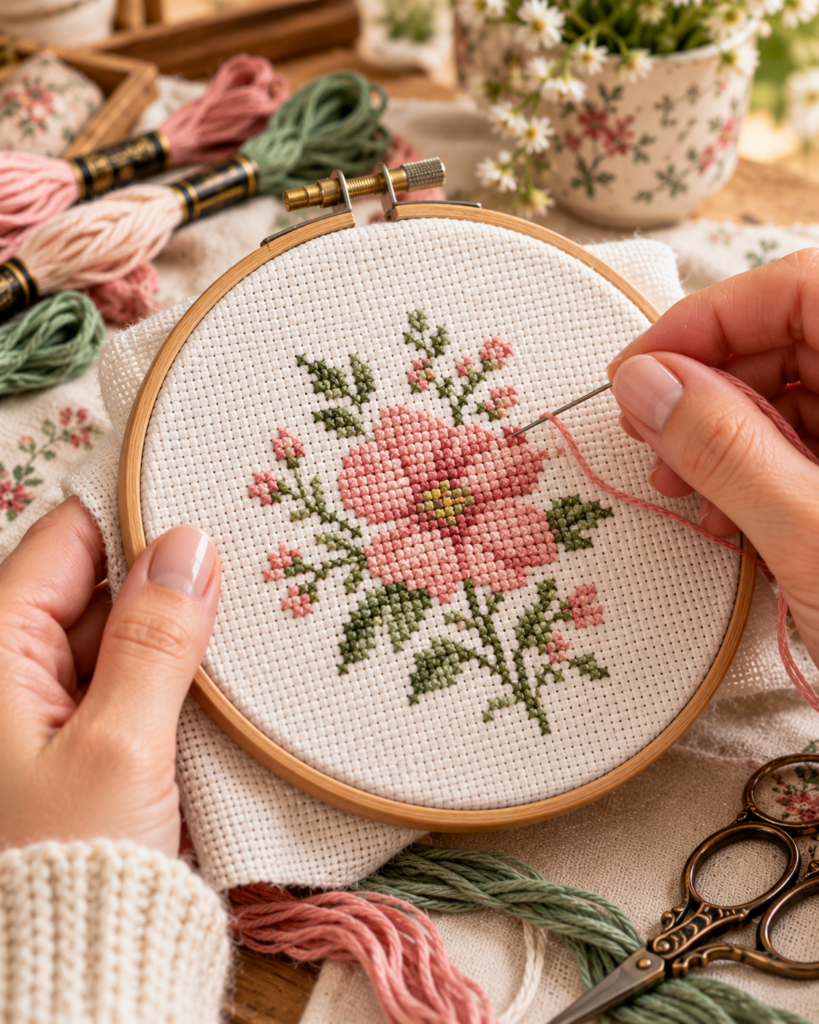
If you are searching for cross stitch for beginners, you likely want one thing: a clear path from “I have supplies” to “I made a neat little stitched design I am proud of.” Cross stitch is one of the most approachable needle crafts because it uses a simple X-shaped stitch on evenly spaced fabric. With a small pattern and a few basic tools, you can finish a coaster-sized motif, ornament, or mini wall piece in an evening or weekend.
In this guide, you will learn what to buy (and what to skip), how to read a chart, how to start and end thread securely, and how to finish your piece so it looks polished. If you also enjoy seasonal crafting, you might like browsing printable crafts for kids for easy templates, or exploring winter crafts for adults for cozy project inspiration.
What You Need to Know Before Starting
Cross stitch is a counted-thread embroidery technique. That means you make stitches by counting fabric squares, following a chart, rather than drawing directly on fabric. The “grid” comes from the fabric weave, most commonly Aida cloth, which has visible holes that make cross stitch for beginners far less intimidating.
Difficulty level: Beginner-friendly, with a learning curve that mostly involves hand positioning and keeping your stitching consistent.
Estimated time: A 2 inch to 3 inch motif on 14-count Aida often takes 2 to 6 hours depending on how detailed it is and how quickly you stitch.
Best first project size: Choose a design with 2 to 6 colors, lots of open space, and clear edges. Small patterns help you practice starts, stops, and tension without feeling overwhelmed.
How it should look when finished: The front should show even X stitches all leaning the same direction. The back should be reasonably tidy, with no long loose strands that can snag. “Perfect backs” are not required, but neatness helps your work lay flat.
One more mindset tip: you do not need expensive gear to start. Most early frustrations come from thread tangles, using too many strands, or losing your place on the pattern, not from lacking specialty tools.
Supplies, Tools, and Material Choices
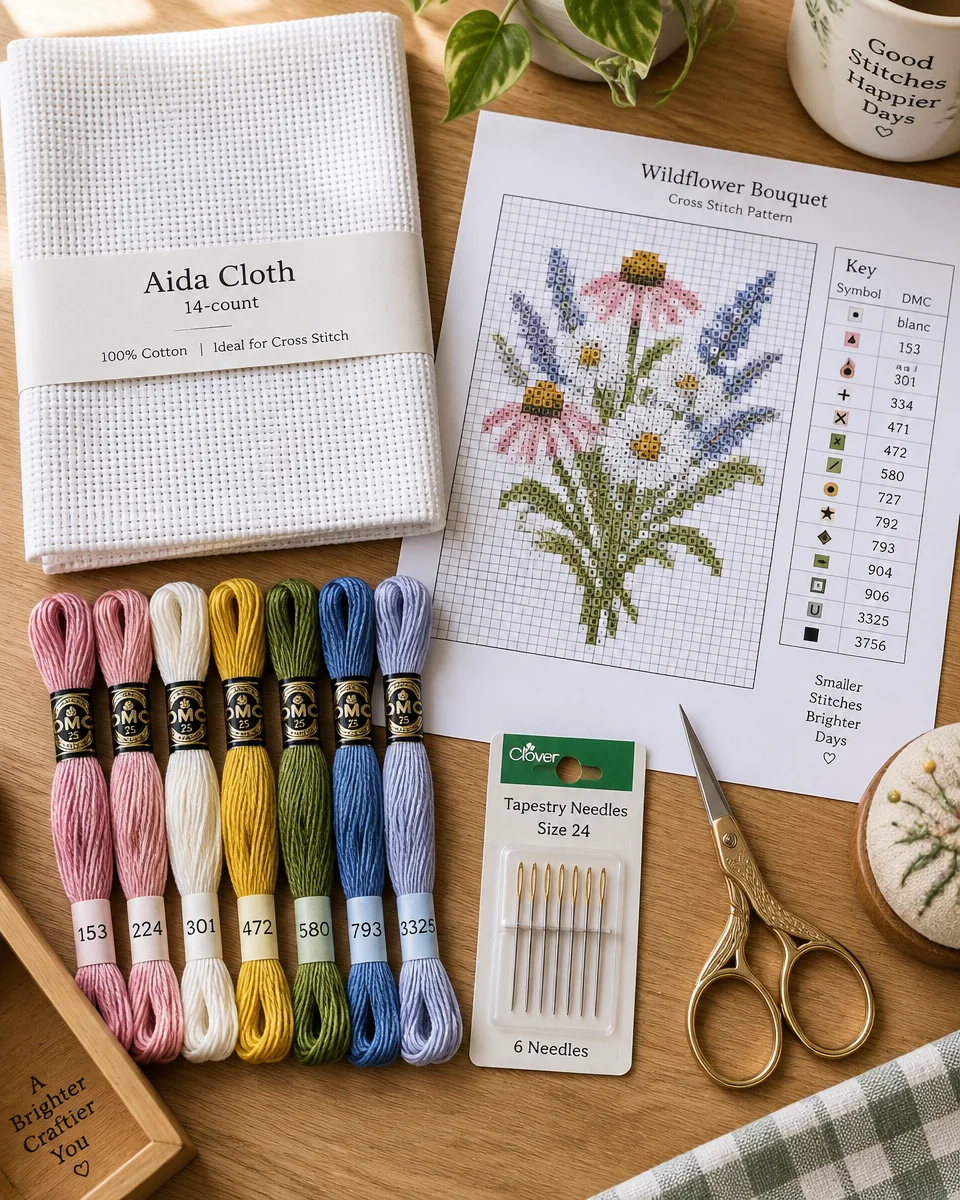
Here is a practical starter kit for cross stitch for beginners, with notes on what matters and why. You can buy a complete kit or assemble items individually.
- Aida cloth: 14-count Aida is the classic beginner choice. “Count” means squares per inch. Higher counts (16, 18) make smaller stitches and can be harder to see.
- Embroidery floss: Most patterns use 6-strand cotton floss (like DMC). You separate strands to adjust thickness. Store floss on bobbins or in small bags to avoid knots.
- Tapestry needles: Use a blunt tip, usually size 24 for 14-count Aida. Blunt needles slide between fabric threads rather than splitting them.
- Embroidery hoop or Q-snap frame: Optional but helpful for keeping tension even. Hoops can leave creases if left on too long, so remove after stitching sessions.
- Small sharp scissors: Precision matters for clean thread cuts. Keep them for thread only so they stay sharp.
- Pattern/chart and symbol key: The key tells you which floss color matches each symbol. For beginners, printed charts with a bold grid are easiest.
- Needle threader (optional): Helpful if your eyesight or dexterity needs a boost, especially with multiple strands.
- Good lighting: A bright lamp reduces eye strain. If needed, add magnification.
Choosing fabric size: Cut Aida at least 2 to 3 inches larger than your design on each side to allow room for framing or finishing. If your fabric frays, use painter’s tape, masking tape, or a simple zigzag stitch on the edges before you begin.
Safety note: Store needles in a needle minder or case, and keep scissors and needles away from small children and pets.
How to Make or Use It (Clear Beginner-Friendly Tutorial)
This step-by-step tutorial walks you through a small, simple design. Even if you are using a kit, the same process applies. For cross stitch for beginners, the goal is consistency: same stitch direction, steady tension, and secure starts and stops.
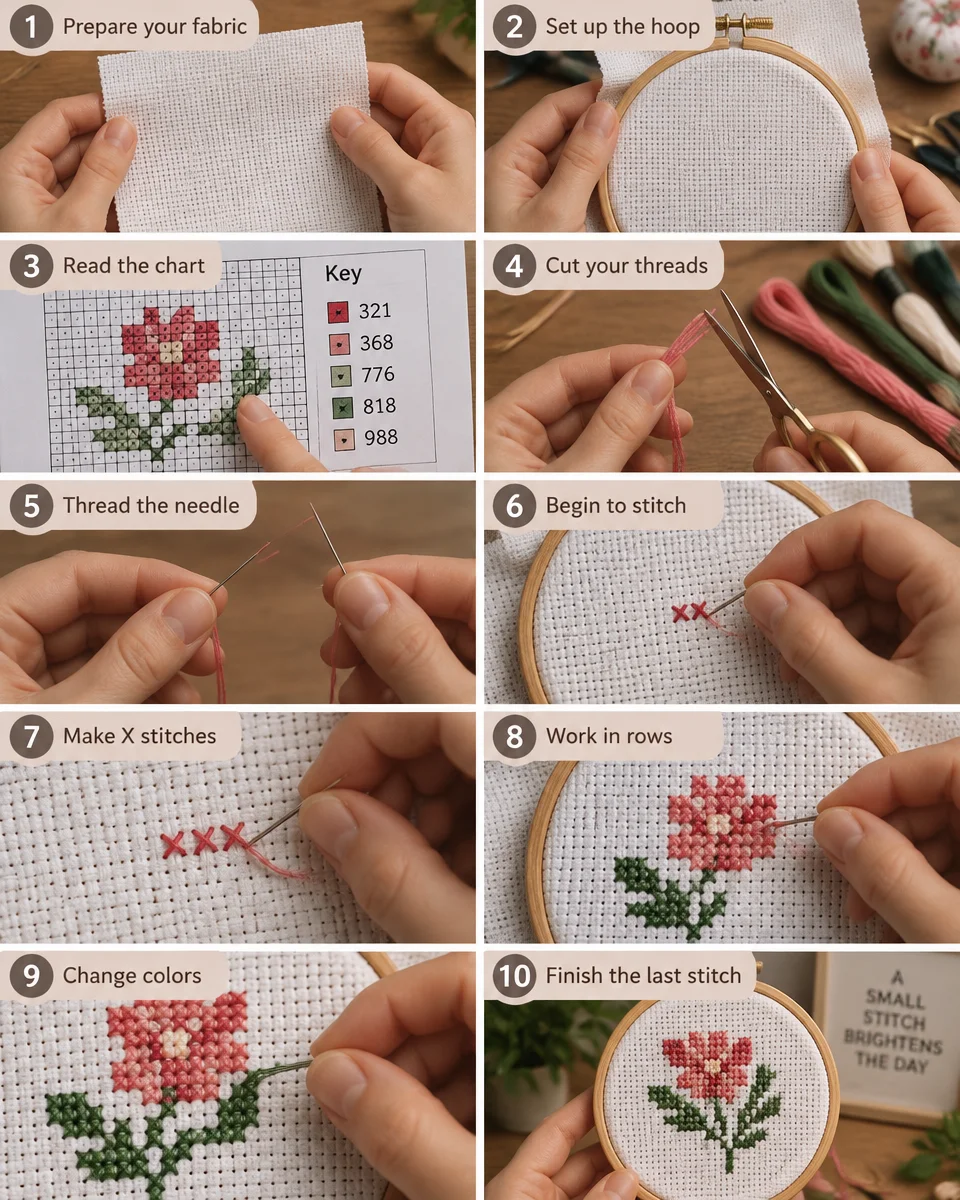
- Prepare the fabric: Find the center by folding in half vertically and horizontally, then finger-crease. Many patterns start at the center so you do not run out of fabric at the edges.
- Set up your hoop or frame: Place fabric so it is taut like a drum, but not stretched to distortion. Re-tighten occasionally as fabric relaxes.
- Read the chart and locate your starting point: Find the center marks on the pattern (often arrows). Match them to your fabric center. Highlight the area you plan to stitch to avoid losing your place.
- Cut and separate floss: Cut about 18 inches of floss. Longer lengths tangle and fray. Separate strands slowly, then recombine the number you need (commonly 2 strands on 14-count Aida).
- Thread the needle: Flatten the floss end with your fingers and guide it through the needle eye. Leave a 2 to 3 inch tail so it does not slip out while stitching.
- Start stitching securely (without a bulky knot): Use the loop start if you are using an even number of strands (like 2). Fold a single strand in half, thread the two ends through the needle, and catch the loop on the back with your first stitch. If using an odd number of strands, use a pin stitch or leave a tail and stitch over it with the next few stitches.
- Make neat X stitches: Bring the needle up at the lower left hole of a square, go down at the upper right, then up at the lower right, down at the upper left to complete the X. Keep the top leg of every stitch going the same direction across the whole piece for a smooth look.
- Work in rows for consistency: Many stitchers do a row of ////// (half stitches) and then come back to finish the Xs. This can improve speed and alignment, but ensure you do not pull too tight.
- Change colors cleanly: End the thread by running it under 3 to 5 existing stitches on the back, then trim close. Start the next color the same way. Avoid carrying thread long distances across the back, especially under light fabric.
- Finish the last stitch and secure: Weave the tail under nearby stitches. Tug gently to confirm it is anchored, then trim. Check the front for fuzzy ends and snip carefully if needed.
When you are done stitching, remove the hoop to prevent permanent rings, especially if you will not wash and iron immediately.
Helpful Tips for Better Results
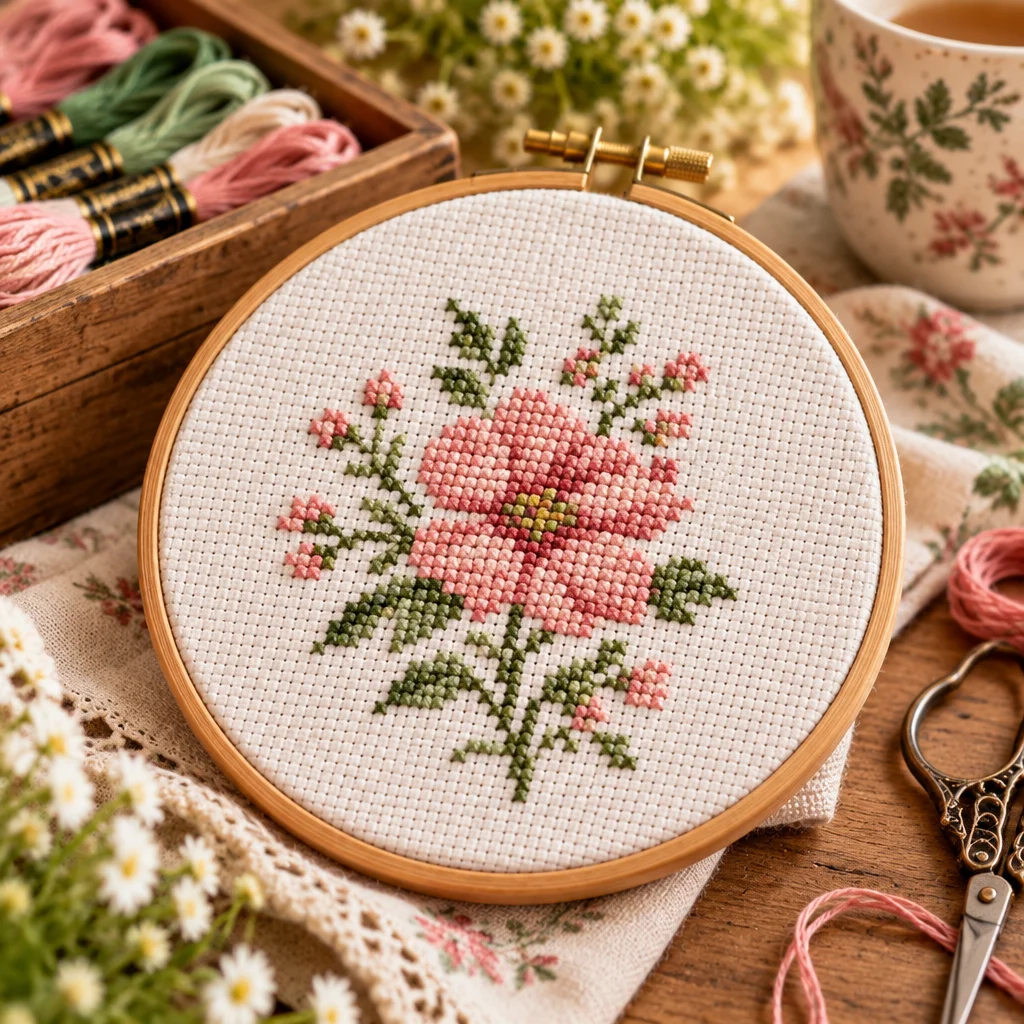
Small adjustments make a big difference in cross stitch for beginners. These tips focus on the most common “why does mine look messy?” issues.
- Keep tension even: Pull floss just until the stitch lies flat. Over-tightening can warp the fabric and make holes look stretched.
- Mind your stitch direction: Decide which leg goes on top (for example, bottom left to top right first, then bottom right to top left) and keep it consistent.
- Use shorter lengths if you tangle: If your floss knots often, switch from 18 inches to 12 to 14 inches. Tangling is more about length and twisting than skill.
- Let the needle dangle: Every so often, drop the needle and let it spin freely to unwind the floss.
- Mark your pattern progress: Use a highlighter, pencil, or a reusable marker sheet. Losing your spot is the #1 time-waster for beginners.
- Choose beginner-friendly coverage: Designs with large color blocks are easier than confetti stitching (lots of single stitches in many colors).
“I tried cross stitch years ago and gave up because my thread kept knotting. Using shorter floss lengths and the loop start made everything click. My first little snowflake actually looks tidy enough to hang up.”
If you want extra background and clear visuals, this resource is genuinely helpful: A beginner’s guide to cross stitch.
Creative Variations and Project Ideas
Once you have the basic X stitch down, cross stitch for beginners opens up a lot of easy, giftable projects. Start with small finishes so you can practice completing pieces, not just starting them.
- Holiday ornaments: Stitch a simple motif, back it with felt, and add a ribbon loop. This pairs nicely with family crafting, especially if you are also making paper projects from Christmas crafts for kids.
- Coasters and mug rugs: Stitch on plastic canvas or finish fabric pieces with backing fabric and a layer of felt. Keep designs bold and centered.
- Mini hoop art: A 3 inch hoop makes an instant frame. Add a name, short quote, or small botanical.
- Bookmarks: Use evenweave or Aida banding, then line the back with felt or ribbon to protect stitches.
- Seasonal decor: Create a small motif for each season and rotate them. If you enjoy cozy themes, browse winter crafts for adults for complementary decor ideas.
- Table accents: Small stitched place cards or napkin rings can be a thoughtful touch for gatherings, alongside other handmade ideas from Thanksgiving crafts for adults.
As you grow, try backstitch outlines for crisp detail, or add a few French knots for texture. Keep changes minimal at first so you can tell which technique caused which result.
Common Mistakes and How to Avoid Them
Most beginner issues are easy to fix once you know what caused them. Here are the common pitfalls in cross stitch for beginners and the simplest corrections.
- Stitches look uneven or bumpy: Usually inconsistent tension or splitting fabric threads. Switch to a blunt tapestry needle, slow down, and avoid yanking the floss tight.
- Fabric is puckering: Over-tight tension or a too-tight hoop. Loosen the hoop slightly and focus on laying the floss, not pulling it.
- Thread keeps knotting: Floss too long, too many strands, or twisting. Use shorter lengths, separate strands cleanly, and let the needle dangle occasionally to untwist.
- You lost your place on the chart: Mark completed stitches on the pattern and work in small sections. Some stitchers add a 10×10 grid to fabric with a washable marker, but test on a scrap first.
- Colors look wrong: Double-check the symbol key and floss numbers. Keep floss organized in labeled bobbins. In kits, ensure you do not mix up similar shades in poor lighting.
- The back is a mess of long lines: Carrying thread too far across the back can show through on light fabric and can snag later. End and restart instead of traveling more than about 1 inch, especially across empty areas.
If you make a counting error, do not panic. You can carefully unpick stitches by running the needle under the floss on the back and gently pulling out one stitch at a time. Avoid ripping quickly, which can fuzz the floss and distort the fabric holes.
Frequently Asked Questions About Cross Stitch for Beginners: A Simple Getting Started Guide
What is cross stitch?
Cross stitch is a type of embroidery made with X-shaped stitches on evenly woven fabric. You follow a pattern chart and count fabric squares to place each stitch. For cross stitch for beginners, this “counting” aspect is actually a benefit because you do not need to draw the design freehand. With practice, your stitches become more uniform and your finished piece looks clean and pixel-like.
What supplies do beginners need for cross stitch?
At minimum you need Aida fabric (14-count is ideal), embroidery floss, a size 24 tapestry needle, small scissors, and a pattern with a color key. A hoop is optional but helpful for consistent tension. Many people start with a kit because it includes the fabric, floss, needle, and chart. As you gain confidence, you can buy supplies individually for more choice and better organization.
How do you read a cross-stitch pattern?
A cross-stitch chart is a grid where each square equals one X stitch on your fabric. Symbols or colored blocks indicate floss colors, and a legend lists the matching floss numbers. Most charts are organized in 10x10 blocks to help counting. For cross stitch for beginners, start at the chart center and stitch outward, marking completed areas as you go to avoid shifting the design off-center.
How do you start and finish a cross stitch?
Beginners often start without knots to reduce bulk. A loop start is quick when using two strands: fold one strand in half, thread the ends through the needle, and catch the loop on the back with your first stitch. To finish, weave the thread tail under several stitches on the back and trim close. This keeps the work secure and flatter for framing or finishing.
How many strands of embroidery floss should you use?
On 14-count Aida, two strands are the most common choice because they cover the fabric well without becoming too thick. On 16-count you might still use two strands, while on 18-count some stitchers prefer one strand for finer detail. For cross stitch for beginners, follow the pattern instructions first. If the stitches look sparse, increase by one strand, but expect slightly more friction and tangling.
How do you keep the back of cross stitch neat?
A neat back comes from limiting thread travel and securing starts and stops cleanly. Try to finish a color in one area before jumping far across the fabric. When you must move, end the thread and restart rather than carrying long strands. Also avoid bulky knots, and weave ends under existing stitches. Neat backs help the front lie flat and reduce show-through on light fabrics.
Final Thoughts
Cross stitch rewards patience, not perfection. If you follow the fundamentals in this cross stitch for beginners guide, choosing 14-count Aida, using two strands, keeping stitch direction consistent, and securing your starts and ends cleanly, you will get a tidy result you can finish into a hoop, ornament, or small gift. Pick one small pattern, complete it from start to finish, and take notes on what felt tricky so your next project is smoother. For extra clarity and helpful visuals, revisit A beginner’s guide to cross stitch and then challenge yourself with a slightly larger design. Your next step: gather your supplies, thread your needle, and stitch the first row today.