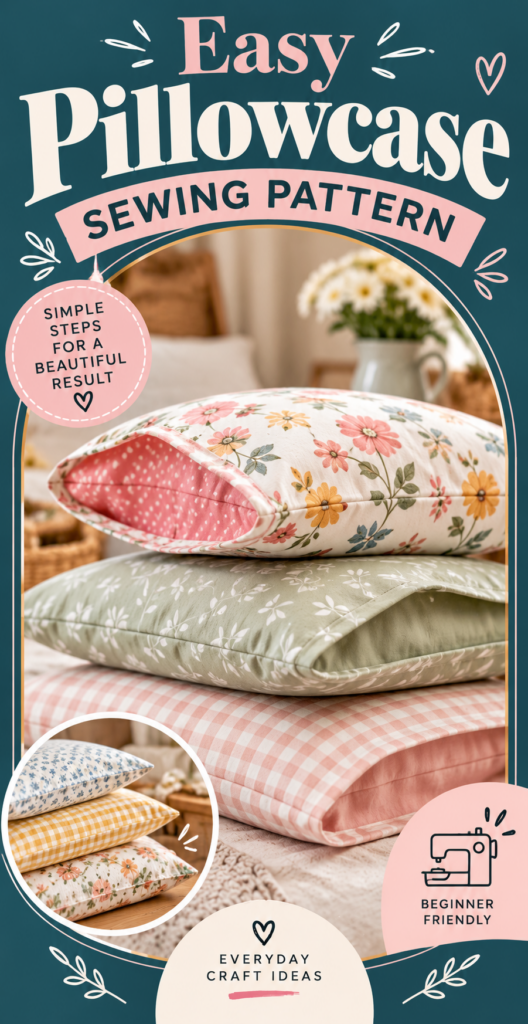
Easy Pillowcase Sewing Pattern
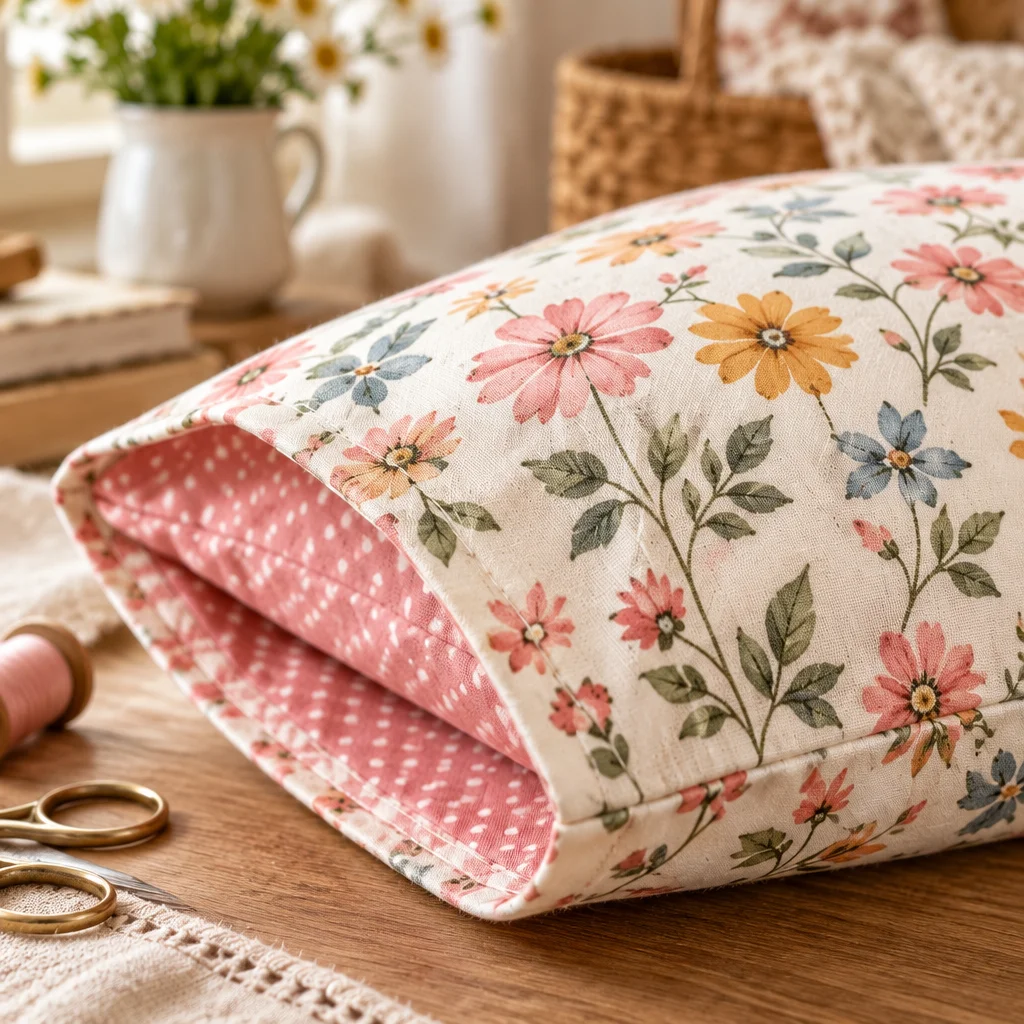
If you are looking for a reliable pillowcase sewing pattern that is truly beginner-friendly, you are in the right place. A pillowcase is one of the most satisfying first sewing projects because the pieces are mostly rectangles, the seams are straight, and you can finish it in an afternoon. In this guide, I will walk you through fabric choices, exact measurements, and a simple construction method that gives you a neat, durable finish. You will also learn how to avoid common mistakes like twisted seams, wavy hems, and scratchy seam allowances. Whether you are sewing for your own bed, making gifts, or refreshing a guest room, this easy project is a practical way to build confidence at the machine.
Materials and Fabric
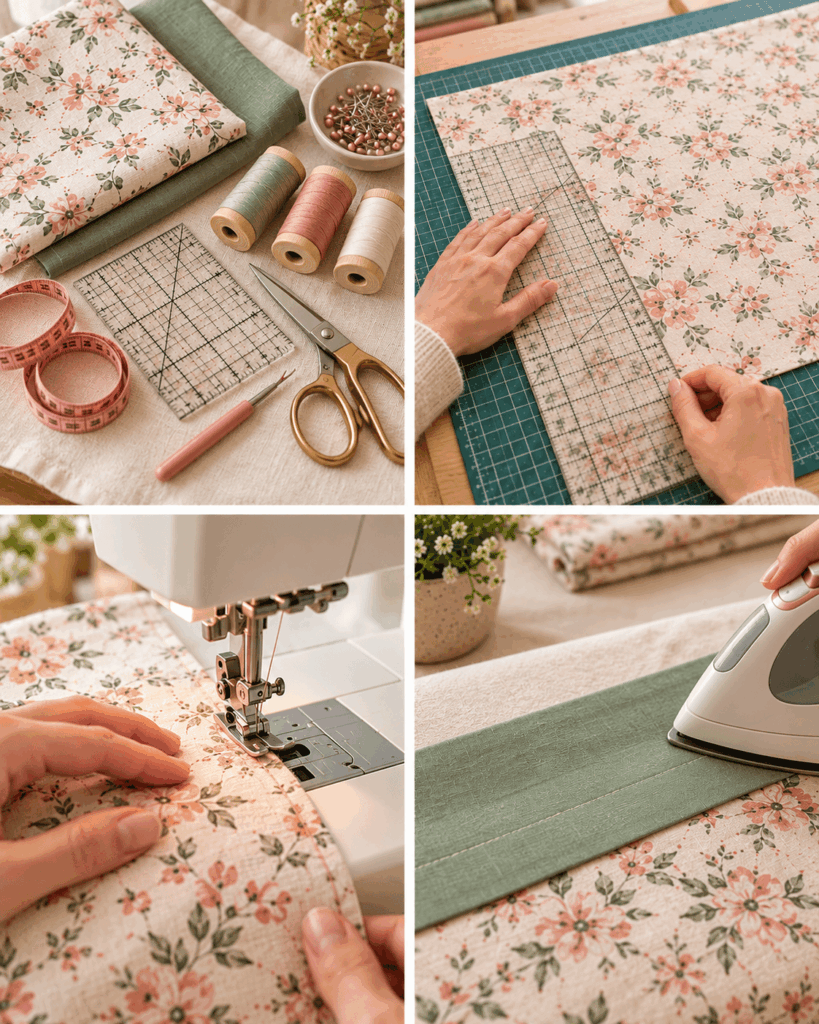
A successful pillowcase starts with the right supplies. This pillowcase sewing pattern uses basic tools you likely already have, but a few choices make the process smoother and the results more professional.
- Fabric: Choose a woven fabric (not stretchy knit) so the pillowcase keeps its shape and presses crisply. Prewash it first so it does not shrink after sewing.
- Thread: All-purpose polyester thread works for most cottons and cotton blends. Match the thread color to the main fabric for an invisible look.
- Needle: A universal 80/12 needle is a great default for quilting cotton. Use a 90/14 needle if you are sewing heavier fabric like flannel.
- Cutting tools: Fabric scissors or a rotary cutter with a mat and ruler for straighter edges.
- Measuring tools: A clear quilting ruler, tape measure, and a marking tool (tailor’s chalk or washable pen).
- Iron and ironing board: Pressing is not optional here. Crisp folds make your hem and seams look clean.
- Pins or clips: Clips are especially handy for thick hems or French seams.
Optional but helpful: a seam gauge for consistent hem folds and a walking foot if your fabric tends to shift.
Best Fabric for a Pillowcase
The best fabric depends on how you want the pillowcase to feel and how often you will wash it. For most people, a midweight 100 percent cotton is the easiest to sew and the most breathable. Quilting cotton is stable, presses well, and comes in endless prints, which is why it is often recommended for an easy pillowcase sewing pattern.
If comfort is your top priority, consider:
- Cotton percale: Smooth, crisp, and cool, great for warm sleepers.
- Cotton sateen: Softer with a slight sheen, drapes nicely, and feels silky without being slippery like satin.
- Flannel: Cozy and warm for winter, but bulkier at hems. Use a slightly longer stitch length (around 2.8 to 3.0 mm) to reduce puckering.
- Linen or linen blends: Breathable and durable with a relaxed look. Linen frays more, so choose a seam finish that encloses raw edges.
Avoid very loose weaves that snag easily, and be cautious with slippery fabrics (silk or satin) as a first project because they shift during cutting and sewing. Whatever you pick, prewash and dry it the same way you will launder the finished pillowcase.
Pillowcase Measurements
Understanding the measurements helps you customize your pillowcase sewing pattern for different pillows and preferred fits. A pillowcase is essentially a fabric tube with one closed end and one open end with a hem. The key measurements are the pillow’s width and length, plus extra for ease, seam allowances, and the hem turn.
General fit guidelines:
- Ease: Add 1 to 2 inches to the pillow width so the pillow slides in without stress on the seams.
- Length allowance: Add 3 to 5 inches to the pillow length so the pillowcase does not look tight at the closed end and so the open end hem has enough depth.
- Seam allowance: This tutorial assumes a 1/2 inch seam allowance for standard seams, or a French seam that encloses raw edges.
- Hem depth: A 3 to 4 inch finished hem looks polished and holds up well in the wash.
If you like a hotel-style fold-over cuff, you will cut a separate cuff piece or add extra length. If you prefer a snug fit, reduce ease slightly, but do not go too tight or the side seams will strain and split over time. Always measure your actual pillow insert because sizes can vary by brand and fill level.
How Much Fabric Do You Need for a Pillowcase?
For a standard pillowcase, you can typically make one case from about 1.25 to 1.5 yards of 44 to 45 inch wide fabric, depending on your hem or cuff style. The simplest one-piece pillowcase sewing pattern uses a single rectangle, which makes fabric planning straightforward.
Here is a practical way to estimate fabric:
- One-piece pillowcase: Plan for pillow length + hem allowance + seam allowances. Many sewists cut about 41 to 42 inches in length for a standard case, which fits well on common fabric widths.
- With a contrasting cuff: You may need 3/4 yard for the main body plus 1/4 to 1/3 yard for the cuff (and a small strip for trim if you add piping or accent).
- Directional prints: Add a little extra so the print runs the right way, and consider centering large motifs.
If you are buying fabric, round up. An extra 1/8 yard gives you breathing room for squaring the cut ends and correcting small mistakes. Also consider shrinkage: flannel and some cottons can shrink noticeably, which is another reason to prewash before cutting.
Easy Pillowcase Sewing Pattern
This is a simple, reliable pillowcase sewing pattern that uses one main piece of fabric and a durable hem. You can sew it with a standard seam plus zigzag or with a French seam to fully enclose raw edges. The steps below describe a clean method that works well for beginners.
Cut the Fabric
- Prewash, dry, and press your fabric. Pressing first removes wrinkles that can throw off your measurements and cause uneven cutting.
- Square one end. Use a ruler to make a clean 90 degree cut. A squared edge helps your side seams align without twisting.
- Cut to size. For a standard case, cut one rectangle about 42 inches long by 41 inches wide (width goes around the pillow). This includes hem allowance and seams for a typical fit.
- Mark the hem fold lines. On one short end, lightly mark 1/2 inch and 4 inches from the edge to guide a double-fold hem.
Sew the Main Seams
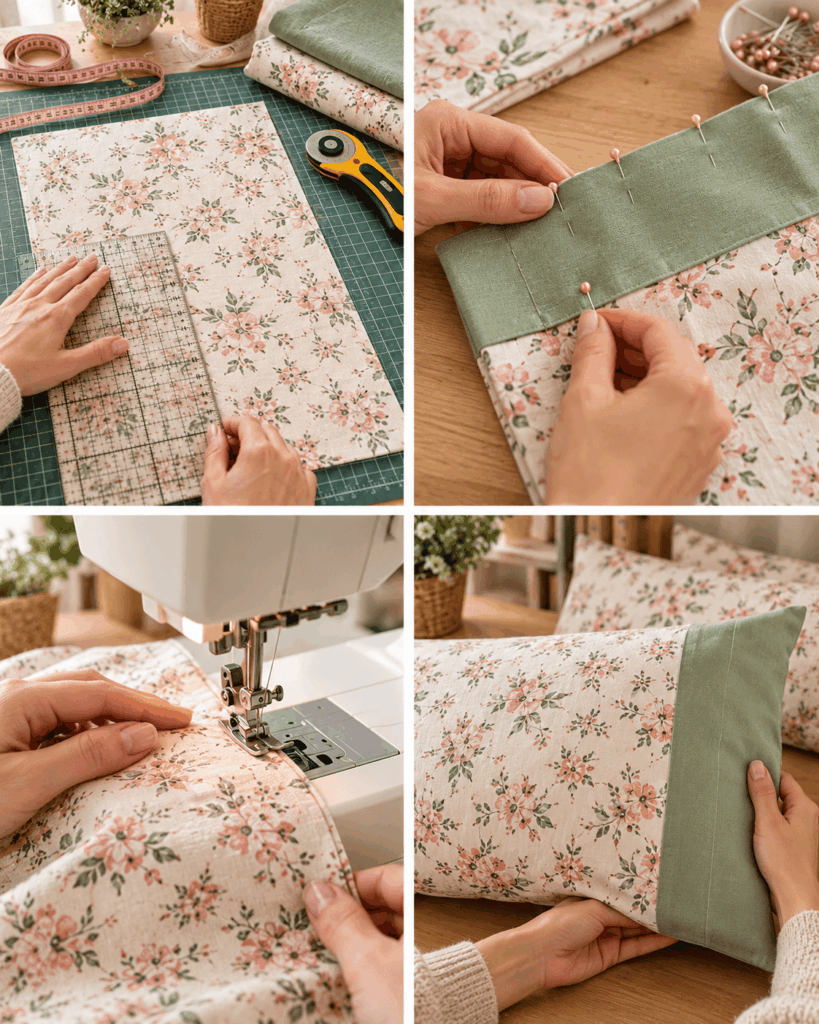
- Fold right sides together. Align the long edges, matching corners. Pin or clip.
- Sew the long side seam. Stitch with a 1/2 inch seam allowance. Backstitch at the beginning and end for strength.
- Sew the bottom seam. Stitch across the bottom (the other short end), also at 1/2 inch seam allowance.
- Finish seam allowances. Zigzag the raw edges or use pinking shears. If you want a higher-end finish, use French seams (see the seam section below).
Make the Opening Hem
- Press 1/2 inch to the wrong side. This first fold hides the raw edge and creates a clean interior finish.
- Press again at 4 inches. Fold the hem to the inside along your second mark. This creates a sturdy, wide hem that stays flat through washing.
- Pin and stitch. Sew close to the inner folded edge (about 1/8 inch). For extra durability, add a second line of stitching near the top edge of the hem.
Turn and Press
- Turn right side out. Push out corners gently with a blunt tool (a chopstick works). Avoid sharp objects that can poke through stitches.
- Press all seams. Press the side seam and bottom seam so they lie flat. A good press makes the pillowcase look professionally made.
- Final check. Insert the pillow and confirm the hem sits smoothly and the seams do not twist.
What Size Is a Standard Pillowcase?
A common “standard” pillow insert is about 20 x 26 inches (width x length). Many standard pillowcases are cut and sewn to finish around 20 to 21 inches wide and 30 to 32 inches long, depending on hem depth and preferred looseness. The extra length is intentional: it gives room for the pillow to slide in and leaves fabric beyond the pillow end so it looks tidy on the bed.
It helps to know related sizes too. A queen pillow insert is often about 20 x 30 inches, and a king is about 20 x 36 inches. If you use this pillowcase sewing pattern as a base, you can keep the width similar (with a bit of ease) and adjust the cut length to match the pillow length plus hem allowance.
One practical tip: some pillows are overstuffed or have a higher loft. If your pillow feels very full, add an extra inch to the case width and do not skimp on seam allowance. You want the pillowcase to slide on easily without stressing stitches, especially along the bottom corners.
What Seam Is Best for a Pillowcase?
The best seam depends on your fabric and how you want the inside to look after washing. For everyday use, a pillowcase is laundered often, so seam strength and fray control matter. In a pillowcase sewing pattern, the two most common choices are a standard seam with a seam finish or a French seam.
- Standard seam + zigzag/overcast: Sew with a 1/2 inch seam allowance, then zigzag the raw edges or use an overcast stitch. This is quick and works well for quilting cotton. Press the seam to one side for a flatter feel.
- French seam: Sew wrong sides together at 1/4 inch, trim if needed, press, then sew right sides together at 3/8 inch to enclose the raw edge. This creates a clean interior and is excellent for fabrics that fray like linen.
If you have a serger, a serged seam is also durable, but it can feel slightly bulkier along the seam line. For beginners without specialty equipment, a French seam is the most “fancy” finish you can do with a regular machine, and it upgrades the final pillowcase noticeably.
Can a Beginner Sew a Pillowcase?
Yes, a beginner can absolutely sew a pillowcase, and it is one of the best confidence-building projects because it teaches core skills used in many other patterns. This pillowcase sewing pattern helps you practice accurate measuring, cutting rectangles on grain, sewing straight seams, pressing, and making a neat hem.
To make it even easier, set yourself up for success:
- Choose stable fabric. Quilting cotton is forgiving and does not slide around much.
- Use seam guides. Apply painter’s tape on your machine bed at the 1/2 inch mark if you have trouble following the seam guide.
- Press at each step. Pressing is what turns “homemade” into “handmade.”
- Go slowly at corners. Stop with the needle down, pivot, and keep your seam allowance consistent.
Reader testimonial: “I used this pillowcase sewing pattern as my first real project after learning to thread my machine. The wide hem made it feel polished, and the tips about pressing kept my seams from twisting. I finished in about two hours, including cutting.”
How Do You Make a Pillowcase Without Raw Edges?
If you want a pillowcase that looks as clean inside as it does outside, focus on enclosed or finished seams. Raw edges can fray over time, especially with frequent washing and drying. The easiest upgrade to any pillowcase sewing pattern is to use French seams for the side and bottom.
Here is the simple approach:
- French seam method: Start with wrong sides together and sew a narrow seam (about 1/4 inch). Trim stray threads, press the seam flat, then fold right sides together and sew again (about 3/8 inch). The raw edge is now trapped inside the seam.
- Hem finish: Use a double-fold hem at the opening so the raw edge is tucked in. A 1/2 inch first fold plus a 3 to 4 inch second fold creates a sturdy, washable finish.
For very fray-prone fabrics, you can also combine methods: use a zigzag stitch to tidy edges before making the French seam, or use a straight stitch with a slightly shorter length (2.2 to 2.5 mm) for stronger seams. Avoid leaving long thread tails inside the seam, as they can peek out after laundering.
Easy Pillowcase Variations
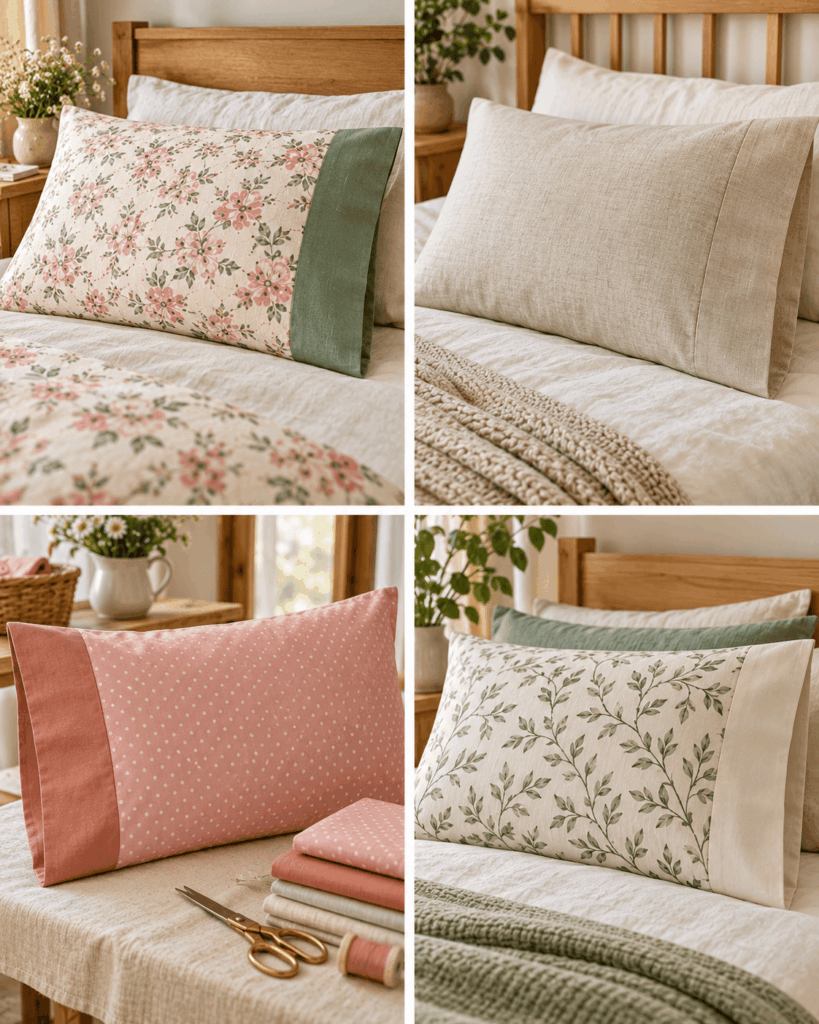
Once you have the basic pillowcase sewing pattern down, it is easy to personalize. Variations are also a smart way to use up fabric from your stash while making something useful.
- Contrasting cuff: Add a separate cuff piece (typically 9 inches tall before folding) in a coordinating solid or stripe. It gives a boutique look and is great for gifts.
- Accent trim or piping: Insert a thin strip of accent fabric or piping between the cuff and body. Keep trims washable and avoid anything scratchy.
- Envelope closure: Add an inner flap at the opening so the pillow stays tucked in. This is especially nice for decorative pillows that shift on the couch.
- Monogram or applique: Stitch a simple initial near the cuff edge. Apply decoration before assembling the tube so you can sew on a flat piece.
- Hot-climate option: Use percale and a slightly shorter hem for a lighter feel.
- Winter set: Make matching flannel pillowcases and consider a slightly deeper hem to help the opening keep its shape.
Whenever you add design elements, keep seam allowances consistent and press often. Decorative trims should be securely stitched so they do not unravel or twist in the wash.
Frequently Asked Questions About Easy Pillowcase Sewing Pattern
Why is my pillowcase opening wavy after sewing the hem?
Wavy hems usually come from stretching the fabric while sewing or pressing too aggressively on a bias edge. Make sure you are hemming along the straight grain, use plenty of pins or clips, and let the feed dogs move the fabric without pulling. Press the hem in place first, then stitch with an even pace. If needed, lengthen your stitch slightly and reduce presser foot pressure if your machine allows.
How do I keep the side seam from twisting when I turn the pillowcase?
A twisting seam is often a cutting issue: the rectangle was slightly off-square or not cut on grain. Square your fabric before cutting and align the selvages when pressing. When sewing, match corners carefully and pin at intervals so layers do not shift. Press the seam allowances consistently to one side before turning. Taking a minute to true up the cut edges solves most twisting problems.
Should I wash the pillowcase fabric before sewing?
Yes, prewashing is strongly recommended for most cottons, flannel, and linen. Fabric can shrink and excess dye can bleed, and it is better for that to happen before you cut your pillowcase sewing pattern pieces. Wash and dry the fabric the same way you plan to launder the finished pillowcase. Then press it well so your measurements stay accurate and your hem folds are crisp.
What stitch length should I use for a pillowcase?
A good default stitch length is 2.5 mm for woven cotton. For thicker fabrics like flannel, try 2.8 to 3.0 mm to reduce puckering. If you are doing French seams, keep stitches consistent so the enclosed seam is strong. Always backstitch at the start and end of seams that take stress, like the bottom seam and the hem stitching line.
How can I make sure the pillowcase fits my pillow perfectly?
Measure your actual pillow insert, not just the label. Add 1 to 2 inches to the width for ease and add enough length for the hem plus a little extra so the pillow does not sit right at the opening. If your pillow is very lofty, add more width. Making a quick paper sketch with your target finished size and seam allowances helps you cut confidently.
Is it safe to use decorative buttons or ties on a pillowcase?
For adult bedding, ties or buttons can be fine if they are securely attached, but avoid them for young children due to choking hazards and discomfort during sleep. Even for adults, keep any decoration away from where your face rests. If you want style without risk, choose a contrasting cuff, trim, or embroidery, all of which stay flat and wash well.
Conclusion
A simple pillowcase sewing pattern is a classic project that teaches skills you will use again and again: accurate cutting, straight seams, pressing, and clean finishing. Start with a stable cotton, take time to square and press your fabric, and choose a seam finish that matches your goals, quick zigzag for speed or French seams for a beautiful interior. Once you make one pillowcase, you will likely want to sew a matching set, try a contrasting cuff, or customize sizes for every pillow in the house. Your next step: pick a fabric you love, prewash it today, and set aside a focused afternoon to sew your first case from start to finish.