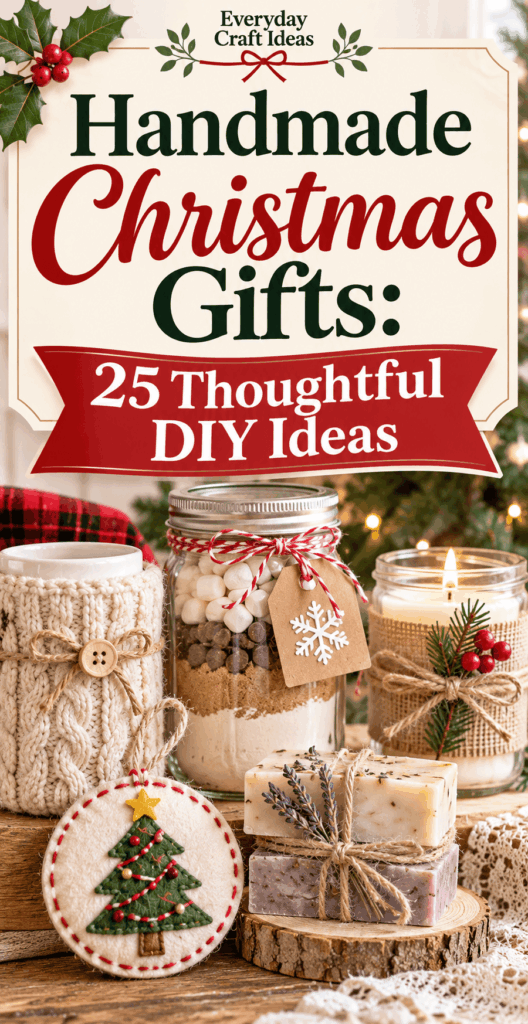
Handmade Christmas Gifts: 25 Thoughtful DIY Ideas
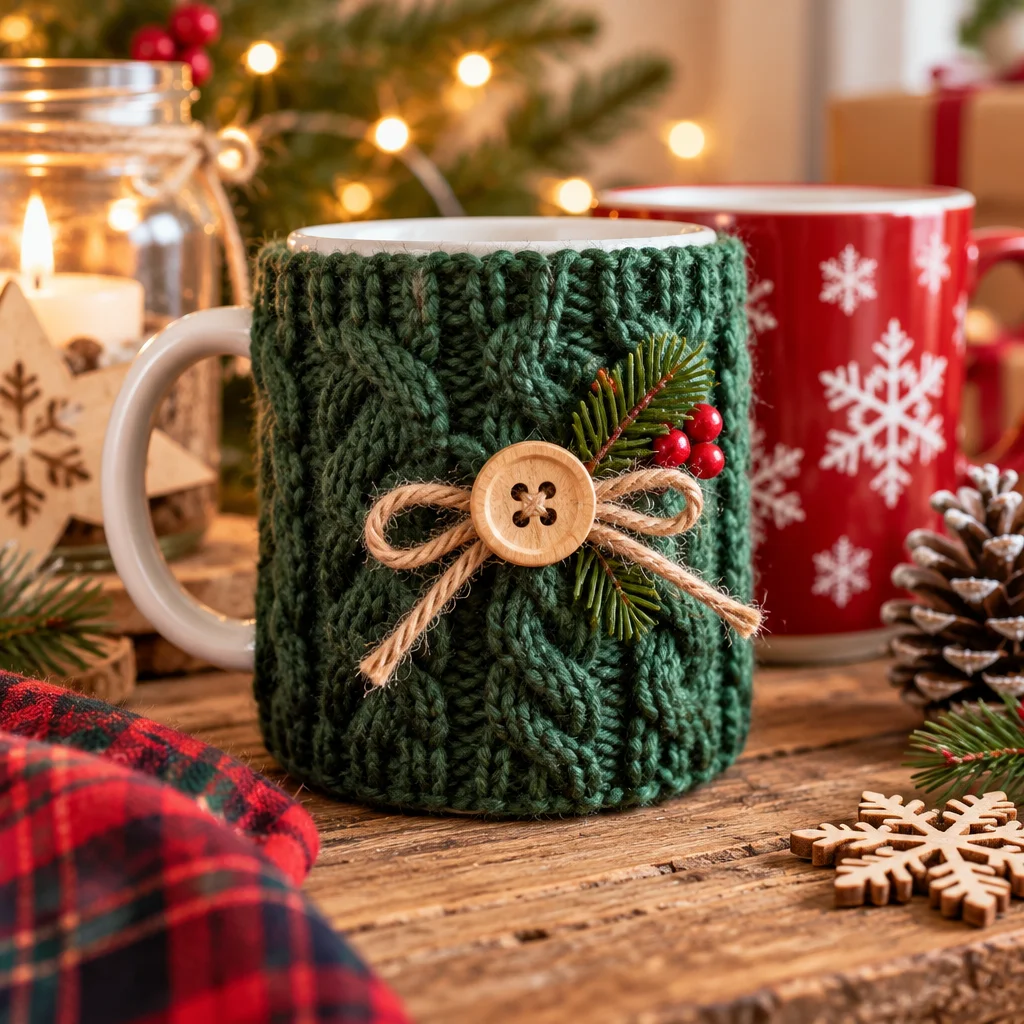
Handmade christmas gifts feel personal in a way store bought presents rarely do, and they do not have to be complicated to be meaningful. If you are searching for DIY ideas that you can actually finish, wrap, and feel proud of giving, you are in the right place. This guide walks you through 25 thoughtful projects, plus the core techniques that make them look polished even if you are a beginner. You will find quick wins for teachers and neighbors, longer keepsake projects for close family, and practical gifts that get used all year.
If you want even more inspiration for crowd pleasing projects, browse these DIY Christmas gifts people actually want. And if making a journal is on your list, this bookbinding for beginners notebook tutorial pairs perfectly with the ideas below.
Throughout the article, I will share materials, time estimates, finishing tips, and beginner troubleshooting so your handmade christmas gifts come out sturdy, safe, and gift ready.
Materials and tools needed
You do not need a craft room to make beautiful handmade christmas gifts. A small “holiday kit” keeps you efficient, prevents last minute store runs, and helps projects coordinate. Choose quality basics first, then add specialty supplies for one or two feature projects.
- Cutting tools: Sharp fabric scissors (fabric only), paper scissors, and a craft knife with a fresh blade for clean edges on tags and boxes.
- Measuring and marking: A clear ruler, tailor’s chalk or washable fabric marker, pencil, and a small set square help you cut straight and keep seams consistent.
- Adhesives: PVA craft glue for paper, wood glue for wood, hot glue for quick assembly, and double sided tape for crisp gift wrap and cardstock.
- Needlework basics: Hand sewing needles, all purpose thread, embroidery floss, pins or clips, and a seam ripper (your best friend when learning).
- Paint and finish: Acrylic paint, a small brush set, painter’s tape, and water based varnish or clear coat for items that will be handled often.
- Safety and cleanup: Heat resistant mat for hot glue, nitrile gloves for staining, a dust mask for sanding, and wax paper to protect surfaces.
Material choices matter: cotton and canvas sew easily, wool felt does not fray, and cardstock above 200 gsm makes tags and boxes that feel premium.
Skill level and estimated time
Most handmade christmas gifts fall into three effort categories: fast batchable items, medium projects with a few steps, and keepsake builds that benefit from drying time or careful assembly. Planning with time in mind is the difference between joyful crafting and a stressful midnight glue session.
- Beginner, 20 to 60 minutes each: stamped gift tags, no sew felt ornaments, bath salt jars, mug cozies, or photo magnets. These use simple cutting, gluing, or straight stitching.
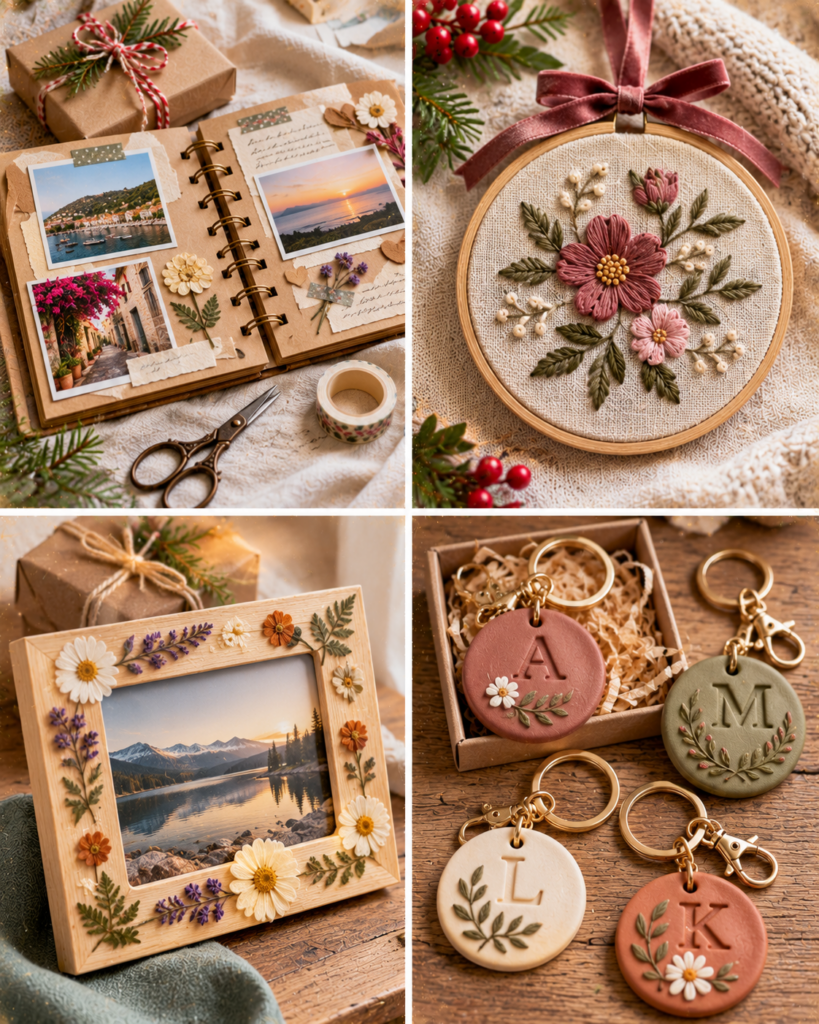
- Confident beginner, 1 to 3 hours: candles in jars, tote bags with heat transfer vinyl, embroidered hoops, macramé keychains, or a simple bound notebook. These require measuring and a bit more precision.
- Intermediate, 3 to 6 hours plus drying: wooden serving board with a food safe finish, painted plant pot set, framed pressed botanicals, or a small knit/crochet project. Drying and curing time is real, so start early.
Batching is your superpower. Make five to ten of a small project in one sitting. Cut all pieces first, then assemble, then finish. Your results look more consistent, and your supplies stretch further. If you are crafting with kids, stick to projects without sharp blades and choose low temperature glue when possible.
Preparation and safety tips
A little preparation keeps handmade christmas gifts looking professional and prevents common accidents. Start by reading the full steps of a project before you cut anything. Many mistakes happen when people glue first and measure later.
- Ventilation: If you use spray sealer, varnish, or strong adhesives, open windows and work on protected surfaces. Let items cure fully before wrapping so they do not stick to tissue paper.
- Heat safety: Hot glue can burn. Use a silicone finger cap or push pieces together with a craft stick. Set the gun on a stand over a heat resistant mat.
- Blade safety: Cut away from your body, change dull blades, and use a self healing mat. Dull blades slip more easily than sharp ones.
- Food contact caution: For cutting boards or spoons, use a food safe mineral oil or beeswax finish. Avoid craft varnish on anything that touches food.
- Allergies and scents: Essential oils and fragrance oils can irritate skin. Label bath and candle gifts with ingredients and keep scents light for workplaces.
Do a quick “test run” on scrap material, especially for stamping, painting, or heat transfer vinyl. Five minutes of testing saves you from remaking the whole gift.
Project ideas and variations
Here are 25 handmade christmas gifts you can tailor to different ages, styles, and budgets. Many can be made assembly line style for coworkers or extended family. For more paper based inspiration, see these Christmas paper crafts. If you are making with younger helpers, you will also love these Christmas crafts for kids.
Beginner friendly option
- 1. No sew felt ornaments: Cut two shapes, blanket stitch or glue edges, add ribbon hanger.
- 2. Photo magnets: Print small photos, mount on chipboard, seal with Mod Podge, glue magnet strip.
- 3. Stamped gift tags: Use alphabet stamps, metallic ink, and eyelets for a boutique look.
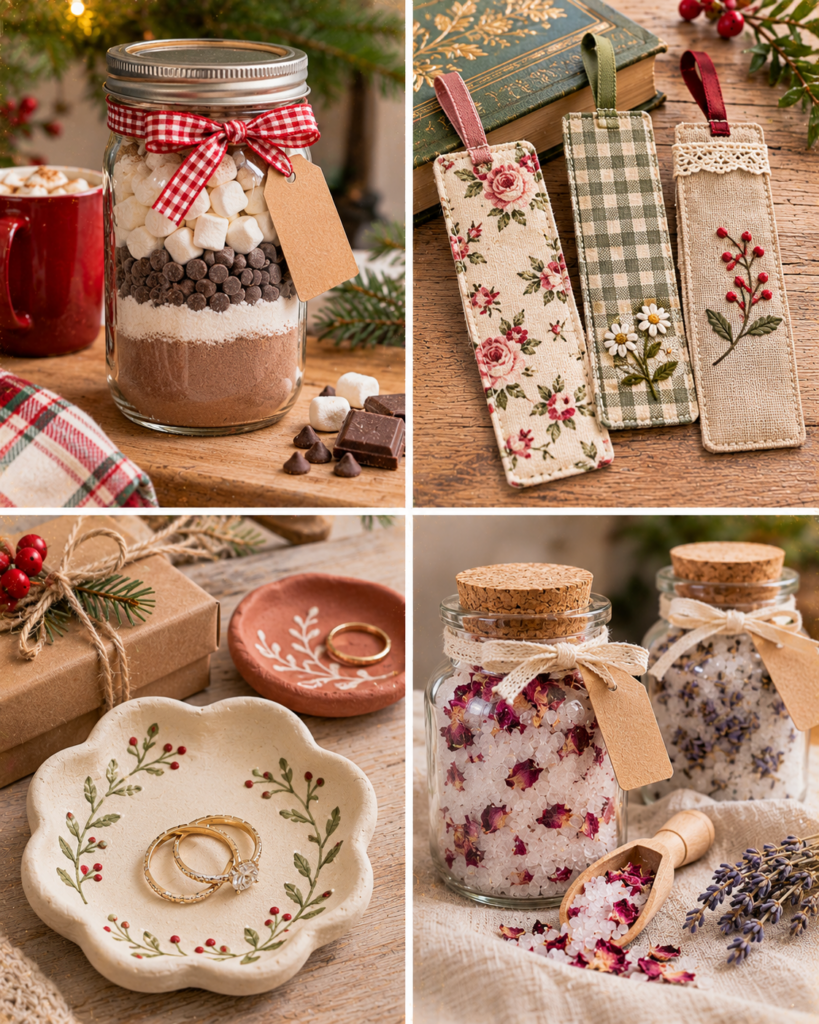
- 4. Bath salt jars: Layer Epsom salt with a little colorant, label with ingredients.
- 5. Cocoa or tea sachet set: Fill paper sachets, staple, and add brewing instructions.
- 6. Fabric wrapped soap: Wrap a bar in cotton, tie with twine, add a stamped label.
- 7. Simple beaded keychain: Use a split ring, cord, and a few large beads.
- 8. Customized mug coaster: Paint cork rounds with simple patterns and seal.
Budget friendly option
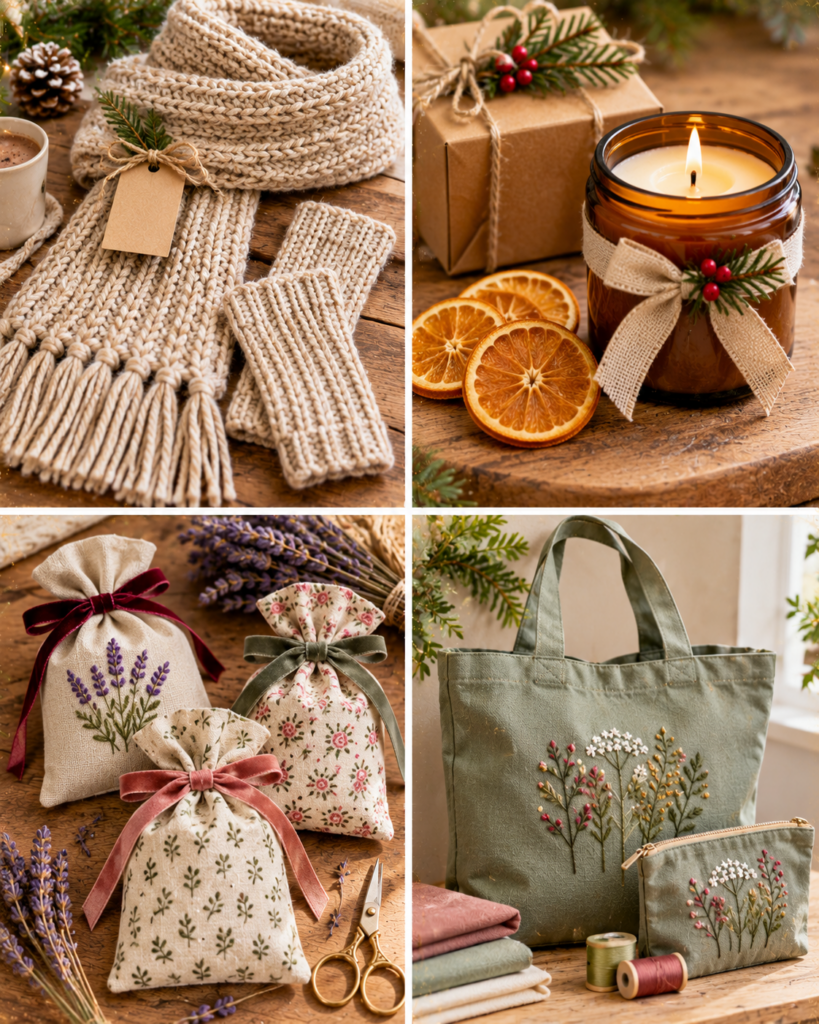
- 9. Upcycled sweater mittens: Cut from old knits, hand stitch, add fleece lining if available.
- 10. Book page wreath: Roll cones from old pages, glue onto a cardboard ring.
- 11. Decorated cloth napkins: Stencil with fabric paint, heat set with an iron.
- 12. Pantry label set: Print labels, stick to jars, include a chalk marker.
- 13. Painted terracotta pot: Add a geometric band, seal, pair with a small plant or seeds.
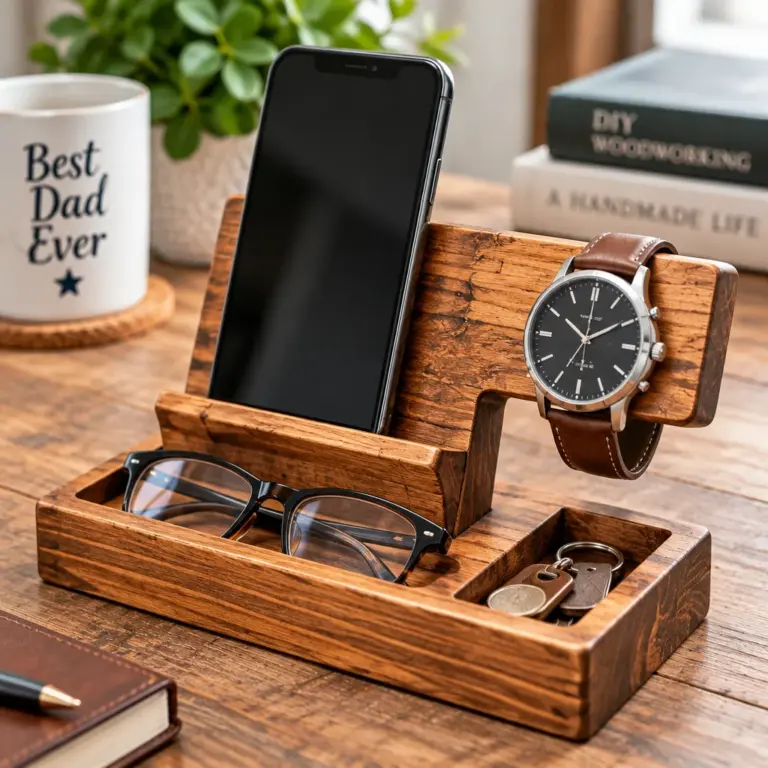
- 14. DIY desk organizer: Wrap recycled boxes in paper, reinforce corners with glue.
- 15. Cinnamon stick bundle decor: Tie sticks with ribbon, add a tag for ornament use.
- 16. Reusable produce bags: Sew simple drawstring bags from muslin or old curtains.
- 17. Scrappy patchwork trivet: Quilt small squares, bind edges, add hanging loop.
Creative and personalized option
- 18. Hand poured soy candle: Customize scent lightly, label with burn instructions.
- 19. Embroidery hoop art: Stitch initials or a tiny landscape, finish back neatly.
- 20. Bound mini notebook: Great for lists and journaling, add a name on the cover.
- 21. Memory ornament: Use a clear bauble filled with tiny notes or photo strips.
- 22. Custom recipe card box: Decorate a box, include handwritten family favorites.
- 23. Wood burned spoon set: Add simple icons or monograms, seal with food safe oil.
- 24. Personalized tote bag: Use heat transfer vinyl or freezer paper stencil painting.
- 25. Pressed flower frame: Press blooms, arrange behind glass, seal edges to reduce moisture.
Tip: Pick one “hero” gift for close family and two quick batch gifts for everyone else. That mix keeps your crafting time realistic.
Practical instructions and techniques
Instead of giving full tutorials for 25 projects, here are the core techniques that make the most popular handmade christmas gifts turn out clean, durable, and easy to wrap. Use these as building blocks across several ideas.
- Measure twice, cut once: For fabric and paper, square edges first. A slightly crooked first cut multiplies into misaligned seams and lopsided tags.
- Batch cutting: Stack two to four layers of felt or paper and cut together for identical shapes. Use pattern weights or cans to keep templates from shifting.
- Clean adhesive work: Apply glue thinly and evenly. For PVA, spread with a scrap card to avoid wrinkles. For hot glue, use small dots so it does not ooze from seams.
- Straight stitching made easy: If you sew, choose a medium stitch length (around 2.5 mm) and backstitch at starts and ends. Press seams with an iron for a professional look.
- Heat setting and curing: Fabric paint usually needs heat setting. Most finishes need curing time even after they feel dry. Wrap too early and you can imprint tissue texture into the surface.
- Labeling for usability: For candles, include a burn time note, “trim wick to 5 mm,” and “never leave unattended.” For bath items, list ingredients and a simple use direction.
- Finishing edges: Sand wood to at least 220 grit, round sharp corners slightly, and wipe dust before oiling or sealing. For paper, consider an eyelet to reinforce tag holes.
If a step feels fussy, make a quick sample. A 10 minute prototype saves hours of rework across a batch of handmade christmas gifts.
Common mistakes and troubleshooting
Even experienced crafters run into hiccups during holiday crunch time. Here are the most common issues I see with handmade christmas gifts, plus fixes that do not require starting over.
- Wrinkled paper on boxes or journals: Too much wet glue causes buckling. Use a thin layer of glue stick or double sided tape for large flat areas. Burnish gently with a clean cloth from center outward.
- Felt ornaments that look puffy or uneven: Overstuffing distorts shapes. Add filling in tiny pinches and push into corners with a chopstick, then stop when the ornament is just lightly firm.
- Candles tunneling: A wick that is too small or a first burn that is too short can cause a tunnel. Use the right wick size for the jar diameter and tell the recipient to burn until the melt pool reaches the edges on the first use.
- Paint peeling off mugs or pots: Many paints are not dishwasher safe. For planters, seal with an outdoor rated clear coat if they will get wet. For mugs, keep decoration on the outside only and hand wash.
- Heat transfer vinyl not sticking: Usually the iron is not hot enough or pressure is too light. Preheat fabric, press firmly for the full time, and let it cool before peeling (unless your vinyl is warm peel).
- Stitching looks wobbly: Mark a seam guide with painter’s tape on your machine bed, or draw a line on fabric with washable marker for hand sewing.
Reader testimonial: “I used your batching tip and made eight felt ornaments in one evening. The first two were messy, but once I switched to smaller dots of hot glue and stopped overstuffing, the rest looked store quality. My neighbors asked where I bought them.”
Finishing and styling tips
The finishing stage is where handmade christmas gifts move from “craft project” to “I cannot believe you made this.” Give yourself time for the final 20 percent: trimming threads, sealing surfaces, and packaging with intention.
- Consistent color palette: Choose two to three colors for tags, ribbon, and labels. Even simple gifts look cohesive when the presentation matches.
- Add a maker’s mark: A tiny stamp on the back of a tag, a small woven label on fabric, or initials on the underside of a wooden piece makes it feel special without being loud.
- Elevate with texture: Pair kraft paper with velvet ribbon, add a sprig of rosemary (keep it separate from candles), or use twine plus a wax seal sticker for a classic look.
- Make instructions beautiful: Print a small care card for candles, textiles, or food contact items. A clear card prevents accidental damage and shows thoughtfulness.
- Photograph before gifting: Quick natural light photos build your DIY confidence and help you repeat successful designs next year.
For ornaments and tags, a light mist of clear acrylic sealer can reduce smudging. Always test first and spray outdoors. For fabric gifts, press everything and clip loose threads. For wood, buff oil finishes after absorption so nothing feels greasy.
Storage and care
Proper storage protects your time and keeps handmade christmas gifts looking fresh until gifting day. Many projects are durable, but humidity, dust, and friction can ruin finishes if items are piled together.
- Paper goods: Store tags, cards, and notebooks flat in a lidded box with a sheet of clean paper between layers. Avoid damp basements, which can warp cardstock.
- Fabric items: Keep in breathable cotton bags or pillowcases. Plastic bins can trap moisture and cause odors, especially if items were ironed with steam and not fully dry.
- Candles and bath gifts: Keep away from heat sources and direct sun. Fragrance can fade if stored unwrapped for weeks, so cap jars and add labels last.
- Painted and sealed items: Allow full cure time before stacking. If you must stack, separate pieces with wax paper so finishes do not stick.
- Ornaments: Wrap delicate pieces individually in tissue, then place in compartment boxes. This prevents paint chips and tangled hangers.
Include care notes: “hand wash only,” “wipe with damp cloth,” or “re oil wood every few months.” Clear expectations help your handmade christmas gifts last.
Common Questions
How many DIY gifts should I plan to make?
Count recipients, then choose two to three project types that you can batch. For example, one ornament design for neighbors, one candle or tote bag for close friends, and tags for everyone. This keeps your supply list short and your results consistent. If you are short on time, reduce quantity by making family “set gifts,” like a set of four coasters or matching napkins.
What is the best way to personalize without making it cheesy?
Use subtle personalization: initials, a single meaningful date, or a favorite color palette. Keep fonts simple and avoid giant names across the front unless you know the recipient loves that style. For notebooks, personalize the inside cover. For totes, place a small monogram near a corner. For ornaments, write names and the year on the back so the front stays timeless.
How can I make my gifts look more professional?
Professional results come from clean edges and consistent finishing. Press fabric seams, trim threads, and use a lint roller on textiles. For paper, use sharp blades and a ruler for straight cuts. Seal painted surfaces where appropriate and let everything cure fully before wrapping. Finally, standardize packaging: same tag style, same ribbon, and a simple care card for items that need it.
What should I do if I mess up a piece near the end?
Pause and decide whether it is a functional issue or only cosmetic. Cosmetic issues are often fixable: cover a stain with a label, add a small applique, repaint a section, or trim and reseal an edge. If it affects safety or durability, remake that part. Keeping a small amount of extra material for each project, like one extra ornament cutout or a spare jar, makes recovery much easier.
Are handmade candles and bath gifts safe for everyone?
They can be, but you should craft responsibly. Use skin safe ingredients for bath items and label them clearly. Avoid strong essential oil concentrations and skip allergens if you are unsure. For candles, use proper wick sizes, heat safe jars, and include safety instructions like trimming the wick and never leaving a candle unattended. When in doubt, choose non scented options for workplaces or sensitive recipients.
How early should I start making handmade gifts?
Start two to four weeks ahead if you are making more than a few items. This gives you time for test pieces, ordering supplies, and curing finishes. It also spreads the fun out so you do not rush. Plan your calendar around drying and curing: paint and varnish may need overnight time, and some projects look better after a day of settling, such as stuffed ornaments or freshly stitched pieces.
Frequently Asked Questions About Handmade Christmas Gifts: 25 Thoughtful DIY Ideas
What are easy handmade Christmas gifts?
Easy handmade christmas gifts are projects with few steps and forgiving materials. Think no sew felt ornaments, bath salt jars, stamped gift tags, or photo magnets. Choose materials that do not require curing or specialized tools. Felt does not fray, cardstock cuts cleanly, and pre made jars reduce mess. If you are new, make one sample first, then batch the rest so each gift looks consistent.
What can I make for Christmas on a budget?
Budget friendly handmade christmas gifts often come from using what you already have. Upcycle sweaters into mittens, turn recycled boxes into desk organizers, or stencil plain cloth napkins. Buy shared supplies like paint and glue once, then make multiple items. Keep costs down by choosing one accent, such as a ribbon color, and using it across all gifts. Presentation can be simple but coordinated for a high end feel.
What handmade gifts can I make at the last minute?
Last minute handmade christmas gifts should be low drying and low risk. Good options include a tag set, beaded keychains, a cocoa sachet bundle, or a cork coaster set sealed with fast drying finish. Avoid projects that require long cure times such as thick varnish, some fabric paints, or poured resin. If you must paint, choose quick drying acrylic and let it air out before wrapping to prevent sticking.
What DIY gifts do adults actually use?
Adults tend to use handmade christmas gifts that solve small daily problems or feel like an upgrade. Think tote bags, reusable produce bags, a well made trivet, quality coasters, a notebook, or a candle with clear burn instructions. Personalization helps, but keep it subtle: initials, a favorite color, or a simple pattern. Focus on durability with reinforced seams, sealed surfaces, and tidy edges.
How do you package homemade Christmas gifts?
Package handmade christmas gifts in a way that protects them and communicates care. Tissue paper prevents scratches, cardboard inserts keep flat items rigid, and cellophane bags work for sets. Add a small label or care card so the recipient knows how to use or clean the item. For candles and bath gifts, seal lids tightly and keep scent items separate from paper to avoid fragrance transfer. Simple kraft paper plus a neat bow looks intentional.
Final thoughts
Handmade christmas gifts are not about perfection. They are about choosing a project that fits your time, skills, and the way your recipient lives. Pick one or two core techniques, batch what you can, and leave room for drying and finishing so your gifts hold up beautifully. If you are not sure where to start, choose a beginner set like felt ornaments or tags, then add one personalized keepsake like a notebook or embroidered hoop for someone special. Your next step is simple: select three projects from the list, gather supplies this week, and make one test version before you go into full holiday production.