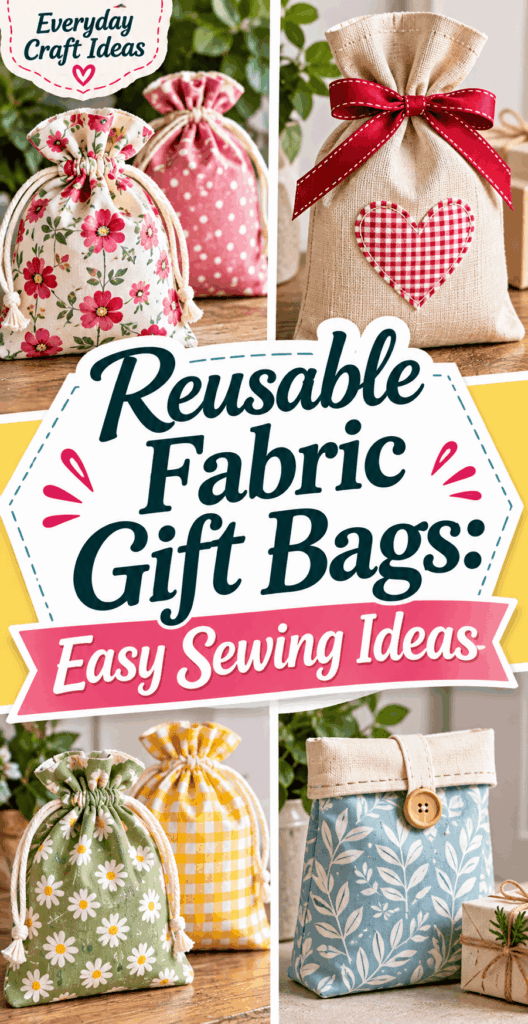
Reusable Fabric Gift Bags: Easy Sewing Ideas
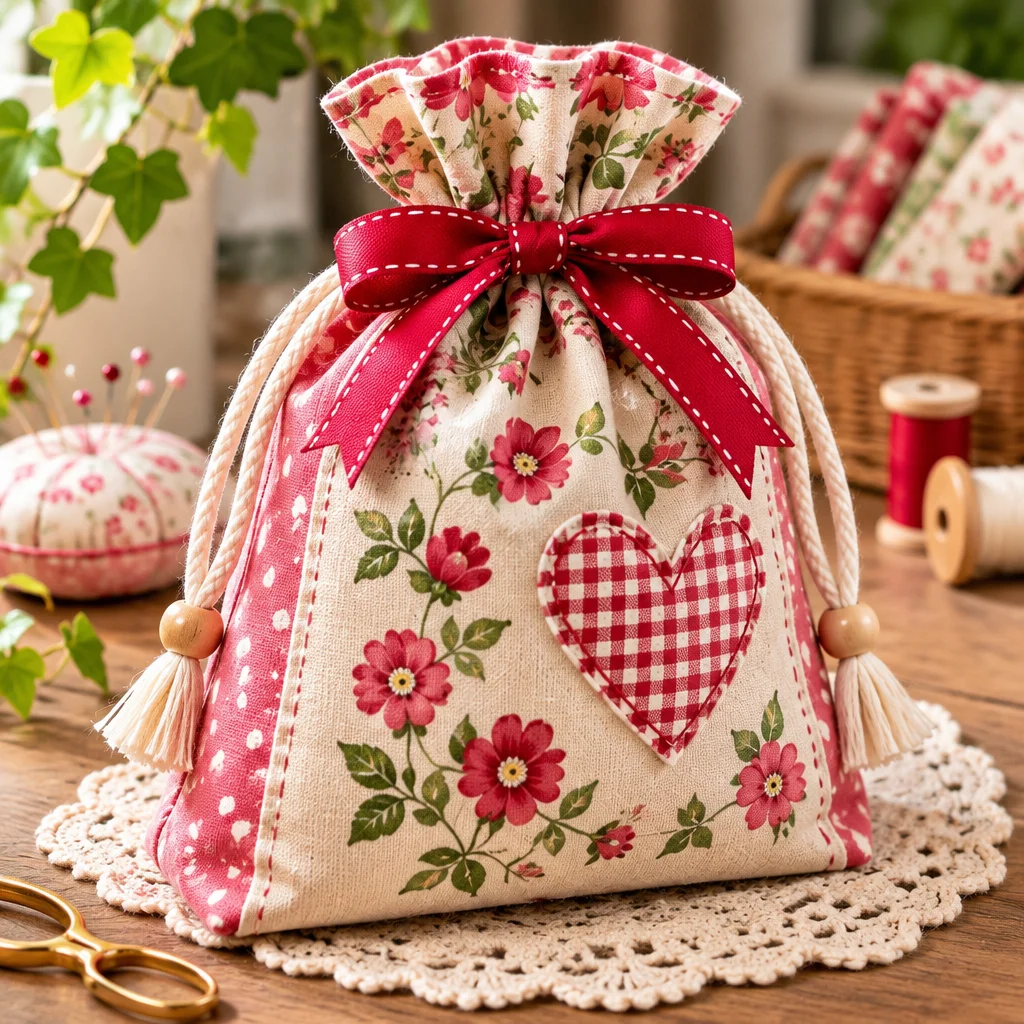
Reusable fabric gift bags are one of those “make once, use for years” sewing projects that quickly earn a permanent spot in your holiday bin and your everyday gifting routine. If you can sew a straight seam (even a wobbly one), you can make sturdy, good-looking bags that replace disposable wrapping paper, tape, and gift boxes. In this guide, I’ll walk you through beginner-friendly sewing ideas: simple drawstring bags, flat vs boxed bottoms, ribbon and cord closures, and how to choose fabrics and sizes that actually fit real gifts. You’ll also learn finishing tricks that make your bags look polished, plus fixes for common mistakes like twisted casing channels and bags that come out too small.
Why This Project Is Worth Making
Making reusable fabric gift bags gives you a practical outcome fast: a stack of attractive bags in multiple sizes that you can reuse for birthdays, holidays, baby showers, and last-minute “oops I forgot” gifts. Most bags take 20 to 45 minutes each once you’ve made one or two, and you can batch sew several at a time by chain stitching seams.
Difficulty is beginner-friendly. You’ll practice straight seams, pressing, and making a simple casing for a drawstring. If you’re comfortable threading your machine and sewing basic seams, you’re ready. Cost can be very low if you use quilting cotton, thrifted sheets, or fabric scraps. Even premium linen blends usually cost less over time than buying gift wrap every year.
These are ideal for:
- New sewists who want a useful project without fitting or zippers.
- Parents and grandparents who gift often and want less waste.
- Craft fair sellers who want branded packaging that customers keep.
- Teachers and coworkers who need quick, repeatable gift wrap.
You’ll end up with reusable fabric gift bags that look thoughtful, reduce trash, and make future wrapping dramatically faster.
Supplies, Materials, and Beginner Setup
You don’t need specialty tools, but the right basics make sewing easier and more accurate. Here’s a practical setup, including budget substitutions.
- Fabric: Quilting cotton is the easiest to sew and press. Canvas, cotton duck, and linen blends make sturdier bags for heavy items. Thrifted pillowcases and flat sheets are excellent budget options.
- Thread: All-purpose polyester thread works for most fabrics. For heavier canvas, use a slightly thicker all-purpose thread and a fresh needle.
- Needles: Universal 80/12 for quilting cotton. Switch to 90/14 for canvas or multiple layers at the casing.
- Cutting tools: Fabric scissors or a rotary cutter with a self-healing mat. If you’re new, scissors are fine, just cut slowly and accurately.
- Measuring: Clear ruler or tape measure plus a marking tool (tailor’s chalk, washable marker, or a pencil for light fabrics).
- Iron and ironing board: Pressing is not optional if you want crisp casings and straight seams.
- Closure: Satin ribbon, cotton cord, twill tape, or even braided yarn. A safety pin or bodkin helps thread the casing.
Safety notes: Keep fingers clear of the needle path, unplug the iron when not in use, and use sharp tools carefully. If kids help, let them choose fabrics and ribbons while you handle cutting and stitching.
Why reusable wrapping
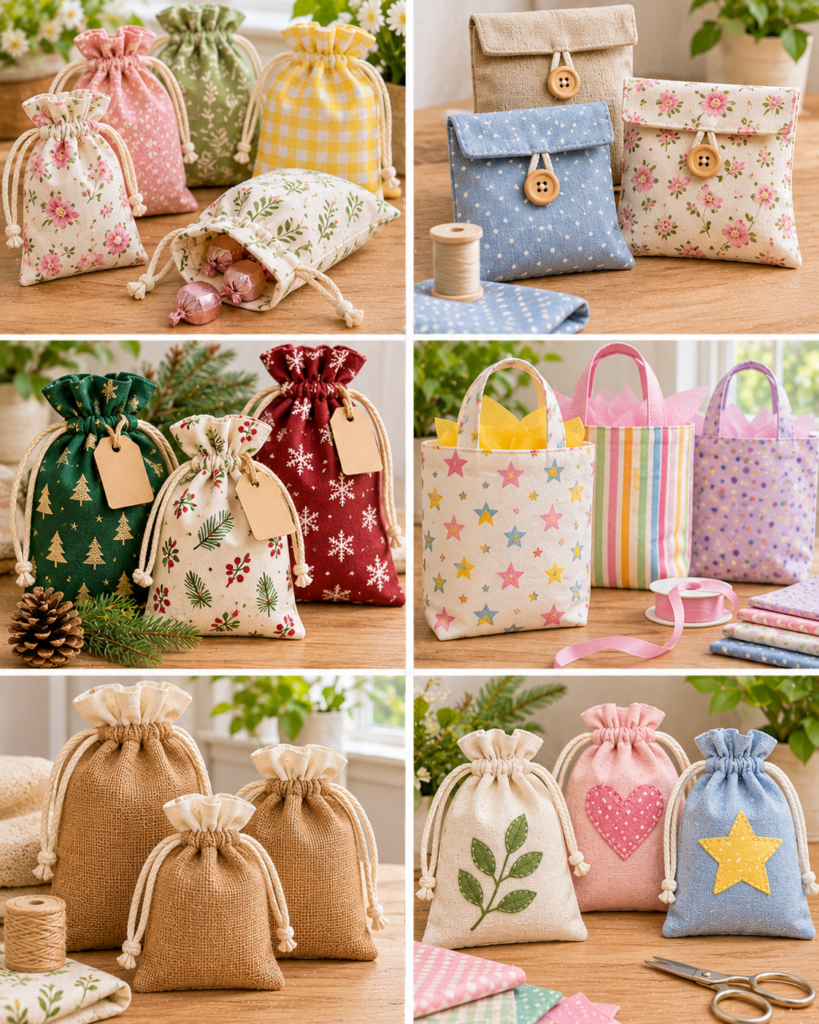
Reusable wrapping is not just about reducing waste, it’s about making gifting simpler and more personal. Fabric bags eliminate torn paper, bulky boxes, and tape that sticks to everything except where you need it. They also solve awkward wrapping problems like odd-shaped gifts, soft items, and multiple small pieces.
Concrete ways people use reusable fabric gift bags:
- Holiday morning speed: Load gifts into bags the night before. In the morning, there’s less trash and less cleanup.
- Gift sets: Put soap, lotion, and a candle in one bag with tissue paper inside, then tie with a ribbon.
- Kids gifts: Use sturdy cotton duck with a wide drawstring so small hands can open it easily.
- Travel gifting: Pack the gift inside the bag in your suitcase, then it doubles as a laundry or shoe bag after.
Realistic constraints matter: very sheer fabric can show the gift shape, slippery satin can be frustrating for beginners, and stretchy knits can distort unless stabilized. The good news is that most woven cottons behave beautifully and are forgiving.
Design variations are endless: contrast cuffs, applique initials, quilted panels, or seasonal fabric on one side and a neutral on the other. If you want your reusable fabric gift bags to work year-round, choose solids or subtle prints and swap ribbons by season.
Fabric and sizing choices
Fabric choice affects how your bag sews, how it drapes, and how long it lasts. For crisp, easy-to-press results, quilting cotton is the classic option. For a more upscale look, linen blends press beautifully and feel special, but they can wrinkle. For heavy gifts like books or jars, cotton canvas or duck fabric holds up better and stands on its own.
Think about opacity and structure. Light cotton is fine for most gifts, but if you want the bag to hide the gift, choose a darker print or add a lining. Lining also strengthens the casing area where drawstrings rub over time.
How sizing works: A drawstring bag needs extra height for the casing (the channel the drawstring runs through). Also plan for seam allowances and a little “wiggle room” so gifts slide in easily. As a simple rule for rectangular gifts: measure the gift’s width, depth, and height, then add ease. Flat bags are best for flat items. Boxed-bottom bags fit bulky items better.
Beginner-friendly sizing approach: Make three core sizes that cover 90 percent of gifting needs, then adjust from there. A small bag for jewelry and gift cards, a medium for candles and books, and a large for clothing or boxed toys. You’ll find a full size guide below, including cut sizes.
Realistic constraint: directional prints (like trees or text) need careful cutting so the design is upright. Buy a bit extra if the print must match front to back.
Basic drawstring construction overview
This is the “workhorse” method for reusable fabric gift bags: sew a tube, hem the top, and create a casing for a drawstring. Below is a reliable process that works for lined or unlined bags. Seam allowance is 3/8 inch (1 cm) unless you prefer 1/2 inch.
- Cut fabric: Cut one rectangle and fold it, or cut two identical rectangles. Folding reduces one seam, which is great for beginners. Add extra height for the casing (at least 1.5 inches total).
- Finish raw edges (recommended): Zigzag stitch, pinking shears, or serge to reduce fraying, especially on linen blends. This improves durability through washes.
- Sew side seams: With right sides together, stitch sides (and bottom if using two pieces). Backstitch at the top edges to reinforce where the casing begins.
- Press seams: Press seams open or to one side. Pressing makes the casing accurate and helps the bag hang straight.
- Create casing fold: Fold the top edge to the wrong side 1/4 inch and press, then fold again 1 inch and press. This hides raw edges and forms a channel.
- Stitch casing: Sew close to the lower folded edge, leaving a 1.5 inch opening unstitched or plan to use the side seam gap as the opening.
- Thread drawstring: Use a safety pin or bodkin to feed ribbon or cord through the casing. Tie ends in a knot or add cord ends.
Tip: For a smoother pull, use two drawstrings (one entering from each side seam). This lets the bag close evenly and feels more professional.
Flat and boxed-bottom variations
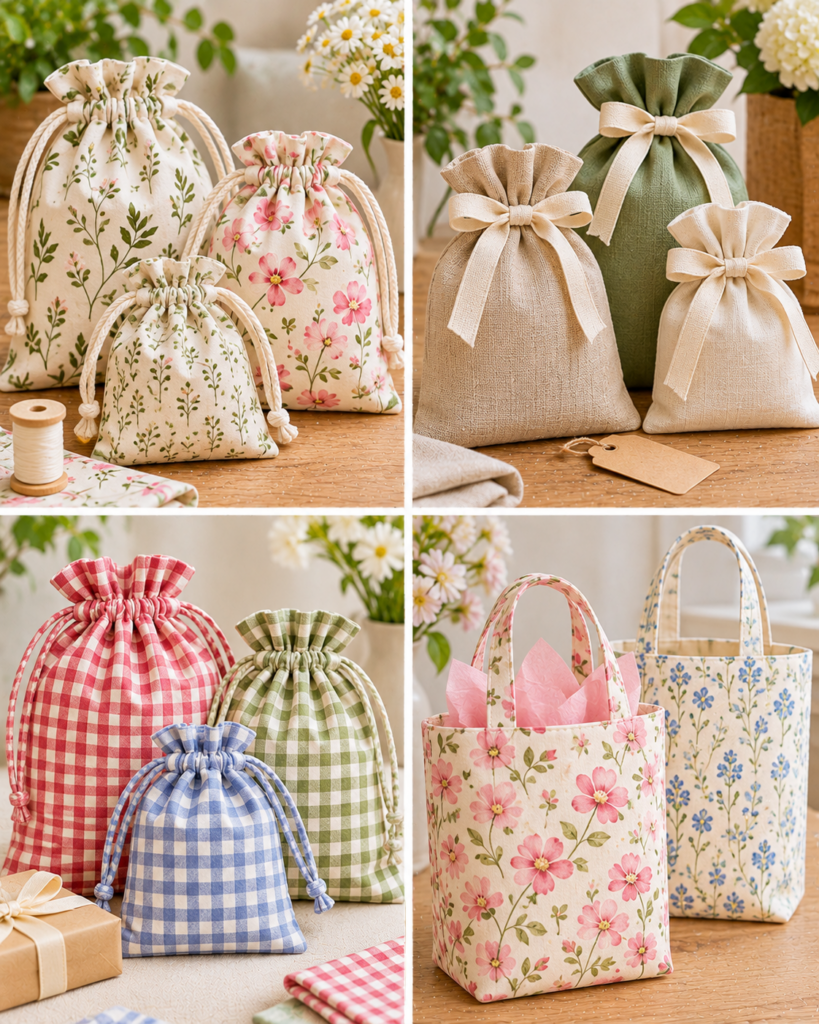
Flat bags are quickest and perfect for cards, books, puzzles, and clothing. Boxed-bottom bags (also called “gusseted” or “boxed corners”) stand up and hold bulky gifts like mugs, jars, or small plush toys. You can turn the same basic drawstring bag into a boxy shape in minutes.
Flat bag variation: Sew as described above. Consider adding a contrast cuff: sew a 3 to 5 inch tall contrast strip to the top edge before forming the casing. This is a great way to use scraps and makes the casing area sturdier.
Boxed-bottom variation (simple boxed corners):
- Sew the bag as a flat bag, but do not form the casing yet.
- Square the corner: Turn the bag wrong-side out. Pinch one bottom corner so the side seam aligns with the bottom seam, forming a triangle.
- Measure the box depth: Measure across the triangle from point to point. For a 2 inch box bottom, mark a 2 inch line perpendicular to the seams. Bigger gifts might need 3 to 4 inches.
- Stitch the line: Sew across your marked line and backstitch. Trim the triangle leaving a 1/4 to 3/8 inch seam allowance.
- Repeat for the other corner, then proceed with the casing.
Realistic constraint: thick fabrics create bulk at boxed corners. Use a longer stitch length (around 3.0 mm) and press seams firmly. If your machine struggles, hand-walk the needle over bulky spots.
Ribbon and closure options
Closures affect both the look and how the bag functions. Satin ribbon is pretty but can fray and slip. Cotton cord grips better and lasts longer. Twill tape is beginner-friendly because it is flat, easy to thread, and ties neatly.
- Single drawstring: Quickest. The bag closes, but can gather more on one side. Best for small bags.
- Double drawstring: Most “store-bought” feel. Cut two equal lengths, thread from opposite sides, and tie ends together on each side.
- Ribbon tie (no casing): Add two ribbon tabs at the top side seams and tie a bow. This is cute, but less secure for heavy gifts.
- Velcro or snaps: Great for kids who struggle with knots, but they add cost and take more time. If you use snaps, reinforce with interfacing.
- Button and loop: Sew a loop of elastic into the top seam and add a button. Best for envelope-style flat bags.
Length guideline: For single drawstrings, cut about 2 to 2.5 times the bag width. For double drawstrings, cut each one about 2 times the bag width. It’s better to start long and trim later than to come up short.
For durability, heat-seal synthetic ribbon ends carefully (briefly, and away from fabric) or fold ends under and stitch. For cotton cords, wrap ends with a few tight stitches or use metal cord ends.
Gift-size guide
This guide gives practical, commonly useful sizes. Cut sizes assume an unlined bag made from one rectangle folded in half (so the fold becomes the bottom). Seam allowance is 3/8 inch. Add 2 inches to the cut height to allow for a double-fold casing. If you want a roomier bag, add 1 inch to width.
- Small (gift cards, jewelry box, small toy): Cut 8 x 10 inches. Finished about 7 x 8 inches. Use 1/2 inch casing for a delicate look.
- Medium (paperback book, candle, bath set): Cut 12 x 16 inches. Finished about 11 x 14 inches. Consider boxed corners of 2 inches for candles.
- Large (folded hoodie, board game, shoe box-ish items): Cut 18 x 22 inches. Finished about 17 x 20 inches. Use sturdier ribbon or cord.
- Bottle bag (wine or olive oil): Cut 14 x 18 inches. Box the bottom 2 to 3 inches and add a fabric “collar” cuff so the neck gathers neatly.
Design variation: Make a set that nests: small fits inside medium, medium inside large. Use the same neutral fabric and switch ribbon colors to make them easy to sort.
Realistic constraint: tall gifts need more height than you think because the casing area consumes space. If a gift is 10 inches tall, aim for at least 13 to 14 inches finished height so it cinches without crushing the top of the gift.
Washing and storing
Reusable fabric gift bags last longest when they are prewashed before sewing and washed gently after use. Prewashing is especially helpful for quilting cotton and linen blends because it removes sizing and preshrinks the fabric, which prevents puckered seams later. If you mix fabrics (like a cotton body with a linen cuff), prewash both so they shrink consistently.
Washing tips:
- Use cold or warm water and mild detergent for most cottons.
- Place bags with ribbons in a mesh laundry bag to prevent tangles.
- Avoid high heat drying for satin ribbon, which can wrinkle or weaken. Air-dry or tumble low.
- Press with steam for a crisp look. For delicate synthetics, use a lower iron setting and a pressing cloth.
Storing ideas: Keep your reusable fabric gift bags sorted by size in a labeled bin, or hang them on skirt hangers with clips. Another option is to store them inside the largest bag, nested like stacking bowls. If you use seasonal fabric, tie each set with a ribbon and store with your holiday decor so you actually find them when you need them.
Reader testimonial (from “Megan, beginner sewist”): “I made three reusable fabric gift bags from an old sheet and twill tape. The first one took me almost an hour because I kept re-pressing the casing, but the next two were fast. My family loved that the bags became part of the gift, and I’m not buying wrapping paper this year.”
Common Mistakes and How to Fix Them
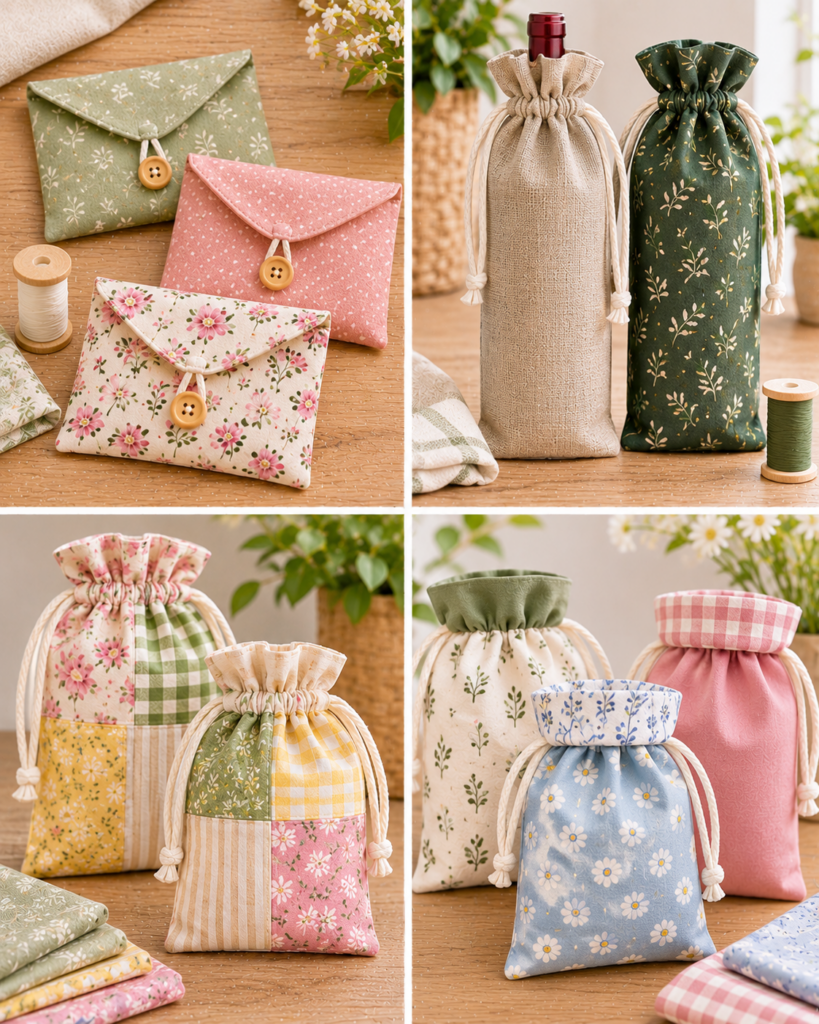
Most issues are easy to fix once you know what to look for. Here are the mistakes I see most often when people start sewing reusable fabric gift bags, plus practical solutions.
- The bag is too small: Add more ease next time. For a quick rescue, turn the bag into a “basket wrap” by shortening the casing and letting the top sit open, then tie ribbon around the gift and bag together.
- Casing won’t thread: The channel is too narrow or caught by stitching. Use a seam ripper to open the channel, then re-stitch farther from the folded edge. Choose a casing width at least 3/4 inch for thicker cords.
- Twisted drawstring: Pull the cord out, press the casing flat, and re-thread with a bodkin or safety pin. For ribbon, press the ribbon itself before threading.
- Fraying inside: Finish seams with zigzag, serger, or bias binding. If it is already frayed, trim loose threads and add a zigzag over the seam allowance to stabilize.
- Bulky corners and skipped stitches: Use a fresh needle, lengthen stitch to about 3.0 mm, and sew slowly. For heavy canvas, consider grading seam allowances (trim one layer slightly shorter) to reduce bulk.
- Uneven top edge: Square up the top before hemming. If it is already sewn, unpick the casing, trim the top evenly, and re-press and stitch.
Durability tip: backstitch at casing openings and consider adding a small bar tack (tight zigzag) at each opening to prevent tearing from repeated pulling.
Frequently Asked Questions About Reusable Fabric Gift Bags: Easy Sewing Ideas
What fabric works best?
Quilting cotton is the best all-around fabric for beginners because it presses cleanly, doesn’t stretch, and sews easily on any machine. For heavier gifts, choose cotton canvas or duck so seams and casings don’t strain. Linen blends look beautiful but can fray, so finish seams with zigzag or a French seam. Avoid very slippery satin until you’re confident, and avoid stretchy knits unless you stabilize them with interfacing at the casing.
How much fabric is needed?
For one medium bag (about 11 x 14 inches finished), you typically need a 12 x 16 inch cut, which is roughly 1/3 yard of 44-inch wide fabric. If you’re cutting multiple bags, 1 yard of quilting cotton often yields 3 to 5 bags depending on sizes and directional prints. For lined bags, double the fabric amount (outer plus lining). Always add extra if you want matching stripes or a centered motif.
Can beginners sew them?
Yes. Reusable fabric gift bags are one of the most beginner-friendly sewing projects because they use straight seams and simple folding. Start with an unlined flat bag in quilting cotton and a twill tape drawstring. Press each fold before stitching and sew slowly near the casing to keep lines straight. If your seams wander, don’t worry. Slight imperfections disappear once the bag is gathered and tied.
Common Questions
Should I prewash fabric before sewing?
Prewashing is a smart habit, especially for cotton and linen. It prevents surprises when you later wash the finished bag, and it removes factory sizing that can make fabric feel stiff. If you’re using thrifted sheets, wash and dry them first on the setting you’ll use later. If you are using specialty fabric that may fray, finish raw edges before washing or use a laundry bag.
Do I need to line the bag?
No, unlined bags are perfectly functional and faster to sew. Lining is helpful if your fabric is sheer, frays heavily, or you want a high-end finish inside. If you line, treat the outer and lining as one at the top casing or sew a “bag within a bag” and turn through an opening. For beginners, unlined with finished seams is the easiest durable option.
What seam finish is best without a serger?
A simple zigzag stitch along the raw edge is the quickest and works well for most cottons. If you want a cleaner interior, use French seams: sew wrong sides together with a small seam allowance, trim, then sew right sides together enclosing the edge. French seams are great for lightweight fabrics but add a bit of bulk for heavy canvas.
How do I keep the casing opening from tearing?
Reinforce the casing openings. Backstitch firmly at both ends of the casing seam, and consider adding a short bar tack (dense zigzag) at the opening edges. Also avoid making the channel too tight. If the cord scrapes through, the fabric wears faster. A 3/4 to 1 inch casing is a good durable width for most cords and ribbons.
Can I make these without a sewing machine?
Yes, but plan more time. Use a sturdy hand-sewing needle and strong thread, and sew a backstitch for side seams (it is stronger than a running stitch). Press folds carefully and pin well. For the casing, use small, even stitches because that area gets tugged repeatedly. Hand-sewn reusable fabric gift bags are charming, just not as fast to batch produce.
How do I make bags look “professional”?
Pressing is the biggest upgrade. Press seams flat, press hems with a ruler for accuracy, and topstitch neatly. Use matching thread or intentionally contrasting thread, but avoid random color changes. Add small design details that look intentional, like a contrast cuff, a labeled tag, or a neatly tied double drawstring. Finally, trim threads