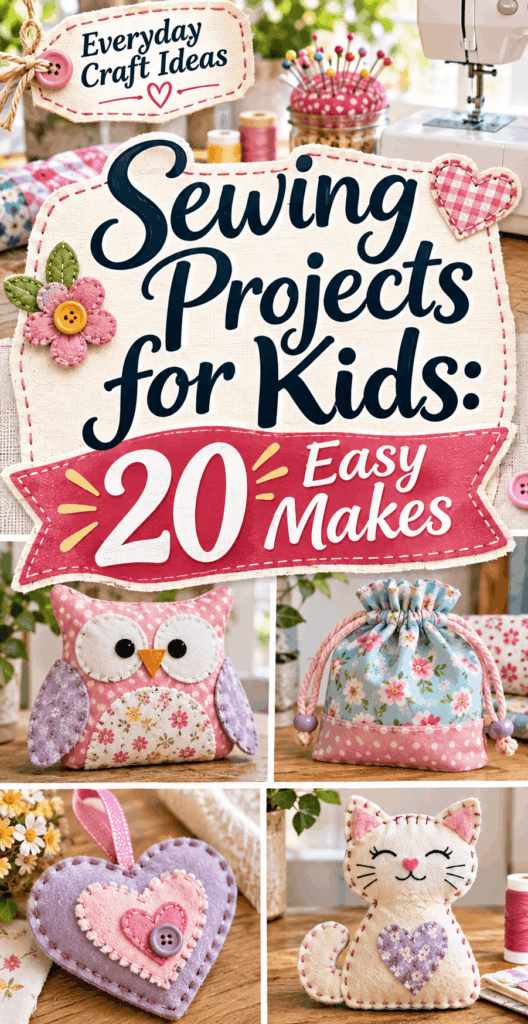
Sewing Projects for Kids: 20 Easy Makes
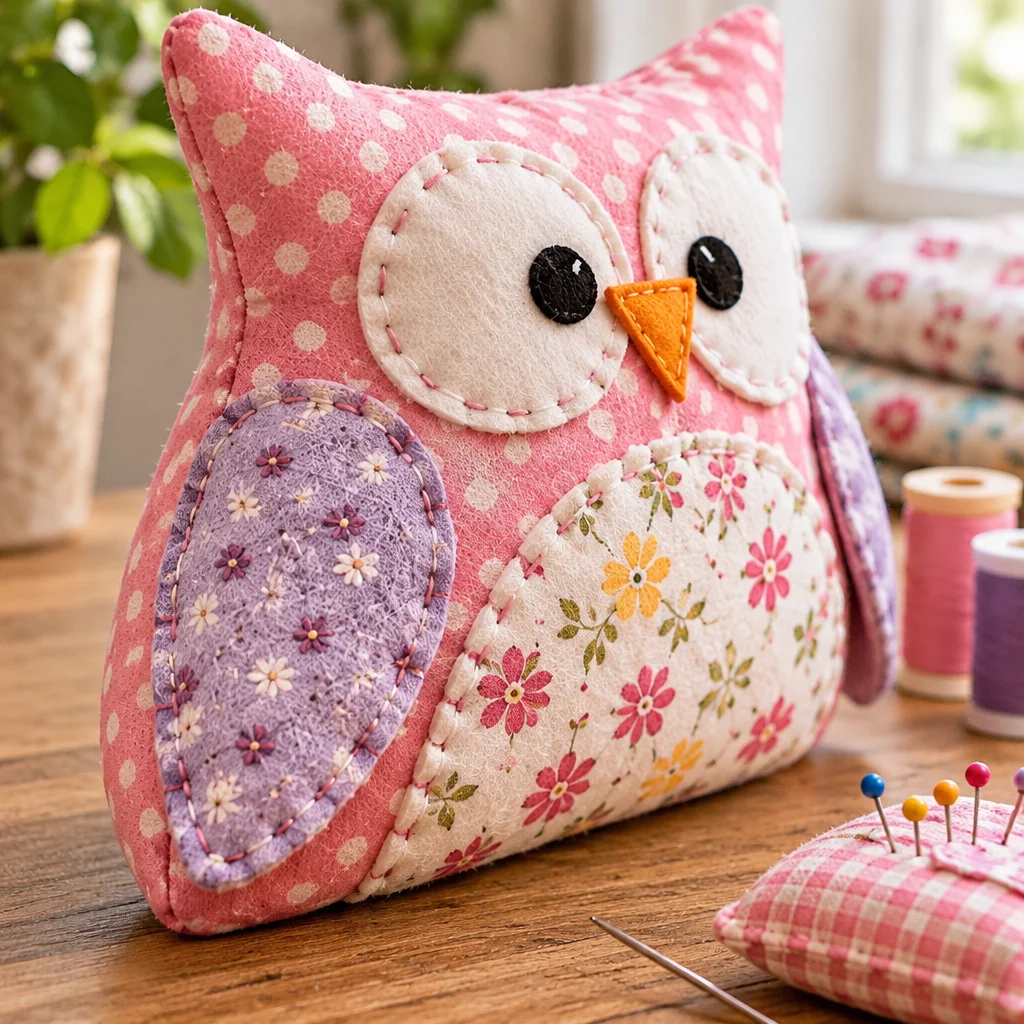
If you are searching for sewing projects for kids that feel doable, fun, and genuinely useful, you are in the right place. Kids learn best when they can finish something quickly, show it off, and use it right away. In this guide, you will get 20 easy makes that build real skills, from threading a needle and tying off stitches to sewing straight seams on a machine. You will also learn how to set up a kid-friendly sewing space, choose safer tools, and pick fabrics that behave well for beginners. Whether you are a parent, grandparent, teacher, or an older sibling helping out, these projects are designed to minimize frustration and maximize “I made this!” pride.
Why This Project Is Worth Making
The biggest win with sewing projects for kids is confidence. Sewing turns a flat piece of fabric into a real object, and that cause-and-effect is powerful for young makers. Most of the projects below can be completed in 20 to 90 minutes, which is short enough to hold attention but long enough to practice a skill.
Cost: Many beginner makes can be sewn from scraps, felt sheets, an old T-shirt, or thrifted fabric. Expect $2 to $10 per project if you already have basic tools. Felt crafts and simple pouches are especially budget-friendly.
Difficulty: The list intentionally starts with no-pattern, low-precision makes (felt shapes, lacing cards, simple pillows) and moves toward basic machine seams (tote bag, drawstring bag, skirt with elastic casing). These are not “perfect” projects, they are “learnable” projects.
Who it suits: Ages 4+ can do lacing and pre-threaded hand sewing with close supervision. Ages 7 to 9 can handle larger needles and simple seams. Ages 10+ can usually begin machine sewing with guided practice. If you want one clear outcome, aim for a small pouch: it teaches measuring, pinning or clipping, seam allowance, turning, and finishing in a single make.
Supplies, Materials, and Beginner Setup
A beginner-friendly setup matters more than owning fancy equipment. Choose tools that reduce friction: fabric that does not stretch much, thread that does not snap easily, and scissors that cut cleanly.
- Fabric: Felt, quilting cotton, denim from old jeans, and canvas are stable and forgiving. Avoid slippery satin and stretchy knits until kids can control seams.
- Thread: All-purpose polyester thread is strong and smooth. For hand sewing, a slightly thicker thread can be easier to see, but do not use yarn in a needle that is too small.
- Needles: Start hand sewing with blunt tapestry needles for felt or pre-punched holes, then move to sharps with supervision for woven fabric.
- Cutting: Kid scissors for paper are not enough. Use sharp fabric shears for adults, and let kids cut felt or paper patterns. If kids cut fabric, dedicate an inexpensive pair of fabric scissors and teach “scissors stay on the table.”
- Holding fabric: Fabric clips are easier and safer than pins for many kids. If you use pins, choose glass-head pins and count them before and after.
- Marking: Chalk, washable markers, or a soft pencil for patterns on light fabric.
Budget tip: turn worn adult shirts into practice fabric, and use ribbon or old shoelaces for drawstrings. Set up a tray or box with only what you need for that project, so kids are not overwhelmed.
Safety and age-appropriate supervision
Safety is not just about avoiding pokes. It is also about choosing projects that match attention span, hand strength, and patience. For ages 4 to 6, focus on “soft tools” and large motions: lacing cards, finger pressing seams, stuffing pillows, and decorating felt. For ages 7 to 9, introduce a real needle with a needle threader, larger stitches, and short seams. For ages 10+, begin simple machine work with strict boundaries.
Concrete supervision examples:
- Needles: Keep a magnetic dish or small tin for needles. Teach “needle in, needle out,” meaning it lives either in fabric or in the tin, never loose.
- Ironing: An iron is adult-only in many homes. Kids can use a finger presser, seam roller, or a cool iron with hands-on supervision. Pressing matters, but safety matters more.
- Machine sewing: One operator at a time. The helper sits beside, not behind. Use a slow speed setting if your machine has one.
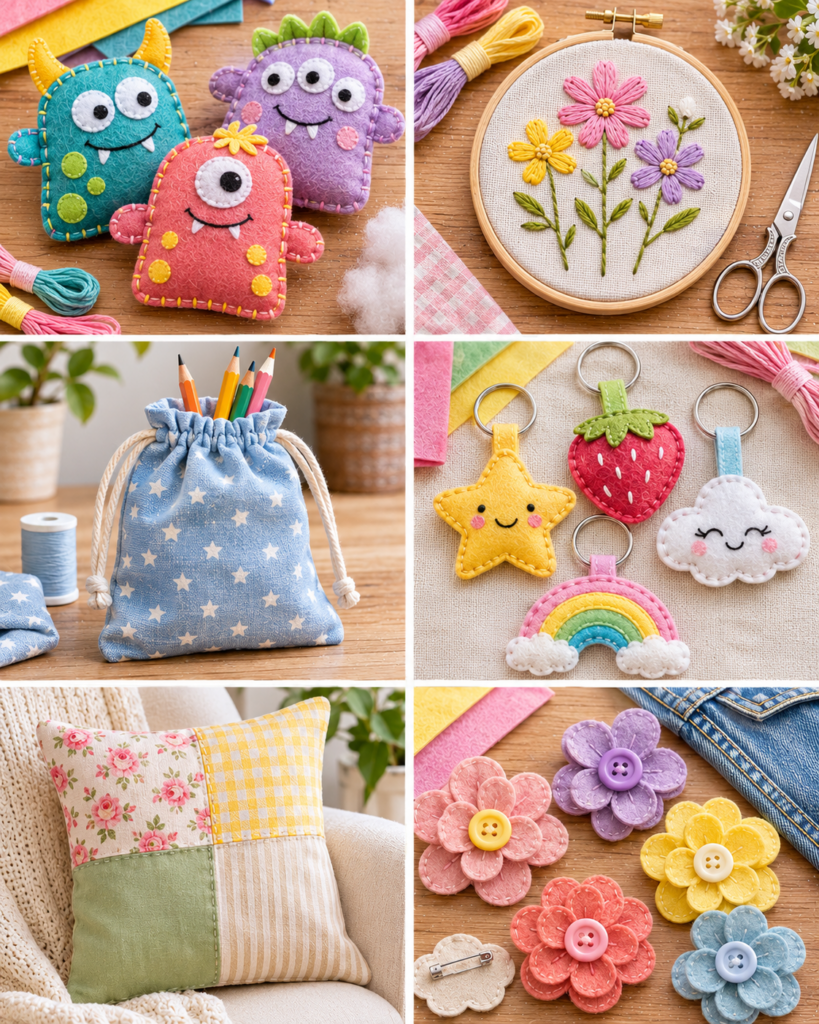
Realistic constraints: If your child struggles with fine motor control, choose felt and large needles, use clips instead of pins, and aim for projects with straight lines and large pieces. If perfection causes stress, pick projects where “wonky” looks cute, like stuffed monsters or patchwork coasters.
Hand-sewing starter kit
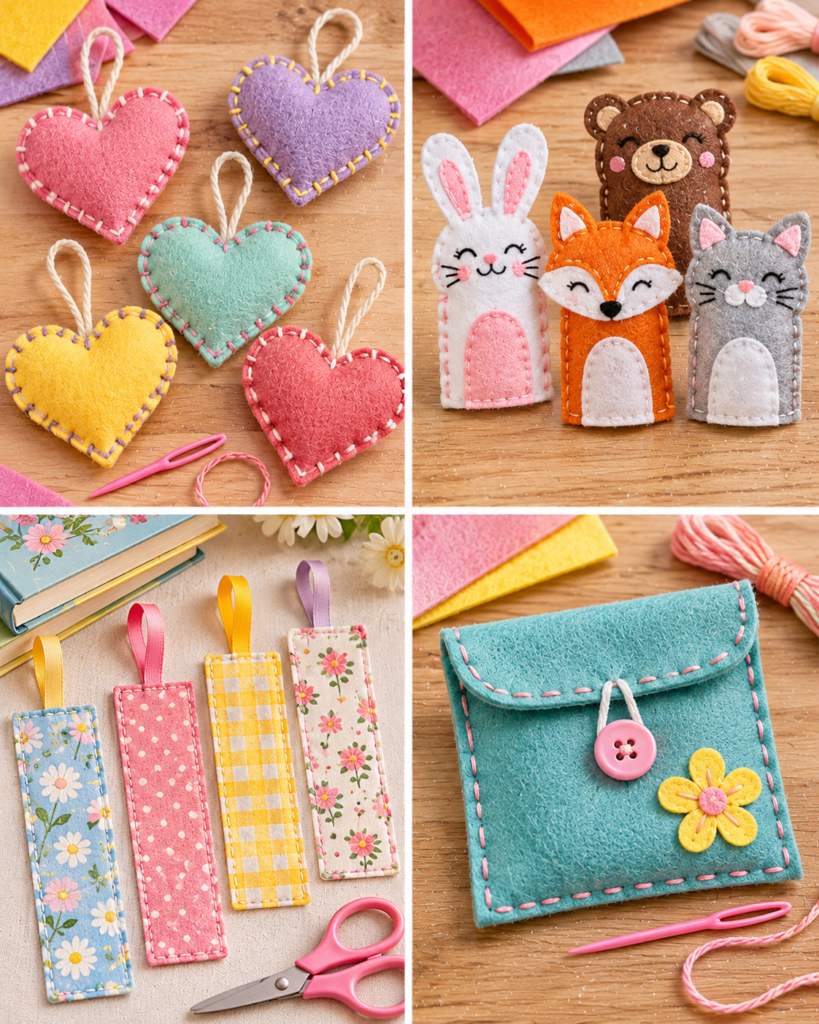
A hand-sewing starter kit is one of the best sewing projects for kids because it creates a “home base” for supplies while practicing essential skills. The kit can be a simple felt envelope, a zip pouch (adult installs zipper), or a decorated tin with a fabric pin cushion.
Starter kit contents that actually get used: 4 to 6 embroidery floss colors or small thread spools, blunt tapestry needles, a needle threader, small scissors (adult-quality but kid-sized handle), a thimble, clips, and a small fabric scrap for practicing knots.
- Make a felt needle book: Cut two 4 x 6 inch felt rectangles for covers and two smaller rectangles for pages. Stack and stitch down the center with running stitch. Felt grips needles well and does not fray.
- Add a mini pin cushion: Sew two 3 inch squares, leave a gap, stuff firmly, then ladder stitch closed. Firm stuffing keeps pins stable.
- Create a thread keeper card: Cut a small cardstock rectangle and cut slits. Wrap floss colors separately. This prevents tangles, which is the number one beginner frustration.
Variations: Add a ribbon tie, personalize with initials in embroidery, or stitch on a clear vinyl pocket (adult help) for a needle threader and spare buttons. Keep it small so it gets used, not stored.
Felt shapes and bookmarks
Felt is a dream material for sewing projects for kids because it does not fray, it is easy to cut, and it holds stitches without puckering much. These projects teach control, spacing, and finishing without worrying about seam allowances.
Easy makes (5 projects): (1) heart or star keychain charm, (2) monster face felt patch, (3) name banner letters, (4) simple finger puppet, (5) corner bookmarks.
- Pick a simple template: Trace a cookie cutter shape onto felt. Big shapes are easier to stitch evenly.
- Cut two matching pieces: Cutting accuracy matters more than stitching here, since uneven edges show.
- Decorate first: Add eyes, cheeks, or initials before assembly. It is much easier to stitch details on a flat piece.
- Stitch the edge: Use blanket stitch for a neat border, or running stitch for speed. Keep stitches 1/4 inch from the edge to prevent tearing.
- Stuff lightly (optional): For charms, use a pinch of stuffing. Overstuffing makes edges ripple.
Troubleshooting: If holes tear, stitches are too close to the edge. If the shape looks wavy, reduce stuffing and keep stitch spacing consistent. For bookmarks, add a layer of ribbon or elastic loop to hook over a page corner.
Simple pillows and pouches
Soft projects like pillows and pouches teach the most useful beginner construction skills: right sides together, seam allowance, turning, stuffing, and closing openings neatly. These are classic sewing projects for kids because they feel like real items, not just practice.
Easy makes (6 projects): (1) mini square pillow, (2) pocket pillow for pajamas, (3) lavender sachet, (4) no-zip snack bag liner (use washable PUL only with adult help), (5) simple pencil pouch (felt or cotton), (6) drawstring gift bag.
- Choose size: Start with 8 x 8 inch squares for pillows or 7 x 9 inch rectangles for pouches. Smaller is faster and easier to turn.
- Cut and mark: Use a ruler and mark a 1/2 inch seam allowance. Visual guides keep seams straighter.
- Sew three sides: Backstitch at the start and end for strength. Leaving one side open for turning is the key step.
- Trim corners: Clip diagonally near corners without cutting the stitches. This reduces bulk and makes corners sharper.
- Turn and press: Finger press, then press with an iron only with adult help. Pressing makes the final shape look “store-bought.”
- Close the opening: Use ladder stitch for a nearly invisible finish, or topstitch if using a machine.
Variations: Add appliqué shapes, pom-pom trim (baste first), or a pocket on the front. For pouches, sew a ribbon tab into the side seam for easy grabbing.
Machine-sewing introductions
Machine sewing can be a big moment. Keep it calm and structured, and choose projects that reward straight stitching. Before starting, teach three rules: keep fingers to the sides of the presser foot, sew slowly, and stop with the needle down when adjusting fabric.
Easy makes (6 projects): (1) straight-line coaster set, (2) simple tote bag, (3) elastic-waist skirt (no zipper), (4) pillowcase with French seams, (5) headband or scrunchie, (6) reading pillow handle.
- Start with paper stitching: Without thread, sew on lined paper to practice guiding. This trains steering without worrying about mistakes.
- Thread together once: Let kids watch each path: spool, guides, tension discs, take-up lever, needle. Understanding reduces fear when thread breaks.
- Use a seam guide: Put painter’s tape at 1/2 inch from the needle. A visual lane helps beginners sew straighter.
- Choose stable fabric: Two layers of quilting cotton are easier than stretchy fabric. Pressing before sewing prevents shifting.
- Finish edges simply: Zigzag or pinking shears prevent fraying on woven cotton. This is enough for kid-made items.
Realistic constraint: Zippers are possible, but they add complexity fast. If you want a zip pouch, pre-install the zipper and let kids sew the side seams and box corners.
Skills by age
Kids develop sewing skills in layers. Matching the skill to the age keeps sewing projects for kids enjoyable instead of overwhelming.
- Ages 4 to 6: Lacing cards, felt ornaments with pre-punched holes, stuffing pillows, sorting buttons (choking hazard, supervise), and simple decorating with fabric glue (used sparingly). Goal: build hand strength and patience.
- Ages 7 to 9: Running stitch, whip stitch, threading a needle with a threader, tying knots, sewing on a button (large button only), and simple seams on felt or woven cotton. Great projects: felt bookmarks, sachets, small hand-sewn pouches.
- Ages 10 to 12: Seam allowance consistency, backstitching, turning corners, topstitching, pressing habits, and basic machine safety. Great projects: tote bag, drawstring bag, simple skirt with elastic casing.
- Teens: Reading patterns, measuring, hemming, simple alterations, and beginner quilting. Great projects: pajama shorts, zip pouches, basic aprons.
Tip: Use “skill stacking.” For example, a felt charm teaches blanket stitch. Next, use blanket stitch to finish a pocket edge. Then sew that pocket onto a pouch. Kids feel progress when a skill shows up again in a new way.
Common mistakes and fixes
Most beginner issues are normal and fixable. The goal is not flawless sewing, it is learning how to recover. Here are kid-common problems and quick saves.
- Thread keeps knotting: Cut a shorter length (18 to 24 inches). Long thread tangles easily in small hands. Use a tiny bit of beeswax or thread conditioner if you have it.
- Stitches look uneven: Draw dots or dashes as a spacing guide. On felt, you can pre-poke holes with an awl tool used by an adult.
- Fabric shifts while sewing: Use clips, not pins, and sew slowly. For slippery fabric, add tissue paper under the seam and tear away after.
- Stuffing lumps: Use small tufts and push them into corners first. Overstuffing makes seams strain and can pop.
- Project turned out tiny: Seam allowance was too big. Mark a bold seam line and stitch on it, not “somewhere near the edge.”
“My 8-year-old and I started with felt bookmarks, then made a drawstring bag for library books. The biggest help was using clips instead of pins and keeping thread lengths short. She finished two projects in one weekend and now wants to make gifts.”
Common Mistakes and How to Fix Them
This section goes deeper on durability so your sewing projects for kids hold up to real use.
- Sizing errors: If a pouch is too small, add a contrast band: seam rip the top edge, sew on a 2 to 3 inch strip, then re-hem. It looks intentional and increases capacity.
- Wrong materials: Stretchy knits curl and grow. If a kid insists on T-shirt fabric, stabilize edges with a strip of non-stretch interfacing (adult iron-on) or sew with a narrow zigzag to keep seams flexible.
- Assembly mix-ups: “Right sides together” is confusing. Put a small chalk X on the wrong side of each piece before sewing. Then kids can match X to X.
- Weak seams: Teach backstitching at the start and end, and reinforce stress points like bag handles with a box-and-X stitch. For hand sewing, double the thread and use backstitch on seams that will be pulled.
- Messy finishing: If edges fray, zigzag them or use pinking shears. If corners are bulky, trim seam allowances and clip curves. Pressing is not optional for a neat finish, but keep pressing tools age-appropriate.
If something goes truly wrong, treat it like a design choice. Add a patch, sew on a button, or cover a crooked seam with ribbon. Visible mending is still sewing.
Frequently Asked Questions About Sewing Projects for Kids: 20 Easy Makes
At what age can kids sew?
Many kids can start around age 4 with lacing cards, blunt needles, and pre-punched holes in felt, with constant supervision. Around ages 7 to 9, most can learn basic hand stitches like running stitch and whip stitch, plus knotting and threading with a needle threader. Around age 10, many can begin machine sewing if they can follow safety rules and focus for short stretches. Start with 10-minute practice sessions and end on a success.
Is hand sewing easier?
Hand sewing is often easier to start because it is slower and more controllable, and kids can see each stitch form. It is also safer for many ages. Machine sewing becomes “easier” for long straight seams once kids learn to guide fabric and control speed, but it has more setup steps and more ways to tangle thread. For beginners, start with hand sewing on felt, then move to short machine seams like coasters and simple bags.
Which needles are safest?
For young beginners, blunt tapestry needles are the safest option, especially with felt, plastic canvas, or pre-punched lacing cards. They slide through holes without sharp tips. When moving to woven cotton, use a sharps needle in a larger size (so it is easier to grip) and supervise closely. For machine sewing, use a universal needle like size 80/12 for quilting cotton, and always keep spare needles stored in a closed case.
How do I keep kids from getting frustrated mid-project?
Pick a project with a quick “win” step early, like decorating felt pieces before sewing. Set a timer for short sessions, and stop after finishing a seam, not in the middle of one. Prepare tricky steps ahead of time, such as cutting pieces accurately or ironing interfacing. If attention fades, switch roles: the child stuffs while you close the opening, then they add final decorations.
What fabric is best for first-time kid sewing?
Felt and quilting cotton are the easiest. Felt does not fray and holds shape, making it ideal for bookmarks, ornaments, and small toys. Quilting cotton is stable and predictable for pouches and tote bags. Avoid slippery fabric and stretchy knits at first because they shift and distort, which makes seams look wobbly even when a child is doing a good job.
Do we need patterns for these projects?
No. Many beginner-friendly items can be made from rectangles and simple shapes measured with a ruler. For example, a drawstring bag is two rectangles plus a casing at the top. A pillow is two squares. If you do use patterns, choose ones with clear seam allowances and minimal pieces. Always make one practice version from scrap fabric before cutting into special fabric.
How can I help a child sew straighter on a machine?
Use painter’s tape as a seam guide, and teach them to watch the fabric edge against the tape, not the needle. Reduce speed if possible and encourage “hands as guides,” meaning hands rest flat and steer gently instead of pulling. If seams curve, it often means the child is tugging. Remind them the feed dogs move fabric, their job is steering.
What are the best finishing touches for kid-made projects?
Pressing seams (with supervision) makes a huge difference. Add a simple topstitch to keep edges crisp. For hand-sewn felt items, consistent blanket stitch spacing looks polished. For bags, reinforce handles and corners. A personalized label can be as simple as writing a name on cotton tape with fabric marker and stitching it into a seam. These touches increase pride and durability.
How should we wash and care for these items?
Quilting cotton pouches and bags usually handle gentle machine wash in a laundry bag, then air dry. Felt items can pill and stretch, so spot clean or hand wash briefly and reshape while damp. Stuffed items should be washed gently and dried thoroughly to prevent mildew inside. If a project includes glued decorations, hand wash only and avoid high heat in the dryer.
Final Thought
The best sewing projects for kids are the ones that finish before enthusiasm runs out: felt bookmarks, small pillows, simple pouches, and straight-line machine coasters are all reliable winners. Start with stable materials, keep thread lengths short, and treat mistakes as part of making. If you want a clear next step after these 20 easy makes, try a “use it every day” project like a library tote or a pencil roll, then move into beginner quilting squares or simple clothing repairs like hemming pants. Pick one project, set up the workspace, and aim for progress, not perfection. The skills will build faster than you think.