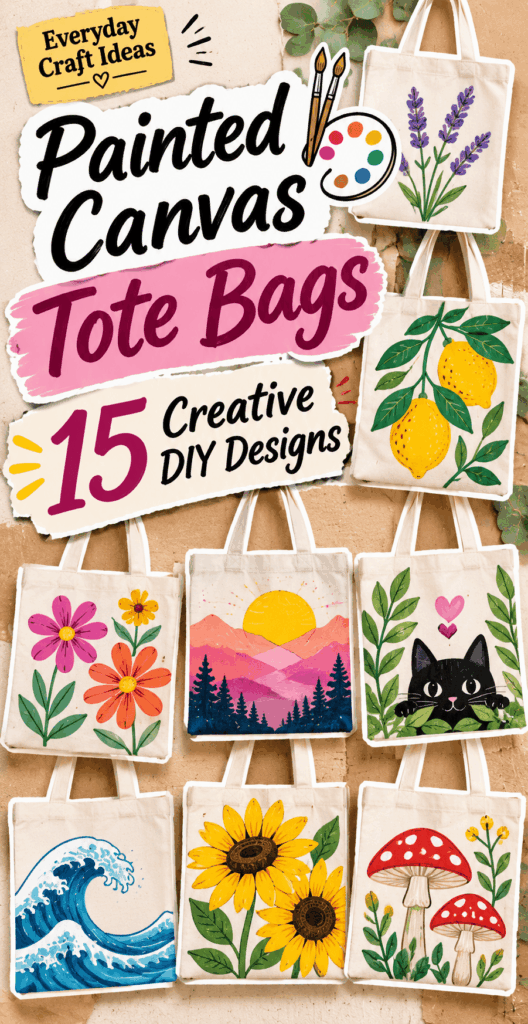
Painted Canvas Tote Bags: 15 Creative DIY Designs
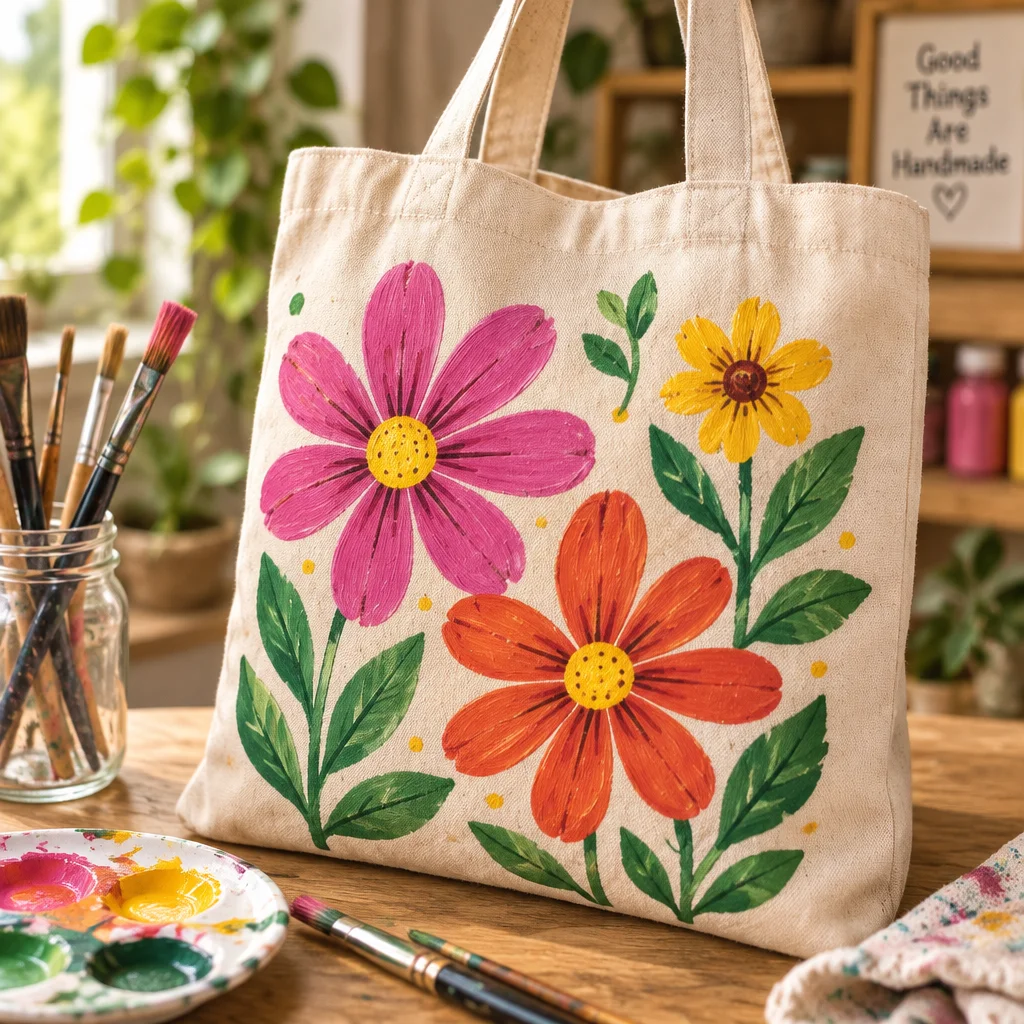
Painted Canvas Tote Bags are one of the most satisfying beginner DIY projects because you get a useful, washable item and a piece of wearable art in the same afternoon. If you can draw simple shapes or trace a stencil, you can make a tote that looks polished and personal. These designs work for students, gift-givers, market shoppers, and anyone trying to cut down on disposable bags.
The main appeal is flexibility: you can go minimalist with a single one-line botanical sketch, or fill the whole bag with bold color blocks. Painted totes also make thoughtful gifts, especially when paired with something inside. If you like the idea of handmade gifting, you might also enjoy these reusable fabric gift bag ideas for coordinating sets, or you can browse more easy sewing ideas for reusable gift bags to complement your tote projects.
In this guide, you will learn how to prep the canvas correctly, choose the right paint, and work through 15 creative designs with clean edges and good durability.
Prepare a Canvas Tote for Painting
Choose a sturdy washable canvas bag
Start with a plain, light-colored cotton canvas tote (8 oz to 12 oz canvas is ideal). Thin promotional totes can work, but paint tends to show through more and the fabric can warp while you paint. Look for tight, even weave and reinforced handles. If the tote has sizing or a stiff factory finish, paint may resist in patches, so prewashing is often worth it (more on that later).
Pick a size based on use: a medium tote is great for library books and errands, while a larger grocery tote gives you a bigger “canvas” for repeat patterns like daisies or checkerboard blocks. Avoid waxed canvas for painting unless you already know the finish is paint-friendly.
Fabric paints versus acrylic with textile medium
For Painted Canvas Tote Bags, the easiest option is fabric paint labeled for cotton. It is formulated to stay flexible, resist cracking, and handle washing after heat-setting. If you already own artist acrylics, you can use them with textile medium (follow the medium’s mixing ratio). The medium improves softness and washability, but heavy paint still feels stiff, so aim for thin layers either way.
For outlines and lettering, fabric paint markers can be very beginner-friendly. Just test them first because some markers bleed slightly on loose weave canvas.
Use cardboard inserts, brushes and stencils
Good tools make the difference between “handmade charming” and “messy.” Slide a piece of cardboard or foam board inside the tote to keep paint from soaking through to the back panel. Gather a few brush types: a flat brush for blocks, a round brush for lines, and a small detail brush for stems and lettering. Stencils help with crisp shapes, but painter’s tape and a simple traced template can do the same job.
- Cardboard insert: Prevents back bleed-through and gives a firm surface for smooth strokes.
- Painter’s tape: Essential for checkerboards, stripes, and sharp geometric edges.
- Stencil brush or sponge: Helps dab paint into stencils without pushing it under the edge.
- Palette or plate: Keeps paint amounts small so you can work in thin coats.
15 Painted Canvas Tote Bag Designs
Minimal wildflower stems
Paint 3 to 7 thin stems in a cluster, then add tiny buds with a dotting motion. Keep the palette limited (sage, dusty pink, warm white) for a modern look. This design is forgiving because slight wobbles read as organic.
Bold fruit illustrations
Choose one fruit (oranges, strawberries, cherries) and make it oversized in the center. Block in the main shape, then add highlights and simple leaves. Outline in a darker shade once dry for a graphic look.
Checkerboard color blocks
Mark a grid lightly with pencil and a ruler, tape off alternating squares, and paint in two colors. Peel tape while paint is slightly damp for the cleanest edges. Great for using up small paint amounts.
Abstract wavy lines
Sketch loose waves across the bag, then paint them in 3 to 5 colors. Vary thickness for movement. This is a stress-free design for beginners because symmetry is not required.
Simple sun and moon
Paint a half-sun and crescent moon facing each other, or stack them vertically. Add small dots as stars. Metallic fabric paint makes this design pop without extra complexity.
Monogram initials
Use a stencil or print a large letter template. Paint the letter in a solid color, then add a thin border or small florals around it. A monogram tote is a reliable gift idea.
Retro smiley faces
Repeat simple smiley faces in a scattered layout or a neat grid. Slightly different expressions add personality. Use a round sponge for consistent circles, then paint the eyes and smile after drying.
Colorful daisy pattern
Make daisy centers with a round brush, then pull petals outward in single strokes. Repeat across the lower half of the tote, leaving the top clean for a balanced layout.
Coastal shell motifs
Paint 3 to 5 shells (scallop, spiral, conch) with soft shading. Add tiny dots or lines for texture. This looks especially good on natural canvas with sandy neutrals.
Geometric shapes
Combine triangles, circles, and arches. Tape the edges for crispness and overlap shapes for a mid-century feel. Keep at least one neutral color to avoid visual clutter.
Bookish quote lettering
Choose a short phrase and letter it in a simple block or cursive style. Lightly pencil guidelines first so the text stays straight. Add tiny book icons or stars to fill space.
Garden vegetable illustrations
Paint carrots, radishes, or tomatoes with leafy tops. This is fun for farmer’s market totes. Use simple shading: one darker side and one highlight stripe to suggest depth.
Tiny scattered hearts
Make a “confetti” layout of tiny hearts using a small round brush or the end of a paintbrush handle. Great for practicing consistent strokes and spacing.
Painted patchwork squares
Divide the tote into uneven squares and rectangles. Fill each with a different pattern: stripes, dots, mini florals, or solid color. This is excellent for hiding small mistakes because it is intentionally varied.
One-line botanical drawing
Paint a continuous-line leaf or flower using a detail brush and slightly thinned paint. The key is confidence: keep the brush moving and do not over-correct. This design looks high-end with minimal effort.
How to Paint a Tote Bag Neatly
Prewash when appropriate and protect the back panel
If your tote feels stiff or “crisp,” prewash it without fabric softener, then air dry. This removes sizing and helps paint absorb evenly. Iron it flat before painting. Insert cardboard that fits snugly to prevent paint transfer and to keep the canvas from shifting while you work.
Sketch or stencil before applying paint
Light pencil lines are your best friend. For designs like lettering, checkerboard, or geometric shapes, measure and mark center points first. If using a stencil, secure it with low-tack tape. For repeated motifs like daisies, make a quick paper template so size stays consistent across the bag.
Build thin layers and prevent bleeding
- Start with a dry brush and small paint load: Too much paint floods the weave and causes fuzzy edges.
- Use dabbing for stencils: Pouncing straight down reduces paint being pushed under stencil edges.
- Let layers dry before adding details: This prevents muddy colors and keeps outlines crisp.
- For sharp lines, tape and burnish: Press tape down firmly with a fingernail or old gift card, then paint away from the tape edge.
- Fix small bleeds carefully: Once dry, touch up with background color using a tiny brush. On natural canvas, an off-white paint often blends better than bright white.
Beginner tip: If your canvas is very absorbent, a first “primer” layer of watered-down fabric paint in the background area can reduce later bleeding, but keep it light so the bag stays flexible.
Set Paint and Care for the Bag
Follow paint-specific heat-setting instructions
Heat-setting is what turns many Painted Canvas Tote Bags from “looks good today” into “still looks good after laundry.” Always read the paint label, because times and temperatures vary. A common method is ironing from the back side or through a pressing cloth once the paint is completely dry (often 24 hours). Keep the iron moving to avoid scorching and make sure you cover the entire painted area evenly.
If your tote has plastic parts or a synthetic blend, use a lower heat setting and a pressing cloth to protect the fabric. Some fabric paints air-cure without heat, but they still need a full cure time before washing.
Wash and dry without damaging the design
For longest life, wait at least 72 hours after painting before the first wash (or whatever your paint brand recommends). Turn the bag inside out, wash cold on gentle, and use mild detergent. Skip bleach and avoid soaking for long periods. Air drying is safest, but if you use a dryer, keep heat low. If the design ever looks dull, a quick inside-out iron can refresh the surface and smooth the fabric.
If you enjoy reusable projects, consider making coordinating storage or gift packaging using these reusable fabric gift bags with easy sewing techniques so your tote and gifting style match.
Reader testimonial: “I tried the checkerboard design on a plain natural canvas tote, and the cardboard insert tip made a huge difference. My first attempt on scrap fabric bled a lot, but using less paint and dabbing with a sponge kept the edges clean. I have washed it twice inside out and it still looks bright.”
Frequently Asked Questions About Painted Canvas Tote Bags: 15 Creative DIY Designs
What paint stays on canvas tote bags?
Fabric paint designed for cotton is the most reliable choice because it dries flexible and is meant to be washed after heat-setting or curing. Acrylic paint can also work well if mixed with textile medium, which improves wash durability and reduces stiffness. Avoid regular craft paint that is not labeled for fabric unless you are comfortable with cracking over time. Whatever you use, test on a hidden area first.
Do you need to seal a painted tote bag?
Most fabric paints do not need a separate sealer if they are properly heat-set. Adding a clear sealer can sometimes make the design feel stiff or tacky and may yellow over time, especially on light canvas. If you want extra protection, choose a flexible fabric medium or topcoat made for textiles and test it first. For most everyday totes, careful heat-setting and gentle washing are enough.
Can you wash a hand-painted canvas bag?
Yes, as long as the paint is meant for fabric and has been cured and heat-set according to directions. Turn the bag inside out and wash cold on gentle. Air dry when possible. Frequent hot washes and high dryer heat are what usually cause fading or cracking. If you plan heavy use, choose darker colors and simpler designs that are easier to touch up later.
How do I stop paint from bleeding under a stencil or tape?
Use less paint than you think you need and apply it in thin layers. With stencils, dab straight up and down with a sponge or stencil brush instead of brushing side-to-side. With tape, press the edge down firmly and paint away from the tape edge. Removing tape while the paint is still slightly damp often gives a cleaner line than waiting until fully dry.
Why does my painted area feel stiff?
Stiffness usually comes from thick paint. Canvas can handle paint, but it still behaves like fabric, so multiple thin coats are better than one heavy coat. If you are using acrylic, make sure you added textile medium at the recommended ratio. Also avoid painting huge solid blocks too heavily. Consider designs that leave some canvas unpainted, like line art, scattered motifs, or layered shapes with breathing room.
How can I make Painted Canvas Tote Bags as gifts?
Choose a design that matches the recipient’s style, like monograms, bookish quotes, or simple botanicals in their favorite colors. Heat-set carefully so the gift holds up. Then “finish” the presentation by stuffing the tote with tissue and small items. For an extra coordinated touch, pair it with simple sewn packaging from these reusable fabric gift bag tutorials so everything feels intentional and reusable.
Final Thoughts
Painted Canvas Tote Bags are a perfect entry point into fabric crafting because the materials are accessible, the mistakes are usually fixable, and the final piece is genuinely useful. If this is your first tote, start with something forgiving like minimal wildflower stems, scattered hearts, or abstract wavy lines. Focus on good prep, thin layers, and proper heat-setting, and you will get a result you are proud to carry.
Your next step is simple: pick one design from the list, gather your paint and tape, and do a quick test swatch on scrap fabric or the inside hem of the tote. Once you see how your paint behaves on canvas, you will feel confident scaling up to bolder designs and even making coordinated sets for gifting and everyday errands.