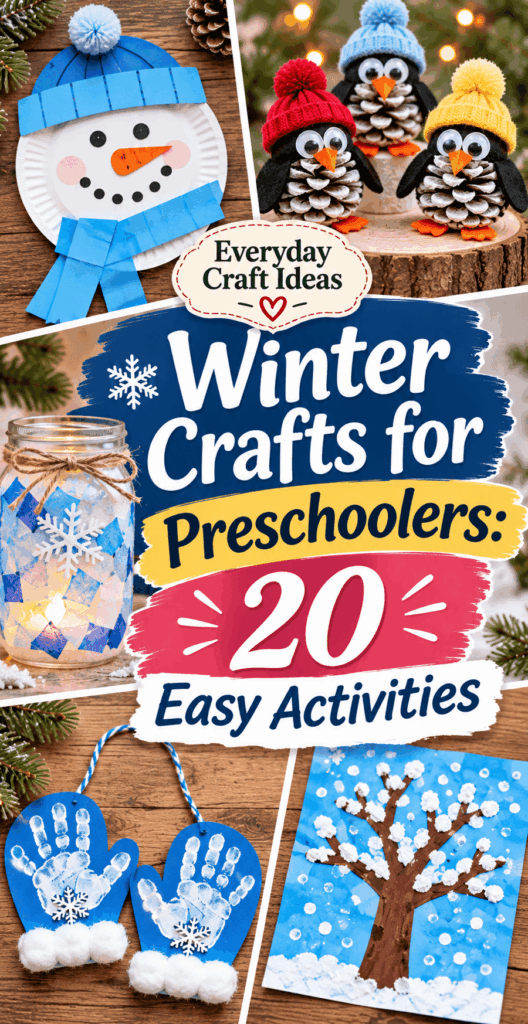
Winter Crafts for Preschoolers: 20 Easy Activities
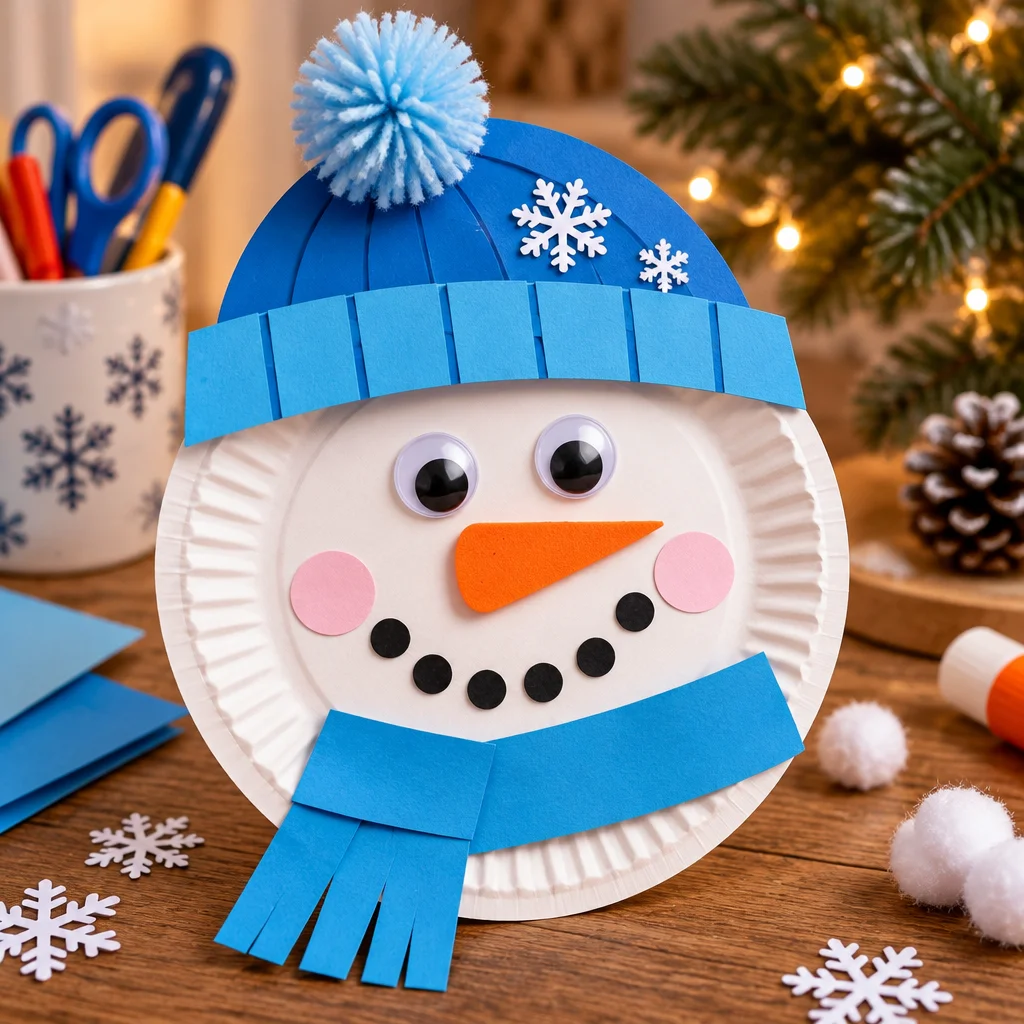
winter crafts for preschoolers are a wonderful way to fill cold days with hands on play that also builds fine motor skills, color recognition, and early creativity. If you are looking for simple, low pressure projects you can set up at the kitchen table, this guide gives you 20 easy activities with practical instructions, safety notes, and options for different attention spans. Most ideas use familiar supplies like paper, glue, cotton balls, and paint, and they are designed to finish in one sitting.
If you are crafting with multiple ages, you may also like these helpful roundups of winter crafts for kids and Christmas crafts for kids for slightly older children who want extra challenge. For preschoolers, the goal is not perfection. It is a pleasant process, a finished piece they feel proud of, and a setup that is realistic for you to manage.
Below you will find materials, prep, and step by step techniques you can reuse across many winter themes, plus troubleshooting tips for the most common “why is this not sticking?” moments.
Materials and tools needed
The best winter crafts for preschoolers rely on a small core “craft kit” you can keep in a bin. Having consistent tools reduces frustration because kids learn what each item does and where it goes. Aim for washable, non toxic supplies and choose larger items that are easier for small hands to grasp.
- Paper basics: white cardstock, construction paper, blue paper for winter skies, and paper plates. Cardstock holds glue and paint better than thin printer paper.
- Adhesives: washable school glue, glue sticks, and painter’s tape. Glue sticks are great for paper to paper. School glue is better for cotton balls, pom poms, and heavier pieces.
- Paint and coloring: washable tempera paint, dot markers, crayons, and washable markers. Tempera gives bold coverage for penguins, polar bears, and night skies.
- Textures: cotton balls, white pom poms, craft foam, tissue paper, and aluminum foil. Texture makes winter scenes feel special and keeps preschoolers engaged.
- Simple tools: child safe scissors, a hole punch, large paintbrushes, sponge brushes, and a plastic tray or baking sheet to contain mess.
- Optional extras: googly eyes, pipe cleaners, yarn, stickers, and large buttons (only with close supervision because they can be choking hazards).
Tip: keep baby wipes or a damp washcloth nearby, plus a spare shirt or art smock. Cleanup goes faster when it is part of the routine.
Skill level and estimated time
Most winter crafts for preschoolers are beginner level when you plan for three things: short steps, quick wins, and flexible outcomes. Preschoolers often work best in 10 to 20 minute bursts. If a project takes longer, build in a drying break or turn it into two sessions.
Typical time ranges: 5 to 10 minutes for stickers, dot marker art, or simple tearing and gluing. 15 to 30 minutes for paper plate animals, sponge painting, or collage scenes. 30 to 45 minutes for projects with paint layers or multiple components, such as snow globes or garlands.
Project size and use: many ideas here become fridge art, window decor, gift tags, or simple classroom displays. If you want something sturdier, use cardstock, paper plates, or glue pieces onto a larger backing sheet.
Adults can pre cut shapes to keep the child focused on the fun parts like painting and assembling. For older preschoolers, you can offer a choice: “Do you want to cut the hat yourself or should I do it?” That keeps the craft accessible while still encouraging skill building. When in doubt, choose the easiest version so the experience stays positive and you actually finish.
Preparation and safety tips
A little setup makes winter crafts for preschoolers smoother and safer. Start by covering the table with kraft paper, a vinyl tablecloth, or an old sheet. Place materials in small bowls or muffin tins so kids can see options without dumping everything at once.
- Choking hazards: avoid tiny beads and sequins with children under 3, and supervise closely with buttons, mini pom poms, and googly eyes. When you want sparkle, use chunky glitter glue or metallic paper instead of loose glitter.
- Scissor safety: use blunt tip child scissors. Teach “thumb on top” and keep cutting tasks short. Pre cut circles and triangles when needed.
- Paint safety: choose washable, non toxic paint. Dress kids in old clothes and keep a damp cloth nearby for hands.
- Allergy awareness: if using flour dough, shaving cream, or scented items, check sensitivities first. Unscented options are best for group settings.
- Drying plan: set up a drying area, like a cookie rack over paper. Label artwork with the child’s name before paint starts.
If you are crafting with a mixed age group, give preschoolers the larger, simpler pieces while older kids handle detailed cutting. This prevents frustration and keeps everyone engaged.
Project ideas and variations
Here are 20 winter crafts for preschoolers you can rotate through the season. Each idea uses simple materials and can be adjusted up or down depending on age and patience. If you want more textile style projects, you may enjoy this beginner guide to felt crafts for beginners because felt is forgiving and easy to glue.
Beginner friendly option
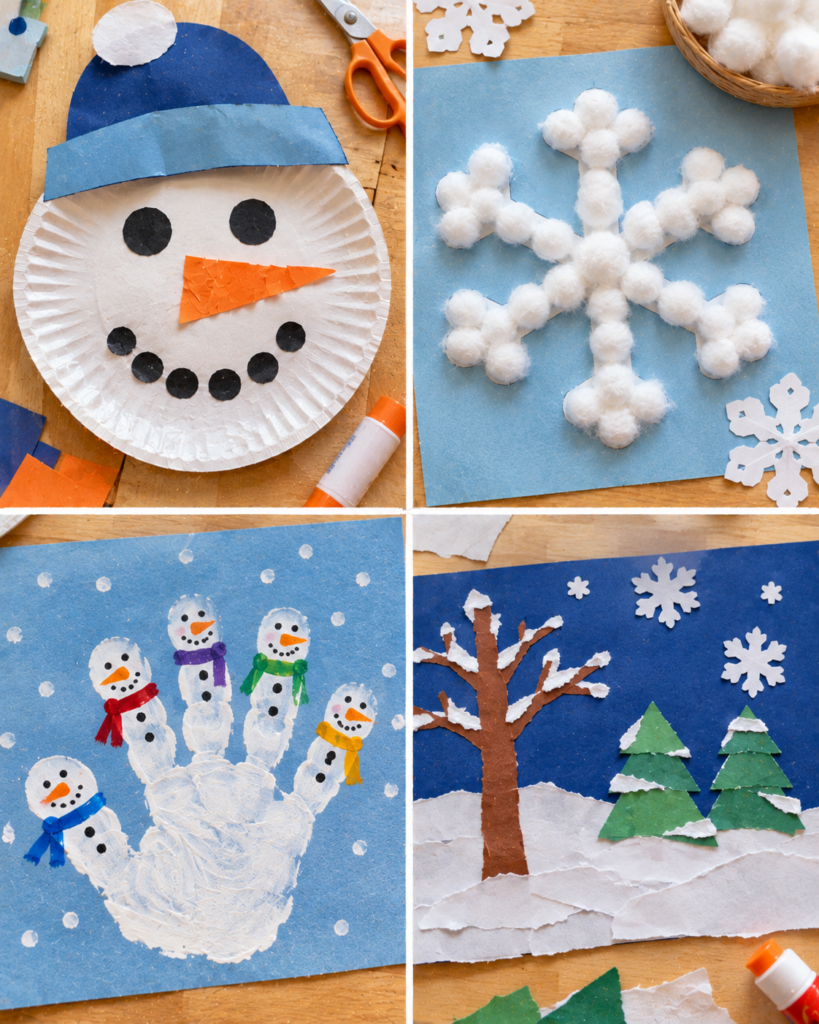
- 1. Cotton ball snowman: glue three cotton balls in a stack, add paper hat and stick arms.
- 2. Handprint mitten: trace a hand with fingers together, cut, decorate with stickers.
- 3. Sticker snowstorm: blue paper plus white dot stickers and a drawn house.
- 4. Dot marker snowflakes: coffee filter or cardstock circles dotted with blue and purple.
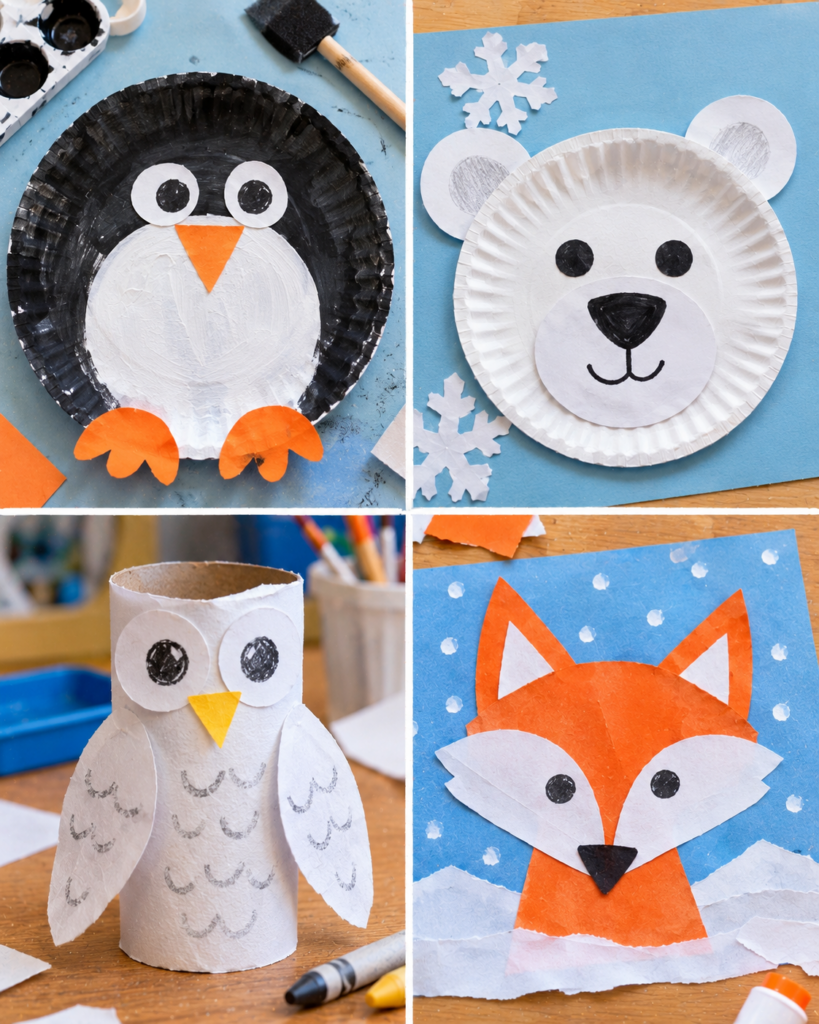
- 5. Paper plate polar bear: paint plate white, add ears, nose, and eyes.
- 6. Tissue paper “ice” collage: tear white and light blue tissue, glue in layers.
- 7. Simple penguin: black oval body, white belly, orange triangle beak.
Budget friendly option
- 8. Toilet roll snowman: wrap with white paper, draw face, add paper scarf.
- 9. Newspaper winter tree: twist paper into a trunk shape, glue onto background, add “snow” with white paint.
- 10. Aluminum foil snow prints: crumple foil into a ball and stamp white paint.
- 11. Paper chain “icicles”: white and pale blue strips looped into hanging chains.
- 12. Salt “snow” art: draw with glue, sprinkle salt, then drip watercolor for frosty lines.
- 13. Recycled magazine mittens: cut mitten shapes and collage with cool colors.
Creative and personalized option
- 14. Snow globe picture: child photo or drawing inside a jar outline, add confetti dots drawn on.
- 15. Winter name banner: letters on triangles, decorate with snowflakes, hang on yarn.
- 16. Puffy paint snowman: mix glue with shaving cream, paint raised snowy shapes.
- 17. Northern lights sponge painting: blend greens and purples over black paper.
- 18. Yarn wrapped “ski” shapes: cardboard skis wrapped with yarn, add paper boots.
- 19. Beaded pipe cleaner snowflakes: only for older preschoolers with supervision, use large beads.
- 20. Winter village collage: cut houses, add windows, cotton snow, and a moon.
Rotate these ideas weekly and repeat favorites. Repetition builds confidence and better scissor control.
Practical instructions and techniques
Instead of giving 20 full tutorials, this section teaches a repeatable “craft flow” you can use for most winter crafts for preschoolers, plus a detailed example for a simple snowman scene.
- Choose a sturdy base (1 minute): start with cardstock, a paper plate, or a full sheet of construction paper. A firm base prevents curling when glue or paint is added.
- Pre cut 2 to 5 key shapes (3 to 7 minutes): cut circles, hats, triangles, or animal ears. Keep shapes oversized. Preschoolers can decorate better than they can cut perfect curves.
- Offer “limited choices” (30 seconds): put out two marker colors, one paint tray, and one texture item. Too many options can overwhelm and lead to dumping.
- Model glue dots, not puddles (1 minute): show how to make small glue dots around the edges and a few in the middle. This prevents soggy paper and helps pieces stick.
- Layer from background to foreground (5 to 15 minutes): paint sky first, then trees, then snow, then characters. This keeps the picture readable and reduces smearing.
- Press and pause (1 minute): after placing cotton balls or tissue, press gently with a dry palm and count to five. The pause helps adhesion more than adding extra glue.
- Dry flat and label (ongoing): write the child’s name and date on the back immediately. Wet paint makes later labeling messy.
Example: Simple snowman craft (15 to 25 minutes)
- Paint a light blue background or color it with crayons. Let the child scribble and blend. It reads as a winter sky.
- Glue three paper circles or cotton balls in a vertical stack. Keep a finger width between pieces so the shapes stay distinct.
- Add details: paper hat, drawn smile, orange triangle nose, and two twig arms made from brown paper strips.
- Make snow with white paint fingerprints along the bottom. Fingerprints are quick and look like fluffy drifts.
Common mistakes and troubleshooting
Even easy winter crafts for preschoolers can go sideways when glue, paint, or expectations are off. These quick fixes can save the project without starting over.
- “Nothing is sticking to the paper.” Often the glue layer is too thin for textured items. Use school glue for cotton balls and pom poms, and press for five seconds. If the paper is glossy (some construction paper is coated), switch to cardstock.
- “My child used too much glue and it’s wrinkling.” Blot gently with a paper towel and add a dry paper layer on top, like a “snow drift” strip. Wrinkles can become part of the texture.
- “Paint turned brown and muddy.” Too many colors mixed at once. Offer two cool colors at a time and rinse the brush between dips. Sponge brushes also reduce over mixing.
- “Small pieces are frustrating.” Scale up. Replace tiny snowflakes with big coffee filter snowflakes, or use torn tissue instead of detailed cutting.
- “Glitter is everywhere.” Skip loose glitter. Use glitter glue, metallic crayons, or pre glittered foam sheets that stay put.
“I tried the cotton ball snowman with my 4 year old and the ‘press and pause’ tip made a huge difference. Last time everything slid around. This time it actually stayed in place, and we added fingerprint snow at the end. He asked to make another one the next day.”
Remember that preschool crafting is process art. If the penguin looks like a blob, it is still a win if your child practiced gluing and felt successful.
Finishing and styling tips
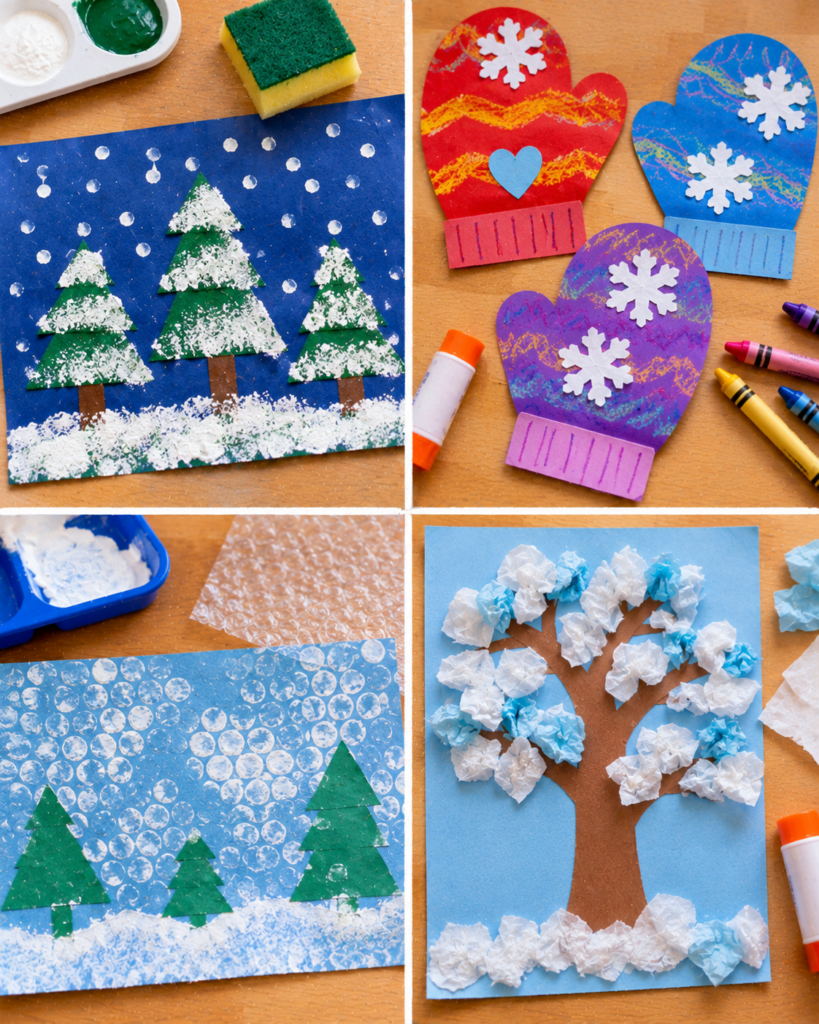
Finishing touches help winter crafts for preschoolers look polished enough to display, gift, or send home from school. The goal is not to “fix” the child’s work, but to help it hold together and present well.
- Use a simple border: mount the finished art on a slightly larger sheet of black, navy, or red paper. A border hides wrinkled edges and instantly frames the piece.
- Add a name tag or caption: write “Snowy Night” or “My Polar Bear” at the bottom. Preschoolers love seeing their words dictated by you, and it makes keepsakes more meaningful.
- Strengthen hanging crafts: if you make garlands or paper chains, reinforce holes with a small piece of tape before threading yarn. This prevents tearing.
- Seal only when appropriate: most preschool art does not need sealing. If you used salt art or a lot of tissue paper, a light spray sealer can help, but use it outdoors and away from children. Many families simply display and then recycle later.
- Display ideas: clip art to a string with clothespins, tape to windows, or create a “winter wall” collage. For adult companion projects to decorate the home alongside the kids’ art, browse these winter crafts for adults.
Take a quick photo before it goes on the fridge. You will appreciate having a record, especially for 3D pieces that do not store well.
Storage and care
Storing kids’ artwork can feel like its own winter project. A simple system keeps the best pieces safe without taking over your home. For flat winter crafts for preschoolers like collages and paintings, let them dry completely, then stack with plain paper between layers to prevent sticking. A large under bed plastic bin or a labeled portfolio envelope works well for seasonal storage.
For 3D crafts like toilet roll snowmen or paper plate animals, choose one “display shelf” for current favorites. When the shelf is full, let your child pick one to keep and one to photograph and recycle. This avoids clutter battles and gives your child ownership.
Care tips: keep crafts away from heat vents and humid bathrooms. Glue can soften in humidity, and markers can transfer if artwork is pressed together too soon. If an arm or button falls off later, reattach with a small dot of tacky glue and hold for a slow count to ten. If you are sending crafts to grandparents, place them between two pieces of cardboard in an envelope so cotton balls and tissue layers do not get crushed.
Frequently Asked Questions About Winter Crafts for Preschoolers: 20 Easy Activities
What winter crafts can preschoolers make?
Preschoolers do best with crafts that use big shapes and repeatable actions like stamping, tearing, gluing, and dabbing paint. Great options include cotton ball snowmen, paper plate polar bears, penguin collages, sticker snowstorms, coffee filter snowflakes, and tissue paper “ice” mosaics. Look for projects with a clear start and finish in under 30 minutes, and consider pre cutting hats, scarves, and circles so kids can assemble confidently.
What winter crafts are safe for three year olds?
For three year olds, prioritize large materials that are hard to swallow and use washable, non toxic supplies. Choose glue sticks, chunky crayons, dot markers, and large cotton balls. Avoid loose glitter, tiny beads, and mini pom poms unless you can supervise one on one. Use blunt tip child scissors only if the child is ready, or do the cutting yourself and let them focus on decorating and gluing.
How do you make a simple snowman craft?
A simple snowman craft can be made with three white paper circles or three cotton balls glued in a stack on blue paper. Add a paper hat, a small orange triangle nose, and draw eyes and a smile with marker. For arms, glue on two brown paper strips. Finish by adding fingerprint snow along the bottom with white paint. The key is using the right glue for the materials and pressing each piece briefly.
What are low mess winter activities?
Low mess options include sticker scenes, glue stick collages with pre cut shapes, dot marker snowflakes, crayon resist (white crayon snowflakes colored over with watercolor), and paper chain garlands. If you want the “paint look” without drips, use tempera paint sticks or sponge stamping with just a small amount of paint on a tray. Keeping materials in small containers also prevents big spills and dumping.
What materials work for preschool winter art?
Reliable winter art materials include cardstock, construction paper, paper plates, cotton balls, tissue paper, washable tempera, glue sticks, and school glue. For winter sparkle without mess, use metallic crayons, glitter glue, or foil. For texture, pom poms and yarn are fun, but choose larger sizes. When you build your supply bin around these basics, you can create dozens of winter crafts for preschoolers without extra shopping.
Final thoughts
With a small set of supplies and a flexible mindset, winter crafts for preschoolers can become an easy seasonal routine rather than a stressful event. Pick two or three favorites from the list, pre cut a few shapes, and focus on simple techniques like glue dots, stamping, and layering. When something goes wrong, remember that most “mistakes” are just texture and character, and they often make the finished piece more charming.
Your next step: choose one quick project for today, like a cotton ball snowman or sticker snowstorm, and set a timer for 20 minutes. End with a photo and a proud display spot. Tomorrow, repeat with a new twist, like a penguin or polar bear, and you will build a whole winter gallery in no time.