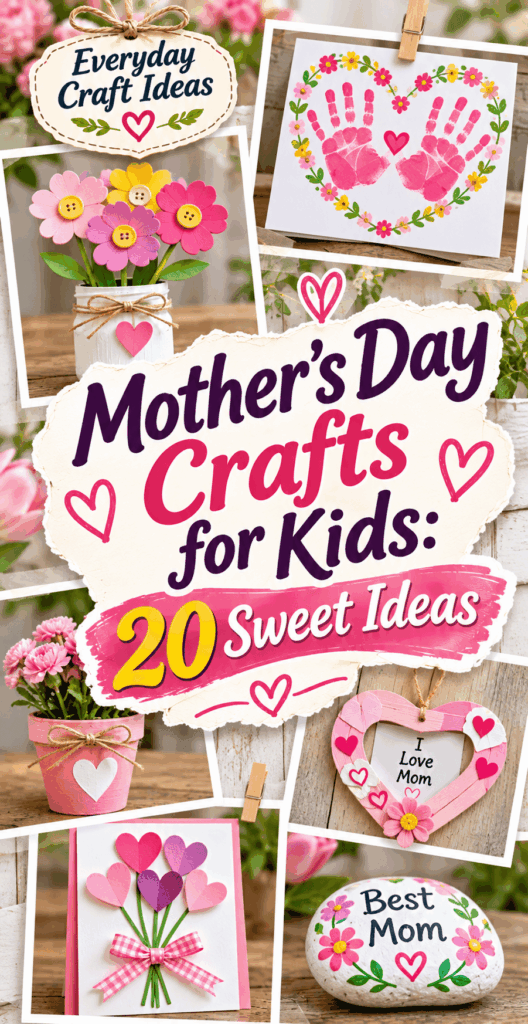
Mother’s Day Crafts for Kids: 20 Sweet Ideas
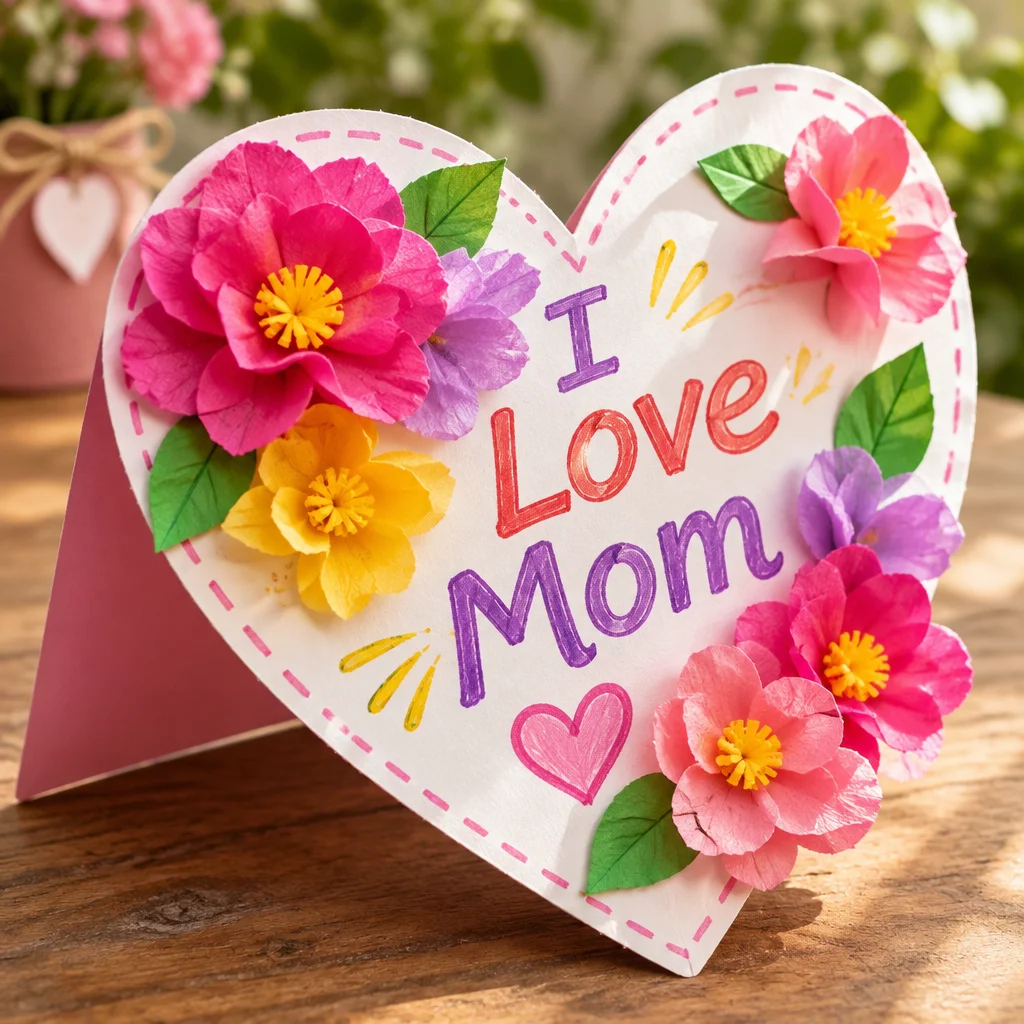
Looking for mother’s day crafts for kids that feel genuinely sweet, not stressful? You are in the right place. The best kids’ gifts are the ones that capture a moment in time, a tiny handprint, a funny misspelling, a carefully chosen color, or a photo that makes Mom smile on a hard day. This guide gives you 20 realistic, beginner-friendly craft ideas you can make at home or in a classroom, with clear materials, time estimates, and step-by-step help where it matters most. You will also find quick ways to prep supplies, smart substitutions if you are on a budget, and troubleshooting for the most common “why is this falling apart?” craft emergencies.
Why This Project Is Worth Making
These mother’s day crafts for kids are worth making because they are personal, doable, and flexible for different ages. Most projects here take 15 to 60 minutes, with drying time sometimes overnight. Cost is typically low, especially if you use household supplies like paper, cardboard, jars, and recycled containers. Difficulty ranges from toddler-friendly stamping and stickers to older-kid projects involving careful cutting, folding, or simple hand sewing.
The outcome is more than “a craft.” You will end up with a card Mom actually wants to keep, a small gift she can use at work, or a keepsake that preserves a stage of childhood (handprints are magical that way). These ideas also work well for:
- Classrooms and groups because they can be batched with stations (cutting, decorating, assembling).
- Busy families because several options use fast-drying materials and minimal setup.
- Kids who dislike “art” because photo-based gifts and simple printable-style layouts still feel successful.
If you only have one afternoon, pick one card craft and one “useful” gift, like a bookmark or decorated mug. That pairing hits both sentimental and practical without overload.
Supplies, Materials, and Beginner Setup
A small, well-organized supply kit makes mother’s day crafts for kids smoother and far less messy. You do not need fancy tools, but you do want reliable basics and a clean, protected workspace.
- Adhesives: School glue for paper, glue sticks for quick classroom work, and double-sided tape for instant hold. A low-temp glue gun is helpful for adults to assemble bows and heavier pieces, but supervise closely.
- Cutting tools: Kid scissors (blunt tip) plus one pair of sharp adult scissors for clean edges. A craft knife is optional but should be adult-only.
- Color and design: Washable markers, crayons, colored pencils, watercolor trays, and stamp pads. Acrylic paint is great for handprints but needs smocks and drying time.
- Paper basics: White cardstock, construction paper, tissue paper, and one cereal box (free “chipboard” for sturdy crafts).
- Extras: Ribbon, buttons, stickers, pom-poms, washi tape, and a black fine-tip marker for outlining names and dates.
Beginner setup tip: Cover the table with a trash bag or kraft paper, set out a “wet area” (paint) and a “dry area” (paper), and keep baby wipes nearby for fast hand cleanup.
Safety notes: Choose non-toxic paint, keep small embellishments away from toddlers (choking hazard), and have an adult handle hot glue and hole punches. Ventilate if using permanent markers.
Simple cards and keepsakes
Cards are the classic mother’s day crafts for kids for a reason: they are meaningful, inexpensive, and easy to customize. Here are five sweet ideas that work across ages, plus practical tips to make them look finished.
- 1) Pop-up heart card (20 to 40 minutes, medium): Fold cardstock, cut a small slit, and insert folded paper hearts to “stand up” when opened. Use thicker paper so it does not flop.
- 2) “Reasons I Love You” mini book (30 to 60 minutes, easy): Stack 6 to 10 small rectangles, staple on the left, and write one reason per page. Younger kids can dictate while an adult writes.
- 3) Watercolor resist card (25 minutes plus drying, easy): Draw with white crayon (hearts, flowers, “MOM”), then paint watercolor over it. The wax resists paint and reveals the message.
- 4) Button bouquet card (20 to 30 minutes, easy): Glue buttons as flower heads, draw stems with marker, add a paper bow. For toddlers, swap buttons for paper circles.
- 5) Keepsake “coupon book” (30 minutes, easy): Include coupons like “breakfast helper,” “extra hug,” or “quiet time.” Staple at the top and decorate the cover.
Finishing advice: Outline key shapes with a black marker, add the child’s name and date on the back, and use double-sided tape for clean adhesion without wrinkles.
Reader testimonial: “I used the ‘Reasons I Love You’ mini book with my first graders. Having them dictate the sentences made it heartfelt, and stapling the pages was quicker than I expected. Several parents told me they cried happy tears.”
Handprint and fingerprint art
Handprint crafts are the most treasured mother’s day crafts for kids because they capture size and personality in one glance. They do require a bit of prep so prints are crisp.
Six handprint and fingerprint ideas:
- 6) Handprint flower bouquet: Stamp 3 to 5 handprints in different colors as petals, then add stems with green marker or paper strips.
- 7) Fingerprint heart wreath: Draw a heart outline and stamp fingerprints around it in pinks and reds. Add “Love You, Mom” in the center.
- 8) Handprint apron art: Use fabric paint on a plain apron. Adult supervision is key, and heat-set if the paint requires it (follow label directions).
- 9) Thumbprint “mom and me” birds: Two thumbprints side by side become bird bodies. Add beaks, feet, and a branch with fine marker.
- 10) Handprint butterfly: Two mirrored handprints for wings, a painted body in the center, and antennae drawn on top.
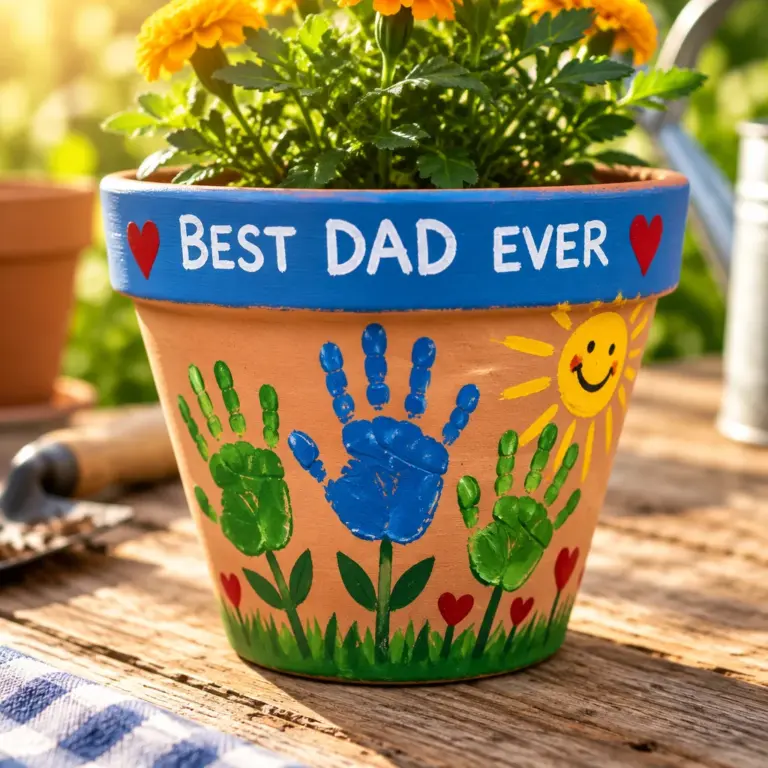
How to get clean prints: Use a foam brush to apply paint evenly to the hand (less goop than dipping). Press straight down and lift straight up. Keep a test paper nearby and do one practice print first.
Constraints: Washable paint can look lighter when dry, so choose slightly darker shades. If paper curls, tape corners to the table before printing.
Paper flowers
Paper flowers are wonderful mother’s day crafts for kids because they last longer than real blooms and teach useful skills like folding, cutting, and shaping. They also scale well for classrooms because each child can make a few flowers for a shared bouquet.
Five paper flower ideas:
- 11) Tissue paper carnations (20 to 30 minutes, easy): Stack 6 to 10 tissue sheets, accordion-fold, tie center with pipe cleaner, and fluff the layers. Great for little hands.
- 12) Spiral paper roses (30 minutes, medium): Cut a spiral from cardstock, roll from the outside in, and glue the base. Older kids do this best.
- 13) Cupcake liner flowers (15 to 25 minutes, easy): Flatten liners, layer 2 to 3 sizes, glue a button or paper circle in the center, and add a straw stem.
- 14) Paper tulips (25 to 40 minutes, medium): Fold and glue petal shapes into a cup, attach to a craft stick, wrap green paper for the stem.
- 15) Handcut daisy chain bouquet (30 to 45 minutes, easy): Cut simple petal shapes and glue around a circle center. Use one template traced from a cup for consistency.
Troubleshooting: If tissue flowers tear, use fewer layers or less aggressive fluffing. If cardstock roses pop open, use a stronger glue dot and hold for 15 seconds. Add a ribbon tie to hide glue seams at the base.
Photo gifts
Photo-based mother’s day crafts for kids are ideal for kids who prefer assembling over drawing. You can print photos at home on plain paper or use a local print shop. The key is choosing a project that protects the photo from bending and fingerprints.
Five photo gift ideas:
- 16) Popsicle stick picture frame (30 to 45 minutes, easy): Glue sticks into a square on top of a cardstock backing. Decorate, then glue the photo behind the opening. Add a magnet strip for the fridge.
- 17) Photo bookmark (20 to 30 minutes, easy): Trim photo into a rectangle, glue onto cardstock, laminate with clear packing tape, punch a hole, and add ribbon.
- 18) “All About My Mom” poster (30 to 60 minutes, easy): Kids fill in prompts like “She laughs when…” and “Her favorite drink is…” and add a small photo. Keep it honest and sweet.
- 19) Photo keychain (shrink plastic) (45 to 60 minutes plus bake time, medium): Use shrink film, trace a small photo or draw a portrait, then bake with adult supervision following package temperatures.
- 20) Decorated photo jar (30 minutes plus drying, easy): Wrap a clean jar with tissue and diluted glue for a “stained glass” look. Place a battery tea light inside and tape a small photo tag to the rim.
Realistic constraints: Regular paper photos can wrinkle with wet glue. Use glue stick, double-sided tape, or mount photos onto cardstock first. For jars, use battery lights only, not real flames.
Preschool versus older-kid options
Choosing age-appropriate mother’s day crafts for kids prevents frustration and helps the finished gift look intentional. The biggest differences are cutting ability, patience for drying time, and tolerance for multi-step assembly.
Preschool (ages 3 to 5): Aim for stamping, painting, and simple gluing. Great picks include fingerprint heart wreaths, tissue paper carnations, button bouquet cards (swap buttons for paper circles if needed), and handprint butterflies. Prep shapes ahead of time so kids can focus on decorating. Use sturdy cardstock and glue sticks to avoid drippy messes.
Early elementary (ages 6 to 8): Kids can handle folding, tracing, and simple measuring. Try pop-up heart cards, cupcake liner flowers, photo bookmarks sealed with packing tape, or an “All About My Mom” poster. Encourage them to add a date and a short message for meaning.
Older kids (ages 9 to 12): Introduce crafts with precision and durability: spiral paper roses, shrink plastic keychains, and more complex picture frames. Older kids can also write longer “reasons I love you” booklets and create a cohesive color scheme.
Constraint tip: If a child gets perfectionist, offer “design choices” (two color palettes, two layout options) rather than open-ended freedom. It keeps the project calm and successful.
Gift presentation
Presentation turns mother’s day crafts for kids into a gift Mom feels excited to open. You do not need elaborate packaging, just a few finishing touches that protect the craft and highlight the message.
- Wrap with purpose: Slide cards and flat art into a large envelope with a piece of cardstock behind it to prevent bending. For bookmarks, add a small tag that says “Made for you.”
- Simple gift bags: Decorate a plain lunch bag with stamps or stickers. Punch two holes at the top and tie with ribbon or yarn.
- Bouquet styling: Gather paper flowers with a rubber band, then wrap with kraft paper or a recycled grocery bag turned inside out. Tie with ribbon and add a handwritten note.
- Label it: Include child’s name, age, and date. For group crafts, add class and year. These details make keepsakes more meaningful later.
Realistic constraint: Glitter is pretty but messy and can shed for months. If you want sparkle, choose glitter glue that dries fully, sequins glued firmly, or metallic markers instead.
Low-cost supply prep
You can make mother’s day crafts for kids on a tight budget by leaning on recycling and smart prep. A little cutting and sorting ahead of time saves both money and stress, especially for classrooms.
Budget substitutions that still look good:
- Cardstock substitute: Cereal boxes or shipping boxes cut into panels and covered with white paper make sturdy card bases and frames.
- Ribbon substitute: Yarn, braided strips of plastic bags, or twisted paper can tie bouquets and tags.
- “Embellishment bin”: Save buttons from old shirts, scrap fabric, magazine pages for collage, and leftover wrapping paper.
Prep that pays off: Pre-cut heart shapes, flower centers, and frame backings. Portion paint into egg cartons or small cups to prevent dumping. Put each child’s pieces in a labeled tray or paper plate.
Design hack: Limit each project to 2 to 3 main colors. Even inexpensive materials look intentional when the palette is consistent.
Constraint: Tape and glue behave differently on recycled cardboard. If glue is soaking in, switch to tacky glue or add a thin layer of white paper on top as a smoother surface.
Common Mistakes and How to Fix Them
Even the sweetest mother’s day crafts for kids can run into problems. Here are the fixes I use most often as a DIY blogger and mom-helper.
- Wrinkled paper from wet glue: Use glue sticks or double-sided tape for photos and thin paper. If it already wrinkled, press under a heavy book between two clean sheets once dry.
- Handprints look like blobs: Too much paint is the culprit. Roll paint on with a foam brush, then stamp. Keep fingers slightly spread and press the palm firmly.
- Parts falling off (buttons, sticks, bows): Switch from school glue to tacky glue, and allow longer dry time. For heavier items, adults can add a tiny dot of low-temp hot glue.
- Cards will not close: Pop-up elements are too bulky or glued in the fold. Move them slightly away from the center crease and flatten under a book for 10 minutes.
- Colors bleeding: Markers can bleed through thin paper. Put scrap paper underneath and consider cardstock for final versions.
- Finished craft looks “unfinished”: Add a border line, a title, and the date. A simple outline and a neat signature make a huge difference.
Frequently Asked Questions About Mother’s Day Crafts for Kids: 20 Sweet Ideas
What can toddlers make?
Toddlers do best with sensory, single-step or two-step crafts: fingerprint hearts, handprint butterflies, or a simple sticker card. Prep everything else for them. Use washable, non-toxic paint, dress them in an old shirt, and keep wipes ready. Offer two paint colors at a time to reduce overwhelm. Let prints dry completely, then an adult can add details like “Happy Mother’s Day” and the date.
What are meaningful homemade gifts?
The most meaningful gifts combine a keepsake detail with a personal message. Great examples are a “Reasons I Love You” mini book, an “All About My Mom” page, a framed photo with the child’s handwriting, or any handprint art labeled with age and date. Encourage kids to include one specific memory, such as “I love when we read together,” rather than only general phrases.
How can teachers prep supplies?
For classrooms, batch prep is everything. Choose 1 to 2 core projects (for example, a handprint bouquet and a mini book). Pre-cut all shapes, pre-fold card bases, and set up stations: painting, assembly, and message-writing. Use labeled baggies or trays per student so nothing gets lost. Plan for drying space by taping names to desks or using a drying rack made from stacked paper plates.
How far in advance should we make Mother’s Day crafts?
Make most crafts 3 to 7 days ahead. That window gives you time for drying, re-gluing loose parts, and last-minute message help, without the gift feeling “old.” Painted handprints and decoupage-style jar projects need the most drying time. If you are adding magnets or laminated tape layers, do those the next day after glue has cured for better durability.
What if I do not have a printer for photo gifts?
You can still do photo-based gifts by drawing a portrait, cutting a picture from a duplicated photo you already have, or asking a family member to text you a photo to print at a local shop. Another option is to make a “photo spot” frame and include a note that says, “Add your favorite photo of us here.” It still feels thoughtful and complete.
How do I make kids’ crafts last longer?
Use sturdier bases (cardstock or light cardboard), choose tacky glue for heavier pieces, and let projects dry flat overnight. For bookmarks and small paper gifts, seal with clear packing tape or place inside a clear sleeve. Store finished items in a folder or box away from humidity. Most importantly, write the date and child’s name in permanent marker so the memory survives even if colors fade.
Final Thoughts
With these mother’s day crafts for kids, you can match the project to your time, supplies, and child’s age, while still creating something Mom will truly treasure. If you want quick wins, start with a watercolor resist card or a fingerprint heart wreath. If you want a bigger “wow,” make tissue paper flowers or a popsicle stick frame with a favorite photo. Pick one idea, set up a simple craft station, and focus on the message and the date, those are what turn a cute craft into a lifelong keepsake. Next, consider making a matching Father’s Day card using the same techniques so kids build confidence and skills through repetition.