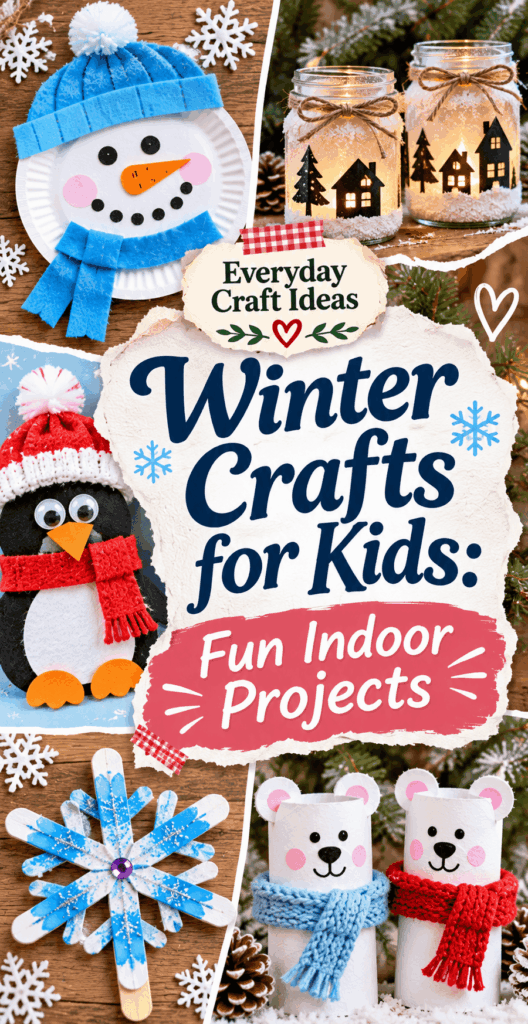
Winter Crafts for Kids: Fun Indoor Projects
When the weather turns chilly and outdoor play gets shorter, winter crafts for kids are a lifesaver. They keep hands busy, build creativity, and make the season feel special even on the coldest afternoons. This guide focuses on fun indoor projects that use easy-to-find supplies, simple techniques, and flexible ideas you can adapt for toddlers, preschoolers, and elementary-age kids.
You will find a mix of classic winter themes like snowflakes, mittens, and cozy animals, plus projects that double as decorations or small gifts. If you want a broader roundup, you can also browse more winter craft ideas for kids for extra inspiration, and if you are crafting around the holidays, these Christmas crafts for kids can pair nicely with the projects here.
Each section below includes materials, setup, step-by-step techniques, and practical troubleshooting so you can help kids succeed without doing the craft for them.
Materials and tools needed
The best winter crafts for kids start with a small, reliable supply kit you can reuse all season. You do not need fancy equipment, but a few kid-friendly basics will make projects smoother and safer. Aim for washable, non-toxic supplies and tools sized for small hands.
- Paper and cardstock: White paper for snowflakes, colored cardstock for mittens and winter scenes, and brown paper bags for puppets. Cardstock holds shape better for garlands and ornaments.
- Adhesives: Glue sticks for paper-to-paper, liquid school glue for pom-poms and cotton balls, and double-sided tape for quick, low-mess assembly. For older kids with supervision, low-temp hot glue can help with heavier items.
- Scissors: Child-safe scissors plus one sharp adult pair for prepping templates. Scissor skills are a big part of crafting, so keep paper options that cut easily.
- Coloring tools: Washable markers, crayons, and colored pencils. Add white gel pen or paint marker for snowy highlights on dark paper.
- Texture items: Cotton balls, yarn, felt scraps, pom-poms, buttons, and foil. These instantly make winter crafts feel cozy and tactile.
- Optional sparkle: Glitter glue, sequins, or metallic paper. Glitter can be messy, so consider glitter glue as a contained alternative.
- Basics for hanging and display: String or twine, ribbon, hole punch, and clothespins for garlands and window displays.
Tip: If you like low-prep crafts, keep a folder of templates and quick printables. You can find more ideas at printable crafts for kids to save setup time on busy days.
Skill level and estimated time
Most winter crafts for kids can be adjusted from very easy to more detailed depending on age and attention span. In general, plan projects in “layers” so kids can stop after a simple version or keep going with extra decoration if they are motivated.
Difficulty levels:
- Toddler and preschool (easy): Tearing paper for collages, stamping, cotton ball snow, sticker decorating, and simple gluing. Adults can pre-cut shapes.
- Early elementary (easy to medium): Cutting simple shapes, folding and cutting paper snowflakes, basic weaving with paper strips, and assembling puppets or garlands.
- Older elementary (medium): Symmetrical designs, layered collage scenes, simple hand sewing (plastic needle and yarn), and building 3D paper structures like lanterns.
Timing: Quick wins like paper snowflakes or mitten collages take about 15 to 30 minutes. Projects with drying time, like painted winter scenes or glue-heavy collages, take 30 to 60 minutes plus drying. If you are crafting with a group, choose a base project that finishes in 30 minutes, then offer optional add-ons for kids who finish early.
Size and use: Many projects here become window art, classroom bulletin board pieces, gift tags, or garlands. Keeping the final use in mind helps kids feel proud and keeps clutter manageable.
Preparation and safety tips
A little prep makes winter crafts for kids calmer and more successful, especially indoors when everyone is sharing the same space. Set up a “create and clean” routine so crafting feels fun, not stressful.
- Protect surfaces: Use a washable tablecloth, parchment paper, or a flattened cardboard box as a craft mat. This also makes it easy to move the project aside for drying.
- Portion supplies: Put small items like sequins and pom-poms into shallow bowls. Offer only a few colors at a time to reduce spills and decision overload.
- Pre-cut for younger kids: For toddlers, pre-cut circles, triangles, or mitten shapes. They still “own” the craft through gluing and decorating.
- Ventilation and skin safety: Choose washable paint and non-toxic glue. If you use markers or paint, keep wipes nearby and encourage hand washing after crafting.
- Scissors and small parts: Teach “thumb on top” scissor grip. Keep beads, buttons, and sequins away from children who still mouth objects, and supervise closely.
- Hot glue boundaries: If you use a low-temp glue gun for heavier decorations, adults should do the glue dots and kids can place items onto the glue.
Finally, keep expectations realistic. Winter crafting is about process, not perfection. A “wonky” snowflake is still a snowflake, and kids learn by experimenting.
Project ideas and variations
To make winter crafts for kids feel fresh all season, rotate projects by technique: folding and cutting, painting and stamping, collage and texture, and simple construction. The ideas below are organized so you can choose what fits your time, budget, and your child’s skill level.
Consider building a “winter craft week” with a theme each day: Monday snowflakes, Tuesday mitten art, Wednesday winter animals, Thursday cozy houses, Friday a garland or window display. Repeating a theme with different materials helps kids practice skills while still feeling creative.
If you craft year-round, it is fun to compare seasonal styles. When warmer weather returns, you can shift to bright colors and outdoor-friendly projects like these summer crafts for kids. That contrast can also help kids understand how artists use color palettes to show seasons.
Below are three specific options that work well indoors, including a beginner version, a budget version, and a more personalized “keepsake” style craft.
Beginner friendly option
Cotton ball snowman collage: Cut or tear a light blue background “sky,” glue three paper circles for the snowman body, then let kids add cotton balls on top for texture. Use construction paper scraps for hat and scarf. Add googly eyes or draw them. This is a great first project because it practices gluing without needing precise cutting.
Budget friendly option
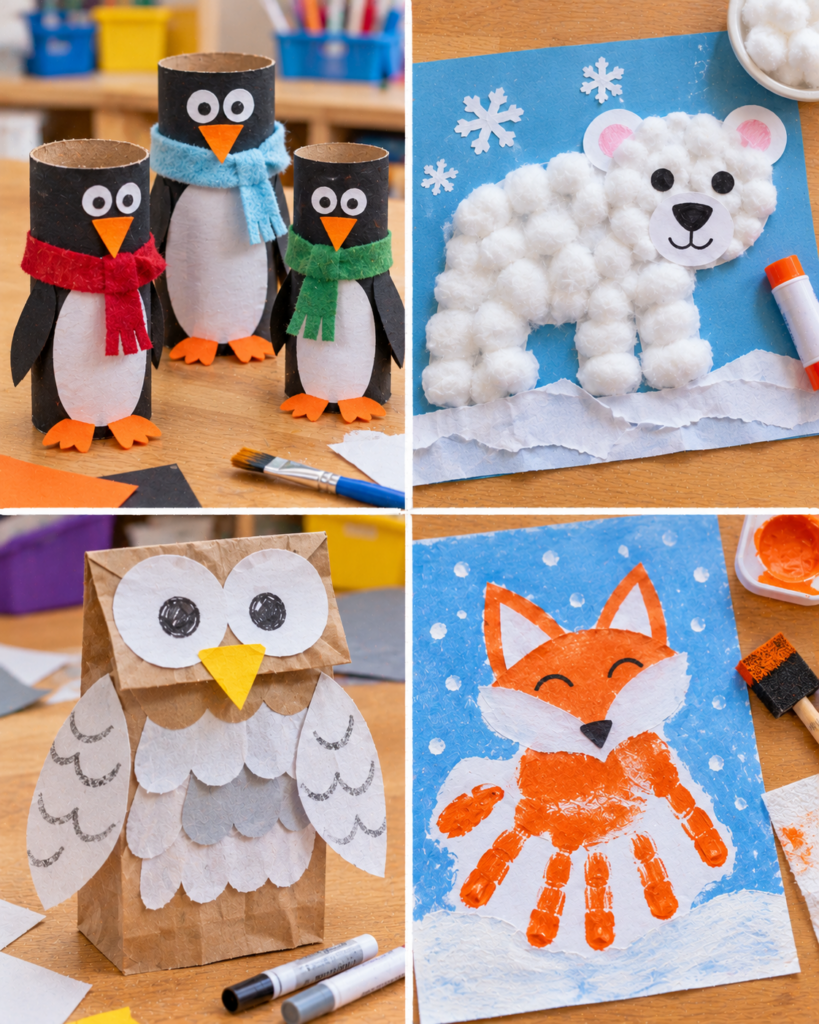
Paper bag winter animal puppet: Use a lunch paper bag as the base. Add ears, a snout, and a scarf from paper scraps. Crumpled tissue paper makes great “fur.” Kids can put on a puppet show afterward, which stretches the value of the craft beyond decoration.
Creative and personalized option
Winter name snowflake banner: Make several paper snowflakes, then write one letter of the child’s name on each snowflake using marker or a white gel pen. String them into a garland with hole punches. Add beads on the string for older kids. This becomes meaningful room decor and builds pride in spelling.
Practical instructions and techniques
This section teaches the core skills behind many winter crafts for kids. Once kids learn these basics, they can mix and match ideas confidently. The instructions below focus on three key techniques: paper snowflakes, layered winter scenes, and sturdy garland construction.
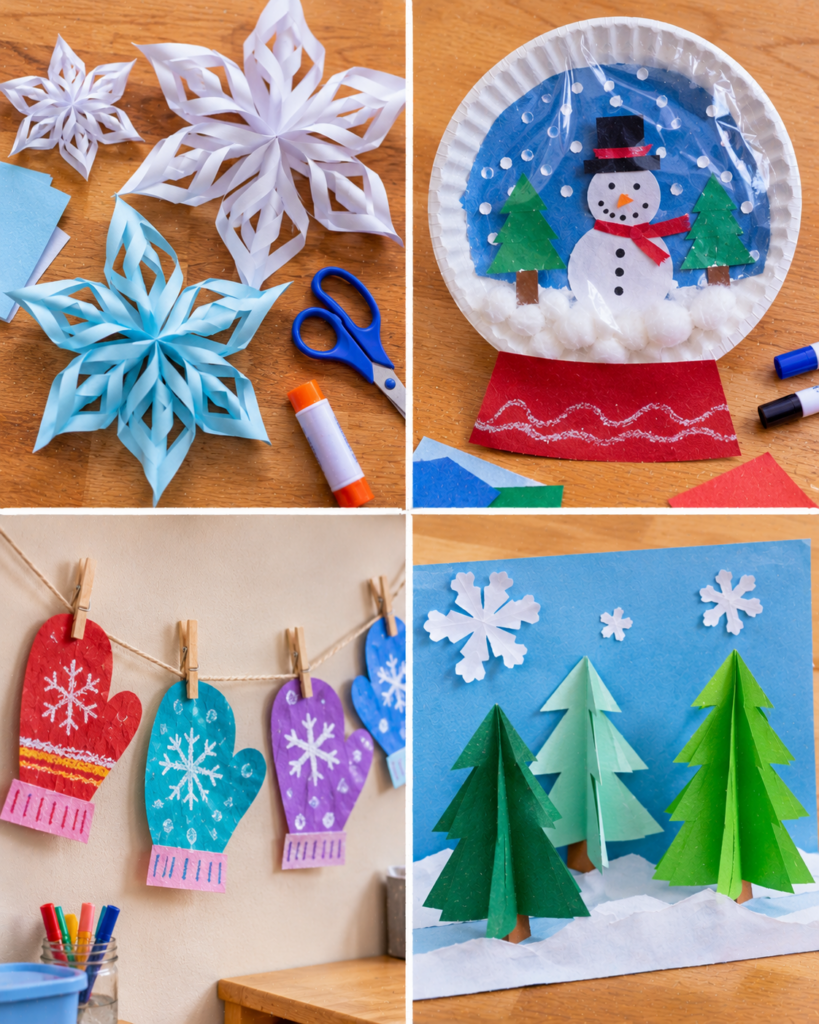
- Paper snowflakes (folding and cutting): Start with a square sheet of paper. Fold in half diagonally to make a triangle, then fold again to make a smaller triangle. For older kids, fold one more time for more detailed symmetry. Trim the outer edge into a curve or points, then cut small triangles and half-circles along the folded edges. Open slowly. Why it matters: cutting along folded edges creates repeating patterns and teaches symmetry.
- Layered winter scene (foreground, middle, background): Choose a background color like navy, light blue, or purple. Tear or cut a white strip for snow at the bottom. Add middle elements like trees or houses, then foreground details like footprints, falling snow dots, or a sled. Why it matters: layering teaches composition and makes simple shapes look “finished.”
- Strong garland assembly: Use cardstock shapes (snowflakes, mittens, hats) for durability. Punch holes near the top of each piece, reinforce with a small tape square if needed, then thread yarn or twine. Space pieces evenly by tying small knots between them or adding beads as spacers. Why it matters: reinforcement prevents tearing, especially when kids hang and rehang decorations.
- Glue control for cleaner crafts: Teach “dot, dot, not a lot.” Use a cotton swab to spread glue thinly for cotton balls or tissue paper. Why it matters: too much glue causes wrinkling and long dry times.
- Quick dry strategy: If a project needs drying, slide it onto a tray or piece of cardboard so it can be moved out of the way. Why it matters: fewer accidental smears and less frustration.
Common mistakes and troubleshooting
Even the best winter crafts for kids can hit a few snags. Most issues are simple fixes once you know what causes them. Use this section as a quick rescue guide when something looks “off” mid-project.
- Snowflakes keep ripping: Paper may be too thin, or there are too many cuts near the center fold. Switch to slightly thicker paper (lightweight copy paper works well), and remind kids to leave some uncut areas near the middle for strength.
- Wrinkled paper backgrounds: Too much liquid glue or watery paint. Use a glue stick for large areas, or apply school glue in tiny dots. If painting, use less water and let layers dry before adding details.
- Cotton balls sliding around: Smooth cotton resists glue at first. Use a generous dot of school glue and press for a few seconds. For better hold, pull cotton balls slightly apart to make fluffy “snow” and press it into the glue.
- Markers bleeding through: Thin paper can show bleed-through, especially with dark markers. Add a scrap paper under the project, or use cardstock when kids want bold colors.
- Garland pieces tearing at holes: Punch holes farther from the edge and reinforce with tape. Cardstock lasts longer than regular paper, especially if kids handle it daily.
- Kids frustrated by symmetry: Folding and matching sides can be tricky. Offer pre-folded paper triangles or templates, and celebrate “unique” snowflake shapes. The goal is confidence, not perfect geometry.
Reader testimonial: “I tried the winter scene layering tip with my two kids (ages 5 and 8), and it completely changed the results. Tearing the snowbank first and then adding trees made it look like a real landscape. They were so proud they hung them in the hallway.”
Finishing and styling tips
Finishing touches turn winter crafts for kids into decor that looks intentional, not just like a pile of paper. The goal is to help kids feel proud and make it easy for you to display their work without damage.
- Add contrast: On dark backgrounds, use white paint pen or chalk pastel for snowy highlights. On white paper snowflakes, mount them on a colored circle to make the pattern pop.
- Create a set: Instead of one large project, make three to five smaller matching pieces, like a trio of snowmen or a row of mittens. Grouping looks polished on a wall.
- Window display trick: Tape snowflakes or winter shapes to windows using painter’s tape or removable mounting putty. It holds well and reduces wall holes.
- Turn art into a gift: Trim and mount a winter scene onto folded cardstock to make a card for grandparents or teachers. Kids can dictate a message for you to write inside.
- Simple “frame” upgrade: Use washi tape to outline the border of a picture. It feels like framing without needing actual frames.
If you want crafts to last beyond the season, consider lightly laminating finished paper pieces (adult task) or placing them in a clear sheet protector for safe storage and re-display next year.
Storage and care
Storing winter crafts for kids properly saves you from crushed paper, glitter spills, and broken garlands when you pull them out next season. A little organization also makes it easier for kids to revisit favorite crafts and see their progress year to year.
- Flat storage for paper art: Use a large envelope, expanding file folder, or under-bed plastic bin. Place heavier cardstock pieces at the bottom and keep delicate snowflakes between two sheets of paper.
- Garland and string decor: Wrap garlands around a piece of cardboard like a ribbon spool to prevent tangles. Tape the loose end down gently so it does not unwind.
- 3D crafts: Store puppets and small standing figures in a shoebox with crumpled paper as padding. Label the box with the year and child’s name.
- Glitter management: Let glitter glue dry completely before stacking. If a craft still sheds, place it in a zip-top bag or wrap it in tissue paper.
- Humidity and heat: Keep crafts in a cool, dry closet. Too much heat can warp glue and make paper curl.
For memory keeping, snap a quick photo of each craft before storing. Kids love seeing a “winter craft gallery” on your phone, and you can let go of some physical pieces without losing the moment.
Common Questions
How do I keep crafting from turning into a mess?
Limit materials on the table to what you are using right now, and put the rest away. Use a tray or shallow box lid to contain small items like pom-poms. Teach kids to cap markers before switching colors and to use “dot, dot, not a lot” glue. Finally, build cleanup into the activity: set a 3-minute timer at the end and make it part of the routine.
What if my child hates cutting or struggles with scissors?
Offer alternatives that still build hand skills. Tearing paper is a great substitute and looks perfect for snowy hills or textured backgrounds. You can also pre-cut base shapes and let your child snip fringe on scarves or make simple straight cuts for paper strips. If scissors are the goal, start with sturdy paper like cardstock and short cuts, and keep sessions brief.
How can I make winter crafts more educational without ruining the fun?
Keep it light and woven into the craft. Talk about symmetry while making snowflakes, count cotton balls as “snow,” or discuss warm vs cool colors when choosing backgrounds. For older kids, try a simple design challenge: “Can you make a pattern on your mitten?” or “Can you create a night sky with three different shapes of snow?”
My child uses too much glue. What actually helps?
Switch to glue sticks for large paper areas and reserve school glue for heavy or textured items. Show a visual guide by putting three small glue dots on a scrap piece and comparing it to a big puddle. Cotton swabs or small paintbrushes help spread glue thinly. Also, give smaller glue bottles when possible because oversized bottles encourage squeezing.
How do I get crafts to look nice enough to display?
Use a strong background (cardstock), add a border (washi tape works), and repeat one color across the project (for example, red scarf and red hat band). Grouping crafts also elevates them: hang three snowflakes together or line up several mitten designs as a set. Most importantly, let pieces dry fully before hanging to prevent sagging and smudges.
What are good group winter crafts for classrooms or parties?
Choose projects with simple steps and minimal waiting. Snowflake stations work well: folding table, cutting table, decorating table. Mitten garlands are also great because each child decorates one mitten, then you string them together into a shared display. Avoid anything that needs long dry time or lots of tiny pieces unless you have helpers to supervise.
Frequently Asked Questions About Winter Crafts for Kids: Fun Indoor Projects
What can kids craft in winter?
Kids can craft snowflakes, snowmen collages, mitten and hat garlands, winter animal puppets, and layered winter landscape pictures. Look for projects that use texture like cotton balls, yarn, or tissue paper to make the winter theme feel cozy. The best choices match your child’s skills: toddlers can glue and stamp, while older kids can fold paper, cut details, and build 3D paper decorations.
What are easy indoor winter projects?
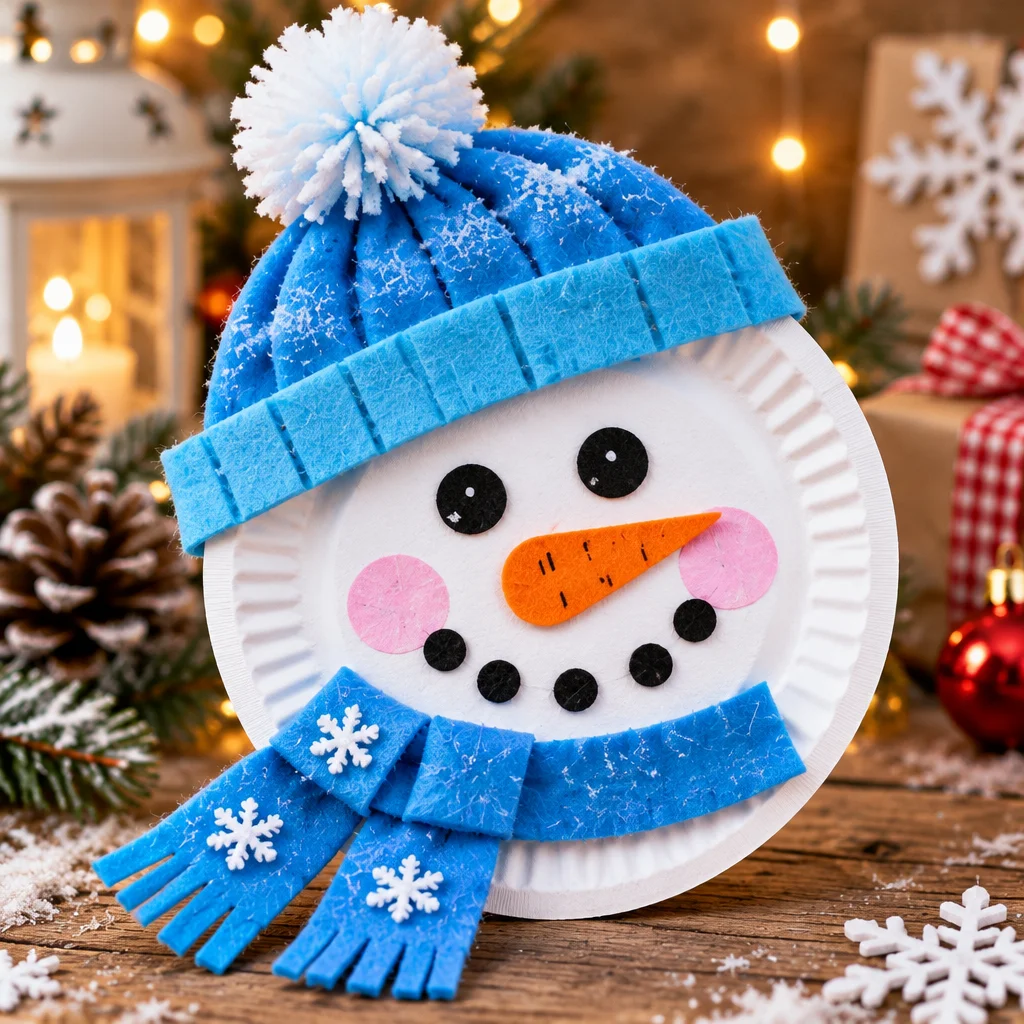
Easy indoor winter projects include paper snowflakes, cotton ball snow scenes, sticker-decorated mittens, and simple paper plate snowmen. These work well because they require minimal prep and dry quickly. If you want a calm activity, choose glue stick projects and pre-cut shapes. If you need to burn extra energy, choose crafts with folding, tearing, and arranging many pieces.
How do you make snowflakes with kids?
Use square paper, fold it into a triangle, then fold again to make a smaller triangle. Cut small shapes along the folded edges, then open carefully. For younger kids, pre-fold the paper and let them make a few simple snips. For older kids, challenge them to keep the cuts away from the center so the snowflake stays strong. Always supervise scissor use.
What winter crafts use household supplies?
Many winter crafts for kids use items you already have: paper grocery bags for puppets, cardboard from cereal boxes for sturdy shapes, cotton balls for snow, foil for icy effects, and yarn scraps for scarves and hat trim. Even bubble wrap can become a stamping tool to create “falling snow.” Household supplies are especially helpful for classrooms or groups where you need quantity on a budget.
Which winter crafts work for different ages?
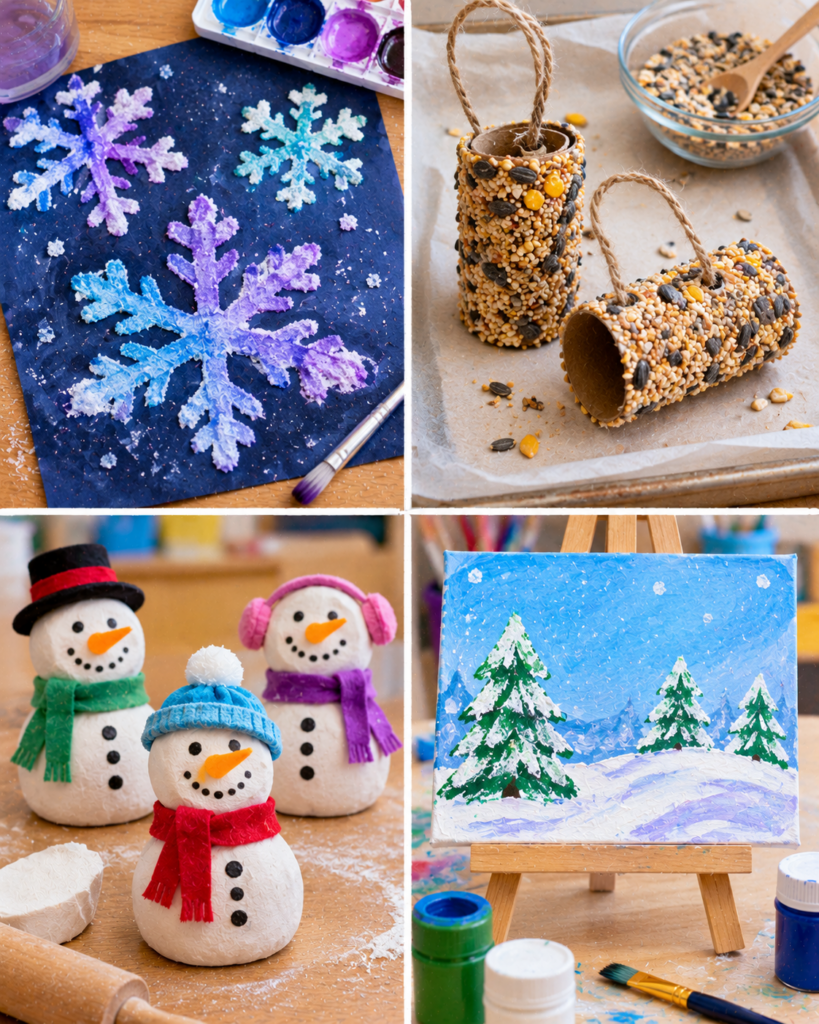
Choose the same theme with different “skill switches.” For example, all ages can make snowmen: toddlers glue pre-cut pieces, preschoolers add cotton ball texture, and older kids draw faces and accessories or create a background scene. Snowflakes scale well too: toddlers decorate pre-cut snowflakes, while older kids fold and cut their own. Adjust the steps, not the fun.
Final thoughts
winter crafts for kids are a simple way to turn long indoor days into creative, screen-free memories. Start with one reliable technique like paper snowflakes or a cotton ball snowman collage, then build from there with garlands, puppets, and layered winter scenes. Keep supplies limited, focus on safe, washable materials, and use small prep steps like pre-cut shapes to prevent frustration. Pick one project from this guide, set up a cozy craft space, and plan a place to display the finished work so kids can enjoy their creations all season long.