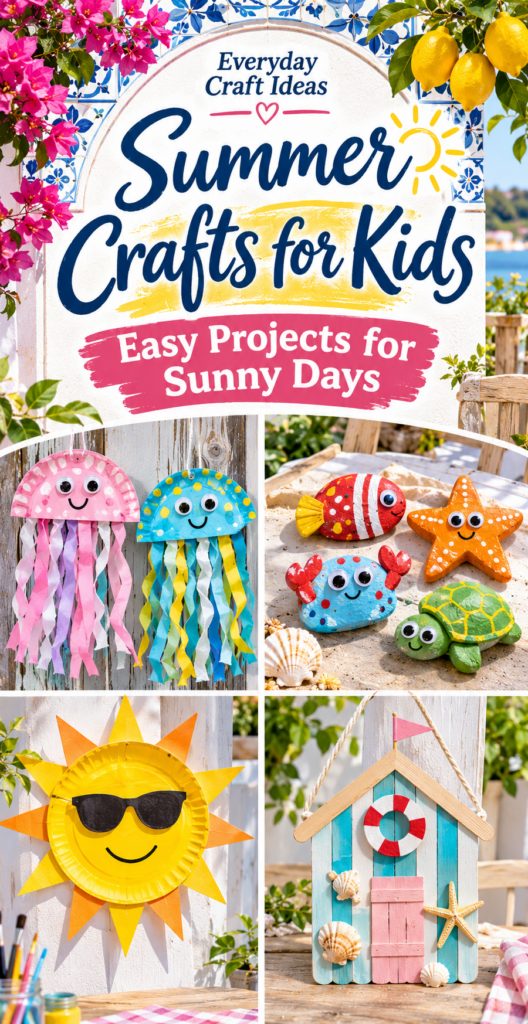
Summer Crafts for Kids: Easy Projects for Sunny Days
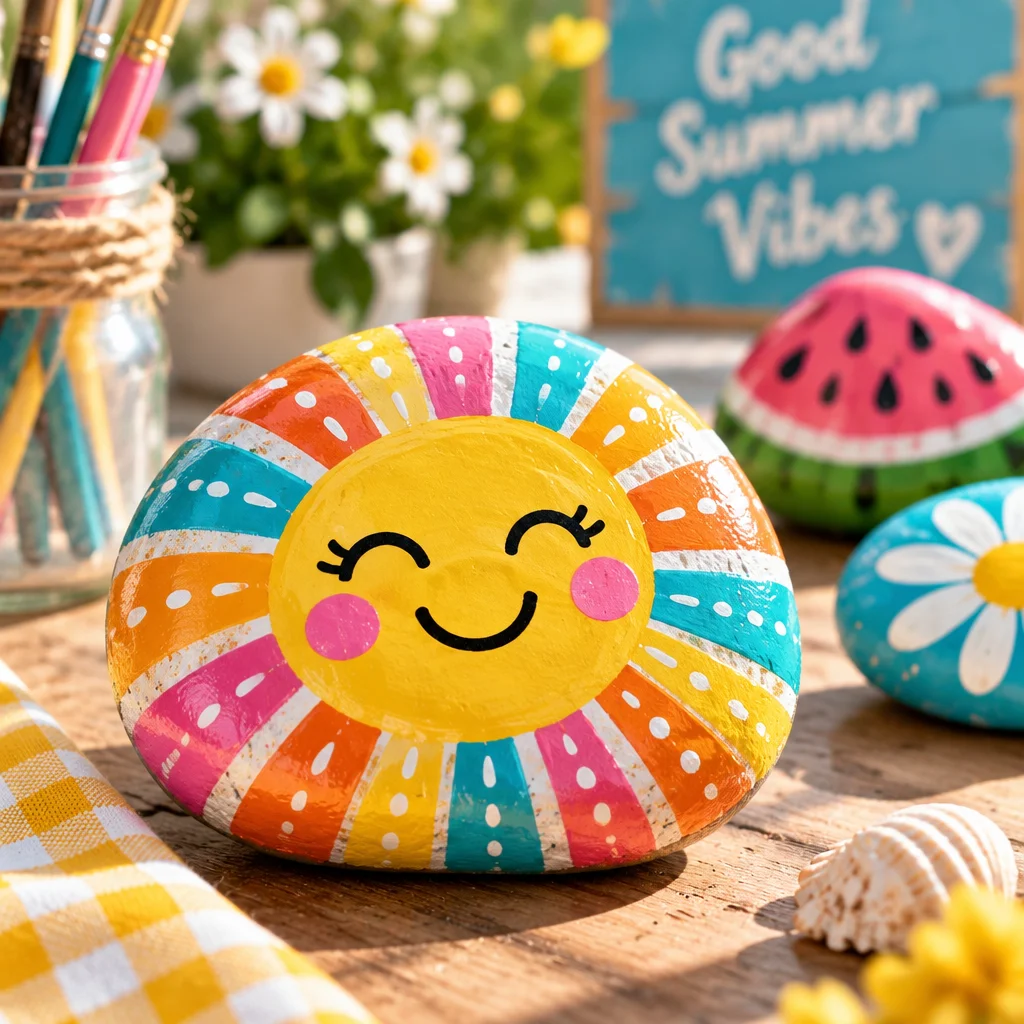
Summer crafts for kids are the perfect way to turn long, sunny days into keepsakes, games, and decor that children actually feel proud to use. In this guide, you will learn a small collection of easy, beginner-friendly projects that work for backyard afternoons, camp days, and those “too hot to run around” moments indoors. Most of these ideas use simple supplies like paper, paint, glue, and recyclables, and I will show you how to set up a crafting space that stays manageable even with multiple kids.
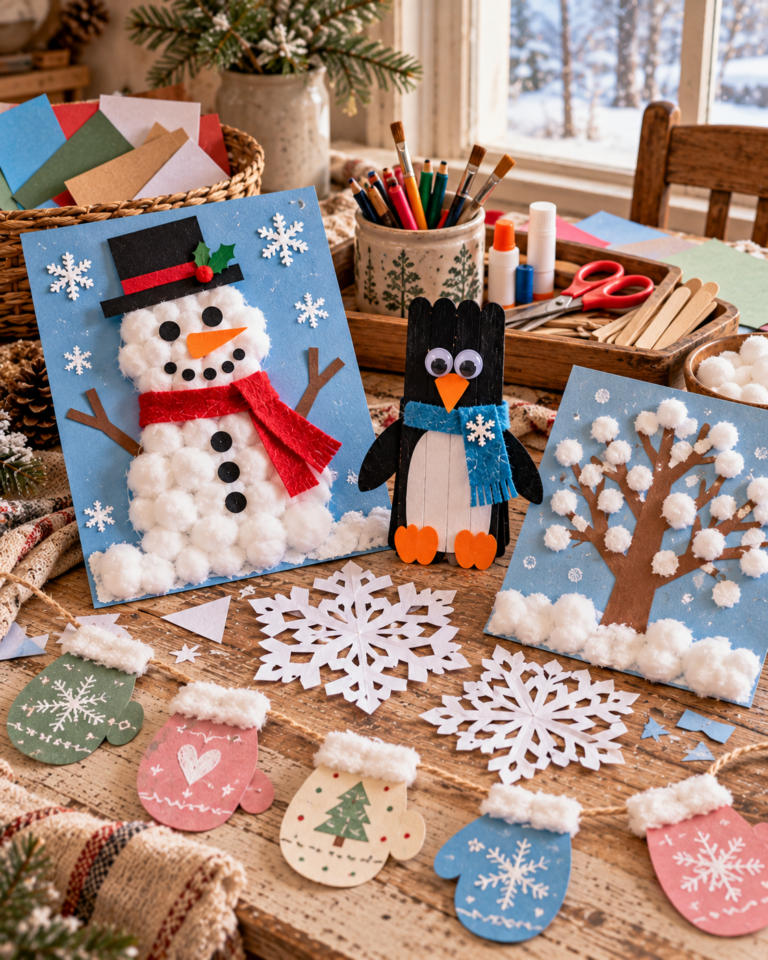
If you also like crafting year-round, you might enjoy these printable crafts for kids for quick, low-prep fun, and you can bookmark winter crafts for kids for when the weather turns chilly.
What You Need to Know Before Starting
Before you dive into summer crafts for kids, it helps to plan around three things: attention span, drying time, and mess control. Kids craft best when the project has clear “mini finish lines.” Instead of one long activity, aim for steps that produce visible progress every 10 to 15 minutes, like painting a background, then adding details, then decorating.
Drying time matters more in summer because humidity can slow glue and paint. If you are crafting outdoors, direct sun can also cause paint to dry too fast and crack. A shaded area or a garage with the door open is ideal. Keep a “drying station” such as a cardboard box lid or a plastic tray where projects can sit flat and undisturbed.
Finally, choose a mess strategy before the glue comes out. Cover the table with a washable plastic tablecloth or a flattened trash bag. Keep a damp rag or baby wipes handy, plus a small bowl of water for quick brush rinses. If you are doing crafts with toddlers, pre-portion materials in muffin tins or small cups so they can focus on creating instead of dumping supplies.
Supplies, Tools, and Material Choices
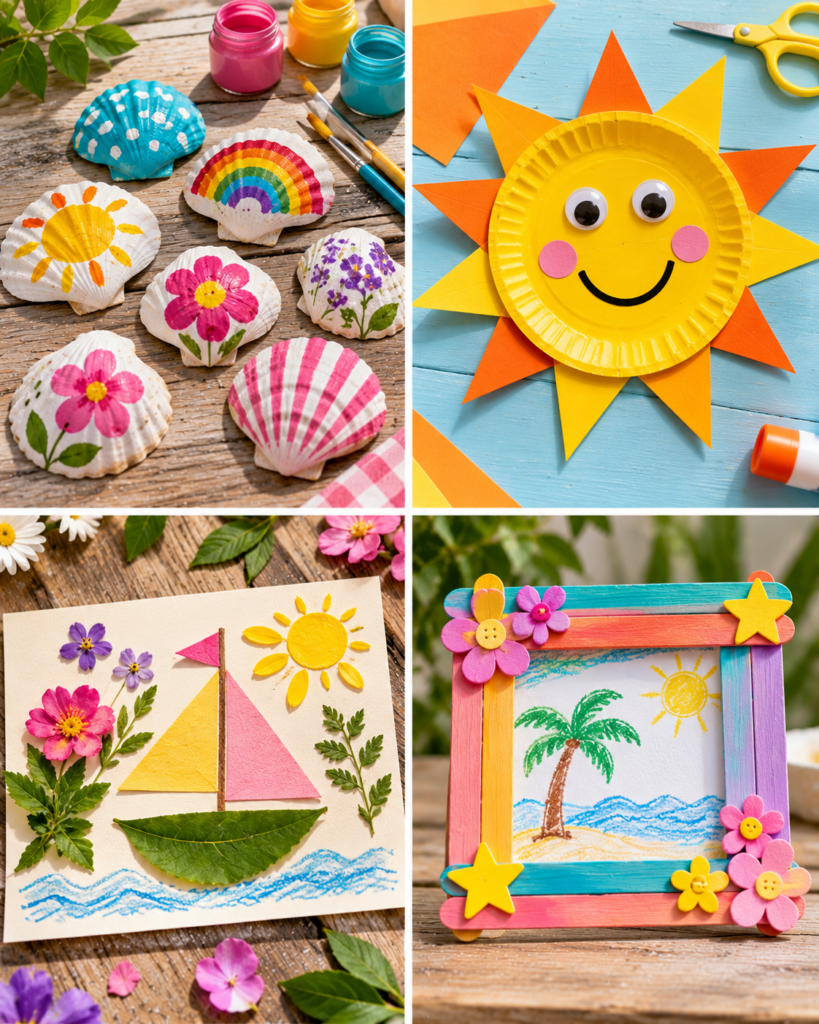
You do not need fancy materials to make summer crafts for kids feel special. The key is picking supplies that are safe, easy to handle, and suited to the setting. For example, washable paints are great for indoor tables, but for outdoor crafting, tempera cakes (solid watercolor-like discs) reduce spills and travel well.
- Paper basics: Construction paper, cardstock, and paper plates. Cardstock holds up better for sun catchers and hangers, while paper plates are sturdy “canvases” for younger kids.
- Adhesives: Glue sticks for paper, white school glue for mixed materials, and clear tape for quick fixes. If you use tacky glue, supervise closely because it is harder to clean.
- Color: Washable markers, crayons, colored pencils, and washable paint. Paint pens are fantastic for details, but save them for older kids because they can stain fabrics.
- Cutting tools: Child-safe scissors plus one adult pair for tougher items like cardstock or thin plastic. A hole punch is very useful for hanging crafts.
- Recyclables: Toilet paper rolls, egg cartons, cereal boxes, and plastic bottles. Rinse and dry items first so glue bonds well.
- Outdoor-friendly add-ons: String, twine, clothespins, and washable chalk for sidewalk art tie-ins.
Material choice tip: if a craft will hang outside, avoid regular paper alone. Laminate it with packing tape, use cardstock, or choose plastic elements like bead strings. That simple switch keeps projects from drooping after a humid night.
How to Make or Use It (Clear Beginner-Friendly Tutorial)
This tutorial section walks you through three reliable summer crafts for kids. You can do one craft at a time, or set up “stations” for a craft day. Each project is designed to be achievable for beginners and flexible for different ages.
Paper Plate Sun Catcher (window or porch display) Time: 30 to 60 minutes plus drying. Difficulty: EasySteps: Cut the center out of a paper plate, leaving a ring. Cover one side of the ring with clear contact paper or wide packing tape, sticky side facing inward. Tear or cut small pieces of tissue paper and press them onto the sticky surface, overlapping slightly. Seal with another layer of contact paper or tape on top. Punch a hole and add string for hanging. The double layer matters because it traps tissue flat and prevents pieces from peeling in heat.
Pool Noodle Stamp Art (big, bold summer prints)Time: 20 to 40 minutes. Difficulty: Easy.Steps: Adult cuts pool noodles into 1 to 2 inch “stamp rings.” Dip the ring edge lightly into a shallow paint tray and stamp onto butcher paper, cardstock, or paper bags. Make patterns like bubbles, suns, flowers, and beach balls by layering circles. Use minimal paint so prints stay crisp. If the stamp slides, blot the noodle edge on scrap paper first to remove excess.
Recycled Bottle “Sprinkle” Flower Vase (giftable craft)Time: 45 to 75 minutes. Difficulty: Easy to moderate (adult help for cutting).Steps: Wash and dry a plastic bottle. Adult cuts the top off to desired height and lightly sands any sharp edge with fine sandpaper. Kids paint the outside with acrylic or multi-surface craft paint. While paint is tacky, sprinkle on fine glitter or press on small foam stickers. Seal with a water-based sealer if desired. This works because plastic paint needs a dry surface and a light scuff for better adhesion. Use it with faux flowers, or place a small cup inside if you want to hold water safely.
Use and display: Hang sun catchers in a bright window, create a stamp-art banner by stringing stamped pages together, and use the vase as a summer table centerpiece. These are classic summer crafts for kids because they look cheerful, use simple shapes, and let kids make real design choices.
Helpful Tips for Better Results
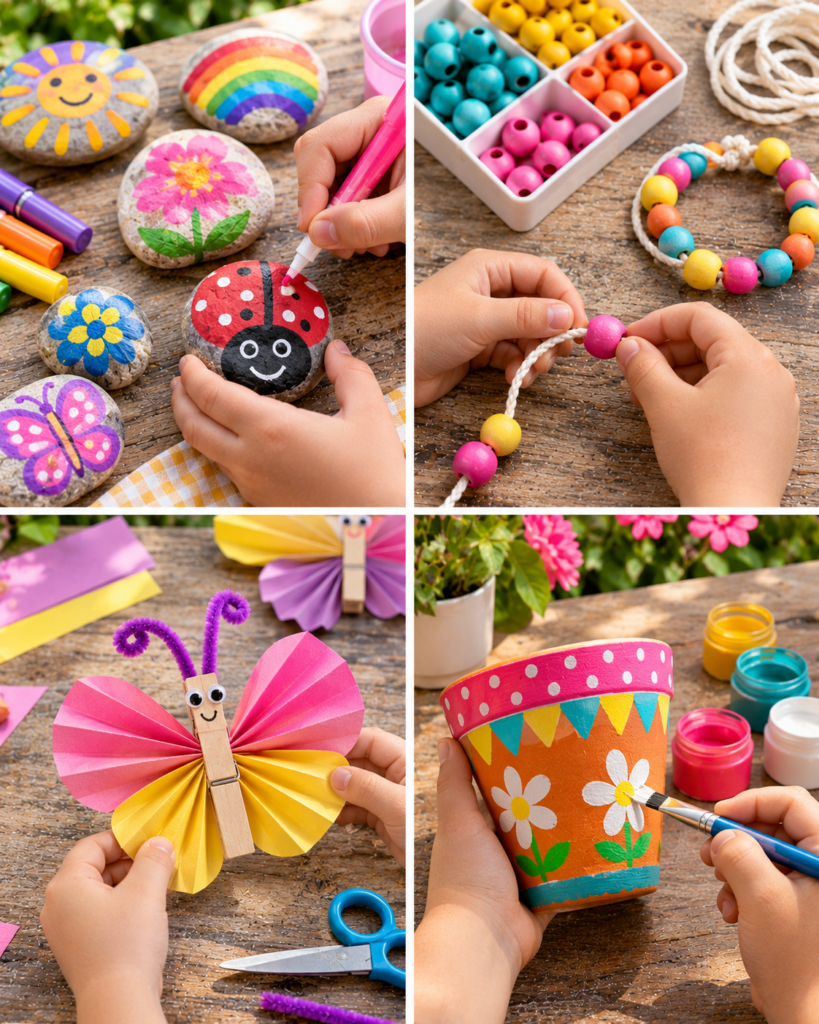
The difference between “cute” and “wow” summer crafts for kids is usually a handful of small habits. First, do a quick test on scrap. A single practice stamp or a small paint swatch shows whether the color is too watery, the glue is too thick, or the marker bleeds through. Kids like testing, and it saves frustration.
Second, think in layers. Encourage children to build backgrounds first, then add details last. For example, stamp art looks cleaner when you stamp light colors first and darker colors later. On sun catchers, larger tissue shapes underneath and smaller pieces on top create a stained-glass effect.
Third, manage drying. If you are crafting outside, wind can blow lightweight paper around while glue dries. Use clothespins to clip papers to a piece of cardboard. For painted items, set them on bottle caps or jar lids so the wet edge does not stick to the table covering.
Finally, keep a “rescue kit” nearby: baby wipes, a small trash bin, a roll of tape, and a black marker. Tape fixes ripped paper, and a black marker can outline shapes and make details pop. This is especially helpful for younger kids who feel discouraged when something looks messy. A quick outline often turns “oops” into “style.”
Reader testimonial: “I tried the paper plate sun catcher with my 6-year-old and 9-year-old. The contact paper tip was the game changer, no soggy glue and it held up in our sunny kitchen window. They made a second set for their grandparents.”
Creative Variations and Project Ideas
Once you have the basics down, you can stretch these summer crafts for kids into themed projects that keep children engaged all season. The easiest way to add variety is by changing the theme, the materials, or the purpose.
- Beach day theme: Make sun catchers with blues and sandy yellows, then add a small paper “shell” or fish cutout. For stamp art, use circles as bubbles and add drawn seaweed.
- Garden theme: Turn pool noodle stamps into flowers by stamping five circles in a ring and adding a center dot. Use green handprints for leaves on a larger poster.
- Patriotic or festival theme: Use red, white, and blue tissue for sun catchers and stamp repeating patterns for picnic placemats (laminate with clear tape for wipeable use).
- Camp craft swap: Have each child decorate a recycled bottle vase, then swap and gift them. Add a name tag with a hole punch and string.
If you want quick add-ons without extra supplies, pair crafting with simple print-and-color elements. You can find ideas to mix in from printable craft activities for kids, especially when you need a calm moment between messier steps like painting.
And remember, seasonal crafting is a great rhythm for families. When summer ends, you can transition to cozy projects like these winter craft ideas for kids that use many of the same tools, so your supplies keep paying off.
Common Mistakes and How to Avoid Them
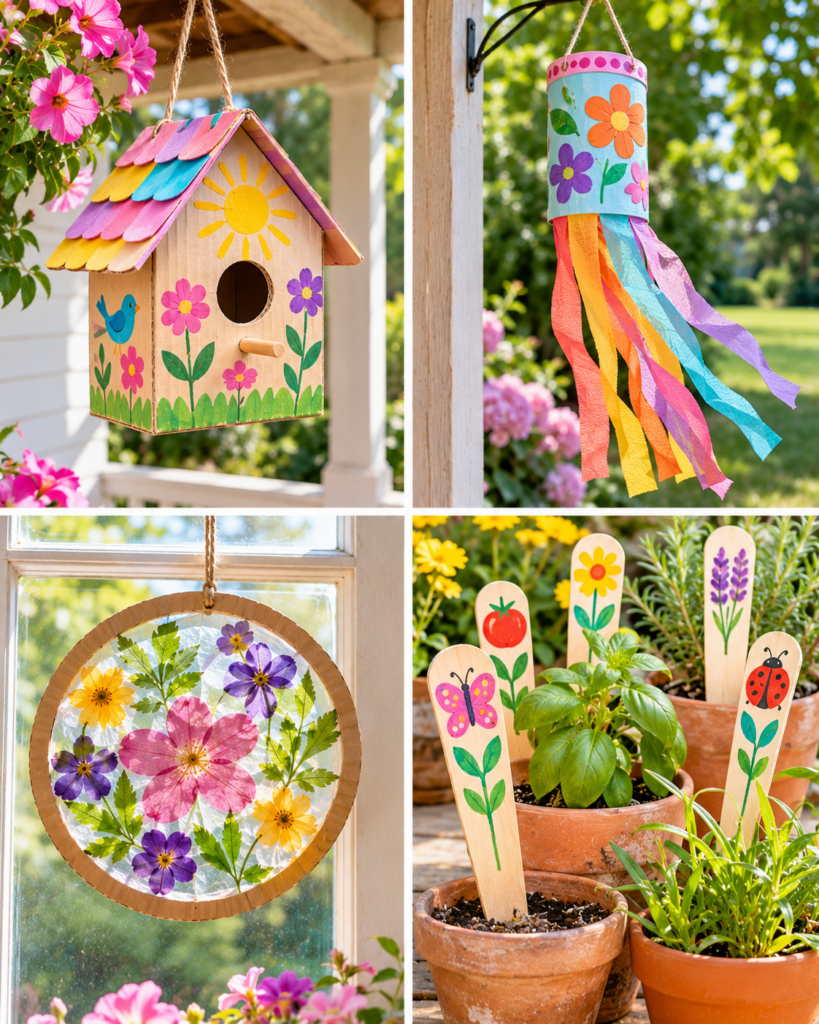
Even easy summer crafts for kids can go sideways when one small detail is missed. Here are the most common issues I see, plus practical fixes that keep kids confident.
- Too much glue: White glue pools, wrinkles paper, and takes forever to dry in humid weather. Fix it by switching to a glue stick for paper-only crafts, or apply white glue with a cotton swab for tiny dots.
- Paint is watery or drippy: Kids often rinse brushes and go straight back into paint. Teach “dip, wipe, paint”: dip brush in water, wipe on rim, then load paint. For stamps, use a foam brush to spread a thin layer of paint in the tray.
- Pieces fall off after drying: This happens when surfaces were dusty or wet. Always wash recyclables and let them dry completely. For plastic bottles, a quick scuff with fine sandpaper helps paint and glue grip.
- Edges are sharp on cut plastic: Adults should do bottle cutting. Smooth edges with sandpaper, or cover the rim with a strip of tape before kids handle it.
- Kids lose interest halfway: Choose projects with a “use,” not just a “look.” A vase, a placemat, or a window hanging feels purposeful. You can also split crafting into two sessions: create today, decorate tomorrow.
For adults planning crafts across the year, it can help to keep a seasonal idea file. When you are ready for holiday projects later, this collection of Christmas crafts for kids is a handy next stop, and if you host family gatherings, you might also like Thanksgiving crafts for adults so everyone has something age-appropriate to make.
Frequently Asked Questions About Summer Crafts for Kids: Easy Projects for Sunny Days
What are easy summer crafts for kids?
Easy summer crafts for kids usually have simple shapes, forgiving materials, and short steps. Good starters include paper plate sun catchers, handprint art, pool noodle stamp painting, and tissue paper collages. Look for projects where kids can choose colors and patterns without needing precise measuring. If a craft needs cutting, pre-cut the tricky parts so children can focus on decorating and assembling.
What summer crafts use household supplies?
Many summer crafts for kids can be made from recyclables and basic desk supplies. Toilet paper rolls become binoculars or butterflies, cereal boxes turn into picture frames, and plastic bottles can be decorated into pencil holders or vases. Household items like tape, aluminum foil, cupcake liners, and old magazines are also great for collages. Just make sure items are clean and dry so glue and paint stick properly.
What crafts can kids do outdoors?
Outdoor-friendly summer crafts for kids include sidewalk chalk murals, nature collages (leaves and petals pressed onto contact paper), bubble wand making, and large-format stamp art on butcher paper. Choose washable paint and set up a water bucket for quick hand and brush rinsing. Craft in shade when possible, because direct sun can warp paper and make paint dry too quickly to blend or stamp cleanly.
What are low-mess summer craft ideas?
Low-mess summer crafts for kids include sticker scenes, washi tape art, coloring printables, paper weaving with pre-cut strips, and contact-paper sun catchers that avoid liquid glue. Another low-mess trick is to use tempera paint sticks or solid tempera cakes instead of bottled paint. If you do use glitter, pick glitter glue or confine loose glitter to a tray so it does not travel through the house.
What can kids make on rainy summer days?
Rainy days are perfect for indoor summer crafts for kids like paper garlands, ocean dioramas in a shoebox, DIY postcards for relatives, and collage art using magazine cutouts. Plan projects with built-in drying time, such as painting a background first, then adding details after lunch. If energy is high, set up a crafting “circuit” with a coloring station, a cutting station, and a gluing station.
How do you adapt crafts for different ages?
For toddlers and preschoolers, simplify summer crafts for kids by offering larger pieces (big tissue squares, chunky stamps, large stickers) and limiting steps. For elementary kids, add optional details like patterns, layering, and simple measuring. For tweens, introduce design challenges: a color palette, a theme, or a functional goal such as making a matching set of placemats. Always keep adult-only tasks like cutting hard plastic clearly separated.
Final Thoughts
Summer crafts for kids do not need to be complicated to feel memorable. With a little prep, the right materials, and a few reliable techniques like layering, controlled glue, and easy stamping, kids can create bright projects that decorate your home and keep hands busy in the best way. Pick one craft from the tutorial section, gather supplies the night before, and set up a simple drying station so you are not juggling wet artwork at cleanup time. When you are ready, make it a tradition: one sunny-day craft each week, then hang or gift the finished pieces to celebrate the season.