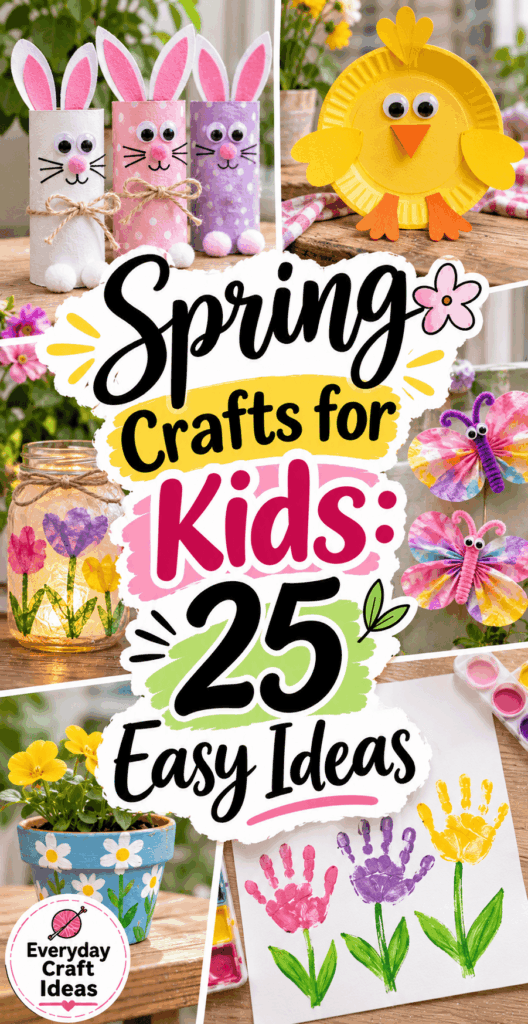
Spring Crafts for Kids: 25 Easy Ideas
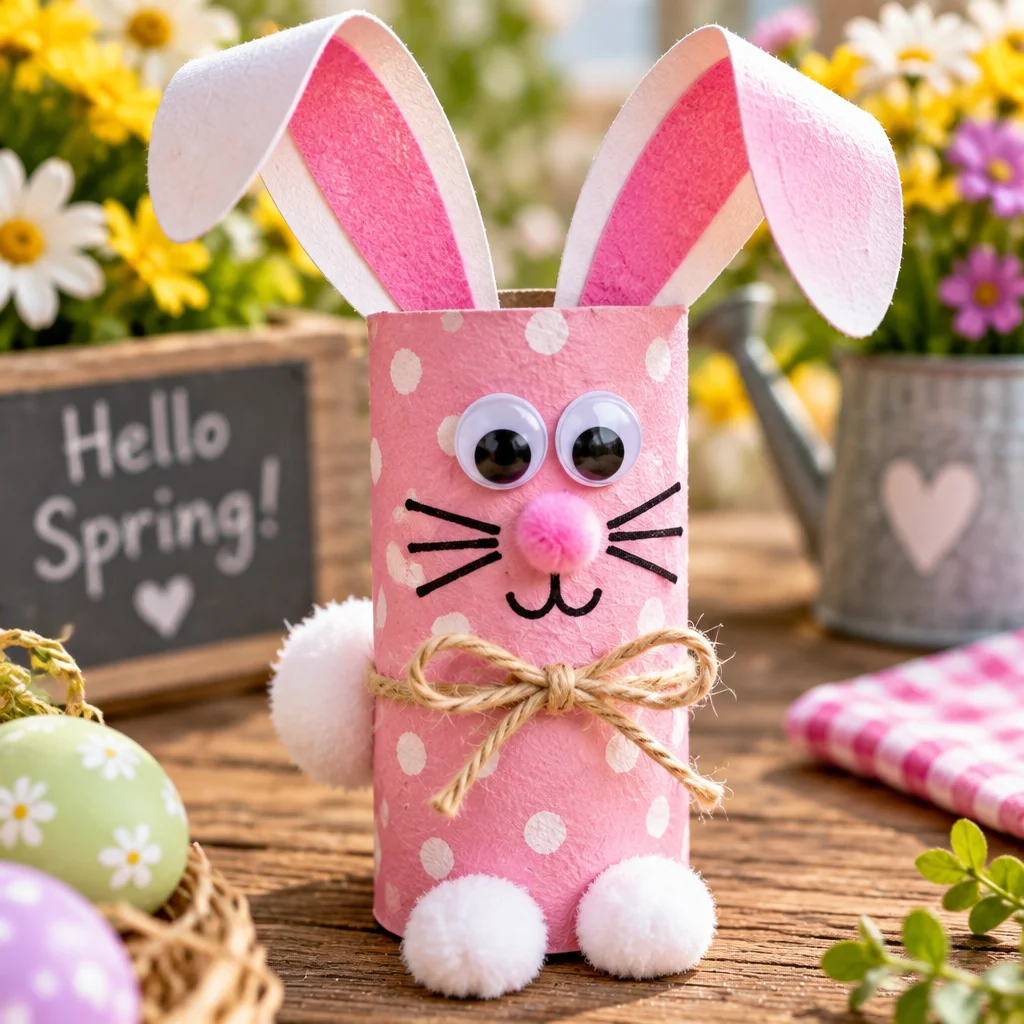
Spring crafts for kids are a simple way to celebrate warmer weather, new growth, and all the bright colors that show up after winter. If you are looking for easy projects that actually turn out cute, this guide gives you 25 ideas with clear materials, time estimates, and practical tips for success. Most of these crafts use basic supplies like paper, glue, paint, and recyclables, so you can start today without a specialty shopping trip. If you also like seasonal crafting, you may want to bookmark these printable crafts for kids for low-prep days, and keep summer crafts for kids in mind for when spring projects turn into outdoor crafting season.
Expect options for preschoolers through upper elementary, plus classroom-friendly ideas and mess-free alternatives. Let’s set up your craft space, then dive into the projects.
What you need to get started
Before you jump into spring crafts for kids, do a quick “craft station” setup. This reduces mess, helps kids stay focused, and makes it more likely you will finish the project in one sitting. Cover the table with newspaper or a washable tablecloth, set out baby wipes or a damp cloth, and give each child a tray, placemat, or cardboard “work board” to define their space.
Here is a practical starter kit that works for most projects in this article:
- Paper basics: construction paper, white cardstock, tissue paper, and a few paper plates. Cardstock is best for sturdier items like crowns, mobiles, and puppets.
- Adhesives: glue sticks for paper-to-paper, white school glue for heavier pieces, and tape for quick fixes. Use low-temp hot glue only with adult handling.
- Color tools: washable markers, crayons, and washable paint. Add a few paintbrush sizes, plus a sponge for dabbing backgrounds.
- Cutting tools: kid-safe scissors and one adult pair for thicker cardboard. A hole punch is helpful for garlands and hanging crafts.
- “Spring extras”: pipe cleaners, googly eyes, pom-poms, cotton balls, yarn, popsicle sticks, and recycled containers.
If you want seasonal ideas year-round, these winter crafts for kids for indoor days are great for colder months, and Christmas crafts for kids can reuse many of the same supplies.
Spring craft supplies for different ages
Age matters because “easy” depends on motor skills and attention span. For toddlers and young preschoolers, prioritize larger pieces and simple assembly. Pre-cut shapes, offer glue sticks instead of liquid glue, and use dot markers or stamp pads for decorating. For older preschoolers and kindergarten, add basic folding, simple weaving, and scissor practice with thick lines they can follow.
Elementary kids usually enjoy multi-step crafts. Introduce templates, layering, and simple engineering such as balancing a mobile or building a planter. Keep safety in mind: adults should handle hot glue, craft knives, and staplers. If you are using small items like beads or sequins, supervise closely and skip them for children who still mouth objects.
25 ideas and projects to try
These spring crafts for kids are organized to cover popular spring themes like flowers, rainbows, birds, bugs, and gardening. Most can be done in 20 to 45 minutes, and several double as decorations for windows, bulletin boards, and classroom hallways. For each idea, I include the core materials and one success tip so you can avoid the most common frustration points.
- Paper plate sun: plate, yellow paint, yarn rays. Tip: punch holes evenly before adding yarn.
- Tissue paper blossoms: tissue squares, pipe cleaner. Tip: scrunch tissue loosely for volume.
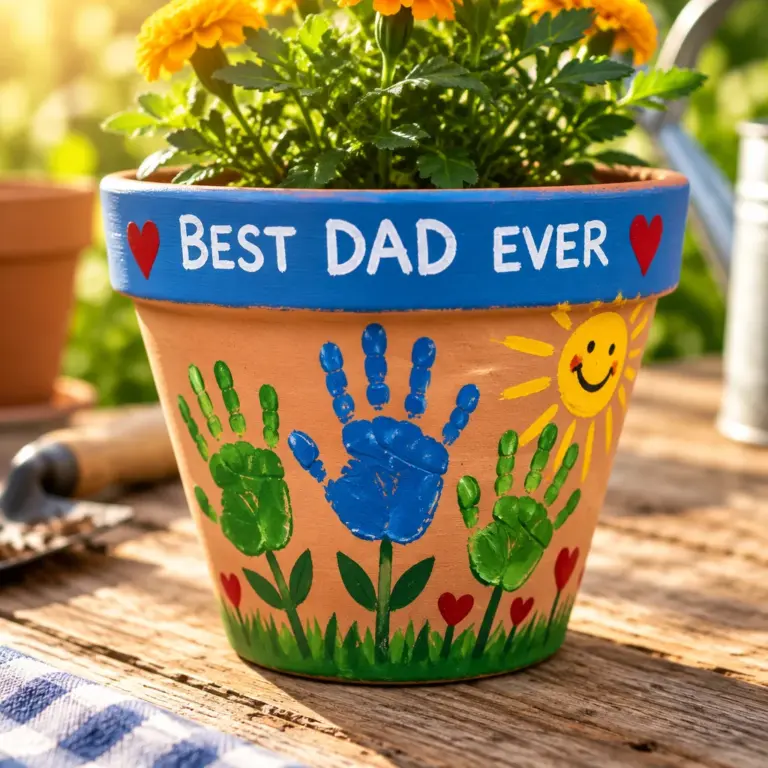
- Handprint flowers: paint, cardstock. Tip: keep a damp towel nearby for quick cleanup.
- Cupcake liner flowers: liners, button or paper circle center. Tip: flatten liners with a book first.
- Accordion paper tulips: folded strips, green stems. Tip: crease folds firmly for crisp shape.
- Butterfly symmetry painting: paint, paper fold. Tip: use small paint dots to prevent smearing.
- Fingerprint caterpillar: stamp pad, marker legs. Tip: let prints dry before adding faces.
- Bee clothespin magnet: clothespin, paint, magnet. Tip: sand rough edges lightly first.
- Ladybug rock painting: smooth rock, paint, sealer. Tip: wash and dry rocks for better adhesion.
- Egg carton flowers: carton cups, paint, brad. Tip: pre-cut carton with adult scissors.
- Recycled bottle greenhouse: clear bottle, soil, seeds. Tip: poke drainage holes in the bottom.
- Bird feeder pinecone: peanut butter alternative if needed, seed, string. Tip: hang away from play areas.
- Paper bag bird puppet: lunch bag, paper shapes. Tip: reinforce beak with a second layer.
- Spring wreath: paper plate ring, paper flowers. Tip: overlap petals for fullness.
- Rainbow paper chain: colored strips, stapler or glue. Tip: use a template strip for consistent size.
- Cotton ball lamb: cotton, glue, paper face. Tip: dab glue, do not soak cotton.
- Chick pop-up card: folded card, circle cutout. Tip: practice the fold “mechanism” once with scrap.
- Garden markers: popsicle sticks, paint pens. Tip: seal with clear tape or outdoor Mod Podge.
- Pressed flower bookmark: flowers, contact paper. Tip: fully dry flowers before sealing.
- Wind sock: tube, streamers. Tip: balance hanging strings so it does not tilt.
- Kite collage: diamond paper, ribbon tail. Tip: add a straw spine for stiffness.
- Rain cloud mobile: cotton, gray cloud, yarn raindrops. Tip: vary lengths for movement.
- Recycled planter animals: yogurt cup, paint. Tip: rough up plastic with light sanding for grip.
- Nature weaving: paper plate loom, grass and leaves. Tip: cut plate slits evenly.
- Spring sensory bottle: bottle, glitter, plastic flowers. Tip: superglue lid with adult help.
Many of these ideas pair well with seasonal themes used in schools, and several can be adapted into quick stations for groups.
Paper flowers, butterfly art, rainbows, garden markers, birds, bugs, and recycled planters
If you want a smaller “greatest hits” set, start with these crowd-pleasers: paper flowers (any of the flower options above), butterfly symmetry painting, rainbow paper chains, garden markers, paper bag birds, fingerprint caterpillars, ladybug rocks, and recycled planter animals. They cover fine motor practice, color mixing, and basic construction without complicated steps.
For a cohesive spring display, pick one theme and repeat it in different forms. For example, do butterflies as a painting (symmetry), as a collage (tissue wings), and as a mobile (paper butterflies on yarn). Or do gardening across a week: start with markers, then planters, then a mini greenhouse. Kids love seeing their projects “belong” together on a window or wall.
How to make and customize the projects
Instead of repeating 25 full tutorials, use this step framework to make most spring crafts for kids come out neat and durable. Think of it as the “pro crafting checklist” that prevents soggy paper, sliding pieces, and last-minute tears.
- Choose a base and size on purpose. Decide if the craft is a decoration (flat and lightweight) or a keepsake (sturdier). Use cardstock for hanging crafts and paper plates for quick 3D structure.
- Prep pieces before glue comes out. Pre-cut circles, petals, wings, or label blanks and arrange them dry first. Dry layout helps kids visualize and reduces frantic re-positioning with wet glue.
- Use the right adhesive in the right amount. Glue sticks for paper layers, school glue for heavier items like pom-poms and cotton balls. Teach “dot dot, not a lot” to avoid wrinkles and long dry times.
- Add texture and dimension last. Once the base is stable, add details like googly eyes, yarn, tissue fringe, or cotton. Details pop more and are less likely to fall off if the foundation is dry.
- Plan drying time and a safe place to dry. Set projects on a tray or cardboard and write the child’s name. For painted rocks and outdoor markers, let them dry overnight before sealing.
- Finish for durability. Use clear tape over garden-marker names, or add a kid-safe sealer to rocks with adult supervision. If you cannot seal, keep the craft indoors and away from water.
Customization ideas: swap color palettes (pastels vs bold), add names and dates, or turn a single craft into a set, like a rainbow chain where each link has something the child loves about spring.
Preschool versus elementary school adaptations
For preschoolers, simplify by offering fewer choices and bigger shapes. Example: for a butterfly, provide a pre-cut wing shape and let kids decorate with dot markers or stickers. Skip tiny antennae and use a pipe cleaner folded in half. For garden markers, preschoolers can color a popsicle stick and you can write the plant name with a permanent marker.
For elementary kids, add design challenges. Ask them to make patterns on a rainbow chain (ABAB colors), build a 3D flower with layered petals, or engineer a wind sock that spins evenly. Older kids can also practice lettering on markers with paint pens and learn why sealing helps outdoor longevity.
Mess-free options, classroom groups and outdoor display
Need low-mess spring crafts for kids? Choose glue sticks, stickers, washi tape, and printable templates. Symmetry butterflies can be done with crayons and a quick fold-rub technique instead of paint. For classrooms, run crafts as stations: one table cuts, one decorates, one assembles, and one labels. This keeps lines short and helps you supervise scissors and staplers more effectively.
For outdoor display, prioritize weather-tolerant materials: painted rocks with sealer, laminated paper (or contact paper covering), and plastic planters. Hang wind socks under a covered porch so rain does not soak the paper streamers.
Reader testimonial: “I used the rainbow paper chain and the egg carton flowers for my daughter’s class party. The checklist about dry layout first was a game changer, and we had way fewer ‘oops’ glue blobs than usual.”
Supplies, cost, time and skill level
Most spring crafts for kids fall into a very manageable range: 20 to 45 minutes of active crafting plus drying time for paint or glue. If you are crafting with a group, expect set-up and clean-up to take another 10 to 15 minutes. Cost is usually low because many projects rely on recyclables, paper, and basic craft supplies you can reuse all season.
As a rule of thumb:
- $0 to $5: paper crafts, chains, mobiles, simple puppets, tissue flowers (using supplies on hand).
- $5 to $15: adding paint sets, magnets, sealers, or extra embellishments like foam sheets.
- Skill level: most are beginner-friendly; the main “skills” are cutting, folding, and patient gluing.
If you want to keep seasonal crafting going after spring, it helps to build a year-round supply bin. You can rotate themes with winter crafts for kids and then reuse the same scissors, glue, and paper as you shift seasons.
Beginner mistakes and troubleshooting
- Wrinkled paper after gluing: Too much liquid glue. Switch to glue sticks for large paper areas, or apply school glue in small dots and press with a clean scrap paper on top.
- Paint looks streaky: The brush is too dry or the color is too transparent. Add a second coat after the first dries, or use a sponge dauber for even coverage.
- Pieces keep falling off: The base is dusty or glossy. Wipe plastic containers clean and lightly rough them with fine sandpaper before gluing. For heavy items, use school glue and give it enough drying time.
- Hanging crafts tilt: The string is off-center. Find the balance point by holding the craft up before tying a knot, then adjust.
- Markers smear on garden labels: Let marker dry fully and cover writing with clear tape or a thin sealer layer applied by an adult.
Frequently Asked Questions About Spring Crafts for Kids: 25 Easy Ideas
What are easy spring crafts for kids?
The easiest spring crafts for kids usually have three features: simple shapes, minimal drying time, and forgiving materials. Great starters include paper plate suns, paper chain rainbows, handprint flowers, and sticker-based butterflies. If you are crafting with younger kids, pre-cut the main shapes and let them focus on decorating. You will get a finished project faster, and kids still feel full ownership because the colors and details are theirs.
What can kids make with paper?
Paper is perfect for spring themes because it is lightweight for hanging decor and easy to color. Kids can make accordion tulips, wreaths from paper plate rings, kites with ribbon tails, chicks and bunnies as pop-up cards, and tissue paper blossoms. For best results, choose cardstock when the craft needs to stand up or hang straight. Save thin printer paper for coloring pages and simple collages.
Which spring crafts work in classrooms?
Classroom-friendly spring crafts for kids are those with predictable steps and easy cleanup. Paper chains, symmetry butterflies (with crayons or minimal paint), paper bag puppets, and paper plate wreaths work well in groups. Prep materials in labeled bins, and consider a station system so only one area uses scissors at a time. Write student names on the back early, before projects get moved to a drying table.
How do I make crafts look neat without doing them myself?
Neat results come from structure, not from adults taking over. Give kids a sample and a simple order: background first, big shapes next, details last. Offer a “glue rule” like three small dots for each piece, and keep a scrap sheet for pressing pieces flat. For painting, show how to wipe excess paint on the rim before touching the paper. These small habits improve the final look quickly.
Are there spring crafts for kids that are low-allergy and sensory-friendly?
Yes. Choose paper, crayons, markers, and tape-based crafts to avoid messy textures and strong smells. If you are avoiding common allergens, skip nut butters for bird feeders and use a sunflower-seed butter alternative if allowed, or do a paper bird craft instead. For sensory-sensitive kids, avoid loose glitter and opt for glitter paper, sequins glued by an adult, or shiny washi tape.
How do we store or display finished spring crafts?
For flat paper crafts, store them in a large folder or under-bed bin with a sheet of cardboard to prevent bending. For 3D crafts like planters and mobiles, assign a safe shelf or windowsill and keep them away from heat vents. Hanging decor looks best when it is balanced and lightweight, so use yarn or string and a small piece of tape to secure knots. If you want keepsakes, write the date and child’s name on the back.
Final tips and next projects
The best spring crafts for kids are the ones that fit your time, space, and child’s attention span. Pick two or three projects to start, gather materials in a tray, and use the dry-layout and “dot dot, not a lot” glue habits to avoid most beginner frustrations. When you find a theme your kids love, like bugs or rainbows, repeat it in different formats so they build confidence and skills. Next, keep your seasonal momentum going by exploring more year-round ideas like these indoor winter crafts for kids or returning to printable crafts for kids for quick, low-prep afternoons. Choose one craft to do this week, and set aside a small “drying zone” so your creations can finish strong.