Winter Crafts for Seniors: 20 Easy Activities
Looking for winter crafts for seniors that are calming, doable, and genuinely fun indoors? You are in the right place. Winter is a wonderful time to make something with your hands, especially when outdoor time is limited and you want cozy, low-mess projects that can be finished in an afternoon. In this guide, you will find 20 easy activities with clear steps, helpful adaptations for limited dexterity, and practical tips for making crafting comfortable at a table or from a favorite chair. If you are also crafting with family, you can borrow ideas from these winter crafts for kids indoors and pair them with more grown-up options from cozy winter crafts for adults.
What you need to get started
The best winter crafts for seniors begin with a simple, repeatable setup. A stable work surface, good lighting, and a small “craft caddy” will make crafting easier and reduce frustration. Try to keep tools familiar and avoid complicated specialty supplies unless the group requests them.
Here is a practical starter kit that covers most projects in this article:
- Adhesives: glue stick for paper, tacky craft glue for mixed materials, and optional low-temp hot glue gun (with finger protectors). Tacky glue gives you wiggle time for positioning.
- Cutting tools: scissors with comfortable handles, plus pre-cut shapes when needed. A small pair of detail scissors is helpful for trims.
- Paint and color: acrylic craft paint, watercolor set, markers, and paint pens. Paint pens are excellent for shaky hands because they control the flow.
- Basic surfaces: cardstock, construction paper, paper plates, brown lunch bags, and simple wood blanks (ornaments, frames).
- Texture and embellishments: yarn, ribbon, buttons, pom-poms, pinecones, faux greenery, and stickers.
- Protection and cleanup: table covering, baby wipes, paper towels, and a shallow tray to keep small pieces from rolling away.
Preparation tip: place supplies in shallow bins by type (paper, glue, decoration). This makes crafting feel organized instead of overwhelming.
Comfort, safety and accessibility considerations
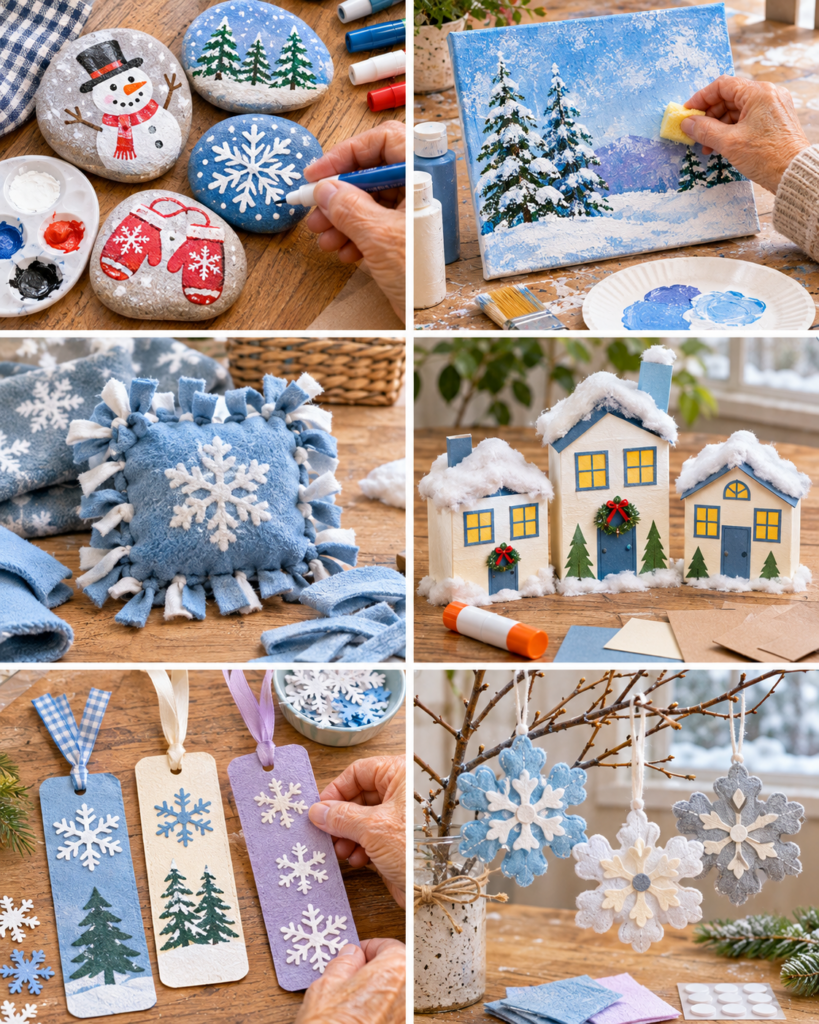
Comfort is not an afterthought with winter crafts for seniors, it is part of the plan. Start with posture and visibility. Use a firm chair with back support, and raise the work surface with a lap tray or sturdy box if bending forward causes discomfort. Add a bright lamp aimed at the table to reduce eye strain, especially when working with white paper and snowflake designs.
For safety, choose low-odor supplies and keep lids closed between steps. If you use a hot glue gun, select a low-temperature model and set a silicone mat beneath it. Offer tweezers or a craft stick for pressing tiny embellishments into glue so fingers do not have to pinch hard or touch hot surfaces. If anyone is sensitive to fragrance, skip scented pinecones or strong aerosol sealers and use brush-on sealer instead.
Accessibility wins: provide large-grip scissors, foam pencil grips for paintbrushes, and pre-cut shapes for people with arthritis or limited hand strength. For crafters with tremors, switch to stamping, tearing paper for collage, or using stickers and washi tape rather than precision cutting. Keep drinks away from glue and paint, and label any small items that could be mistaken for candy (like mini pom-poms).
20 ideas and projects to try
These winter crafts for seniors are designed to be approachable. Many can be completed in 20 to 60 minutes, and several can be done assembly-line style in a group. Choose two or three projects at a time rather than trying to do them all in one sitting.
- Folded winter greeting cards (stickers, stamps, or simple watercolor wash).
- Snowman face cards using circles and an orange paper carrot nose.
- Simple paper wreath from cardstock loops.
- Evergreen ring wreath using faux greenery and ribbon on a foam ring.
- Paper snowflakes with pre-folded templates.
- Doily snowflake window hangers with string and beads.
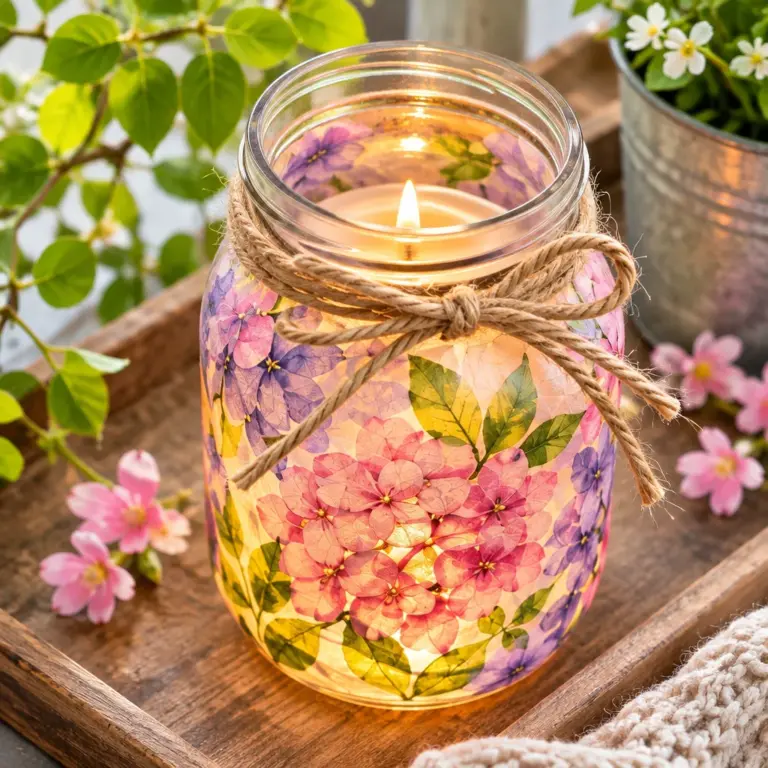
- Painted mason jars for tea lights or battery candles.
- Frosted jar luminaries using glue and Epsom salt texture.
- Yarn-wrapped letters on cardboard initials.
- Simple yarn loom coaster with a cardboard loom.
- No-knit finger crochet chain for garlands.
- Pinecone bird feeders with seed and peanut-free butter substitute when needed.
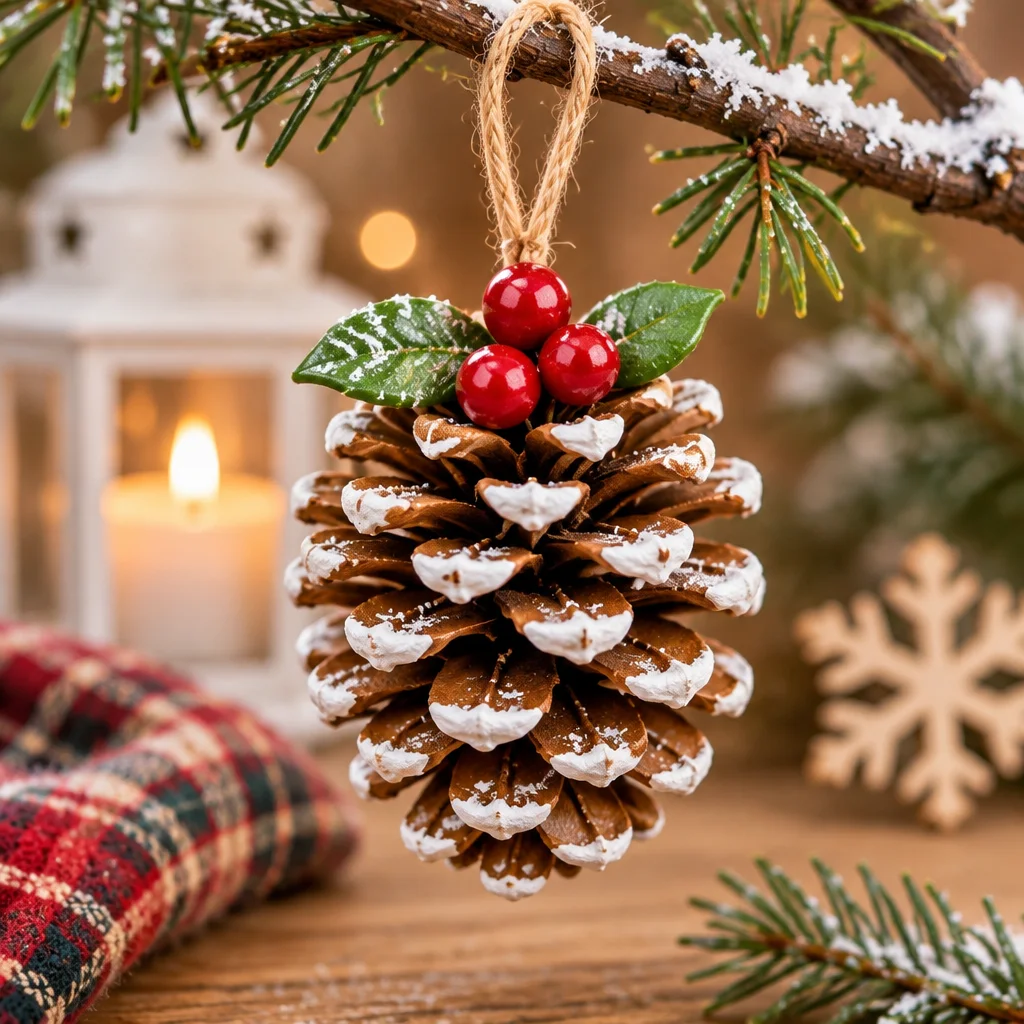
- Pinecone “snow” ornaments with white paint dry-brushing.
- Winter pinecone centerpieces in a bowl with faux berries.
- Button snowman art on cardstock in a frame.
- Salt dough ornaments (bake and paint after cooling).
- Felt mitten garland using pre-cut felt shapes and glue.
- Sticker-by-number winter scenes for low-mess crafting.
- Collage winter landscapes using torn paper and cotton “snow.”
- Decorated picture frames for winter family photos.
Tip: if you are crafting with grandchildren, mix in a few family-friendly projects from these winter crafts for kids and let everyone do the same theme at their own difficulty level.
Winter cards, simple wreaths, paper snowflakes, painted jars, yarn art and pinecone displays
If you only pick six starter projects, make it these. They cover paper, paint, and natural elements, and they adapt well for different abilities. Below are quick, reliable steps you can repeat.
- Winter cards: Fold cardstock, add a light watercolor background, let it dry, then add a sticker or stamped sentiment. If watercolor warps the paper, tape the edges down before painting and remove tape after drying.
- Simple wreaths: Wrap a foam ring with ribbon, then glue faux greenery in short sections. Work in small clusters so you can turn the wreath and check spacing.
- Paper snowflakes: Use pre-printed templates. Fold, cut slowly, then unfold over a tray so tiny cutouts do not scatter. If tearing happens, switch to thicker paper or reduce the number of cuts.
- Painted jars: Clean and dry the jar, paint the outside with acrylic, and let it cure 24 hours. Use battery tea lights only, unless the jar is unpainted and heat-safe.
- Yarn art: Brush glue onto a cardboard shape and wrap yarn around it. If hands tire, clip the yarn to the back and continue later without losing tension.
- Pinecone displays: Dry-brush white paint on tips for a snowy effect, then arrange in a bowl with ribbon loops. Use a drop of glue under pinecones to stop rolling.
How to make and customize the projects
The secret to successful winter crafts for seniors is a predictable process: prep, assemble, then finish. Customization should be easy and optional so no one feels behind. Here is a flexible method you can apply to almost every project in this list.
- Choose the base: pick one surface (cardstock, jar, foam ring, frame). A sturdy base reduces frustration because it does not bend or slide.
- Select a limited palette: choose 2 to 3 colors plus white or metallic. Fewer colors look more polished and require fewer decisions.
- Prep pieces first: pre-cut shapes, tie bows, or lay out pinecones before glue comes out. This lowers stress and prevents rushing while adhesive dries.
- Assemble from large to small: attach big items first (background paper, ribbon wrap), then medium (greenery clusters), then small details (buttons, gems). This prevents tiny items from being knocked off.
- Dry and set properly: tacky glue needs time. If something slides, use painter’s tape as a temporary clamp.
- Add a protective finish when appropriate: brush-on sealer is helpful for painted ornaments or jars that will be handled. Skip sealing on paper snowflakes to avoid warping.
Want more seasonal variety? Adapt these steps to more grown-up designs from winter crafts for adults.
Seated projects and large-grip tools
Many winter crafts for seniors can be done comfortably seated, especially if you plan for reach, grip, and rest breaks. A lap tray with a raised edge helps contain beads, buttons, and pinecones. Keep a small bin on the dominant-hand side with the “active” items: glue, scissors, and the current decorations. Everything else can sit slightly farther away to reduce clutter.
Large-grip tools make a noticeable difference. Slide foam grips onto paintbrush handles or markers, or wrap handles with athletic tape for a thicker, softer hold. If cutting is difficult, replace scissors-heavy steps with tearing paper for collage, using pre-cut die shapes, or swapping to stickers and stamps. For wreath-making, use wire cutters only if someone is comfortable and supervised. Otherwise, choose faux greenery picks that can be bent by hand or pre-cut for the group.
Rest is part of the craft. Encourage “glue drying breaks” where everyone pauses, stretches fingers, and checks alignment. If hands cramp during yarn wrapping, clip the yarn to the back and resume later, or switch to larger yarn which builds coverage faster with fewer wraps.
Group activities, cost and easy cleanup
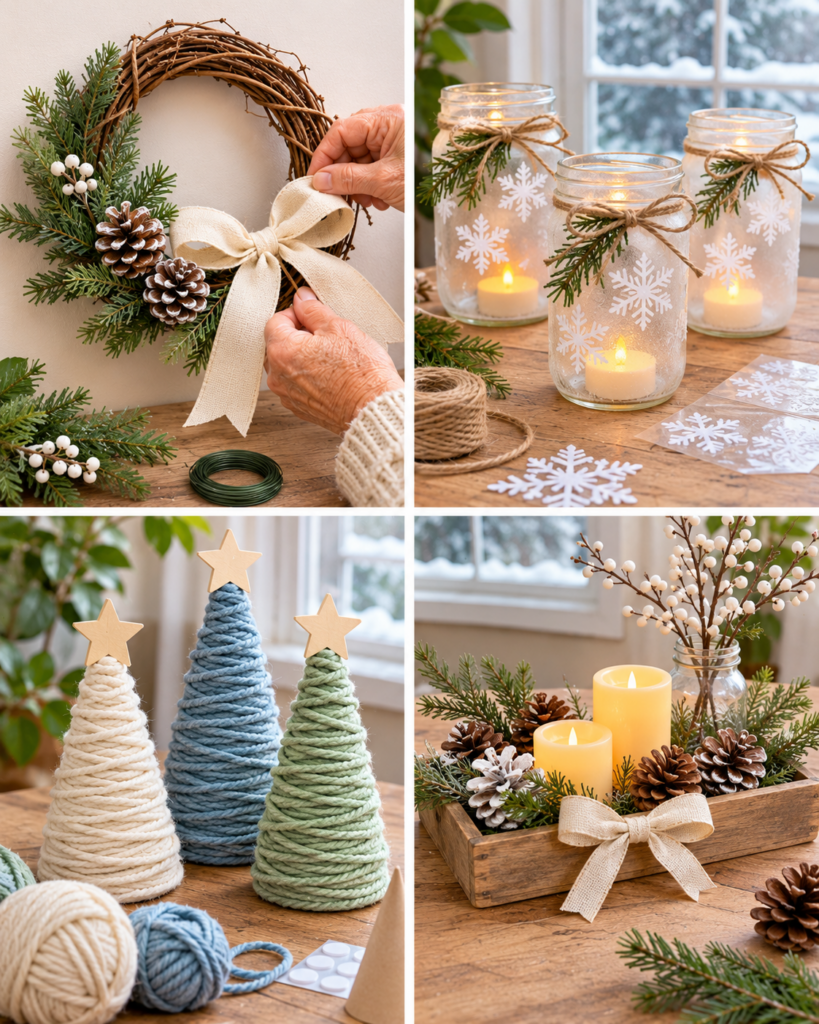
For groups, the easiest winter crafts for seniors are projects that can be set up as stations. For example: a card station (paper and stickers), a pinecone painting station (paint and trays), and a wreath station (ribbon and greenery). Stations prevent bottlenecks and let each person choose the activity that matches their energy level that day.
To keep costs low, buy neutral basics in bulk: white cardstock, glue sticks, acrylic white paint, and simple ribbon. Then add a few “special” items that make projects feel festive, like metallic paint pens, a pack of faux berries, or winter-themed stickers. Reuse containers and jars rather than buying new blanks.
For easy cleanup, line tables with kraft paper or a plastic tablecloth. Use disposable plates as paint palettes and keep a “wet” bin for used brushes and a “dry” bin for scissors and tape. Baby wipes are excellent for quick hand cleanup and removing tacky glue before it dries. If you are crafting with younger visitors, borrow setup ideas from these easy preschool winter activities and simply swap in more mature materials like frames and ribbons.
Supplies, cost, time and skill level
Most winter crafts for seniors in this list are beginner-friendly and rely on simple skills: folding, gluing, wrapping, painting, and arranging. In general, expect these ranges:
- Time: 20 to 45 minutes for cards, snowflakes, collages; 45 to 90 minutes for wreaths, painted jars, and framed button art (plus drying time).
- Cost: $1 to $5 per finished item if you use shared supplies and recycled jars; $5 to $15 for wreaths or framed projects depending on greenery and frames.
- Skill level: beginner for most projects; advanced-beginner for wreath-making and salt dough ornaments because timing and drying matter.
Plan around drying. Acrylic paint feels dry fast but cures slower, so avoid stacking freshly painted items. If you need a same-day gift, choose cards, paper wreaths, or pinecone displays which do not require long cure times.
“We tried three of these winter crafts for seniors at our community center, and the painted jars were a favorite. Using battery tea lights made everyone feel comfortable, and the tip about taping paper down before watercolor helped our card station look so much neater.”
Beginner mistakes and troubleshooting
Small issues are common, and they are easy to fix with the right adjustment. If glue wrinkles paper, you are likely using too much wet glue. Switch to a glue stick for paper layers or use tiny dots of tacky glue. If a wreath looks uneven, rotate it on the table every few minutes and add greenery in small clusters rather than long pieces.
For snowflakes that tear, use thicker paper and make fewer intricate cuts. For jars with streaky paint, apply two thin coats instead of one thick coat, letting the first coat dry fully. If yarn wrapping slips, start by taping the yarn tail to the back, then add a thin line of glue every few wraps to lock it in place without making it messy.
If pinecones will not sit still, glue them to a small cardboard circle and hide the base with ribbon or greenery. And if hands get tired, shorten sessions and pick “single-skill” crafts like sticker scenes, collage, or stamping.
Frequently Asked Questions About Winter Crafts for Seniors: 20 Easy Activities
What winter crafts are suitable for seniors?
The best winter crafts for seniors are projects with simple steps, flexible outcomes, and minimal precision cutting. Greeting cards, paper snowflakes with templates, pinecone painting, yarn-wrapped letters, and decorated frames are all strong choices. Look for crafts that allow breaks while glue dries and that do not require heavy gripping for long periods. If vision is a concern, choose high-contrast supplies like dark markers on white cardstock.
What can seniors make indoors?
Indoors, seniors can make nearly all paper and tabletop crafts: winter cards, collages, ornaments, felt garlands, painted jars, and centerpieces. Battery tea light luminaries are especially nice because they give a cozy glow without an open flame. If space is limited, focus on flat projects like cards and framed art. If the goal is decoration, wreaths and jar luminaries make a big impact without needing many tools.
Which crafts are easy with limited dexterity?
Choose crafts that avoid tight knots and detailed cutting. Great options include sticker-by-number scenes, torn-paper collages, stamping, painting with sponge daubers, and arranging pinecones in a centerpiece. Use large-grip tools and pre-cut shapes. Tacky glue is easier than liquid school glue because it stays where you put it. For yarn crafts, finger crochet chains can be easier than knitting because there are no needles to grip.
How can I make crafts safer around heat and fumes?
Use battery-operated tea lights instead of candles, especially in painted or decorated jars. Choose low-temp hot glue guns, set them on silicone mats, and offer craft sticks or tweezers for pressing items into glue. Avoid aerosol sprays in closed rooms; use brush-on sealer or skip sealing when possible. Keep good ventilation when painting and take breaks. If allergies are common, skip scented pinecones and heavily fragranced supplies.
What are good winter craft projects for a senior group?
Group-friendly winter crafts for seniors include card-making stations, snowflake cutting with templates, pinecone painting, and simple wreath assembly with pre-sorted materials. Stations keep people moving at their own pace and reduce waiting for supplies. Prep kits in advance: a bag with paper pieces, a small ribbon length, and a few decorations. Choose projects with quick wins so participants can finish in one session and take something home.
How do I store and preserve finished crafts?
Store paper crafts flat in a box with a sheet of cardstock between layers to prevent bending. For ornaments and pinecone items, use a divided container or tissue paper to keep pieces from rubbing. Painted jars should cure at least 24 hours before wrapping or stacking. Keep finished crafts away from moisture and direct heat vents, which can warp paper and loosen glue over time. Label boxes by season so next winter setup is easy.
Final tips and next projects
With winter crafts for seniors, success comes from keeping projects comfortable, flexible, and cheerful. Start with one or two core activities like winter cards and pinecone displays, then build up to wreaths or painted jar luminaries once everyone feels confident. Set out supplies in small trays, limit color choices, and plan for drying time so the process stays relaxed. Your next step: pick a theme for the week, such as “snowflakes and sparkle” or “cozy cabin greens,” and assemble simple kits so you can craft without hunting for materials. For even more seasonal inspiration, explore these cozy adult winter projects and adapt them with large-grip tools and seated-friendly steps.