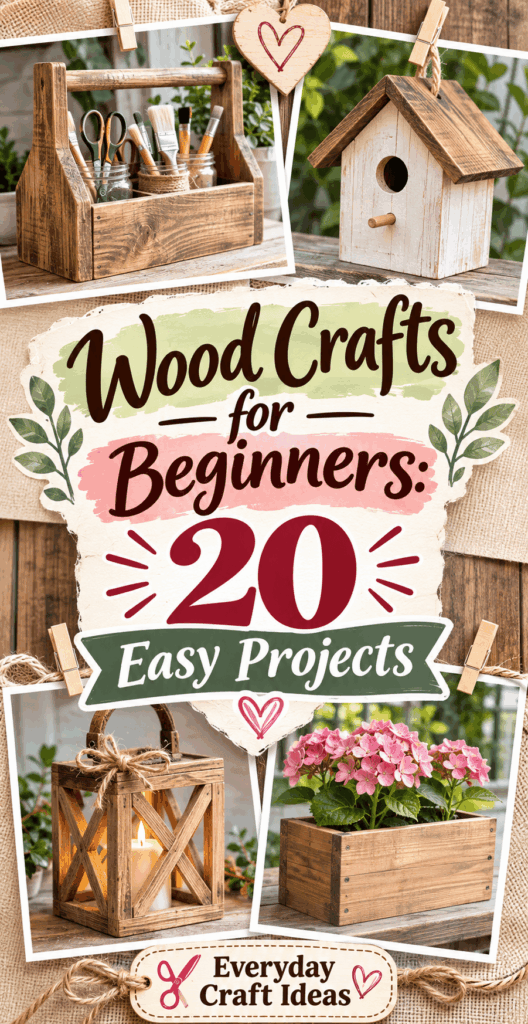
Wood Crafts for Beginners: 20 Easy Projects
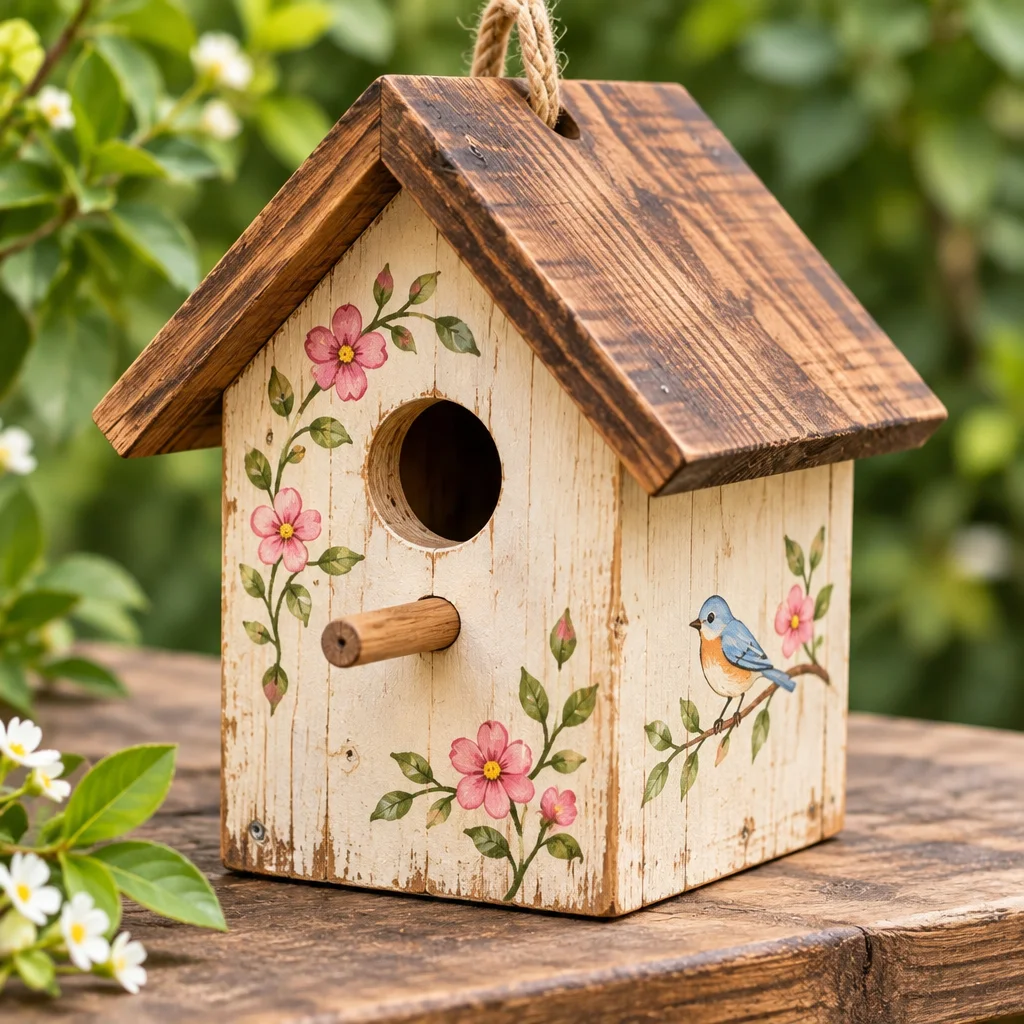
Wood crafts for beginners are one of the most satisfying ways to start making useful, giftable items with your own hands. You do not need a full workshop to get results you are proud of. With a few basic tools, simple lumber, and smart finishing techniques, you can make home decor, organizers, and seasonal projects that look polished, not “first try.” If you want a softer, no-sawdust craft day in between builds, you might also enjoy these felt crafts for beginners or this simple handmade notebook bookbinding tutorial. In this guide, you will get a beginner-friendly setup, 20 easy project ideas, and practical advice on measuring, sanding, painting, staining, and sealing so your finished pieces last.
What you need to get started
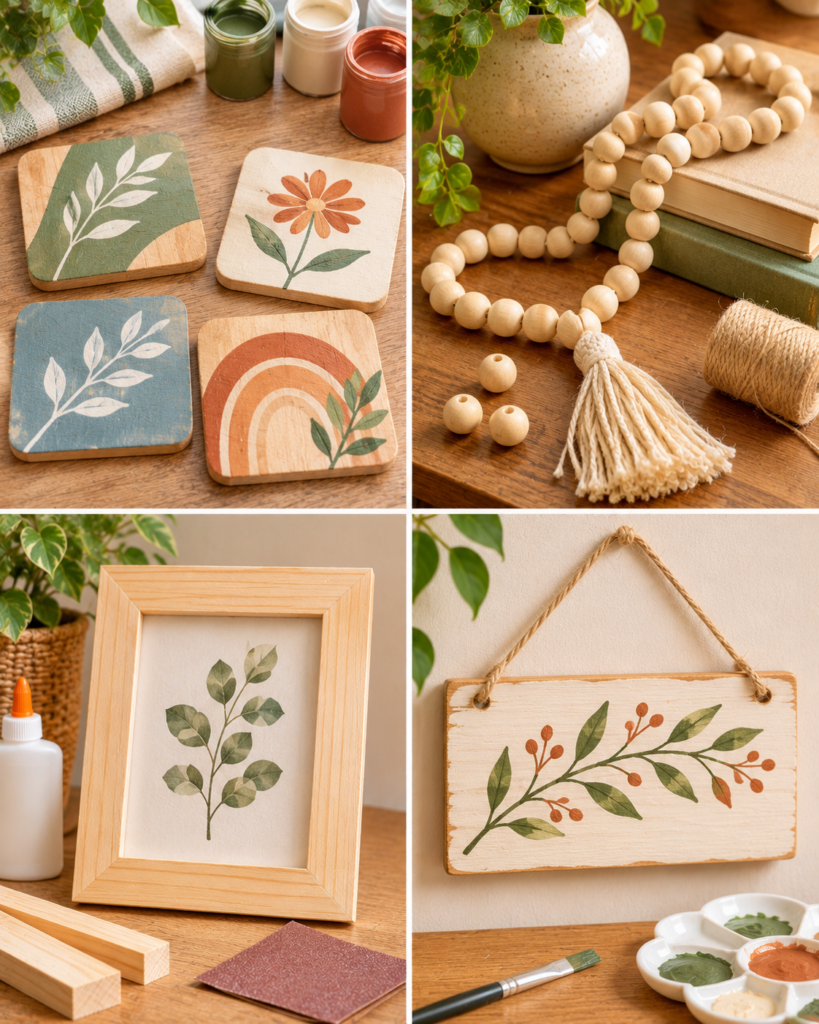
Basic wood types, tools and safety
Choosing the right wood and keeping your tool list small is the fastest way to succeed with wood crafts for beginners. Start with stable, inexpensive materials that cut and sand easily. Pine and poplar are ideal for painted projects, while birch plywood is great for flat, strong items like signs and trays. Avoid warped boards, cracked ends, or lumber with loose knots until you are more comfortable.
- Wood: 1×2 and 1×4 pine boards for frames and shelves, 1/4 inch to 1/2 inch plywood for signs and coasters, and scrap offcuts for small decor.
- Measuring and marking: Tape measure, combination square, pencil, and a straightedge. A square is the difference between “handmade” and “crooked.”
- Cutting: A handsaw or miter box works well for beginners; a jigsaw is a safe, versatile first power tool if you follow the manual.
- Assembly: Wood glue, clamps, a drill/driver, and sandpaper (80, 120, 180, 220 grits). Pre-drilling prevents splitting.
- Finishing: Primer, acrylic paint or stain, and a clear topcoat (water-based polyurethane is beginner-friendly and low odor).
Safety basics: wear eye protection every time you cut or drill, and use hearing protection with power tools. Clamp your work instead of holding it. Sanding creates fine dust, so wear a dust mask and vacuum often. Keep rags used with oil-based finishes in a sealed metal container or lay them flat to dry outdoors to reduce fire risk.
20 ideas and projects to try
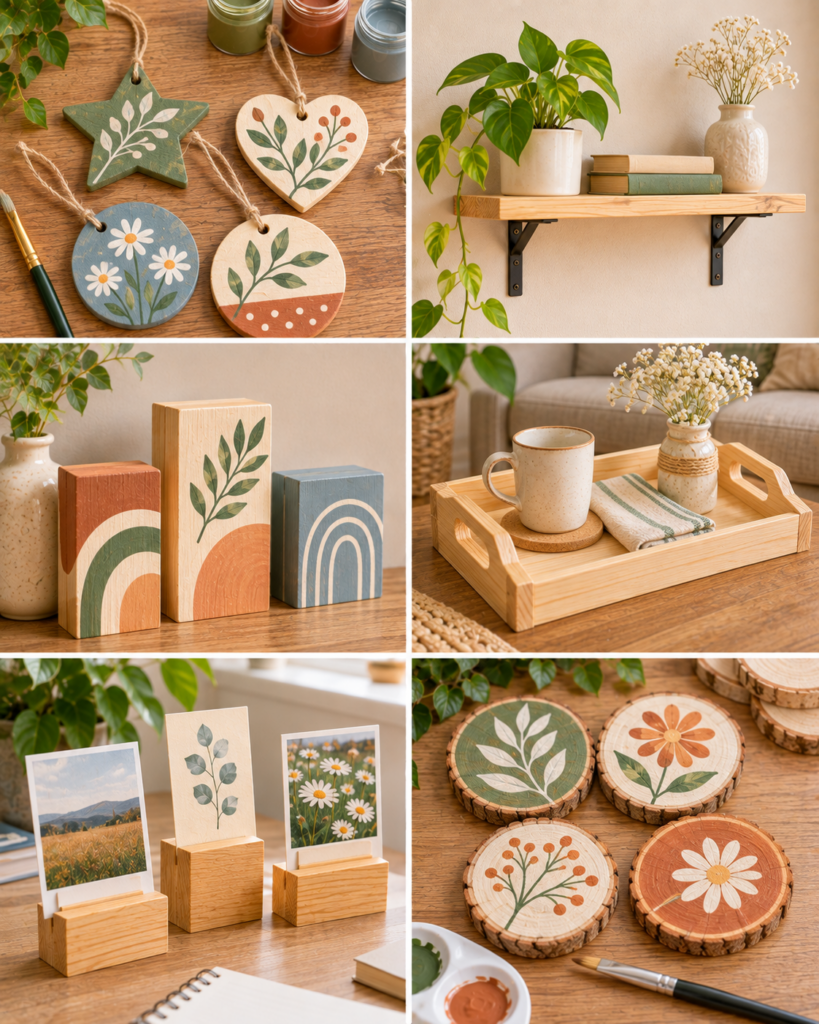
Painted signs, coasters, simple shelves, wooden ornaments, planters and picture frames
These wood crafts for beginners are grouped by the skills they teach: straight cuts, sanding, gluing, drilling, and finishing. Choose one project, then repeat it with small upgrades (better joinery, cleaner edges, nicer topcoat). That repetition is where your confidence grows.
- Painted quote sign: Plywood rectangle, painted background, vinyl stencil or traced lettering.
- Rustic name plaque: Board with routed or painted letters (skip routing and use raised wooden letters at first).
- Set of drink coasters: 4 inch squares with cork on the bottom and sealed tops.
- Striped plywood coasters: Use painter’s tape for crisp lines, then clear coat.
- Mini floating shelf: One 1×4 and two small brackets, perfect for renters.
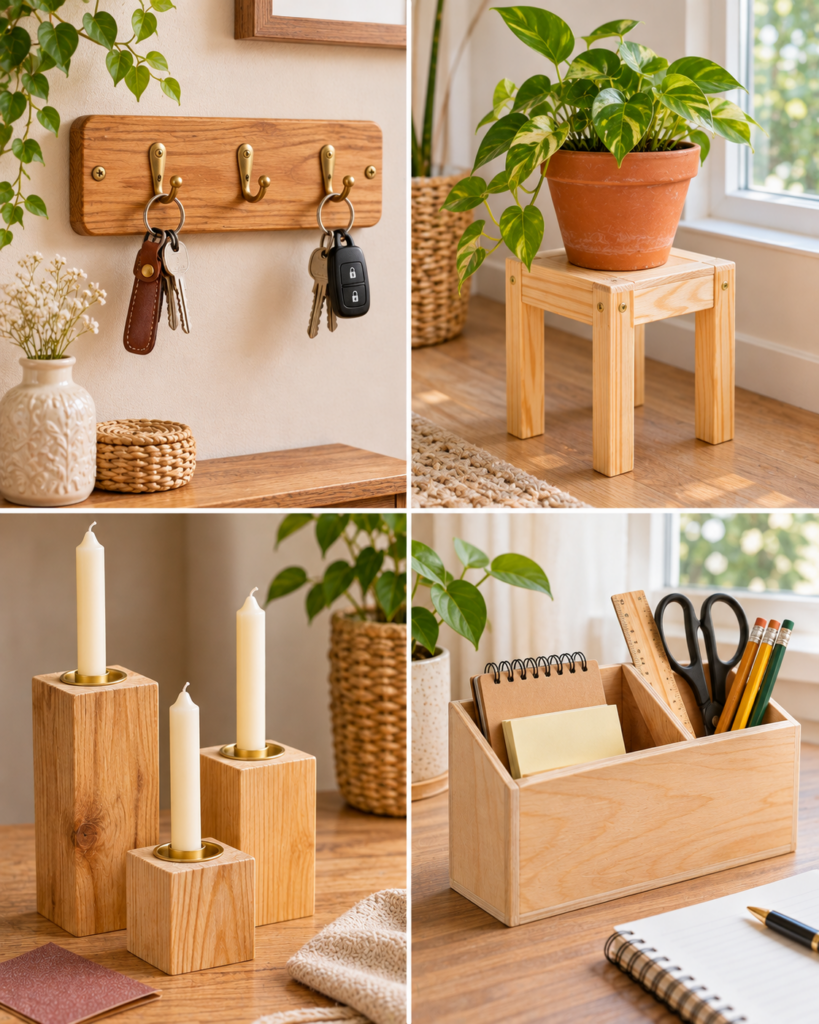
- Key holder with hooks: A small board, 3 to 5 screw-in hooks, and wall hangers.
- Desk pen tray: A shallow box shape from thin strips and a plywood base.
- Phone stand: Scrap wood with a saw kerf slot, sanded smooth.
- Picture frame: 1×2 boards with mitered corners and a simple backing.
- Clipboard: Plywood with a clip, great for kitchen lists.
- Bookends: Two L-shapes from scrap and a heavier base.
- Plant marker stakes: Thin wood strips, sealed for outdoor use.
- Small planter box cover: A sleeve that hides a plastic pot (do not plant directly in unlined wood).
- Wall-mounted test tube bud vase holder: A drilled block and a glass tube insert.
- Tea light holder: A thicker block with shallow drilled recesses (measure candle diameter carefully).
- Wooden ornaments: Circles or tags from plywood, painted and sealed.
- Gift tags: Tiny wood slices or rectangles with a hole for twine.
- Ring dish: Small shallow tray with a raised edge strip.
- Simple step stool (beginner-advanced): Only if you can make strong joints and follow a plan; load-bearing projects require extra care.
- Scrap wood mosaic art: Glued wood pieces on a backing board, stained in tones.
Many of these also become seasonal gifts. If you love holiday crafting, pair your wood projects with simple activities from Christmas crafts for kids for a family craft night that mixes quick wins with longer builds.
How to make and customize the projects
No-power-tool projects versus basic tool builds
Wood crafts for beginners fall into two comfortable lanes: no-power-tool builds and basic-tool builds. No-power-tool projects include coasters, ornaments, gift tags, and small signs because you can buy pre-cut blanks or have wood cut at the hardware store. Basic-tool builds add drilling and accurate cutting for shelves, frames, and organizers.
Use this simple workflow for most projects. Each step prevents common issues like wobbly assemblies, paint that peels, or frames that never square up.
- Choose a “forgiving” design: Start with straight lines and 90-degree corners. Curves and tight tolerances come later.
- Make a quick sketch with measurements: Note overall size and thickness. This helps you buy the correct lumber and prevents last-minute changes.
- Cut pieces slightly long, then trim: Sneaking up on a final length reduces mistakes and makes matching pairs easier.
- Dry fit before glue: Assemble without glue to confirm everything sits flat. If it rocks, find the high spot and sand or trim.
- Glue and clamp correctly: Use a thin, even glue layer. Clamp until you see a tiny bead of squeeze-out, then wipe with a damp cloth.
- Customize: Add hooks, drawer pulls, leather straps, or stenciled patterns. Small hardware upgrades make simple wood crafts look high-end.
If you want more beginner “rhythm” projects to alternate with woodworking days, check out these crochet ideas for beginners for portable crafting that pairs well with making wooden handles, tags, or gift boxes.
Sanding, finishing and measuring accurately
Clean finishing is what makes wood crafts for beginners look professional. Sanding should be gradual: start at 80 grit only if the wood is rough or has saw marks, then move to 120, 180, and finish at 220 for paint or clear coat. Always sand with the grain to avoid visible scratches. For edges, lightly break the sharp corner with one or two passes of 220 grit. This prevents splintering and helps paint grip.
Measure accurately by using a combination square for marking lines across boards. “Measure twice, cut once” is real, but also check that your tape measure hook is tight and consistent. When building frames or boxes, measure diagonals: if both diagonals match, your piece is square. If not, clamp and gently shift until they match, then fasten.
Finishing options:
- Paint: Prime first on knotty pine to block tannins. Use thin coats and sand lightly between coats for smoothness.
- Stain: Pre-stain conditioner on softwoods prevents blotchy patches. Wipe on, then wipe off evenly.
- Topcoat: Water-based polyurethane stays clear and dries fast. Apply 2 to 3 coats, sanding lightly with 220 to 320 grit between coats after drying.
Supplies, cost, time and skill level
Beginner mistakes and troubleshooting
Most wood crafts for beginners can be made in 30 minutes to 2 hours, plus drying time for paint or topcoat. Expect to spend $10 to $30 on your first small project if you already have sandpaper, glue, and a basic saw. Costs drop quickly once you build a small stash of screws, hooks, and finish. Plywood offcuts from big box stores are budget-friendly, and “project panels” are convenient if you do not want to break down large sheets.
Common beginner problems are usually easy to fix:
- Paint looks streaky: Use a foam roller for flat areas and apply two thin coats rather than one thick coat. Thick paint traps texture and runs.
- Stain is blotchy: Softwoods need conditioner, or switch to a gel stain which is more forgiving.
- Boards split near screws: Pre-drill and countersink. Also move screws farther from the end grain, ideally at least 3/4 inch.
- Gaps at joints: Your cuts may be slightly off-square. Clamp, then check with a square before the glue sets. For tiny gaps, wood filler works, but it can show under stain.
- Project wobbles: One piece is twisted or uneven. Check on a flat surface, mark the high corner, and sand or plane slightly until stable.
“I started with coaster blanks and a stencil, then tried a small key holder. The biggest difference was learning to sand in steps and seal everything. My second project looked twice as good, and the hooks have held up for months.”
If you enjoy rotating crafts through the week, keep one “quiet craft” on hand too, like these crochet projects for beginners, while wood glue or topcoat cures.
Frequently Asked Questions About Wood Crafts for Beginners: 20 Easy Projects
What is the easiest wood craft?
The easiest wood craft for most beginners is a set of coasters made from pre-cut wood squares or circles. You can focus on sanding, decorating, and sealing without worrying about complex cuts or joinery. The key is sealing all sides, not just the top, to reduce warping from moisture. Add cork or felt feet on the bottom to protect furniture and hide minor imperfections.
What can I make from scrap wood?
Scrap wood is perfect for small, practical builds: phone stands, key fobs, ornaments, plant markers, small trays, and wall hooks. Look for pieces that are flat and at least 1/2 inch thick for strength. Remove old nails or staples before cutting, and avoid mystery treated lumber for indoor decor. Sand edges thoroughly because scraps often have splinters and rough saw marks.
Which tools do beginners need?
For wood crafts for beginners, start with a tape measure, combination square, pencil, sandpaper in several grits, wood glue, clamps, and a way to cut straight lines such as a handsaw with a miter box. A drill/driver is the most useful first power tool because it helps with pilot holes and assembly. Add a jigsaw later if you want curves, and a random orbital sander if you plan to make projects often.
Do I need to seal painted wood projects?
Sealing is recommended for items that will be handled, cleaned, or exposed to moisture, like coasters, trays, and key holders. For wall signs, you can skip a topcoat if you used durable paint, but a clear coat adds scratch resistance and makes dusting easier. Use a water-based polyurethane over fully cured acrylic paint. Apply light coats to avoid brush marks and let it dry completely between coats.
How do I keep corners and edges from chipping?
Chipping usually happens when edges are too sharp or the finish is too brittle. Break edges slightly with 220 grit sandpaper before painting or staining. For painted projects, prime first and use multiple thin coats. Let paint cure fully before heavy handling, because “dry to the touch” is not the same as cured. For high-wear edges, a topcoat adds protection and reduces chips over time.
How can I hang wood signs and small shelves safely?
Use hardware rated for the item’s weight, and anchor into studs when possible. For small signs, sawtooth hangers or D-rings work well if the sign is light. For small shelves, use proper wall anchors for drywall or mount into studs with screws. Always pre-drill to avoid splitting near the edge, and make sure the shelf brackets are level before tightening fully.
Final tips and next projects
Wood crafts for beginners are easiest when you keep the first few builds small, repeatable, and finish-focused. Pick one project from the list, make it once as a test, then make it again with one improvement, cleaner sanding, straighter cuts, better hardware, or a smoother topcoat. Store your leftover stain, paint, and sandpaper together so starting the next project feels simple. Your next step: choose either coasters (fast win) or a key holder (useful and giftable), gather the materials, and set aside one uninterrupted hour for careful measuring and sanding. With each project, you will build skills that carry into shelves, frames, and bigger home upgrades.