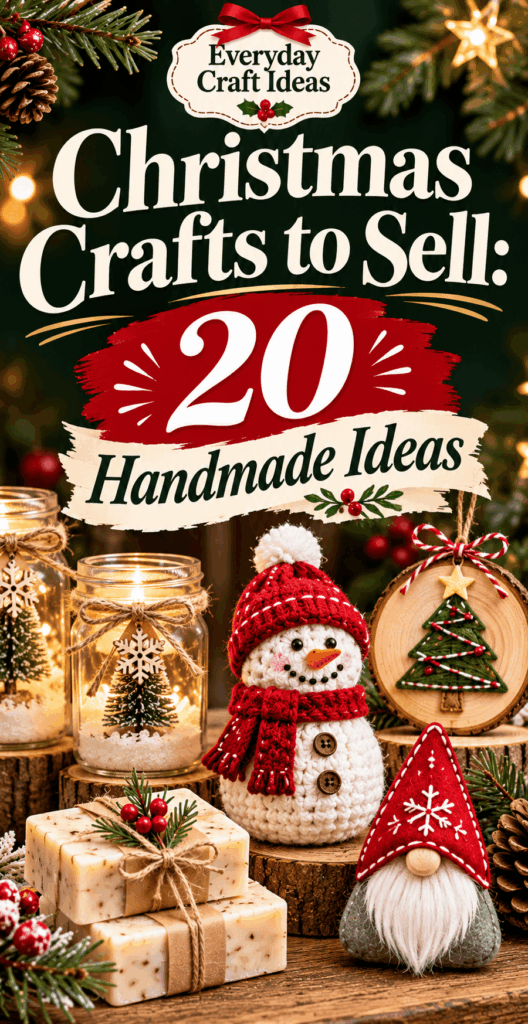
Christmas Crafts to Sell: 20 Handmade Ideas
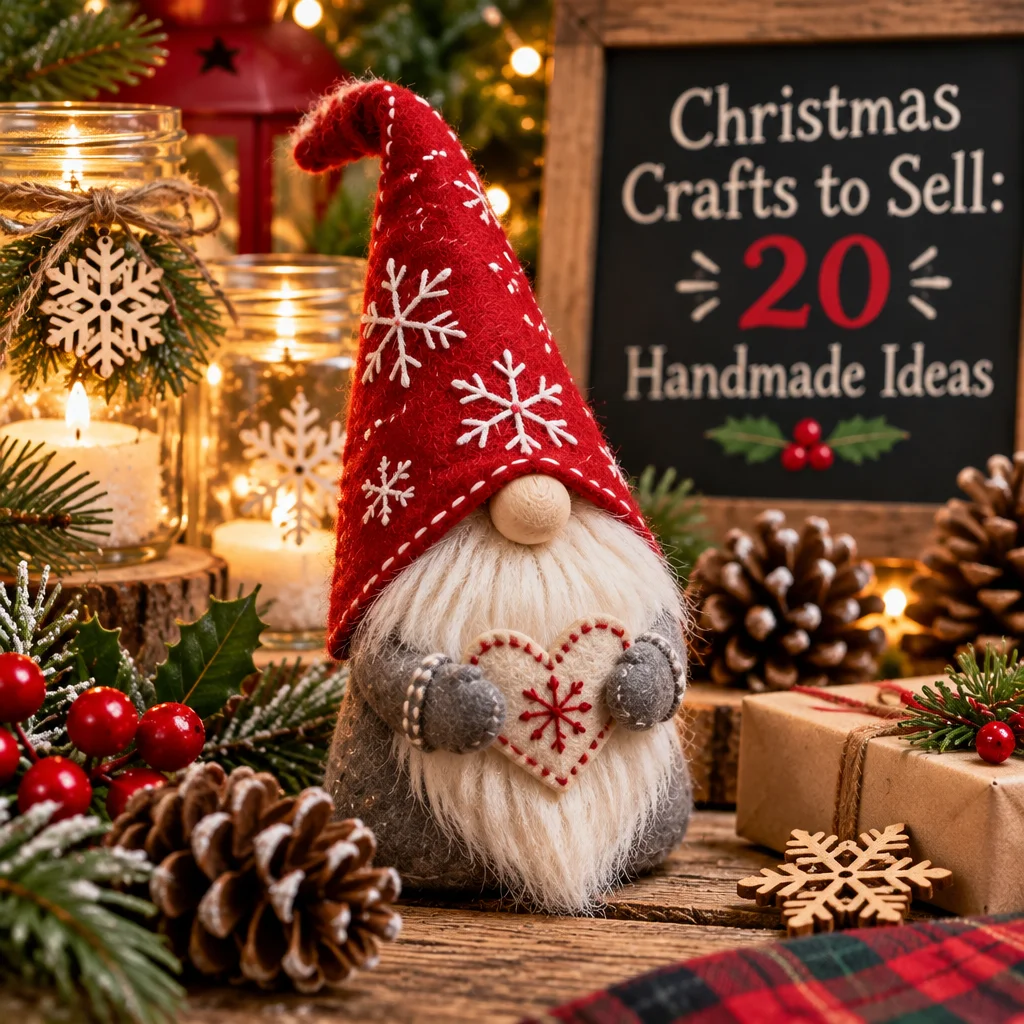
If you are searching for christmas crafts to sell, you likely want ideas that are cute, giftable, and realistic to batch make before markets and last minute orders hit. This guide focuses on 20 handmade projects that sell well because they solve a simple holiday need: ornaments, small gifts, decor, and stocking stuffers. You will also learn how to choose the right materials, speed up production without lowering quality, and finish items so they look truly “boutique,” even if you are a beginner.
Several of these ideas pair perfectly with paper based batches, so you may also like these Christmas paper crafts to make for quick add-on products. If you want a soft, cozy product line, browse these felt Christmas ornament ideas and adapt the same shapes into garlands, gift toppers, and sets.
Below you will find materials, safety, and step-by-step techniques that apply across many crafts, followed by 20 ideas organized by budget, skill, and personalization potential.
Materials and tools needed
Most christmas crafts to sell become much easier when you standardize your supplies. Choose 2 to 3 color palettes (classic red and green, neutral farmhouse, pastel modern) and buy core materials in bulk. This keeps your booth looking cohesive and makes batch production faster.
- Cutting tools: sharp fabric scissors (for felt and ribbon), paper scissors, and a craft knife with a self-healing mat for clean edges. Dull blades cause frayed felt and jagged paper, which reads as “homemade” in the bad way.
- Adhesives: hot glue gun (high temp for wood, low temp for ribbon and foam), tacky glue for paper and porous surfaces, and double-sided tape for quick packaging assembly. Use the right glue for the substrate so pieces do not pop off in transit.
- Basics for assembly: needle and thread or embroidery floss, jute twine, ornament hooks, jump rings, and keychain hardware. These small findings are cheap per item but elevate the finish.
- Paint and finish: acrylic paint, small foam brushes, paint pens for details, and a water-based clear sealer for items that will be handled often.
- Optional equipment: a cutting machine for vinyl labels, a hole punch, and a simple heat tool for shrink plastic projects.
For packaging, keep kraft boxes, cellophane sleeves, tissue paper, and thank-you cards on hand so each item is ready for gifting at purchase.
Skill level and estimated time
These christmas crafts to sell range from true beginner projects (paper stars, salt dough ornaments) to intermediate items (macramé ornaments, beaded garland). The key is to pick 3 to 5 products you can make confidently, then offer variations rather than learning 20 new skills at once.
Beginner: 10 to 30 minutes per item after a short practice run. Expect a little extra time for drying paint or glue. Great choices include gift tags, simple felt ornaments, mini wreaths, and cocoa stirrers.
Confident beginner to intermediate: 30 to 60 minutes per item. These often involve more steps or hardware, such as keychains, stamped tea towels, or beaded ornaments. They sell at a higher price point because the workmanship is obvious.
Batching estimate: When you set up an assembly line, you can often cut production time by 30% to 50%. For example, cut all felt shapes first, then sew all, then add details. For painted items, do all base coats together, then details, then seal.
Product sizing guidance: At markets, small items (ornaments, tags, small gifts) move fastest. Aim for pieces that fit in a hand or small bag, with a few “statement” items like wreaths or garlands to draw attention.
Preparation and safety tips
Before you start making christmas crafts to sell, do one test item from start to finish and write down your exact steps. This becomes your mini “pattern” and prevents inconsistent sizing and messy glue lines when you are tired and rushing.
- Hot glue safety: Use a silicone finger protector or craft spatula to press pieces instead of your fingertip. Keep the gun on a stand and unplug it during breaks.
- Paint and sealer: Work in a ventilated area. Even water-based sealers can be irritating in a small room. Let items fully cure before packaging to avoid sticking.
- Small parts: Many crafts include beads, bells, and mini charms. Label items that are not safe for children under 3 and avoid marketing them as toys.
- Food-adjacent items: If you decorate mugs, tea towels, or utensil holders, keep materials food-safe and clearly communicate care instructions. For example, vinyl on mugs should be hand wash only unless you use methods designed for permanent curing.
Set up a dedicated packing area with a clean surface so finished goods do not pick up glitter, pet hair, or stray paint. Add a small lint roller to your kit if you work with felt and fleece.
Project ideas and variations
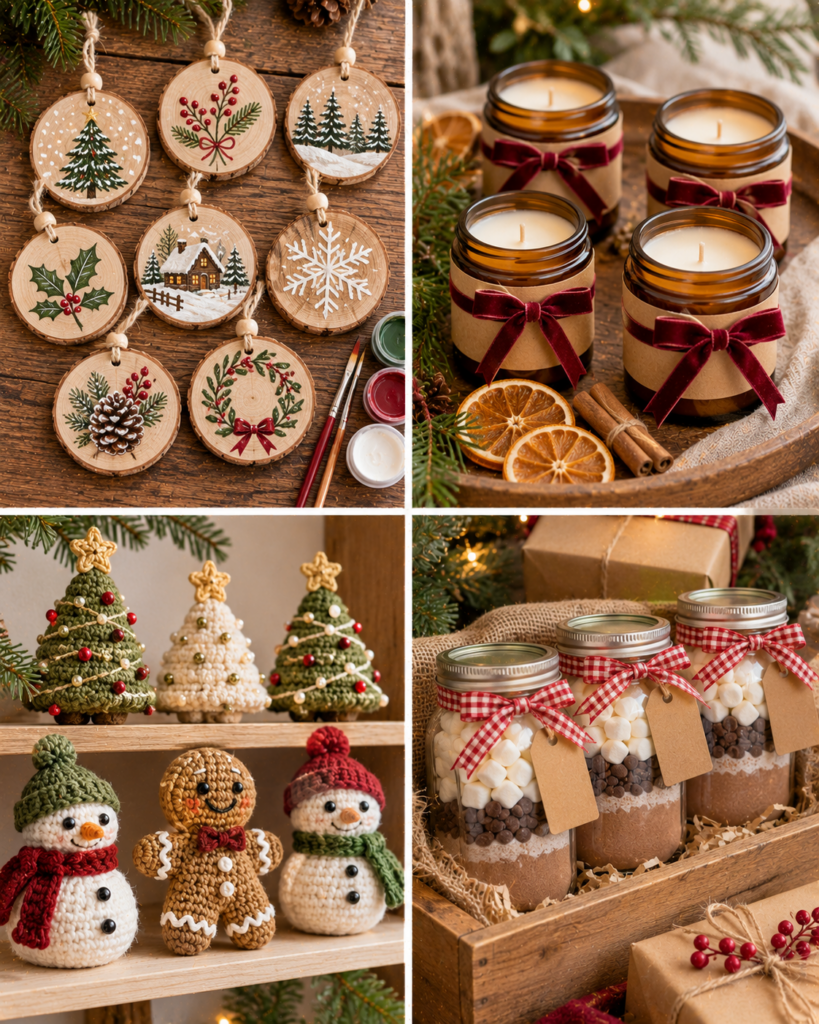
Here are 20 proven christmas crafts to sell that work well for holiday markets, teacher gifts, neighbor gifts, and online listings. For best sales, bundle items into sets and offer personalization where it makes sense (name, year, pet silhouette, color choice).
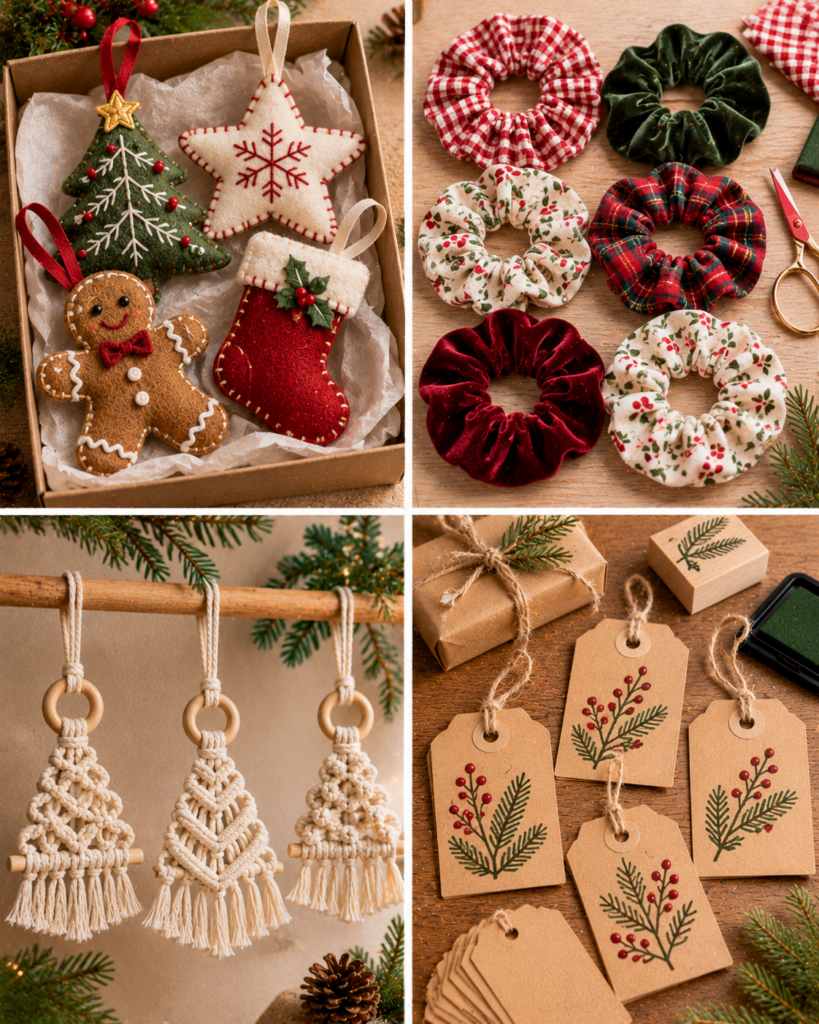
- Felt ornaments (stars, trees, gingerbread): lightweight, shippable, and perfect in sets of 3 or 6.
- Salt dough ornaments: handprints for families, stamped snowflakes, or simple monograms.
- Paper gift tag sets: 12 to 24 tags with matching twine and a belly band.
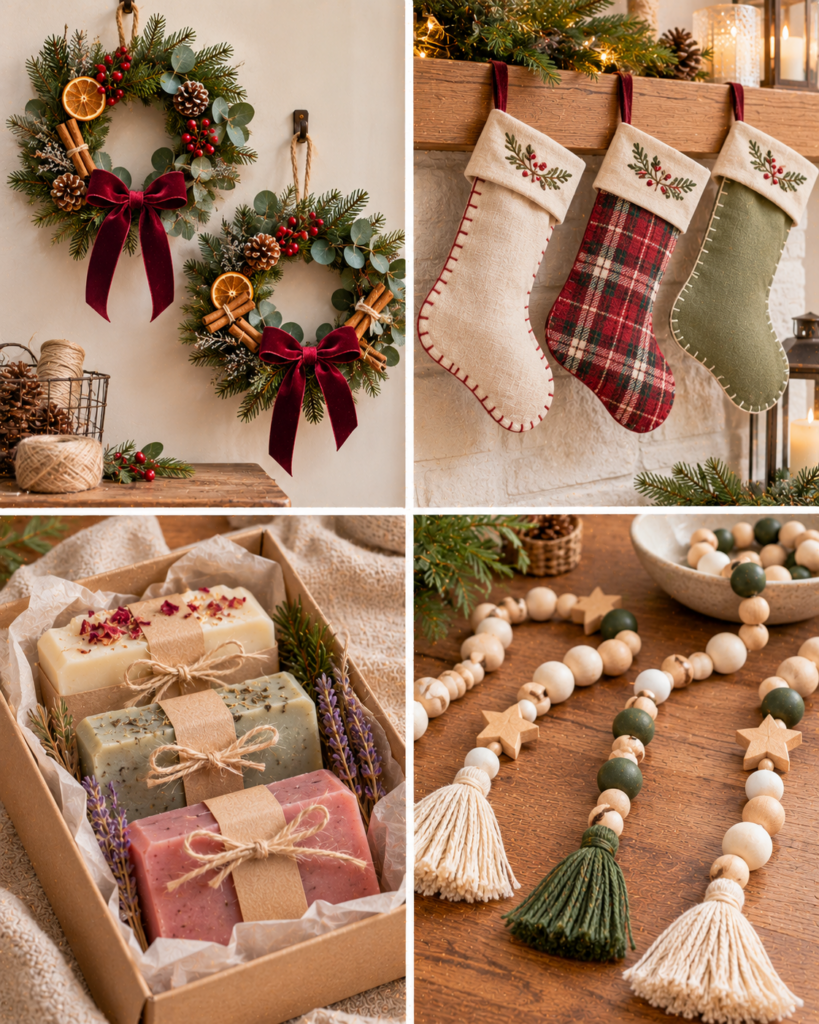
- Mini wreath ornaments: grapevine rings or embroidery hoops with greenery.
- Beaded garland: wood beads with tassels; sell by the yard or in standard lengths.
- Cinnamon dough bowl fillers: star or heart shapes for seasonal decor (clearly label as decorative, not food).
- Fabric scrunchies in holiday prints: quick to sew, great as stocking stuffers.
- Quilted or fabric coasters: sets of 4 with a belly band and care card.
- Stamped tea towels: potato stamp or carved stamp patterns; heat set properly.
- Hand-lettered ornaments: vinyl or paint pen names on shatterproof balls.
- Wood slice ornaments: painted silhouettes, names, or rustic plaid.
- Macramé tree ornaments: simple knots, neutral tones.
- Clay gift toppers: air-dry clay shapes with initials.
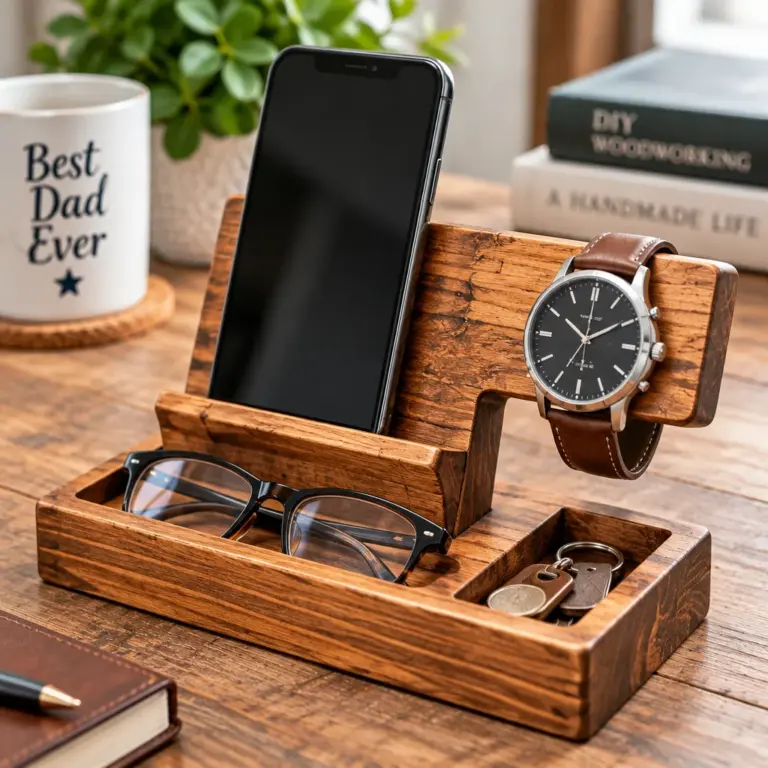
- Christmas card holders: wood blocks with a slot for photo display.
- Personalized keychains: acrylic blanks, leather strips, or resin-free shrink plastic.
- Bookmark sets: laminated or faux leather with tassels.
- Sachet ornaments: dried lavender in fabric, hung in closets.
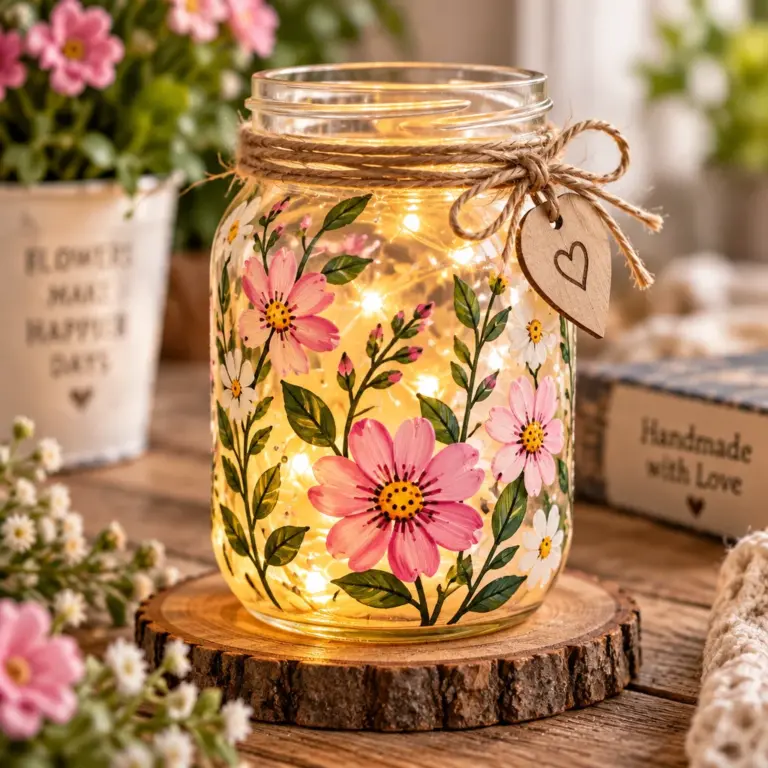
- Snow globe jars (decor-only): glitter scenes sealed shut, labeled as not for children.
- Advent countdown blocks: wood blocks with numbers; classic seller.
- Giftable candle wraps or sleeves: decorative labels and sleeves that fit standard jars (sell without claiming to be the candle maker).
Beginner friendly option
Start with tag sets, salt dough ornaments, and simple felt shapes. They teach cutting, clean gluing, and consistent sizing, which are foundational skills for higher-priced products later. If you need family-friendly projects to make alongside kids, pull ideas from these Christmas crafts for kids and adapt them into more polished “market” versions with better materials and coordinated colors.
Budget friendly option
Paper tags, beaded garland (especially with bulk beads), and cinnamon dough decor have low material cost and high perceived value when packaged well. Keep designs simple and repeatable to protect your time.
Creative and personalized option
Name ornaments, custom keychains, and monogrammed clay toppers are ideal for add-on pricing. Offer a few font choices and keep your personalization workflow consistent (order form, spelling confirmation, turnaround time).
Practical instructions and techniques
The difference between “cute” crafts and christmas crafts to sell that customers happily pay for is consistency and finish. Use these techniques as your foundation across most projects.
- Create a master template: For felt and paper shapes, cut one perfect template from cardstock or acetate. Trace around it rather than freehanding. This keeps every ornament in a set the same size, which buyers notice immediately.
- Batch cut first: Stack felt (2 to 4 layers) and pin your template to reduce cutting time. For paper, use a paper trimmer for straight edges and a punch for circles. Cutting everything upfront prevents you from stopping mid-process to measure again.
- Use the right adhesive method: For felt embellishments, a tiny dot of fabric glue reduces bulk compared to hot glue. For wood, use hot glue and rough up slick surfaces lightly with sandpaper so glue grabs.
- Add hangers and hardware early: For ornaments, insert the hanging loop before you close seams or finish backs. For keychains, test jump rings and clasps for smooth movement and remove sharp burrs with a small file.
- Finish edges cleanly: Thread ends should be knotted and tucked. Paper tags look more premium with rounded corners or reinforced hole areas. Wood slices benefit from a quick seal coat to prevent paint soaking in unevenly.
- Make it gift-ready: Attach a small care card and package in a way that protects shape. This increases sales and reduces returns for damaged items.
If you want more products that are naturally giftable, this list of DIY Christmas gifts people actually want can inspire bundles that sell at higher price points.
Common mistakes and troubleshooting
When making christmas crafts to sell, the most common issues are surprisingly simple: uneven cutting, glue showing, and rushed drying. Here is how to fix them without scrapping a whole batch.
- Problem: Felt looks fuzzy or stretched. Use sharp scissors and avoid pulling the felt while cutting. If edges still fuzz, trim lightly with small detail scissors. For stiff ornaments, add a layer of interfacing or use stiff felt.
- Problem: Hot glue strings everywhere. Lower the glue temperature if possible and pause a second after squeezing before lifting the gun. Keep a silicone mat nearby to wipe the tip and catch strings.
- Problem: Paint looks streaky on wood. Apply a quick base coat (even white) first, then two thin color coats rather than one thick one. Sand lightly between coats if grain raises.
- Problem: Salt dough ornaments crack. Roll dough evenly and dry slowly at low temperature. Thick pieces crack more easily, so keep shapes around 1/4 inch thick. Let them air dry a day before baking if your climate is humid.
- Problem: Beaded garland knots slip. Use a surgeon’s knot or add a tiny dot of clear-drying glue inside the knot. Let it dry fully before pulling tight again.
Reader testimonial: “I used your batching advice and made 30 felt ornaments in one weekend. The biggest change was cutting all pieces first and adding hang loops before sewing. My table looked more professional, and I sold out of the sets by noon.”
Finishing and styling tips
Finishing is where christmas crafts to sell become truly market-ready. Shoppers often decide in seconds, so your products need strong “shelf appeal” from a few feet away and neat details up close.
- Choose a cohesive palette: Limit each collection to 3 to 5 colors. For example, cream, black, and gold looks modern. Red, white, and kraft feels classic. This makes your booth and product photos instantly more polished.
- Upgrade with small details: Add a tiny bell, wooden bead, or satin bow to ornaments. Use metallic paint pens for dots and outlines. For paper tags, add foam tape layers for dimension.
- Label clearly: A simple brand sticker plus a short tag like “Set of 6” or “Personalized” answers questions fast. Include the year on ornaments as an optional add-on.
- Style for photos: Photograph on a neutral background with one seasonal prop (pine sprig, ribbon). Show scale in one image, such as an ornament in a hand or on a tree branch.
- Add care cards: Buyers love knowing what to do. Examples: “Keep dry,” “Spot clean only,” “Not a toy,” or “Hand wash, lay flat to dry.”
For felt product lines specifically, use consistent stitching (blanket stitch or whip stitch) and keep spacing even. If hand stitching varies, choose a simpler stitch and focus on neatness over complexity.
Storage and care
Proper storage protects your time and keeps christmas crafts to sell looking new through the entire season. The two biggest enemies are crushing and moisture.
- Ornaments and delicate pieces: Store in shallow bins with dividers or layer in tissue paper. Avoid heavy stacking. For beaded garland, coil loosely and secure with a twist tie to prevent tangles.
- Paper goods: Keep flat in cellophane sleeves or document boxes. Add silica gel packets in storage bins if you live in a humid area so cardstock does not warp.
- Fabric items: Wash and pre-shrink fabric before sewing scrunchies or coasters. Store finished fabric goods in sealed bins to prevent dust and odors. Include fiber content and washing instructions on a small card.
- Painted wood and clay: Let sealers cure fully before stacking, usually 24 to 72 hours depending on product. If items stick together, they were packed too soon. Separate gently with dental floss rather than prying with a knife.
When selling at markets, bring a “repair kit” with extra ribbon, glue sticks, paint pen, jump rings, and a small pair of pliers. Quick fixes prevent lost sales.
Common Questions
How many items should I make for my first holiday market?
Aim for 30 to 80 total items split across 3 to 5 product types, depending on your time and the event size. Having too many different designs can slow you down and make your table look scattered. Bring deeper stock of your fastest makers, like tag sets or ornaments. Track what sells in the first hour, then restock those styles first for your next event.
How do I keep personalized orders from getting overwhelming?
Offer limited options: 2 fonts, 3 color choices, and a clear character limit for names. Use an order form where customers print the spelling, and repeat it back before you start. Build personalization time into your turnaround and charge an add-on fee. If you sell at a market, consider taking orders for later pickup or shipping rather than making everything on the spot.
What is the easiest way to make my crafts look more professional?
Standardize sizes and finishes. Use templates, measure hang loops to the same length, and trim threads cleanly. Choose one style of packaging across your line, such as kraft cards with a logo sticker. Finally, keep your color palette tight. Even simple christmas crafts to sell look high-end when they are consistent, neat, and presented as a coordinated collection.
How do I avoid crafts getting damaged during transport?
Use shallow bins and do not overfill them. Wrap fragile pieces in tissue, and keep heavy items separate from delicate ones. For ornaments, store in divided containers or egg-crate foam. Bring a small repair kit so you can reattach a bead or re-tie a bow quickly. If something is prone to bending, add a backing card or small box rather than a soft bag.
What should I include on a care card?
Keep it short and specific: cleaning method, whether it can get wet, and any safety notes (small parts, decorative use only). For fabric goods: “Machine wash cold, gentle. Lay flat to dry.” For ornaments: “Indoor use. Keep dry.” For scented sachets: “Keep away from pets and children. Do not ingest.” Clear care instructions reduce complaints and build repeat buyers.
How can I sell more at my booth without making new products?
Create bundles and add-ons. Pair ornaments with matching gift tags, or sell “tree decorating sets” that include 6 ornaments and a garland. Offer personalization as an upgrade. Display one sample of each variation and keep back stock organized. People shopping for gifts love ready-made sets, and bundling increases your average sale without increasing design complexity.
Frequently Asked Questions About Christmas Crafts to Sell: 20 Handmade Ideas
What Christmas crafts sell best?
The best-selling christmas crafts to sell are small, giftable, and easy to personalize: ornaments, gift tags, stocking stuffers, and mini decor. Sets sell especially well because they look like a complete gift and increase order value. Focus on items that fit common themes like “first Christmas,” family names, teacher gifts, pet lovers, and neutral farmhouse decor. Make sure your product photos and booth samples show how the item is used.
What Christmas crafts are inexpensive to make?
Paper tag bundles, laminated bookmarks, salt dough ornaments, and beaded garlands are typically inexpensive because the materials are low-cost and you can buy in bulk. Keep your designs repeatable, limit color changes, and use an assembly-line process to protect your profit. Packaging matters here: a simple kraft backing card and cellophane sleeve can make a low-cost item look premium without raising supply costs much.
How do you price handmade Christmas crafts?
Start with materials cost per item, then add labor (your hourly rate times the time per item), plus overhead like booth fees, packaging, and transaction fees. Many makers use a formula like materials plus labor plus overhead, then round to a clean price point. Also consider perceived value: a personalized ornament can be priced higher than a plain one. Test prices at one event, track what sells, and adjust.
What can beginners make to sell at Christmas?
Beginners do well with felt ornaments, paper tag sets, simple wreath ornaments, scrunchies, and salt dough keepsakes. These projects have forgiving materials and do not require advanced tools. Practice one design until it looks consistent, then create variations with color changes and small add-ons like bells or initials. Consistency builds trust with buyers and makes your production faster as the season gets busy.
How should you package crafts for a holiday market?
Package so the customer can see the product, protect it during travel, and gift it immediately. Clear cellophane sleeves, small boxes, and backing cards work for most christmas crafts to sell. Add a simple label with your brand, price, and care instructions. For sets, use belly bands or a ribbon wrap to keep items together. Avoid glitter fallout inside packaging because it looks messy and can damage other items in a bag.
Final thoughts
The most successful christmas crafts to sell are not always the most complicated. They are the ones you can make consistently, finish neatly, and present in a gift-ready way. Pick a small product line, do one full test run, and then batch your steps: cut, assemble, detail, and package. Focus on strong photos, clear care cards, and a cohesive color palette. Your next step is simple: choose 3 ideas from the list above, gather supplies, and make one “perfect sample” of each. Once you love the finish, scale up with an assembly line and enjoy the holiday season knowing you are ready to sell with confidence.