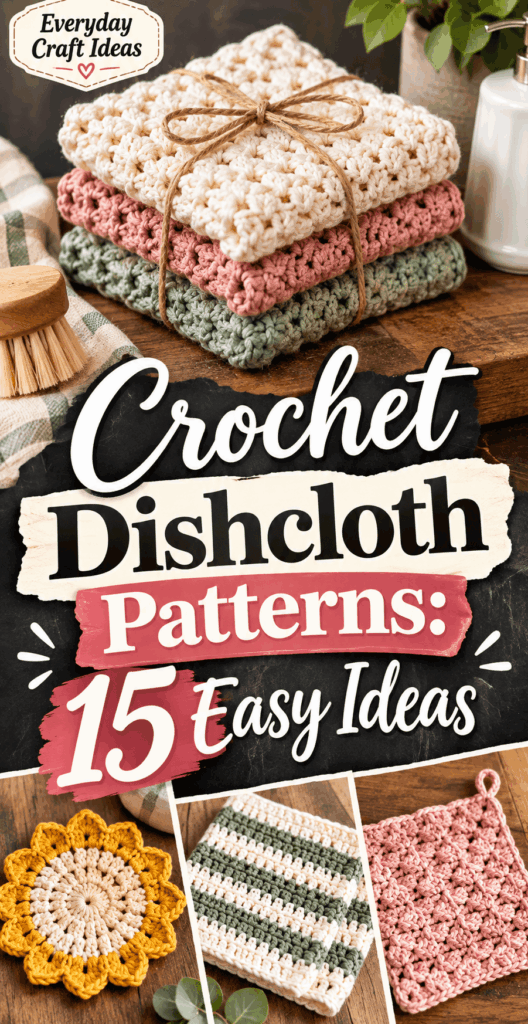
Crochet Dishcloth Patterns: 15 Easy Ideas
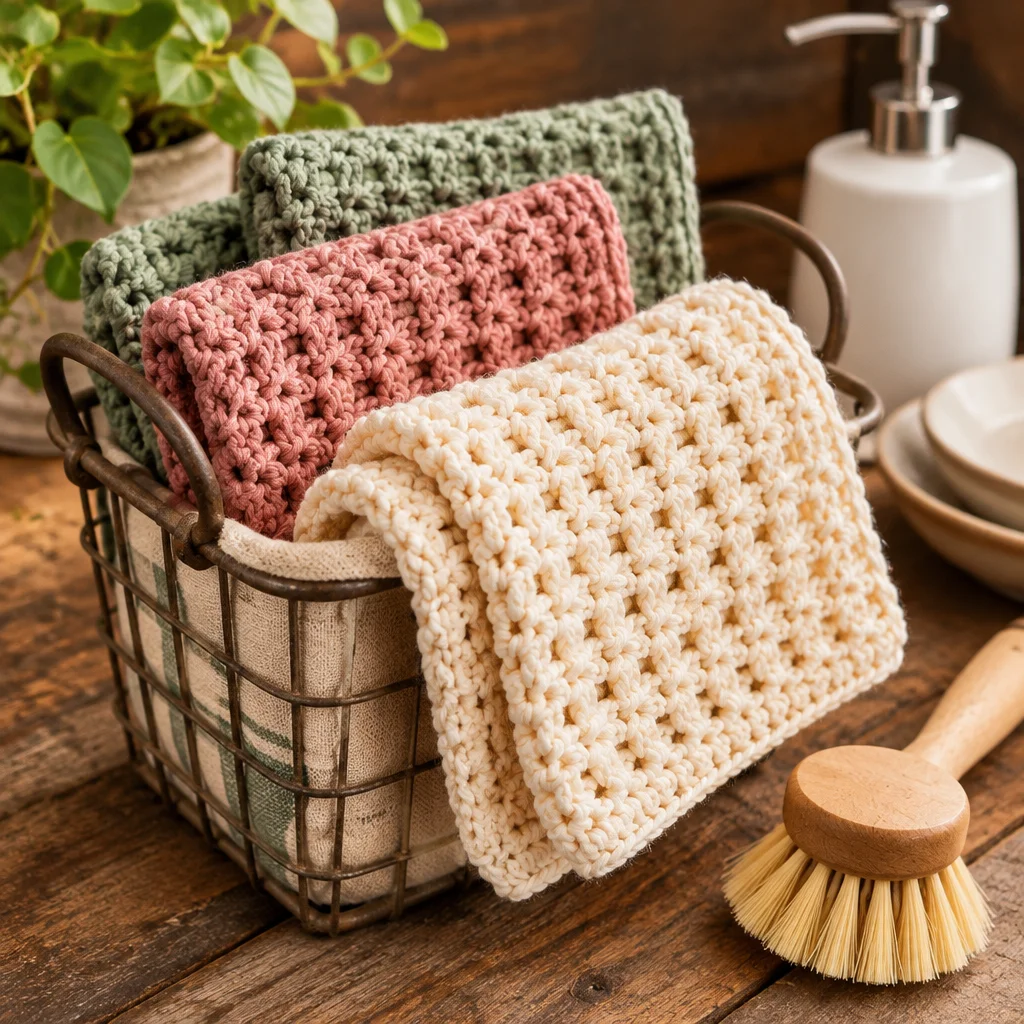
Crochet dishcloth patterns are one of the fastest, most satisfying ways to build skills and make something you will actually use every day. In an afternoon, you can crochet a sturdy cotton cloth that scrubs dishes, wipes counters, and replaces disposable sponges and paper towels. This article walks you through 15 easy design ideas, plus the practical details that make them work: yarn choice, stitch textures, sizing, borders, and how to wash them so they last. Whether you are brand new to crochet or you just want a relaxing project between bigger makes, dishcloths are forgiving, portable, and budget friendly. You will also learn how to troubleshoot common issues like curling edges, uneven sides, and stretching.
Why This Project Is Worth Making
Making your own dishcloth is a small project with a big payoff. Most crochet dishcloth patterns use basic stitches, so you can practice tension and learn to “read” your fabric without committing to a sweater or blanket. A typical cloth takes about 45 to 120 minutes depending on stitch complexity and your speed. Cost is low: one 50 g to 100 g ball of cotton often makes one to three cloths, and cotton holds up well in hot water.
Difficulty is beginner friendly, especially for square cloths worked back and forth in rows. You will get a useful item at the end even if your edges are not perfect. Dishcloths also suit crocheters who like quick gifts, want eco-friendly swaps, or need stash-busting projects. If you have arthritis or hand fatigue, dishcloths can be made with a slightly larger hook and looser stitch for comfort.
Reader outcome: by the end, you will be able to pick an absorbent yarn, choose a stitch texture that fits your needs (soft wiping vs scrubbing), plan size, and finish neatly so your cloth lies flat. You will also have 15 specific design ideas you can adapt into your own crochet dishcloth patterns.
Supplies, Materials, and Beginner Setup
You do not need a lot of gear, but a few smart choices make your cloth look cleaner and last longer. Here is a practical setup that works for nearly all crochet dishcloth patterns:
- 100% cotton yarn (worsted/aran weight): Cotton is absorbent and tolerates hot washes. If your budget is tight, store-brand “dishcloth cotton” works well. Avoid fuzzy novelty yarns that shed fibers in the sink.
- Crochet hook: Start with the size suggested on the yarn label (often 5.0 mm/H-8) and adjust if your fabric is too stiff or too holey.
- Tapestry needle: For weaving in ends securely so they do not pop out in the wash.
- Scissors: Any sharp pair is fine, but keep them for yarn only to prevent snagging.
- Measuring tape or ruler: Helpful for consistent sizing, especially if making sets.
- Stitch markers (optional): Mark the first and last stitch of a row to stop accidental increases/decreases.
Safety note: if you plan to use a dishcloth as a hot pad, do not. A dishcloth fabric is designed to get wet and may transfer heat. For hot pads, use a dedicated thick cotton pattern made specifically for heat protection and never use acrylic near heat sources because it can melt.
Choosing absorbent cotton
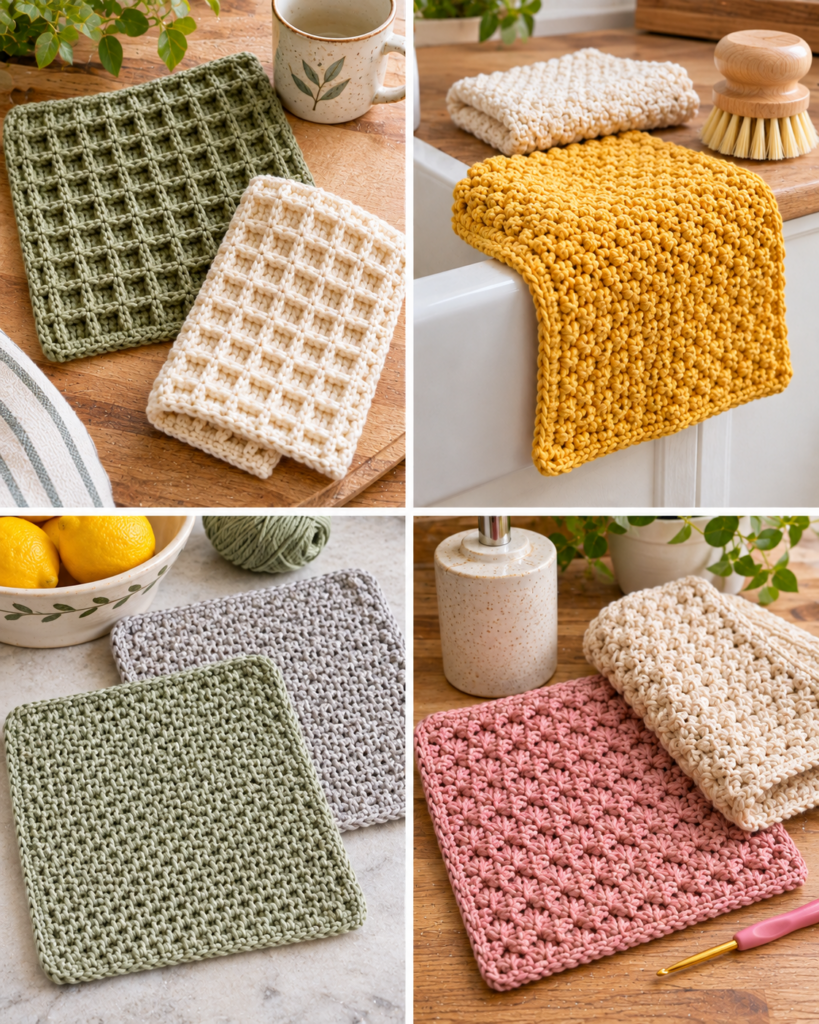
Cotton is the workhorse fiber for crochet dishcloth patterns because it absorbs water, holds up to friction, and survives frequent laundering. Look for 100% cotton labeled “worsted,” “aran,” or “dishcloth cotton.” Mercerized cotton has a smooth sheen and makes a crisp-looking cloth, but it can feel less grippy for scrubbing. Unmercerized cotton is slightly matte and often feels more absorbent on counters.
Concrete examples of what to look for:
- Plied cotton (multiple strands twisted together): More durable, less splitting, great for beginners.
- Single-ply cotton: Very soft but can pill and wear faster if you scrub hard pans.
- Cotton-linen blends: Attractive and fast drying, but can be less soft and slightly more expensive.
Realistic constraints: cotton has little stretch, which is good for keeping shape, but it can be hard on hands if you crochet tightly. If your hands tire, go up one hook size and focus on consistent tension. Also, darker cottons may bleed dye during the first few washes. If you are making gifts, prewash your finished cloth or include care instructions to wash separately the first time.
Design variations based on cotton choice: smooth mercerized cotton highlights textured stitches like waffle; softer unmercerized cotton feels nicer for face cloths and gentle wiping.
Simple single crochet, moss stitch, waffle texture and striped designs
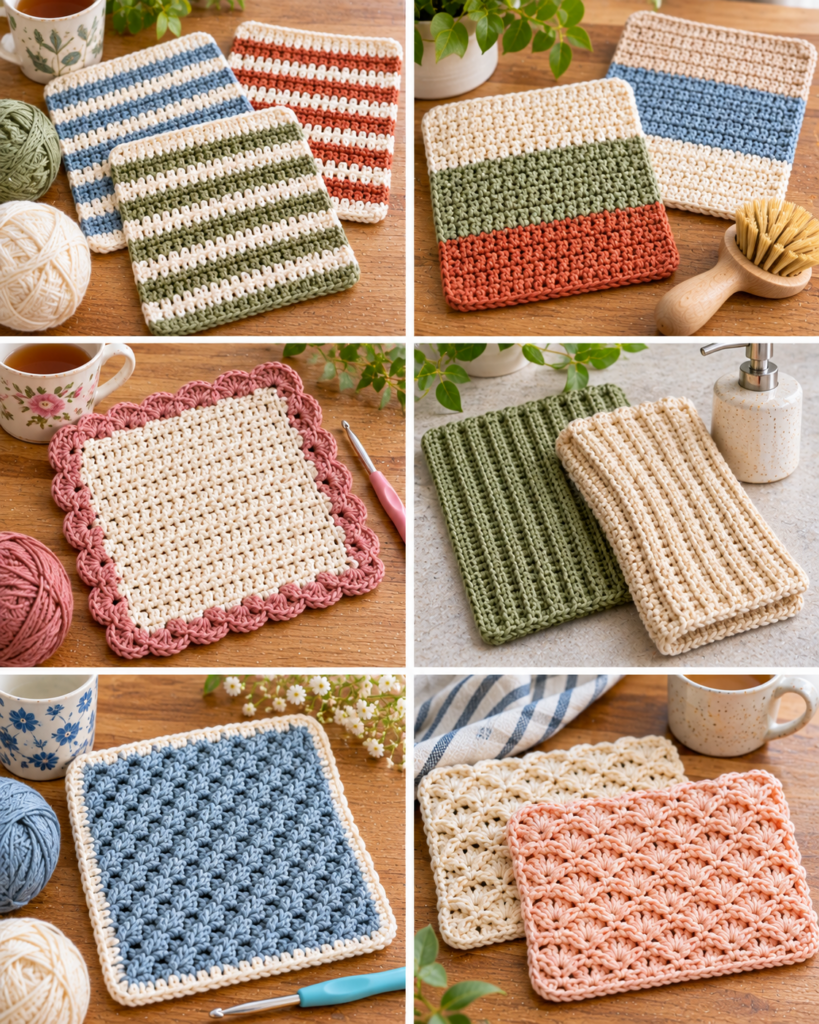
Below are 15 easy ideas you can use as a “menu” for crochet dishcloth patterns. These are concept patterns: choose your size, yarn, and border, then apply the stitch. If you want a fully written pattern, use these as keywords to search trusted designers, or build your own swatch and measure as you go.
- Classic single crochet square: Dense, sturdy, great for heavy scrubbing. Best with a slightly larger hook to prevent stiffness.
- Half double crochet (HDC) cloth: Faster than single crochet, still fairly dense for wiping.
- Double crochet (DC) with a tight border: Airier, quick to make, good for light wiping not tough scrubbing.
- Moss stitch (linen stitch): Beautiful woven texture, lies flat, excellent for beginners learning rhythm.
- Waffle stitch: Deep texture for scrubbing; uses more yarn and can feel thick when wet.
- Front loop only ridges: Simple row-by-row ridges that grab crumbs well.
- Back loop only ribbing: Flexible and drapey, nice for wrapping around faucet bases.
- Sand stitch: Nubby but not harsh, a good “middle ground” cloth.
- Striped rows: Change colors every 2 to 6 rows; hide stains and use scraps.
- Thin “pinstripe” stripe: Add a single contrasting row for a clean modern look.
- Corner-to-corner (C2C) mini: Diagonal texture; easy once you learn the increase and decrease rhythm.
- Granny square style solid square: Pretty, quick, and customizable colors; keep holes minimal for function.
- Textured diamond with post stitches: Raised diamonds add grip; practice on a small cloth first.
- Seeded stripe texture: Alternate SC and DC for subtle texture without bulk.
- Two-sided “scrub and smooth” cloth: One side single crochet, one side waffle panels or bobbles in a strip.
Constraint to remember: very open stitches can snag on utensils and do not hold up as well for scrubbing. For everyday kitchen use, aim for a fabric that feels firm but still flexible.
Sizing and yarn planning
Most crochet dishcloth patterns land in a practical range: 7 to 9 inches square for a standard dishcloth, or 8 by 10 inches for a slightly more towel-like rectangle. Smaller cloths (6 inches) are great for kids’ lunch boxes or quick counter wipes. Larger cloths (10 to 12 inches) are better if you want a multipurpose “wash rag” for bigger surfaces, but they take longer to dry.
Yarn planning is simple because dishcloths are small. As a rough guide, one 7 to 8 inch square in worsted cotton often uses 25 to 40 grams depending on stitch density. Waffle stitch and very dense single crochet use more yarn; airy double crochet uses less. If you are making a matching set, weigh your first finished cloth on a kitchen scale and multiply by how many you want.
How to avoid size surprises:
- Count stitches: Mark the first and last stitch of each row, especially with single crochet.
- Measure after a few rows: If your width is off, restart early rather than “fixing” at the end.
- Expect slight shrinkage: Cotton can tighten a bit after the first hot wash and dry. If you like an 8-inch cloth, crochet it to 8.5 inches.
Variation idea: make a “two-pack” with different sizes, one small scrub cloth (6.5 inches) and one larger wipe cloth (9 inches).
Borders and finishing
A good border is the difference between a cloth that looks handmade in a polished way and one that looks wavy. Borders also stabilize edges, especially on textured stitches. Here is a reliable finishing method that works with most crochet dishcloth patterns:
- Block lightly if needed: For cotton, a simple steam hover or damp lay-flat is enough. This helps you see if edges need evening out.
- Weave in ends first: Use a tapestry needle and weave through several stitches in different directions. Cotton is slicker than wool, so take a longer path and avoid cutting too close.
- Single crochet edging: Work 1 round of SC evenly around. Place 3 SC in each corner space to turn cleanly. Along row ends, aim for 1 SC per row for single crochet fabric, or 2 SC per row for taller stitches, adjusting so it lies flat.
- Add a second round (optional): Crab stitch (reverse single crochet) makes a sturdy corded edge. A simple slip-stitch round looks clean and modern.
- Hanging loop (optional): Chain 10 to 15 at a corner or mid-edge, then slip stitch back into the same point. Reinforce by stitching into the base again.
Realistic constraints: too many stitches along the sides makes a ruffle; too few pulls the edge inward. If your border waves, remove it and try fewer side stitches. If it cups, add a few extra evenly spaced stitches.
Washing and drying
Dishcloths are meant to be washed often, so build that into your choices. Most 100% cotton crochet dishcloth patterns can be machine washed warm or hot. If you used a dark or saturated color, wash separately the first time to prevent color transfer. Avoid fabric softener because it can reduce absorbency and leave residue that makes cloths feel less “grabby” on glass.
Best practices for longevity:
- Shake out crumbs and rinse promptly: This prevents food particles from setting into the fibers.
- Use a mesh laundry bag: Helpful if your cloth has a loop or textured stitches that might snag.
- Dry thoroughly: Tumble dry low to medium or hang dry with good airflow. A damp cloth left bunched up can sour quickly.
If your cloth develops odor, soak it in hot water with a small amount of oxygen bleach (follow the product label) and then wash normally. Realistic constraint: cotton may look slightly “relaxed” after washing and then firm up again as it dries. That is normal. If your cloth becomes overly stiff, you may be crocheting too tightly or using a stitch that is too dense for your hook size.
Matching kitchen gift sets
Dishcloths make excellent practical gifts, especially when you bundle them into a small kitchen set. A cohesive set feels intentional even if each cloth uses a different stitch. Try this approach: pick a color palette (two neutrals plus one accent), then make three cloths in different textures. For example, a moss stitch cloth for wiping, a waffle stitch cloth for scrubbing, and a simple striped HDC cloth for everyday use.
Gift set ideas using crochet dishcloth patterns:
- “New apartment” bundle: 2 dishcloths + a matching small towel topper or hanging loop cloth.
- “Weekend baking” set: 3 cloths in light colors for floury counters, plus a small cotton scrub pad (use the same yarn).
- “Eco swap” starter: 4 cloths, each labeled by texture (smooth vs scrubby). Add a note about washing without fabric softener.
Presentation tip: roll cloths and tie with cotton string or ribbon. Include a small tag with fiber content and care: “100% cotton, machine wash warm, tumble dry low.”
Reader testimonial: “I made two moss stitch cloths from leftover cotton and finally my edges look straight. The tip about marking the first and last stitch stopped me from losing stitches every row.”
Common Mistakes and How to Fix Them
Even easy crochet dishcloth patterns can go a bit wonky. The good news is that most issues are quick fixes.
- Cloth turns into a trapezoid: You are likely skipping the first or last stitch of the row. Use stitch markers in the first and last stitch and count occasionally. If you already finished, add a border with small increases on the narrow sides to square it up.
- Edges curl: Tight tension or a stitch pattern that pulls can cause curling. Go up a hook size, add a border, or block lightly with steam (hover, do not press hard).
- Fabric feels like cardboard: Common with tight single crochet in cotton. Increase hook size by 0.5 to 1.0 mm or switch to HDC or moss stitch.
- Too many holes: Your hook may be too large, or you are using a tall stitch like DC without enough density. Downsize the hook or add a tighter border. For function-first cloths, avoid large lace spaces.
- Ends popping out after washing: Weave longer tails and change direction at least twice. Cotton can work loose if you only weave in a straight line.
- Border ruffles or waves: Too many stitches along the side edges. Frog the border and reduce side stitches, especially on tall-stitch row ends.
Frequently Asked Questions About Crochet Dishcloth Patterns: 15 Easy Ideas
Do I need to block a dishcloth?
Blocking is optional, but a quick damp lay-flat can improve shape, especially if your edges ripple. Cotton responds well to simple blocking: dampen, smooth to measurements, and let dry fully. Avoid aggressive stretching because a dishcloth should be dense and stable. If you plan to gift it, a light block makes it look tidy and store-ready.
Why is my dishcloth smaller than expected?
This usually comes from tight tension or using a smaller hook than the yarn expects. Cotton has little give, so tight stitches add up quickly. Measure your width after 5 to 10 rows. If it is too narrow, restart with a larger hook or add starting chains. Also remember that stitch patterns vary: single crochet yields a smaller piece than double crochet with the same stitch count.
Can I use the same pattern for a face washcloth?
Yes, but pick a softer texture. Moss stitch, HDC, and gentle ridge patterns are comfortable on skin. Avoid very bumpy stitches or rough scrub textures. Use a lighter color so you can see makeup residue during washing, and consider making it slightly smaller, around 6.5 to 7.5 inches, for easier handling at the sink.
How do I change colors neatly for stripes?
For clean stripes, change colors on the last yarn-over of the last stitch in the old color. Pull through with the new color, then continue. Carrying yarn up the side can be fine if you add a border to hide it, but for a cleaner finish, cut and weave in ends every change. Weave ends along the stripe row so they disappear into the fabric.
What is the best stitch for scrubbing power?
Waffle stitch and front post textures create raised areas that grip stuck-on food. Dense single crochet also scrubs well but can feel stiff. If you want effective scrub without bulk, try sand stitch or alternating SC and DC. Avoid adding abrasive materials not designed for kitchen use, since they can scratch nonstick cookware.
How many dishcloths can I get from one skein?
From a typical 100 g skein of worsted cotton, you can often make 2 to 4 cloths depending on size and stitch. A dense waffle cloth may take 40 to 60 g, while a moss stitch or HDC cloth might take 25 to 40 g. The most accurate method is to weigh your first finished cloth, then plan the rest of your set based on that number.
Final Thoughts
Crochet dishcloth patterns are a perfect blend of practical and relaxing: you can practice basic stitches, test textures, and finish a useful item quickly. Start with 100% cotton, choose a stitch that matches your goal (moss for wipe-friendly, waffle for scrubby, simple stripes for stash busting), and stabilize with a tidy border. Once you have made a couple, keep notes on hook size and finished measurements so your sets match. A natural next craft step is to make coordinating cotton items like simple reusable cleaning pads or a small kitchen towel topper using the same yarn, so your handmade pieces look cohesive and get used daily.