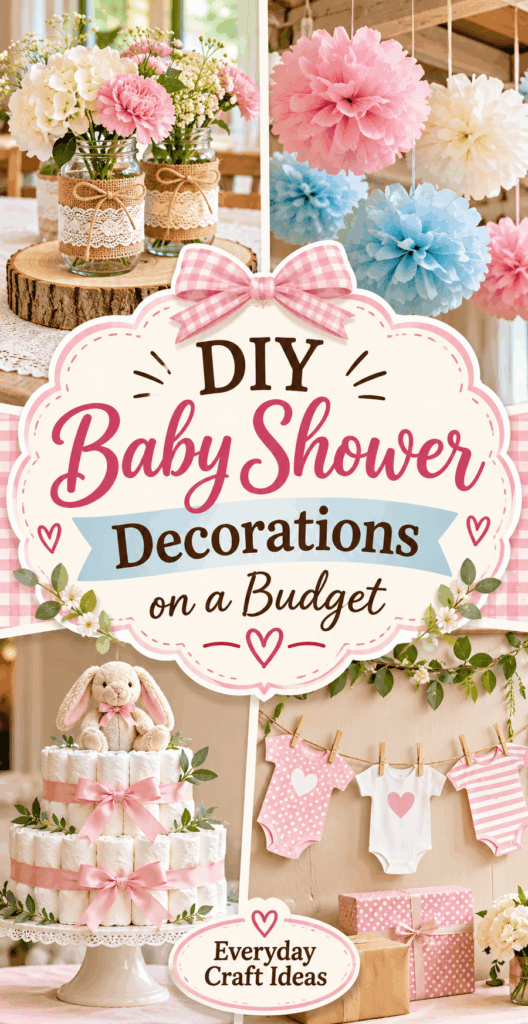
DIY Baby Shower Decorations on a Budget
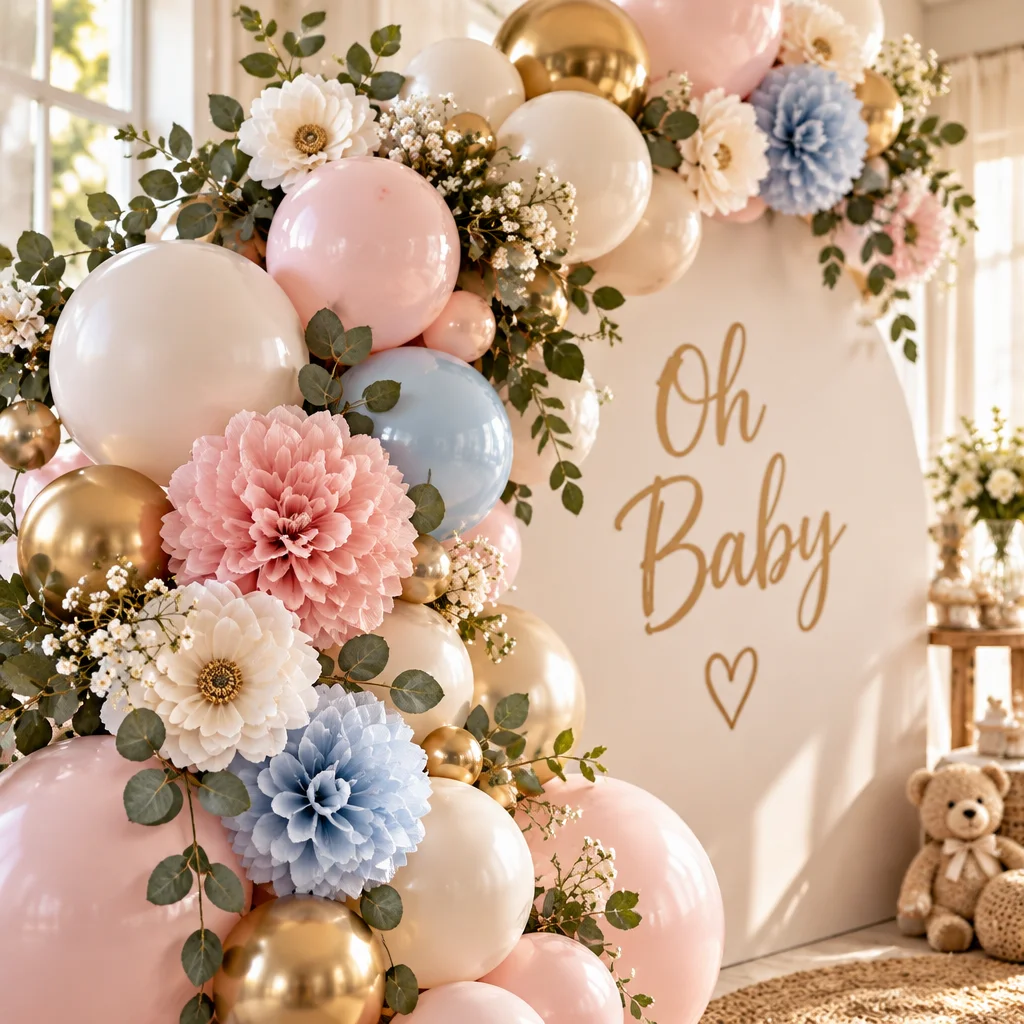
If you’re searching for diy baby shower decorations that look polished but don’t drain your wallet, you’re in the right place. With a few smart material choices and a simple plan, you can transform a living room, community hall, or backyard into a warm, photo-ready space using mostly paper, string, balloons, and thrifted basics. The goal is not to craft everything from scratch. It is to pick a small set of matching decor pieces that repeat your colors and theme so the whole party feels cohesive.
In this guide, you’ll learn exactly what to make, what to buy, how to set up a backdrop guests will actually use, and how to avoid the common beginner mistakes (like sagging garlands and balloon disasters). If you also like crafting gifts, you might enjoy these budget-friendly handmade gift ideas for future celebrations and showers. We’ll keep everything beginner-friendly and realistically doable in one afternoon.
What You Need to Know Before Starting
The secret to budget-friendly diy baby shower decorations is choosing a “repeatable” design you can make in multiples. Think: one color palette, one main focal point (usually a backdrop), and 2 to 3 supporting accents (table decor, ceiling or wall garlands, and simple signs). When every piece repeats the same colors and shapes, it looks intentional even if it’s made from inexpensive materials.
Difficulty level: Beginner to easy-intermediate. Cutting, tying, taping, and simple measuring are the main skills.
Estimated time: 2 to 5 hours depending on how many items you make and whether you pre-cut pieces. If you’re short on time, prioritize the photo backdrop and table centerpiece, then add garlands if you have energy.
Project size/use: Works for apartments through medium venues. You can scale up by adding more garland strands, larger backdrops, and extra table clusters.
Budget planning tip: Decide your “splurge” item first. Many hosts splurge on balloons (for a big visual impact) and save on everything else with paper decor. Another smart splurge is a roll of quality double-sided tape or removable hooks because secure setup prevents last-minute panic.
Before crafting, measure your key areas: dessert table width, backdrop wall height, and entryway space. Write these down so you don’t over-make decor that won’t fit.
Supplies, Tools, and Material Choices
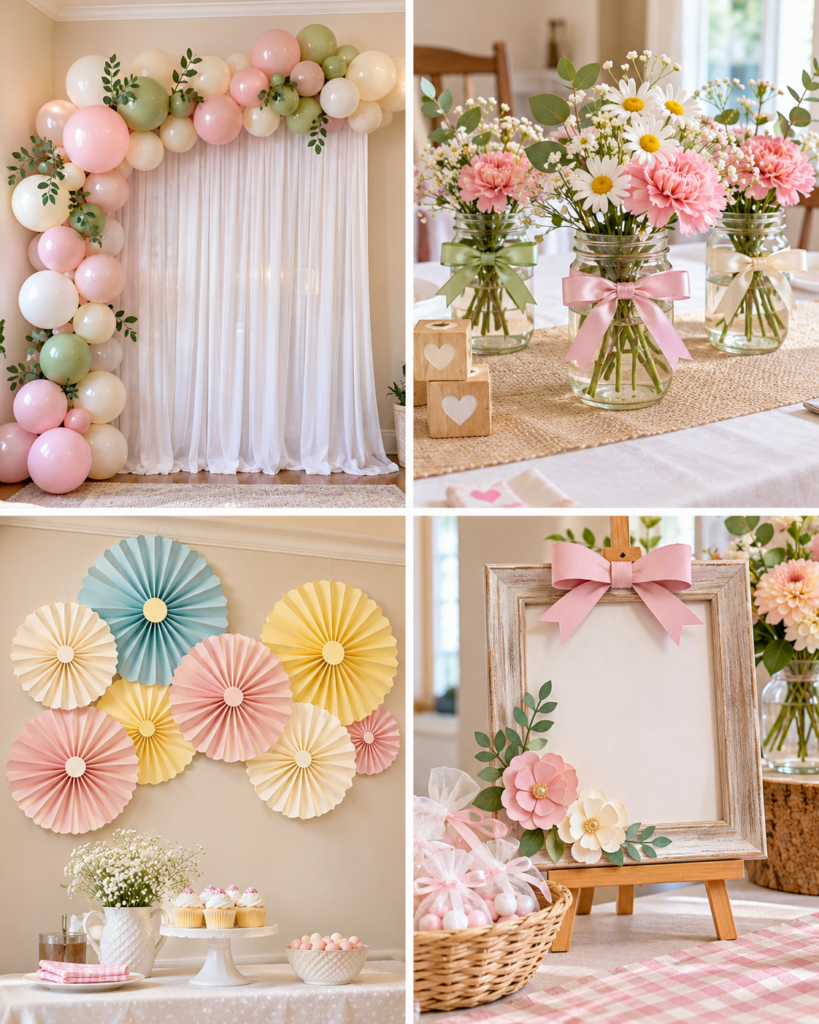
You can create beautiful diy baby shower decorations with a small, flexible supply kit. Aim for materials that are lightweight, easy to hang, and forgiving if you make a cutting mistake. Paper and plastic-free options are possible too, but balloons and tape are often the easiest for beginners. Choose what fits your values and venue rules.
- Cardstock (65 to 110 lb): Best for banners, cutout shapes, and table signs. Lighter paper can curl or tear, especially if you’re hanging it.
- Tissue paper or crepe paper: Ideal for tassels, pom poms, and soft garlands. Crepe stretches slightly, making it great for quick fringe.
- String or twine: Use for bunting, hanging pom poms, and tying balloon clusters. Cotton twine grips better than slick ribbon.
- Clear tape, double-sided tape, and removable hooks: Use clear tape for quick fixes, double-sided tape for clean-looking banners, and removable hooks for walls you can’t damage.
- Balloon basics: A hand pump (worth it), assorted balloons, and balloon tape strip (optional). Balloon tape strips help beginners build arches without complicated knots.
- Cutting tools: Scissors, a craft knife (optional), and a self-healing mat if using a knife. For kids/pets around, stick to scissors and put blades away immediately.
- Thrifted or borrowed basics: Frames for signs, vases, baskets, tablecloths, and serving trays. Reusing these makes decor look richer without spending more.
If you enjoy making handmade extras for guests, these simple DIY gift projects that people actually use can double as shower favors with a theme-appropriate tag.
How to Make or Use It (Clear Beginner-Friendly Tutorial)
This tutorial gives you a cohesive set of diy baby shower decorations built around a focal photo backdrop, plus matching garlands, table decor, and signage. It’s designed so you can stop after any step and still have a nice-looking setup.
- Choose a palette and repeat it. Pick 2 main colors plus 1 neutral (example: sage, cream, and gold). Repeating the same tones across balloons, paper, and table items is what makes budget decor look coordinated.
- Create a simple photo backdrop base. Hang a plastic tablecloth or large sheet of wrapping paper as your background using removable hooks or painter’s tape. Smooth it as best you can. This gives you instant coverage and hides busy walls.
- Build a balloon “cloud” (easier than a full arch). Inflate balloons in 2 to 3 sizes. Tie into pairs, then twist pairs together into quads. Attach quads to a balloon tape strip or directly to a long piece of string. Keep the cluster densest at one corner and fade out toward the other for an airy look.
- Add a name banner or “Baby” bunting. Cut triangles or circles from cardstock. Use a simple block font, or hand-letter with a thick marker. Attach letters with double-sided tape. String pieces onto twine with tape on the back for a clean front.
- Make one statement garland. For a tassel garland, cut tissue paper strips, fringe one side, roll and twist the top, and tie onto twine. Alternate colors in a repeating pattern so it looks deliberate.
- Style the main table with height. Place 2 to 3 items of different heights (a vase with faux greenery, a stack of books wrapped in kraft paper, a tray). Then add small accents like confetti, mini frames, or tiny paper cutouts that match your banner.
- Finish with “anchors” so nothing drifts. Use small weights or hidden tape loops. For outdoor parties, add extra ties to hooks or chair backs. Wind is the enemy of paper decor.
Why this set works: guests see the backdrop first, then notice the table. The repeated colors and shapes tie everything together, even if the individual pieces are simple.
Want a small handmade favor station to match? You can pair decor with cute take-home items from this collection of easy DIY gift crafts and label them as “Thank you” favors.
Helpful Tips for Better Results
Small upgrades make diy baby shower decorations look store-bought. Most “professional” results come down to tension, spacing, and consistent repetition.
- Pre-assemble at home: Build your banner, tassels, and balloon quads the night before. On party day, you only need to hang and adjust.
- Use a spacing guide for banners: Lay twine on the floor and mark every 5 to 6 inches with small tape flags. Attach each piece at the marks so letters don’t drift into a messy clump.
- Double up thin paper: If your cardstock is lightweight or your letters look wavy, glue two layers back-to-back. It instantly feels sturdier and photographs better.
- Choose matte finishes for photos: Matte paper and matte balloons reduce glare from windows and overhead lights. If you only have shiny balloons, position the “hot spots” off to the side by rotating the balloons.
- Work in odd numbers for table groupings: Three vases, five candles, or three baskets tend to look more natural than pairs.
- Do a phone-camera test: Before guests arrive, take one photo of the backdrop and table. If something looks off, it’s usually spacing or height. Raise one element or tighten a sagging line.
“I used the balloon cloud plus a cardstock name banner, and it made our tiny apartment look like a real event space. I thought DIY would look messy, but repeating the same two colors kept everything looking intentional.”
If you love crafting for celebrations beyond baby showers, you can also browse these popular handmade gift ideas for more beginner-friendly projects that use the same basic tools.
Creative Variations and Project Ideas
Once you understand the formula, you can remix diy baby shower decorations in many themes without buying specialty items. Start with your palette, then pick one motif and repeat it subtly in signs, garlands, and table pieces.
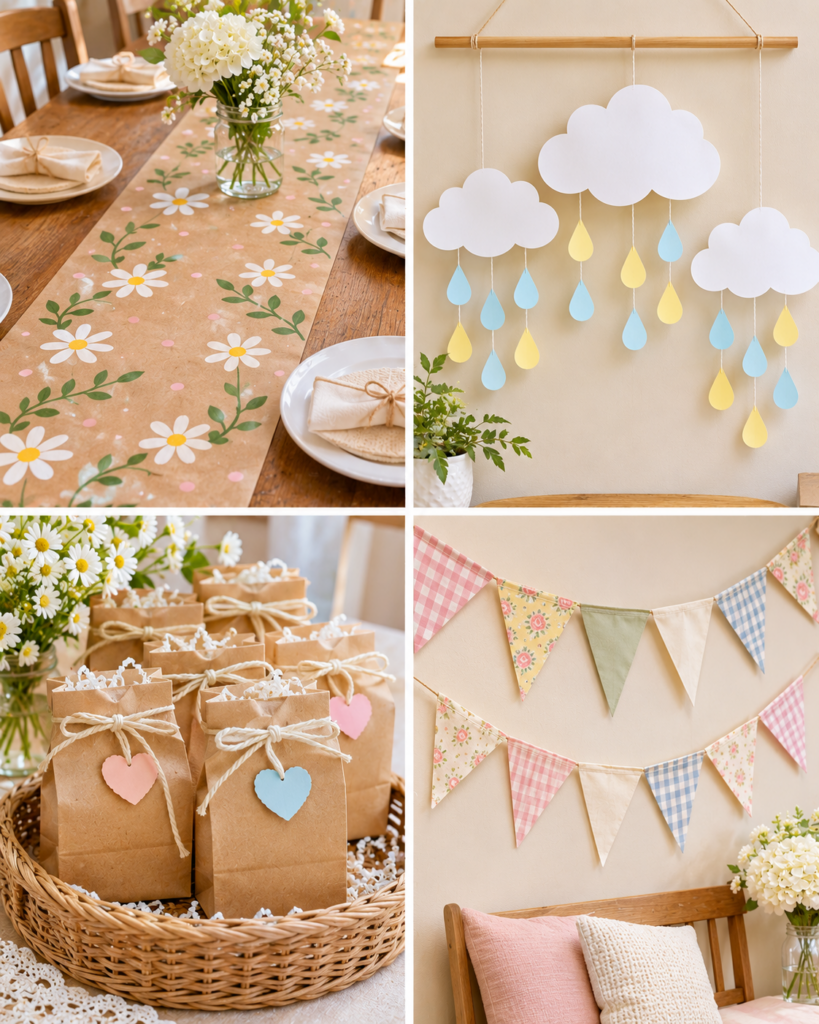
- Classic neutral (beige, cream, white): Use kraft paper banners, white tissue tassels, and a greenery centerpiece. Add texture with twine bows and lace scraps.
- Storybook theme: Turn thrifted frames into “book cover” signs. Stack books as risers for dessert trays. Cut simple cloud or star shapes from cardstock for garlands.
- Wildflower garden: Make paper flowers from cardstock circles (spiral-cut and roll). Mix with real greenery from your yard. Keep it light so it doesn’t feel heavy indoors.
- Little pumpkin or citrus baby: Use orange and green or lemon and white. Make mini fruit cutouts for cupcake picks and repeat the shape on the banner ends.
- Modern monochrome: One main color plus white. Use different textures to keep it interesting: matte balloons, crepe fringe, and layered cardstock cutouts.
Reusable decor idea: Make a “wishes for baby” station with a pretty jar, pens, and small cards. After the shower, the parents can keep the jar and cards as a memory box.
Common Mistakes and How to Avoid Them
Most issues with diy baby shower decorations are easy to prevent with a little planning. Here are the problems I see most often, plus beginner-friendly fixes.
- Sagging banners and garlands: This happens when the string is too smooth or the pieces are heavy. Use cotton twine, keep shapes smaller, and add an extra hook in the center for long spans.
- Balloon cluster falling apart: Balloons slip when knots are loose or tape is low-quality. Tie tight knots, use balloon quads, and secure to a strip or strong string. If attaching to a wall, removable hooks hold better than tape alone.
- Colors that clash in real lighting: Store lighting differs from home lighting. Put all materials together in daylight before committing. If one color looks off, swap it for a neutral (white, cream, kraft) to calm the palette.
- Overcrowded tables: Too many small items can look messy. Use fewer pieces with varied height. Leave open space for food, gifts, and practical use.
- Wall damage: Avoid strong adhesives on painted walls. Choose painter’s tape, removable hooks, or hang from furniture. Test in a hidden spot first, especially in rentals.
- Safety oversights: Keep latex balloons away from children who mouth objects, and clean popped balloon pieces immediately. If using glass vases, keep them away from table edges. Use battery LEDs instead of open flames around paper decor.
Frequently Asked Questions About DIY Baby Shower Decorations on a Budget
What baby shower decorations can you make yourself?
You can DIY the biggest visual pieces: a photo backdrop (tablecloth or paper roll), a balloon garland or balloon cloud, a “Baby” or name banner, tassel or paper chain garlands, centerpieces using thrifted vases, and simple table signs. These diy baby shower decorations cover most of what guests notice in photos, and they scale easily from small gatherings to larger venues.
How do you decorate for a baby shower cheaply?
Start by limiting your colors to two plus a neutral, then focus your budget on one focal zone like a dessert table backdrop. Use paper for everything else: banners, garlands, and table accents. Borrow serving trays and vases, and shop at dollar stores for tablecloths and tissue paper. Cheap looks better when it’s consistent, so repeat the same shapes and tones across your diy baby shower decorations.
What are easy paper baby shower decorations?
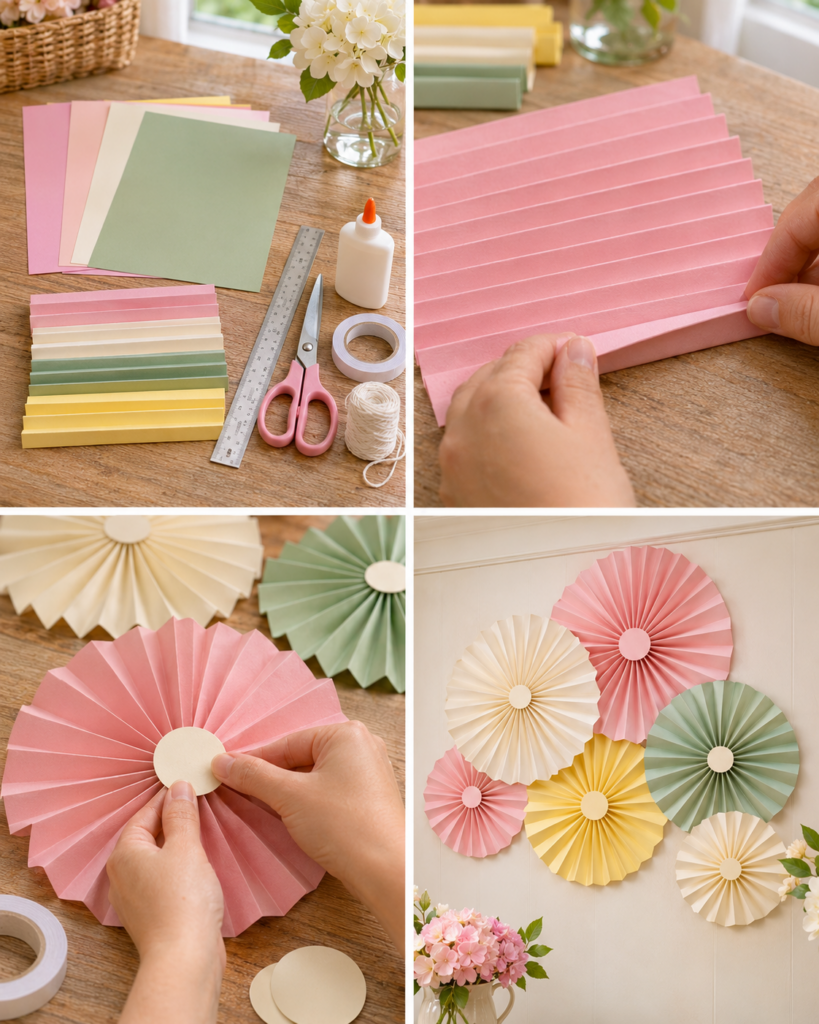
Begin with bunting, paper chains, and tassels because they require minimal measuring and no special tools. Cardstock circles or stars strung on twine are also very forgiving. If you want something more detailed, try simple rosettes (fold-and-fan circles) or fringe garlands made from crepe paper. Paper decor is lightweight, so it hangs easily and is perfect for budget diy baby shower decorations.
How do you make a simple photo backdrop?
Hang a plastic tablecloth, sheet, or wide wrapping paper against a wall using removable hooks or painter’s tape. Then add a focal accent on one side: a balloon cloud, tassel garland, or a paper fan cluster. Keep the middle area mostly clear so people can stand in front of it. The most common fix is tightening the top edge so it doesn’t sag or wrinkle in photos.
What decorations can be reused?
Choose sturdy, neutral base pieces: fabric tablecloths, vases, baskets, frames, letter boards, and string lights. Banners made from thick cardstock can be stored flat and reused, especially if they say “Baby” rather than a specific name. Balloon decor is usually single-use, but balloon pumps, hooks, and garland strips can be saved for your next set of diy baby shower decorations.
How do you choose a baby shower craft theme?
Pick a theme based on what you can repeat easily: a color palette, a simple shape (stars, clouds, hearts), or a gentle concept like storybook or garden. Also consider the season and venue. Outdoor parties do well with heavier garlands and fewer loose paper pieces. If you’re stuck, choose a neutral theme and add personality with one “hero” detail like a name banner or a themed centerpiece.
Final Thoughts
Budget-friendly diy baby shower decorations are less about crafting everything and more about crafting the right things. Build one photo-worthy focal point, repeat your colors across a banner and a garland, and style the table with a few height changes. Prep what you can the day before, pack a small setup kit (tape, scissors, hooks, extra string), and take a quick photo test to catch spacing issues early. Your next step is simple: choose your 2-color palette, measure your backdrop wall, and start with a banner and balloon cloud. Once those are up, the rest comes together fast.