Scrap Fabric Sewing Projects: 20 Useful Ideas
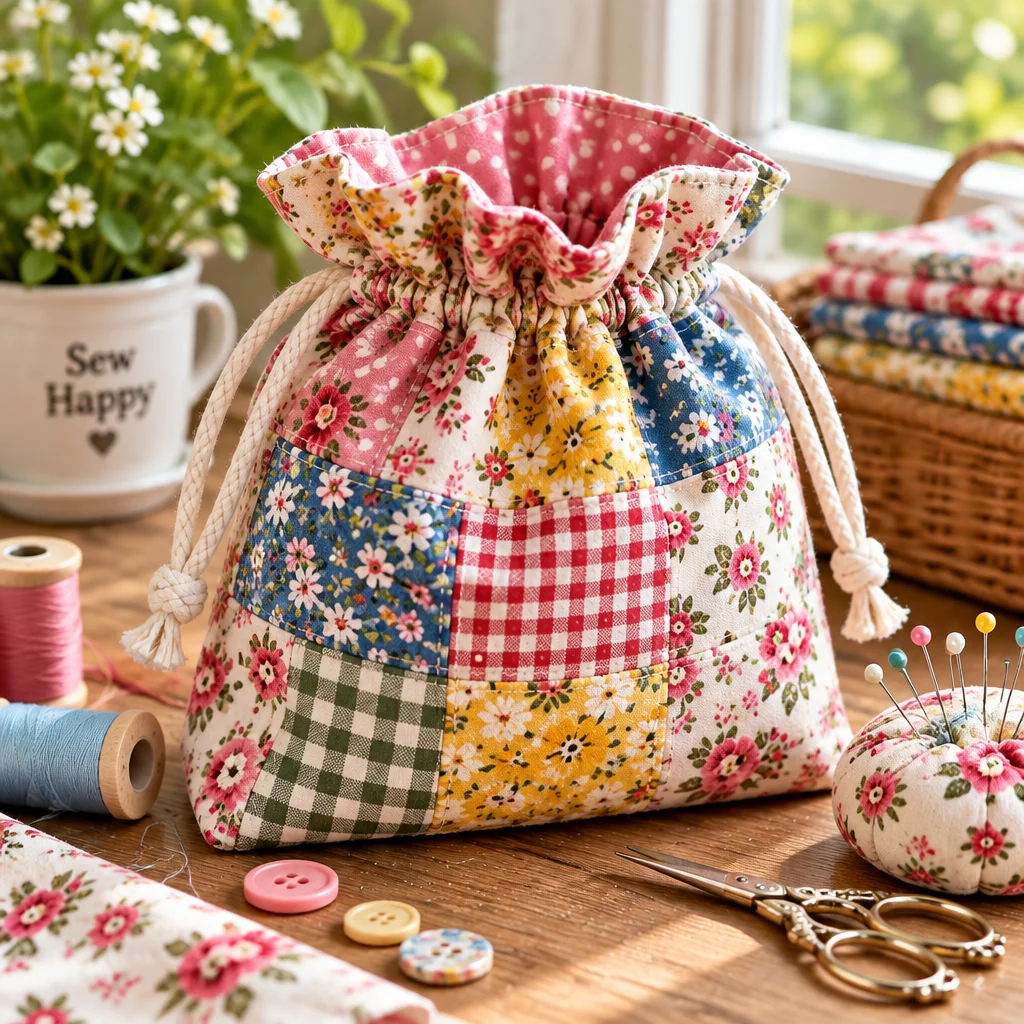
If you have a bag of leftovers from hemming pants, making curtains, or sewing a tote, you already have the makings of satisfying scrap fabric sewing projects. The best part is that scraps remove the pressure of “wasting” good yardage, so you can practice straight stitching, zippers, and patchwork with less stress. In this guide, you will find 20 genuinely useful projects that fit into real life: home organization, quick gifts, and everyday accessories. Many of them are beginner-friendly and finish in an afternoon. If you also like mixed-media crafting, you can pair fabric scraps with simple yarn edges from these beginner crochet ideas or add soft accents inspired by easy felt projects.
What you need to get started
Most scrap fabric sewing projects use the same basic setup. If your sewing machine can do a straight stitch and zigzag, you are ready. Choose projects based on scrap size and fabric weight so your seams behave predictably.
- Fabric scraps: Quilting cotton is the easiest to start with because it presses well and rarely slips. Add denim, canvas, or flannel once you are comfortable adjusting needles and stitch length.
- Thread: All-purpose polyester thread is versatile. For patchwork, a neutral (gray or beige) blends across prints.
- Needles: Size 80/12 universal for cotton; 90/14 for heavier layers like denim. A fresh needle prevents skipped stitches.
- Cutting tools: Fabric scissors plus a rotary cutter and ruler if you plan to make quilt blocks or precise rectangles.
- Pressing tools: An iron and pressing surface are not optional. Pressing seams flat is what makes small projects look polished.
- Basic notions: Pins or clips, seam ripper, measuring tape, marking chalk, and safety pins for turning tubes.
- Optional stabilizers: Fusible interfacing for pouches; fusible fleece for coasters; batting for quilted items.
Sorting scraps by size and fabric type
Sorting is the quiet step that makes scrap sewing feel fun instead of chaotic. Use three bins or zip bags labeled by size: tiny (under 2 inches), small (2 to 6 inches), and large (bigger than 6 inches or oddly shaped but substantial). Within each, separate by fabric type: woven cottons, knits, and heavy fabrics. Keep stretchy knits in their own bag because they need different handling and tend to distort in patchwork.
Also sort by “behavior.” Slippery fabrics (satin, rayon) belong together, and very thick fabrics (denim, upholstery) should be grouped so you do not accidentally create impossible seam bulk. As you sort, trim frayed threads and square up the occasional rectangle. A few minutes of tidying now prevents inaccurate cutting later, which is especially important for scrap fabric sewing projects that rely on clean edges like quilt blocks and zipper pouches.
20 ideas and projects to try
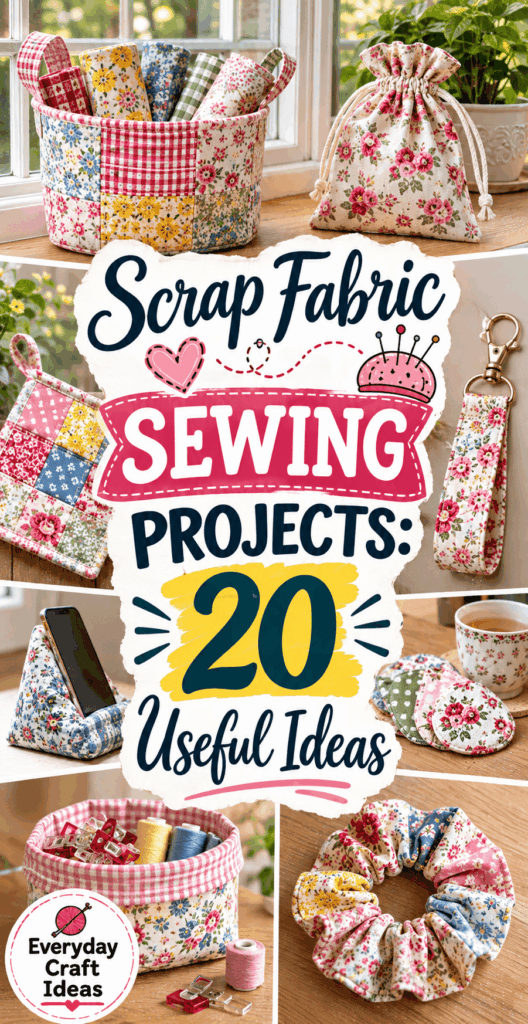
Below are 20 scrap fabric sewing projects that are practical, giftable, and realistic for beginners. Mix and match based on what you have: tiny crumbs become stuffing or applique, while larger remnants handle pockets and pouch exteriors.
- Patchwork coasters: Quilt two layers of cotton with batting and bind with bias tape.
- Fabric bunting: Triangle flags for parties or kids rooms, strung on twill tape.
- Bookmarks: Stiffened with interfacing, finished with topstitching.
- Scrunchies: Great for slippery fabrics and long strips.
- Simple quilt blocks: Four-patch, nine-patch, or log cabin blocks from consistent squares.
- Zipper coin pouch: Use fusible interfacing for structure and a 7 inch zipper.
- Appliques: Fused shapes to decorate plain tees, towels, or tote bags.
- Reusable snack bag: Cotton exterior with wipeable lining like PUL or laminated cotton.
- Key fob wristlet: Quilted strip with hardware, a fast gift.
- Mug rug: A coaster-plus-mini-mat, ideal for practicing quilting lines.
- Lavender sachet: Woven cotton squares stuffed and stitched closed.
- Fabric gift tags: Tiny rectangles pinked or zigzagged to prevent fray.
- Drawstring pouch: Great for organizing chargers, toys, or notions.
- Heat-safe bowl cozy: Only with 100 percent cotton fabric, thread, and batting.
- Pot holder panel: Quilted and bound, using heat-safe batting.
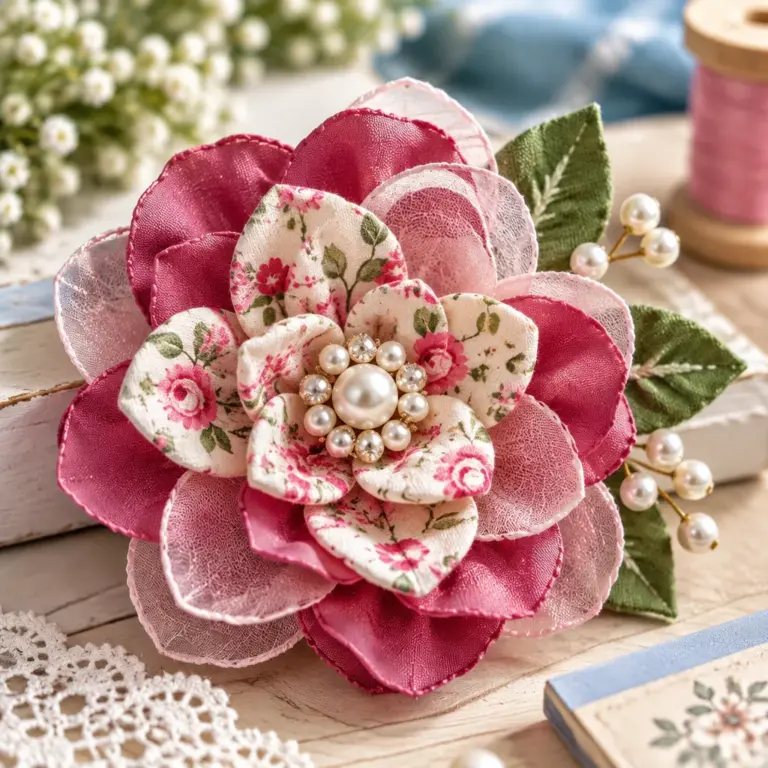
- Hair bows: Crisp cottons or faux leather scraps work well.
- Headband: Elastic-back or tie style, sized to your head measurement.
- Mini fabric basket: Interfaced sides for holding clips, bobbins, or toiletries.
- Reusable makeup rounds: Soft flannel circles with serged or zigzag edges.
- Stuffing for pincushions: Chop unusable crumbs to fill pin cushions firmly.
Patchwork coasters, fabric bunting, bookmarks, scrunchies, quilt blocks, pouches and appliqués
These seven are the best “core set” because they teach transferable skills. Coasters and quilt blocks build accurate seam allowances and pressing habits. Bunting and bookmarks teach consistent topstitching and turning corners. Scrunchies teach sewing tubes and managing elastic. Zipper pouches introduce zippers without the commitment of a garment. Appliques teach fusing, edge finishing, and clean curves.
For a quick win, start with coasters or bookmarks, then move to a pouch. If you want something larger from scraps, sew a set of quilt blocks and later assemble them into a pillow cover. For a step-by-step pillow finish, see this easy pillowcase sewing pattern and adapt the same “clean inside seams” idea for your patchwork front.
How to make and customize the projects
The secret to successful scrap fabric sewing projects is choosing a construction method that matches the scrap size, then finishing the edges in a way that fits the fabric. Use the steps below as a flexible template for most items on the list.
- Pick a project based on scrap shape: Long strips are perfect for scrunchies, key fobs, and binding. Squares and rectangles suit coasters, quilt blocks, and bookmarks. Irregular shapes shine as applique.
- Stabilize first when needed: Fuse lightweight interfacing to thin cotton for pouches and baskets. This prevents rippling and makes topstitching look neat.
- Standardize your seam allowance: For patchwork, use a consistent 1/4 inch seam allowance. For accessories like pouches, 3/8 inch is often easier and stronger.
- Press at every stage: Press seams to one side for patchwork, and press open for bulky areas. Pressing sets the stitches and keeps edges aligned.
- Finish raw edges appropriately: Zigzag or overcast stitch for woven cotton if the seam will be handled a lot. Bind edges for coasters and pot holders. Turned and topstitched edges work well for bookmarks and bunting.
- Topstitch for durability: A 2.8 to 3.2 mm stitch length is a good starting point. Topstitching also flattens seam allowances and keeps lining from rolling outward.
- Test and adjust: Before batch sewing, make one sample. Check size, stiffness, and how it sits. Small projects are fast to tweak.
Customization ideas: add a label tab to pouches, stitch decorative quilting lines on coasters, or use contrast thread for a bold handmade look. If you want wearable protection for messy crafting days, you can even piece scraps into pockets for an apron, then follow an easy construction method from this simple apron sewing pattern.
Projects for tiny scraps versus larger remnants
Tiny scraps (under 2 inches) are best for applique, patchwork “confetti” quilting, zipper pull tabs, fabric gift tags, and stuffing pincushions. They are usually not worth forcing into long seams because you will create bulky intersections and weak join points. If you love the look of micro patchwork, sew tiny bits onto a foundation fabric (a muslin base) rather than sewing piece-to-piece.
Larger remnants handle anything that needs clean structure: pouch fronts, basket sides, headbands, bowl cozies, or drawstring bags. A good rule is to reserve your biggest pieces for parts that take stress, like bag bottoms, pocket backs, and strap anchors. This “engineering mindset” helps scrap fabric sewing projects last through everyday use instead of feeling flimsy.
Combining fabrics, stabilizers and seam allowances
When mixing fabric weights, stabilize the lighter fabric so both sides behave similarly. For example, if you pair quilting cotton with denim in a pouch, fuse interfacing to the cotton, lengthen your stitch slightly (around 2.8 to 3.0 mm), and press carefully to avoid imprinting seam allowances through the lighter layer.
Keep seam allowances consistent within a single project. If you switch between 1/4 inch and 3/8 inch midstream, blocks warp and pouch corners twist. For patchwork, consider “scant” 1/4 inch seams if you plan to join multiple blocks, but beginners can stick to a true 1/4 inch and trim to square after stitching. For curves in applique, clip seam allowances only where needed and finish edges with a narrow zigzag or satin stitch for durability.
Supplies, cost, time and skill level
Most scrap fabric sewing projects are low-cost because the fabric is already paid for. Expect to spend mainly on notions: zippers, elastic, interfacing, and hardware. A basic zipper pouch might cost a few dollars in supplies, while a set of coasters uses scraps plus a small piece of batting. Time varies by complexity: bookmarks and gift tags can take 15 to 30 minutes each; a lined zipper pouch takes 45 to 90 minutes; a set of quilt blocks may take a few evenings if you are cutting and pressing carefully.
Skill-wise, beginners should start with straight seams and simple turning. Intermediate sewists can add zippers, quilting, or boxed corners. If you need a break from sewing but still want to use up materials, consider combining scraps with yarn borders or ties from these easy crochet projects, such as crocheted loops for hanging towels or baskets.
Safety note: For heat-related items like bowl cozies and pot holders, use 100 percent cotton fabric, cotton thread, and cotton batting only. Synthetic materials can melt. Always test cautiously and never microwave items that contain metallic thread or trims.
Beginner mistakes and troubleshooting
- Wavy patchwork seams: Usually caused by stretching while sewing. Let the feed dogs move the fabric and press, do not iron back and forth aggressively.
- Bulky corners on pouches: Trim seam allowances, grade layers, and clip corners before turning. Use a blunt point turner, not scissors, to avoid poking through.
- Skipped stitches: Replace the needle, rethread with the presser foot up, and reduce speed over thick joins.
- Uneven topstitching: Use an edge-stitch foot or a piece of painter’s tape as a guide on your machine bed.
- Fraying edges: Zigzag, serge, or bind. For high-fray fabrics like linen, choose enclosed seams when possible.
“I started with the patchwork coasters and was shocked at how much my stitching improved in one weekend. Pressing after every seam felt slow at first, but my corners finally lined up. Now I keep a small basket of pre-cut squares so I can sew a block whenever I have 10 minutes.”
Frequently Asked Questions About Scrap Fabric Sewing Projects: 20 Useful Ideas
What can I make from small fabric scraps?
Small scraps are perfect for projects that do not rely on long, strong seams. Try applique shapes, fabric gift tags, bookmarks with pieced fronts, mini patchwork coasters, and quilt-as-you-go panels. You can also sew tiny squares onto a base fabric to create a larger piece for a pouch. If scraps are too small or oddly shaped, chop them for pincushion stuffing rather than forcing them into patchwork.
Can I mix cotton and other fabrics?
Yes, but mix thoughtfully. Combine similar weights when you can, and stabilize the lighter fabric with interfacing if you pair it with denim, canvas, or corduroy. Avoid mixing very stretchy knits into woven patchwork unless you intentionally stabilize the knit first. Always prewash fabrics that might shrink or bleed color, especially dark denim and bright quilting cottons, so your finished scrap fabric sewing projects do not distort later.
How do I store fabric scraps?
Store scraps in clear bins or zip bags so you can see what you have. Sort by size first (tiny, small, large) and then by type (woven cotton, knit, heavy). If you do a lot of patchwork, keep a small box of pre-cut squares and strips in common sizes like 2.5 inch squares or 1.5 inch strips. Label anything special, such as “prewashed” or “not colorfast,” to prevent surprises.
Do I need to finish edges on every project?
Not always, but it depends on handling and fabric fray. Items that will be washed frequently or rubbed, like makeup rounds, pouches, and headbands, benefit from finished seams or enclosed construction. For bunting flags or bookmarks, turned edges and topstitching usually enclose raw edges completely. For quick gift tags, a dense zigzag around the edge can be enough. When in doubt, finish the edge since it adds durability.
What is the best stitch length for sewing scraps?
For general seams on woven cotton, a 2.5 mm stitch length is a reliable default. For thick layers or topstitching, lengthen to 2.8 to 3.2 mm to prevent puckering and to help the stitches sit nicely on the surface. For applique satin stitching, use a shorter length and wider zigzag based on your machine’s settings, and always test on a scrap sandwich first to fine-tune.
How can I make scrap projects look coordinated?
Use a simple “unifying” element: repeat one background color, use the same binding fabric on all coasters, or stick to one theme like florals plus solids. Another trick is to choose a consistent scale of prints, for example all small-scale patterns. If your scraps feel too random, add a solid border around patchwork panels or use neutral lining fabric inside pouches to calm the overall look.
Final tips and next projects
The easiest way to keep scrap fabric sewing projects enjoyable is to build a small rotation: one fast win (gift tags or bookmarks), one skill builder (zipper pouch or quilt block), and one practical batch (coasters or makeup rounds). Press often, use the right needle, and do not be afraid to stabilize thin pieces. When you finish a project, jot down what worked, such as the best seam allowance or interfacing choice, so the next one goes faster.
Your next step: pick two projects from the list that use different scrap sizes, then set up a small cutting session to prep pieces. Once your scraps are sorted and your first few makes are complete, you will be amazed how quickly your pile shrinks and your confidence grows.