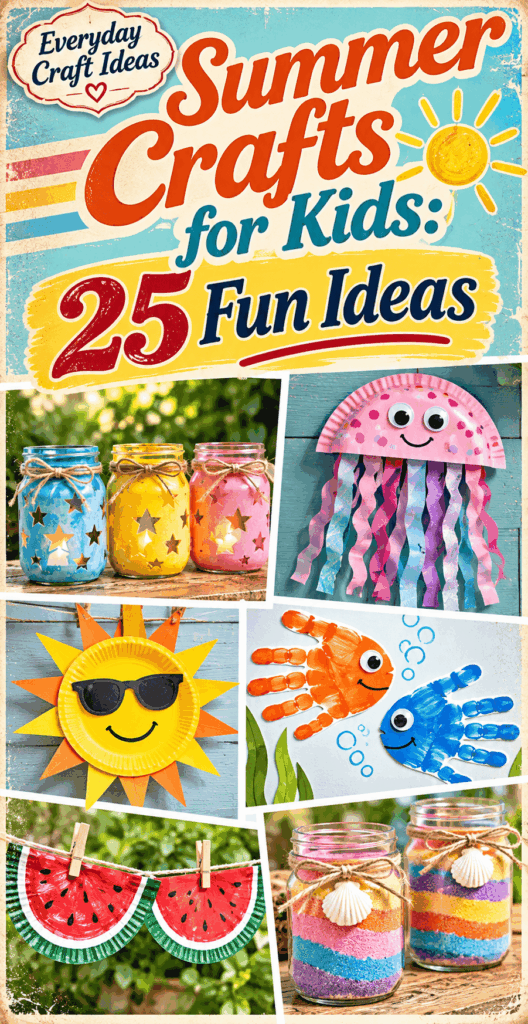
Summer Crafts for Kids: 25 Fun Ideas
Summer crafts for kids are the perfect way to fill long afternoons with creative, screen-free fun while building real skills like cutting, gluing, painting, and problem solving. This guide gives you 25 doable ideas you can start today, whether you have a full craft closet or just a few basics from the kitchen drawer. You will find low-mess options, outdoor projects, and rainy-day backups, plus tips for setup, cleanup, and displaying what your kids make. Every idea includes practical materials, a realistic time estimate, and a few “what if” fixes so the project actually works the first time. Pick one category that matches your day’s energy level and you will be crafting within minutes.
Why This Project Is Worth Making
These summer crafts for kids are worth making because they deliver a clear outcome: finished items your child can use, gift, or display, not just a quick activity that ends in frustration. Most of the ideas below take 10 to 45 minutes, and many use supplies you already have. Cost is typically low, especially when you lean on recycled materials like cardboard, paper tubes, and jars.
Difficulty ranges from “toddler-friendly with supervision” to “upper-elementary can do independently.” If you are crafting with mixed ages, choose a shared theme (ocean, garden, sunshine) and adjust the steps: little kids can paint and sticker, older kids can measure, cut details, and assemble.
What you will get from this article:
- 25 specific craft ideas organized by mess level, location, and weather.
- Practical guidance on tools, safe materials, and how to avoid common failures like peeling glue or warped paper.
- Display and storage tips so creations last longer than one day.
If your goal is summer boredom-busting, camp activities at home, or easy party stations, this collection is designed to be flexible and realistic.
Supplies, Materials, and Beginner Setup
A simple craft kit makes summer crafts for kids far easier because you are not hunting for scissors mid-project. Start with a small bin or tray and restock weekly. You do not need premium materials, but you do want the right adhesive for the job.
- Adhesives: White school glue for paper, glue sticks for quick collages, and painter’s tape for temporary holds. For older kids with supervision, low-temp hot glue is great for cardboard builds, but keep burns in mind.
- Color tools: Washable markers, crayons, and washable tempera paint. Tempera is forgiving and cleans up with soap and water.
- Cutting tools: Blunt-tip kid scissors for beginners. Keep one adult pair nearby for cardboard.
- Building basics: Paper plates, craft sticks, pipe cleaners, yarn, and recycled boxes.
- Protection: Old shirt smocks, a vinyl tablecloth, and a shallow tray for beads or sequins.
Safety notes that matter: supervise small items (beads, buttons) with kids under 3; avoid aerosol sprays; and choose non-toxic paints and glues. If you craft outdoors, apply sunscreen first and set up in shade so paint does not dry too fast. A cup of water, paper towels, and a trash bowl at the table prevent most cleanup chaos.
Low-mess supplies
If you want summer crafts for kids that do not require a full scrub-down, focus on dry materials and controlled adhesives. Here are five low-mess ideas that still feel special.
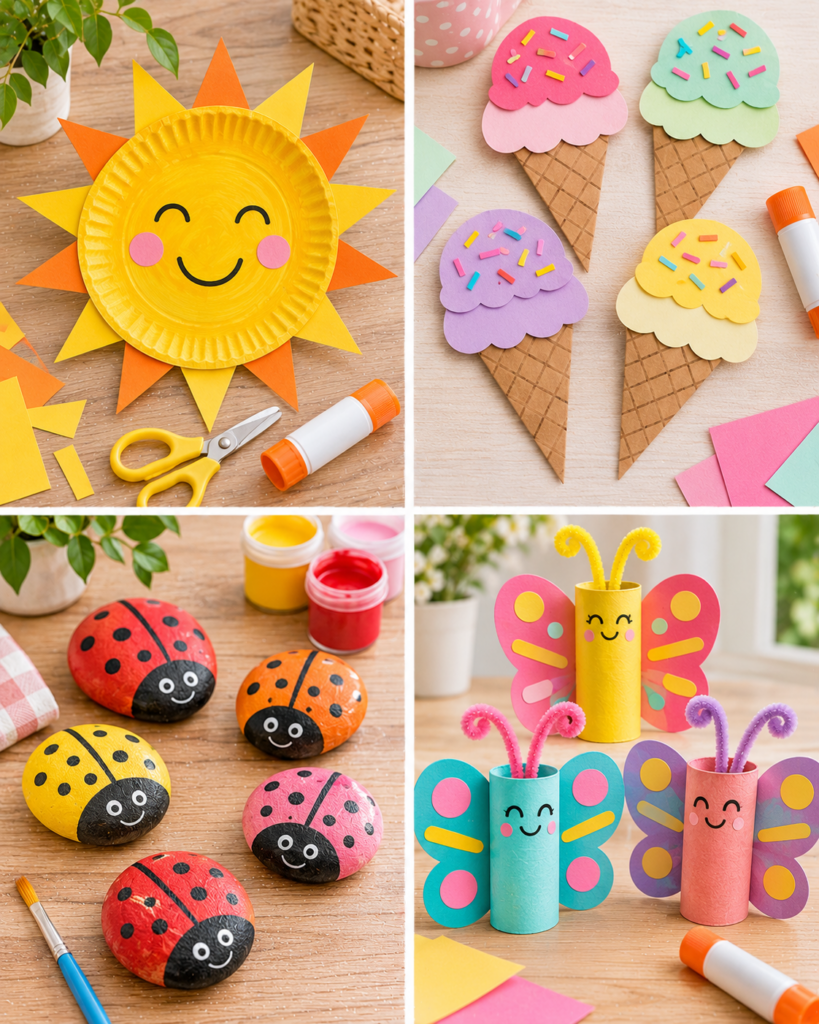
- Sticker resist suncatchers (15 to 25 minutes, easy): Use clear contact paper. Stick tissue paper squares and foam stickers on the sticky side, then seal with a second layer. Trim into a sun shape. Constraint: avoid heavy cardstock which can peel off the contact paper.
- Washi tape picture frames (20 minutes, easy): Cut a window in cardstock, tape around edges, then add a photo later. Variation: make “summer camp” frames with labeled years.
- Paper plate masks (25 to 40 minutes, easy): Pre-cut eye holes for younger kids. Decorate with markers, stickers, and yarn. Use a hole punch and elastic. Tip: tape the elastic knot so it does not slip.
- Bookmark weaving (20 to 30 minutes, medium): Cut slits in a cardstock strip and weave ribbon or paper strips. Great for older kids practicing patterns.
- Salt dough-free “clay” magnets (30 minutes plus dry time, medium): Use air-dry clay to avoid baking. Press cookie cutters, let dry 24 to 48 hours, then paint. Glue magnet backs with strong craft glue and allow full cure.
Troubleshooting: if tape curls, burnish it with a plastic card. If contact paper bubbles, smooth from the center outward. Low-mess does not mean no mess, so keep wipes nearby and pick washable options.
Nature-inspired art
Nature crafts feel like summer because they start with a quick walk and end with art that looks unique. The key is choosing found items that are clean and dry. Avoid collecting unknown berries or plants that may irritate skin, and always wash hands after handling outdoor materials.
- Leaf rubbings (10 to 20 minutes, easy): Place leaves vein-side up under paper and rub crayons sideways. Variation: make a “tree journal” page with dates.
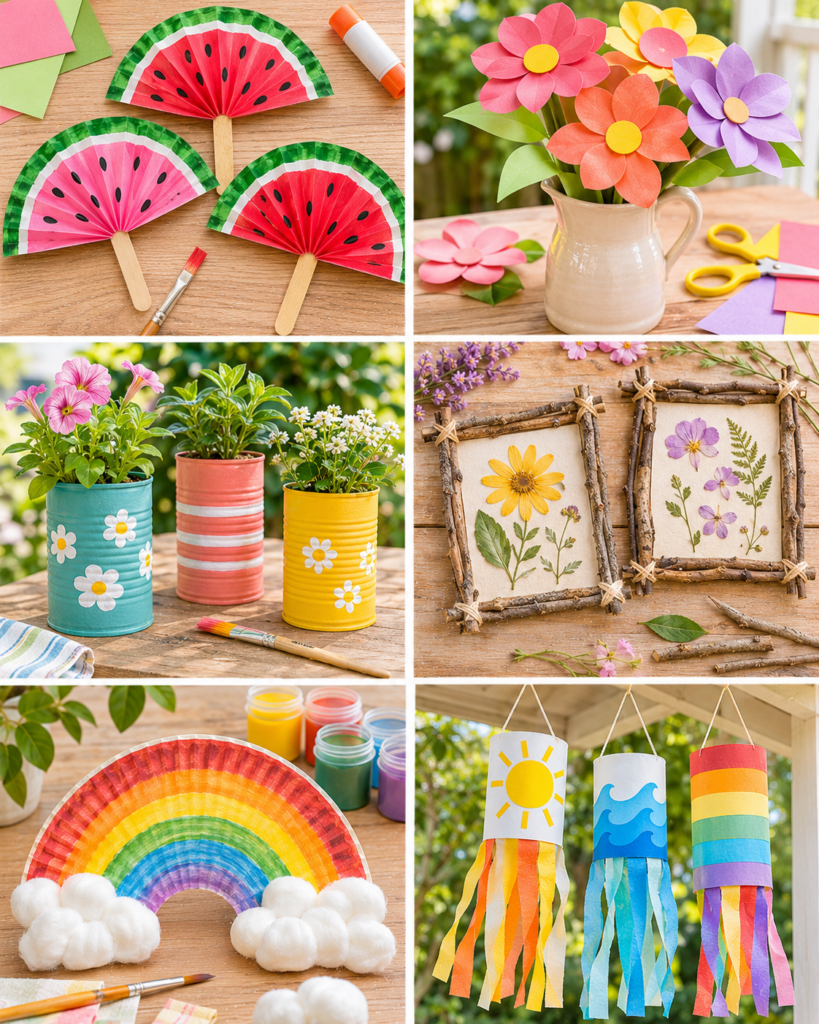
- Pressed flower bookmarks (15 minutes plus pressing time, easy): Press flowers in a heavy book for 1 to 2 weeks, then laminate with clear contact paper. Constraint: fresh flowers will mold if too thick.
- Painted rock ladybugs (25 to 45 minutes, medium): Use acrylic paint, let dry, and seal with water-based sealer. Tip: paint a white base coat so colors pop.
- Pinecone bird feeders (15 minutes, easy): Tie string to a pinecone, spread peanut butter or sunbutter, roll in birdseed. Hang on a sturdy branch. Allergy note: use seed butter if needed.
- Nature collage panels (30 to 60 minutes, easy): Glue dried leaves, twigs, and sand onto thick cardboard. Finish with a diluted glue “top coat” (one part glue to one part water) brushed lightly to reduce shedding.
Design variations: choose themes like “beach day” (shells and sand) or “backyard safari” (grasses and seed pods). If items keep falling off, your base is too smooth. Lightly scuff glossy cardboard with sandpaper or switch to canvas board.
Paper and recycled crafts
Paper and recycled materials are the backbone of summer crafts for kids because they are inexpensive and forgiving. The trick is choosing the right paper weight: thin printer paper is good for folding but tends to wrinkle with paint, while cardstock handles glue and markers better.
- Cardboard sun dial craft (30 to 45 minutes, medium): Make a simple dial face on cardboard, add a paper “gnomon” triangle, and observe shadow changes. This is more of a learning craft than a time-accurate instrument, so treat it as a science-art crossover.
- Paper tube binoculars (20 minutes, easy): Tape two tubes together, paint, then add yarn. Tip: reinforce the center seam with a strip of cardstock for durability.
- Egg carton caterpillars (30 minutes, easy): Cut carton cups, paint, add pipe cleaner antennae. Let paint dry before gluing so pieces do not slide.
- Recycled magazine bead jewelry (45 to 60 minutes, medium): Cut long triangles, roll tightly around a skewer, glue the end, and seal with diluted glue. String when dry. Constraint: younger kids may need help keeping rolls tight.
- Paper bag kites (30 minutes, easy): Decorate a lunch bag, add ribbon tails and a string bridle. Use outside on breezy days, not stormy weather.
Finishing advice: if your cardboard projects warp, you used too much wet paint. Use a drier brush, paint both sides lightly, or switch to markers and tape details. For stronger builds, layer two pieces of cardboard with glue and press under books for 20 minutes.
Sunny-day outdoor activities
Outdoor summer crafts for kids can double as playtime. Choose washable materials, bring a water bucket, and accept that “process art” is part of the fun. Here are five ideas that work well in driveways, patios, or parks.
- Sidewalk chalk obstacle art (20 to 40 minutes, easy): Draw hopscotch, balance lines, and “lava” zones. Variation: add a color scavenger hunt.
- Spray bottle watercolor targets (20 to 30 minutes, easy): Tape watercolor paper to a board, add diluted liquid watercolors in spray bottles, and aim at circles drawn in pencil. Tip: keep dyes diluted to reduce staining.
- Bubble wand engineering (30 to 45 minutes, medium): Build wands from pipe cleaners or plastic berry baskets. Talk about shapes that make bigger bubbles. Use a store-bought bubble mix for reliability.
- Paint with nature stamps (30 minutes, easy): Dip leaves, celery ends, or citrus rinds in tempera and stamp patterns. Constraint: stamp items get slippery, so keep a towel nearby.
- Outdoor yarn “laser” maze (20 to 45 minutes, medium): String yarn between porch posts or trees at different heights. Kids crawl through without touching. Use soft yarn and avoid tight knots on delicate plants.
Practical note: wind is the biggest obstacle outdoors. Use clips or painter’s tape to secure paper, and choose heavier paper so it does not flap into wet paint.
Rainy-day projects
When it rains, you can still keep the summer theme going with indoor-friendly projects that do not require sunshine or a big mess. Aim for crafts with defined start and finish so kids feel successful, even if they are restless.
- Ocean-in-a-bottle sensory craft (15 minutes, easy): Fill a clear plastic bottle with water, a bit of blue food coloring, and a small amount of clear oil. Add glitter if age-appropriate. Seal the cap with strong tape. Constraint: do not use glass with young kids.
- Puffy paint clouds (30 minutes plus dry time, easy): Mix equal parts school glue and shaving cream. Spread on paper and sprinkle with blue confetti “rain.” Tip: it dries best in a thin layer.
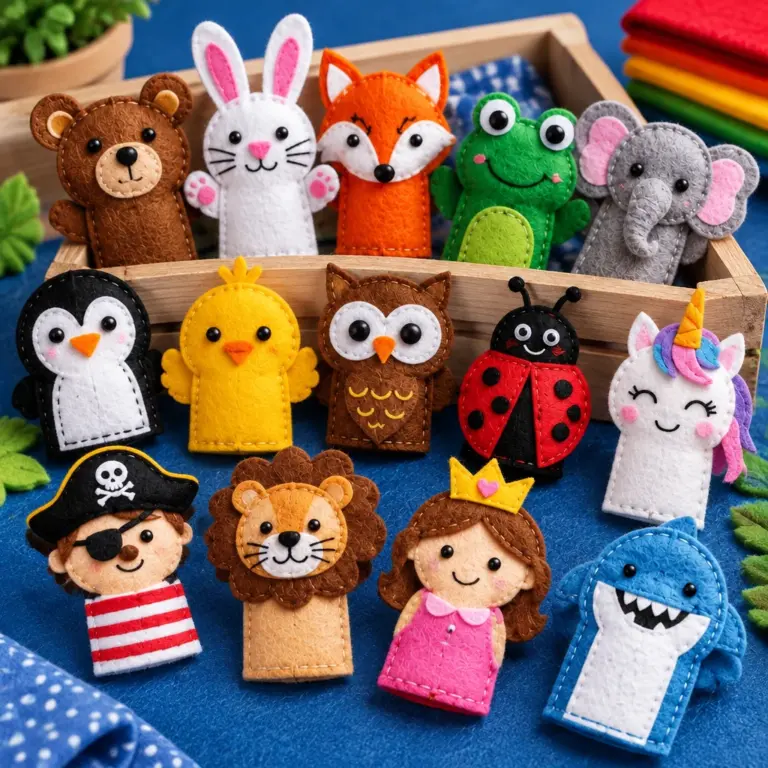
- DIY felt summer icons (45 to 60 minutes, medium): Cut felt shapes like suns or popsicles, glue edges, and stuff lightly with cotton. No sewing required, but press and hold seams until tacky glue grabs.
- Cardboard marble maze (60 minutes, medium): Use a shallow box lid, glue down cardboard strips, and tilt to guide a marble. Safety: marbles are a choking hazard for little ones.
- Shadow puppet theater (45 minutes, easy): Cut puppet shapes from cardstock, tape to sticks, and shine a flashlight against a wall. Variation: tell a “campfire story” indoors.
If you are short on drying space, choose projects that finish dry, like puppets, felt icons, and mazes. For glue-heavy crafts, set up a “drying station” on a cookie sheet you can move out of the way.
Crafts by age
One of the best ways to make summer crafts for kids successful is matching the project to attention span and motor skills. Use this as a quick guide and adjust up or down based on your child.
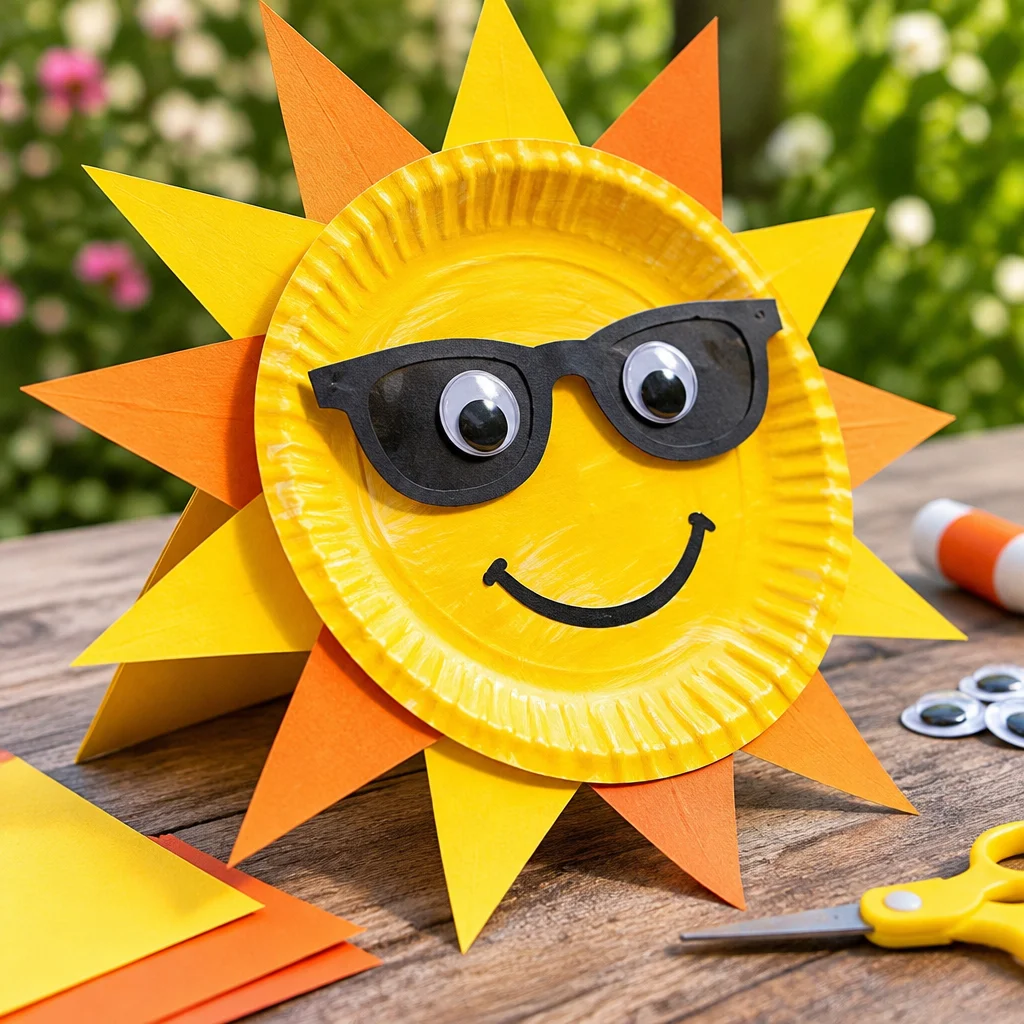
- Ages 2 to 4 (with close supervision): Big-handle brushes, sticker collages, paper plate suns, and sponge stamping. Keep steps to 2 or 3 actions. Prep shapes ahead and offer two color choices to reduce overwhelm.
- Ages 5 to 7: Paper tube binoculars, egg carton bugs, simple weaving bookmarks, and painted rocks. Kids can handle glue steps and basic cutting but may need help with small holes or tight rolling.
- Ages 8 to 12: Magazine bead jewelry, cardboard marble mazes, nature collage panels with a glue top coat, and DIY felt icons. Add optional “challenge rounds” like designing a pattern or writing a label card for the display.
- Mixed ages: Choose a shared base with different detail levels, like a paper bag kite where younger kids decorate and older kids build the bridle and tail balance.
Realistic constraint: younger kids often use too much glue. Offer glue in a small dish with a cotton swab “glue brush,” or use a glue stick for paper-only projects. That one change improves results and reduces mess dramatically.
Setup and cleanup
Good setup is the secret to enjoying summer crafts for kids instead of enduring them. Think in stations: materials, making area, and drying area. A predictable routine also helps kids learn responsibility.
- Cover and contain: Use a wipeable tablecloth or a flattened trash bag. Place small parts in muffin tins or snack bowls so they do not roll away.
- Prep before you invite kids over: Pour paint into a palette, cut tricky cardboard pieces, and set out one adhesive choice. Too many options lead to spills.
- Use a “wet zone” and “dry zone”: Wet zone for paint and glue, dry zone for markers, stickers, and finished parts. This prevents the classic problem of sleeves sticking to glue.
- Timer plus music: Set a 5-minute cleanup timer and play one song. Kids move faster when cleanup has a clear end.
- Drying plan: A cookie sheet, cooling rack, or empty shelf lined with parchment keeps projects flat and movable.
Cleanup tips: keep a trash bowl on the table for scraps, and use baby wipes for quick hand cleaning before kids touch door knobs. If paint dries on brushes, soak in warm soapy water for 10 minutes and reshape bristles before drying flat.
Summer display ideas
Displaying crafts motivates kids and reduces the “what do we do with this now?” problem. It also turns summer crafts for kids into seasonal decor that feels personal.
- Rotating gallery wall: Clip art to twine with clothespins. Swap weekly so the wall stays fresh and clutter-free.
- Window display: Hang suncatchers or tissue contact-paper art with removable hooks. Keep them out of reach of pets and toddlers.
- Shadow box shelf: Great for 3D items like rock ladybugs, clay magnets, or small felt icons. Add labels with the date and “artist name.”
- Summer centerpiece: Place nature collages or painted rocks in a shallow tray on the table. Variation: choose a theme like “beach tray” with shells and blue paper.
- Gift-ready packaging: Use paper lunch bags stamped with leaves for gifting. Add a short note about the materials used to make it feel special.
“I used your low-mess ideas for a week of ‘backyard camp’ with my 5 and 9 year old. The paper tube binoculars and painted rocks were the biggest hits, and the setup tips saved me. Having a drying tray changed everything.”
Constraint to plan for: sunlight can fade markers. If you want art to last on a sunny wall, use paint or colored paper rather than marker-heavy drawings.
Common Mistakes and How to Fix Them
Most craft frustration comes from a few predictable issues. Here is how to fix them quickly so your summer crafts for kids look and work better.
- Warped paper: Too much liquid on thin paper. Fix by switching to cardstock or watercolor paper, using less paint, and taping paper edges to a board before painting.
- Glue not holding: Wrong glue for the material or not enough drying time. Paper-to-paper works with glue stick or school glue, but heavier items need tacky glue. Hold pieces together for 20 to 30 seconds, then let cure longer than you think.
- Paint cracking or flaking on rocks: Paint layer is too thick or rock is dusty. Wash and dry rocks first, paint thin coats, and seal with a water-based sealer.
- Projects falling apart during play: Weak joints. Reinforce seams with tape, add cardstock gussets inside corners, or double-layer cardboard parts.
- Kid frustration with “perfect” results: Too many steps or tiny details. Simplify: bigger shapes, fewer colors, and one main technique per craft session.
Finishing advice: when you seal or top coat, make sure the base is fully dry. Sealing over damp paint can trap moisture and cause tackiness later.
Frequently Asked Questions About Summer Crafts for Kids: 25 Fun Ideas
What crafts suit preschoolers?
Preschoolers do best with big pieces and simple choices. Try sticker resist suncatchers, paper plate suns, sponge stamping, or egg carton caterpillars with pre-cut shapes. Set out only 2 to 3 colors, use washable tempera, and offer glue with a cotton swab to prevent puddles. Keep sessions short, about 15 to 25 minutes, and end with a clear “drying spot” so they feel finished.
What can kids make outdoors?
Outdoors is great for chalk art, spray bottle watercolor targets, bubble wand building, and nature stamping. Bring painter’s tape to hold paper down and a bucket of water for quick rinses. Choose shade so paint does not dry instantly and crack. If you are doing kites, pick a mild breezy day and keep string lengths manageable so kids do not tangle easily.
Which activities use household supplies?
You can do many summer crafts for kids with items you already have: paper bags for kites, cardboard boxes for marble mazes, old magazines for rolled beads, jars or plastic bottles for sensory “ocean” bottles, and scrap paper for collages. For tools, you mainly need scissors, tape, a ruler, and school glue. If you do not have paint, markers and colored paper can replace it in most designs.
How do I keep crafts from getting too messy?
Choose one “wet” material per session. For example, paint plus stickers is fine, but paint plus glue plus glitter usually spirals. Use a tray under wet projects, portion paint into small amounts, and keep a trash bowl on the table. For glue, swap bottles for glue sticks when working only with paper. A defined wet zone and dry zone also prevents hands and sleeves from spreading mess.
How long should crafts dry before kids handle them?
It depends on the material thickness and humidity. Thin tempera paint on paper may feel dry in 10 to 20 minutes, but thicker paint, glue layers, and sealed items need longer. Painted rocks often need at least 30 to 60 minutes between coats and several hours before sealing. If something keeps peeling or smudging, it likely needs more cure time, not more glue or paint.
What are safe alternatives to small beads and glitter?
For young kids, replace beads with large pasta shapes dyed with food coloring and vinegar, or use paper “beads” made from rolled strips that are too large to swallow. Instead of loose glitter, use glitter glue, metallic markers, or pre-cut foil paper squares. These options give sparkle without spreading micro-mess everywhere, and they are easier to vacuum and safer around toddlers and pets.
Final Thoughts
With these summer crafts for kids, you can match the project to your day: low-mess options when you are tired, nature art when you want fresh air, recycled builds when you want a longer activity, and rainy-day backups when the weather turns. Start by picking one idea that fits your supplies and your child’s age, then set up a simple station with a wet zone, a dry zone, and a clear drying spot. If you want a natural next craft, try a themed “summer week” by pairing projects, like