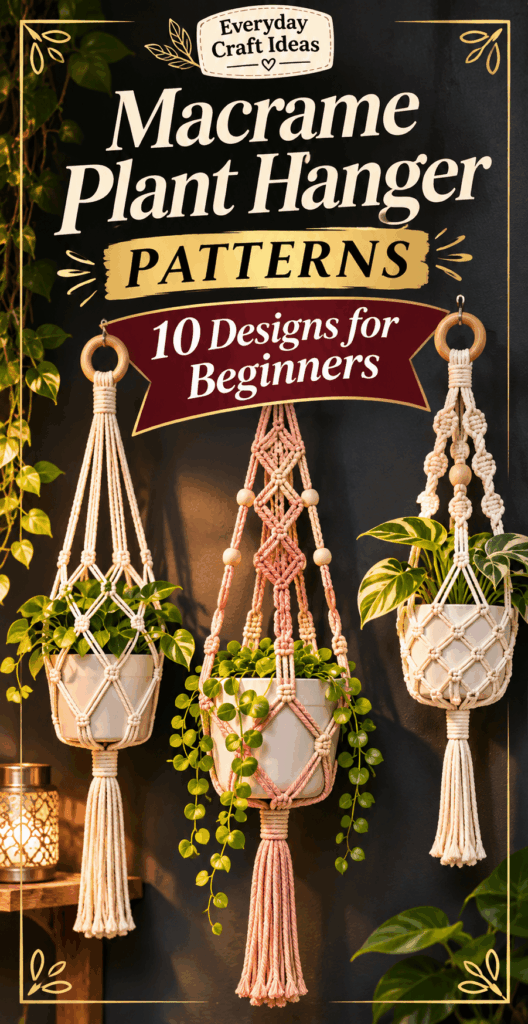
Macrame Plant Hanger Patterns: 10 Designs for Beginners
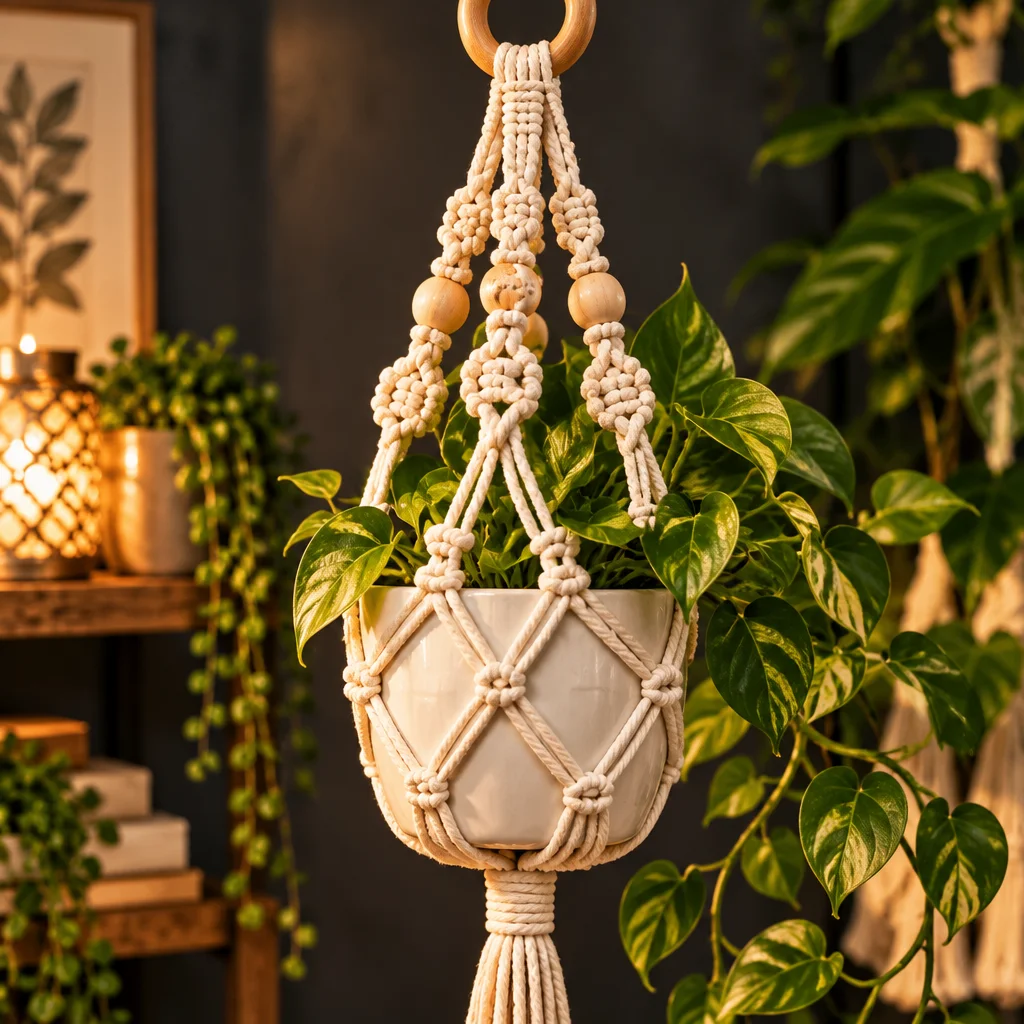
Macrame Plant Hanger Patterns are one of the most satisfying beginner crafts because you can make something useful, sturdy, and pretty with only cord and a few simple knots. A finished plant hanger lifts greenery off shelves, saves surface space, and adds soft texture to corners that feel bare. If you like practical DIY with a calming, repetitive rhythm, macrame is a great fit, even if you have never tried fiber crafts before.
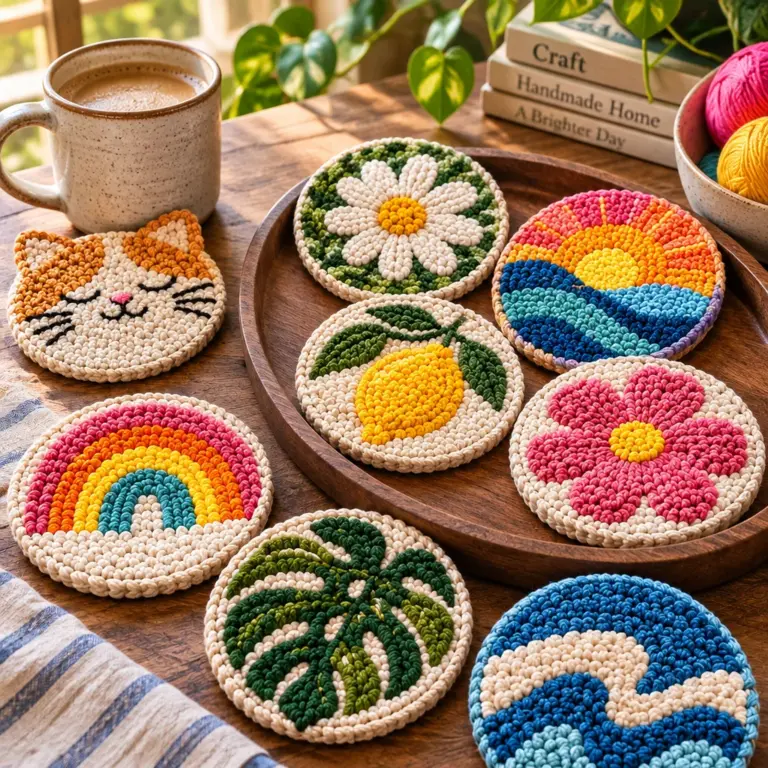
In this guide, you will learn how to choose cord, plan sizes, tie the essential knots, and follow 10 beginner-friendly designs with clear structure and troubleshooting tips. If you enjoy learning new hand skills, you might also like these beginner embroidery patterns with easy designs to stitch for another relaxing, screen-free craft. And if you want a quick project for scraps, these crochet coaster patterns pair nicely with a plant-themed corner.
Expect most hangers here to take 45 to 120 minutes, depending on length and knot density. The best part is you can customize every detail: cord color, ring style, bead accents, tassels, and the drop length for windows or ceilings.
Choose Cord, Rings and a Suitable Plant Pot
Cotton cord thickness and length planning
For first-time Macrame Plant Hanger Patterns, choose soft cotton cord because it is forgiving, easy to knot, and comfortable to comb into fringes. A 3 mm to 5 mm twisted cotton cord is ideal for beginners. Thinner cord (2 mm) is harder to control and shows mistakes, while very thick cord (6 mm to 8 mm) can feel bulky and eats up yardage quickly.
Length planning is the make-or-break step. A safe beginner rule is to cut each working strand about 4 to 6 times the finished hanger length (from ring to bottom). If your design includes lots of square knots, spirals, or a long tasseled tail, cut closer to 6 times. When in doubt, cut longer; you can trim later, but you cannot easily add length without visible joins.
Wooden rings versus looped hanging cords
A wooden ring gives your hanger a clean top and makes mounting simple. Choose a ring at least 2 inches wide for medium pots so cords do not crowd. A looped cord hanger (no ring) is also beginner-friendly and works well when you want an all-fiber look. Loops are softer against hooks but can stretch over time, especially with heavy planters.
Weight, drainage and secure ceiling anchors
Plant hangers must handle weight and water safely. If your pot has drainage, use a saucer or a cachepot system so water does not drip on floors. For hanging hardware, use a stud-mounted ceiling hook or a properly rated toggle bolt. Adhesive hooks are not reliable for real plant weight over time. Remember that a watered pot is much heavier than a dry one.
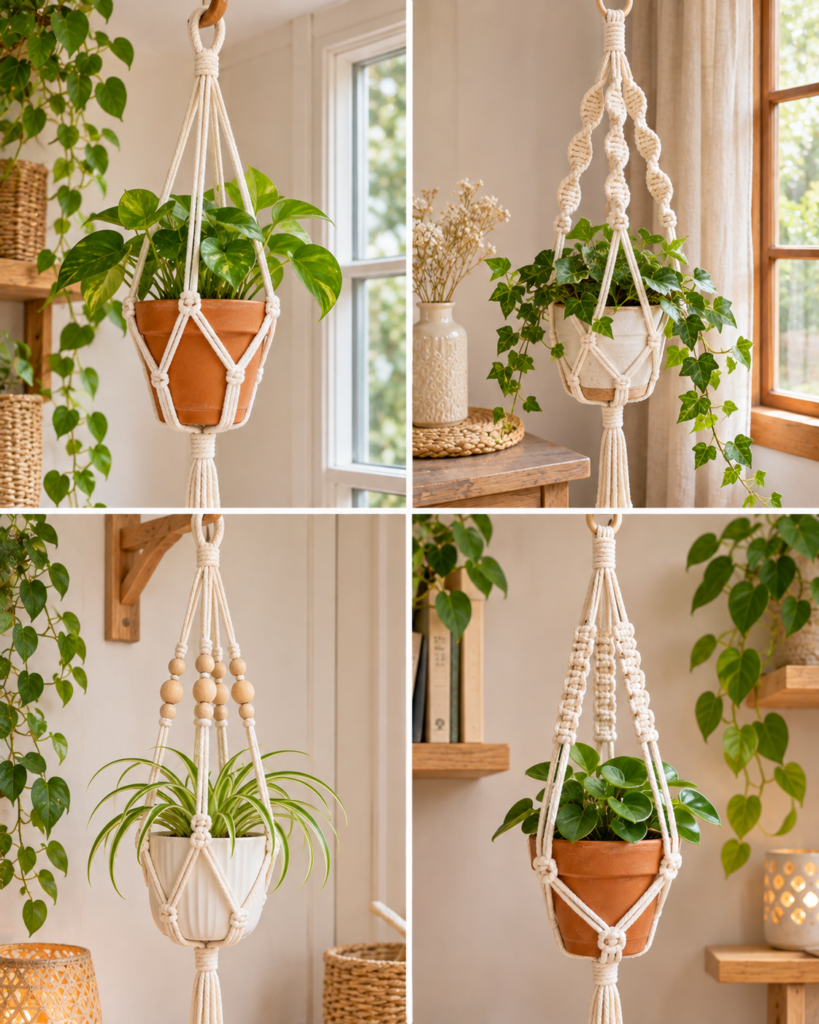
Essential Knots for Plant Hangers
Lark’s head knot for mounting
The lark’s head knot is the classic way to attach cords to a ring. Fold a cord in half to find the midpoint, pass the folded loop through the ring, then pull the two tails through the loop and tighten. This creates two working strands and anchors the cord neatly. Tighten each lark’s head evenly so your hanger starts balanced.
Square knots for the upper section
Square knots are the backbone of many Macrame Plant Hanger Patterns. They use four strands: two center “filler” cords and two outer “working” cords. Tie the first half (left over center, right over left, right under center, up through loop) and then reverse for the second half. If your knot starts twisting, you are repeating the same half-knot and creating a spiral instead of a square.
Spiral half-knot pattern
A spiral is made by repeating the same half of the square knot. It is fast, forgiving, and ideal for beginners who want texture without counting complex sequences. Spirals naturally twist, so keep your cord tension consistent and let the twist form without forcing it flat.
Gathering knot and basket knots
The gathering knot (also called wrapping knot) cinches multiple strands together to form a neat “collar” above the basket. You wrap one cord around the bundle several times, then tuck the end through a loop and pull it under the wraps for a clean finish. Basket knots are the spaced knots that create the netting that holds the pot. The most common method is tying square knots with staggered spacing to form a cradle that hugs the pot.
10 Macrame Plant Hanger Designs
Minimal four-cord plant sling
- Cut cord: Cut two long cords and fold both through a ring with lark’s head knots to make four strands. Longer is better here because you will form the basket with spacing.
- Top section: Tie a short section of square knots using all four strands to create a tidy start.
- Split for basket: Separate into two pairs, tie an overhand knot on each pair about 8 to 10 inches down.
- Re-pair and knot: Take one strand from each neighboring pair to form new pairs; tie another set of overhand knots to create a simple net.
- Bottom tie-off: Bring all strands together under the pot and finish with a gathering knot, then trim ends.
This is a great first hanger for small to medium pots because it uses minimal knot types and still looks modern.
Square-knot column hanger
- Mount 6 to 8 cords on a ring for a fuller look.
- Create columns: Divide into groups of four strands and tie 6 to 10 square knots in each group. Keep columns the same length.
- Join into basket: Stagger groups by taking two strands from neighboring columns and tying square knots to form the cradle.
- Cinch and finish: Use a gathering knot below the pot and leave a fringe.
Tip: If columns look uneven, measure from the ring to the last knot rather than counting knots, because tightness affects length.
Spiral-knot hanger
- Start with 4 or 8 strands depending on pot size.
- Work spirals: Tie repeated half-knots for 6 to 12 inches. Let the cord twist naturally.
- Transition to basket: Stop spirals and tie one full square knot to “lock” each spiral section.
- Form netting: Create staggered square knots for the basket and finish with a gathering knot.
Spirals hide minor tension issues and look especially good with 3 mm cord for a finer twist.
Alternating square-knot hanger
- Mount 8 strands for a balanced look.
- Alternate directions: Tie square knots in a short band, then leave a small gap, then tie another band. This creates airy “windows.”
- Stagger the basket: Use the gaps as guides to keep spacing consistent.
- Finish: Cinch with a gathering knot and trim into a V-shape fringe.
If your gaps drift, clip the top ring to a hook and use a ruler to mark where each band should begin.
Two-tier plant hanger
- Choose two small pots: Lighter pots are safer for stacked designs.
- Make the upper basket first: Tie the top hanger and basket to hold the first pot.
- Continue cords downward: After cinching under the first pot, keep cords long and start a second basket below.
- Balance spacing: Leave enough room so leaves do not crush each other, usually 8 to 14 inches.
- Reinforce the center: Use an extra gathering knot between tiers to reduce stretch.
Safety note: Use a ceiling anchor rated well above the combined wet weight of both pots.
Beaded macrame plant hanger
- Select beads: Use wooden beads with holes large enough for your cord thickness.
- Place beads strategically: Add beads above the basket or within column sections so they do not bear full pot weight.
- Lock beads in place: Tie a square knot above and below each bead, or use an overhand knot as a stopper.
- Finish ends: Consider a short fringe so beads remain the focus.
Beads pair nicely with other small hand projects. If you enjoy simple accessories, these easy beaded bracelet patterns for beginners are a fun way to use leftover beads.
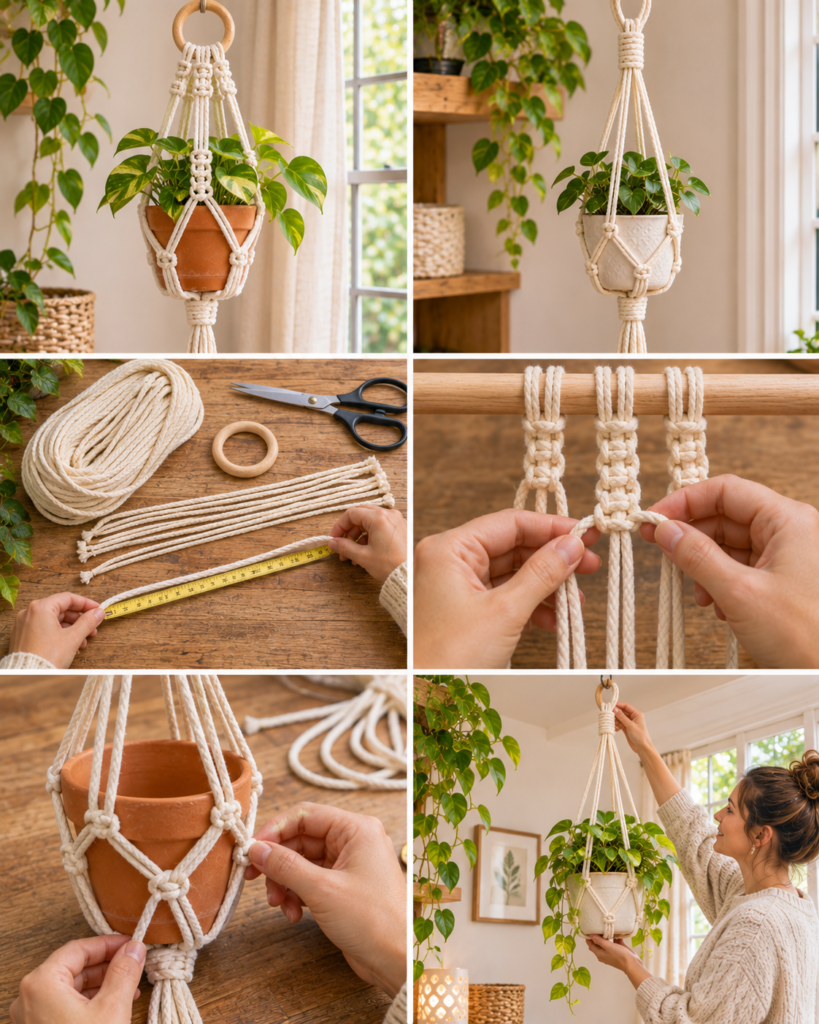
Short window plant hanger
- Plan the drop: Measure from the curtain rod or window hook to where you want the pot to sit, often 12 to 20 inches.
- Use fewer knots: Short hangers look best with a compact top section and a snug basket.
- Keep the pot stable: Use tighter basket knots to reduce swinging when windows open.
- Choose the right plant: Trailing plants can tangle in blinds; compact foliage is easier near windows.
Tip: For windows, use lighter pots and avoid overwatering right before hanging.
Long ceiling plant hanger
- Measure ceiling height: Account for the hook, ring, and plant height so leaves do not block walkways.
- Build a longer upper section: Add extra square-knot columns or spiral sections for interest.
- Prevent stretch: Pre-stretch cotton cord by gently pulling strands before starting, and keep knots tight.
- Add a stabilizing collar: A firm gathering knot helps reduce shifting under load.
Long hangers showcase texture well, but always test with the real pot weight before committing to a ceiling location.
Wood-ring macrame hanger
- Use a large ring: A 2.5 to 3 inch ring prevents crowding with 8 to 12 strands.
- Create a clean top band: Tie a neat row of square knots right under the ring for a polished look.
- Add negative space: Include a few inches of plain cord before the basket for a modern style.
- Finish with a shaped fringe: Comb the ends and trim into a rounded tassel.
If you enjoy practical home makes, you might also like these crochet dishcloth patterns for another sturdy, useful project.
Boho tassel-bottom hanger
- Start with extra length: Tassels require more cord, especially if you want a full, fluffy finish.
- Make a classic basket: Use square knots in staggered rows to hold the pot securely.
- Cinch firmly: Tie a tight gathering knot under the pot to keep the basket from loosening.
- Build the tassel: Wrap an additional bundle of cord around the gathered section, then comb and trim evenly.
This style is forgiving for beginners because the tassel disguises small inconsistencies at the bottom.
“I tried the minimal four-cord sling as my first macrame project and was surprised how quickly it came together. The sizing tips helped a lot. I measured my pot first, tied a looser basket, then tightened it around the pot and it fit perfectly.”
How to Size and Test Your Hanger
Measure pot diameter and hanger drop
Start with the pot you plan to use, not a guess. Measure the widest diameter and the pot height. Your basket section must cradle the widest point, and the bottom cinch should sit just below it. For drop length, measure from your hook to the desired pot position, then subtract the height of the pot so foliage lands where you want it. When following Macrame Plant Hanger Patterns, remember that knotting shortens cords more than you think, especially with dense square-knot sections.
Keep the basket knots level
An uneven basket causes the pot to tilt. Use a simple trick: after you tie the first row of staggered basket knots, hang the piece temporarily and check that all knot points sit at the same height. Adjust by tightening loose knots or retying any that are noticeably lower. A small clip-on tape measure or a marked clipboard behind the cords makes leveling easier.
Test with the intended pot weight before hanging
Before you mount it permanently, test your hanger with the actual pot filled with soil, then water it lightly. Hold the ring in your hand and gently bounce the pot a couple of inches to see if knots slip. If the basket shifts, tighten the gathering knot and re-check the staggered knots. Only then hang it on your final hook. This extra step prevents slow stretching surprises and protects floors and plants.
Frequently Asked Questions About Macrame Plant Hanger Patterns: 10 Designs for Beginners
How much cord do I need for a macrame plant hanger?
For most beginner Macrame Plant Hanger Patterns, plan 150 to 250 feet of 3 mm cord for a standard mid-length hanger with 8 strands, depending on knot density and fringe length. A short window hanger might use closer to 100 to 150 feet. If your design includes spirals, heavy square-knot bands, or a large tassel, add at least 20 percent extra. It is always safer to have leftovers than to run short mid-basket.
What is the easiest macrame plant hanger knot?
The lark’s head knot is the easiest start because it simply mounts cord to a ring. For the main structure, square knots are the most useful beginner knot because they create straight, stable sections and can be stacked, staggered, or combined with gaps. If square knots feel intimidating, start with overhand knots for a simple net sling, then graduate to square knots once you are comfortable with tension.
How do I make sure a hanging planter is secure?
Security is a combination of strong knots, appropriate cord, and proper hardware. Use cotton cord that is not frayed or overly stretchy, and tighten knots evenly. Most importantly, mount your hook into a ceiling joist or use a rated anchor designed for overhead loads. Avoid adhesive hooks. Test the hanger with the real pot weight, including wet soil, and keep the pot’s center of gravity inside the basket so it does not tip.
Why does my macrame hanger twist or lean to one side?
Leaning usually comes from uneven cord tension at the top or basket. Check that your lark’s head knots are tightened evenly on the ring and that each strand is the same length before you begin knotting. If the basket leans, one or two knots may be looser. Hang the piece temporarily, identify the low side, and tighten those knots. For spirals, twisting is normal, but the hanger should still hang straight overall.
Can I use jute or synthetic cord for plant hangers?
Yes, but each has tradeoffs. Jute looks rustic but is scratchy and can shed fibers, and it is less pleasant for beginners to handle for long sessions. Synthetic cord can be very strong but may be slippery, causing knots to loosen unless tightened firmly. For most Macrame Plant Hanger Patterns aimed at beginners, cotton is the easiest to knot consistently and the safest for indoor use because it is soft and predictable.
How do I add beads without weakening the hanger?
Place beads in decorative areas, not in the main load-bearing points. Good spots include above the basket, between square-knot bands, or on fringe ends. Make sure the bead hole fits the cord without forcing it, which can damage fibers. Lock beads in place with knots above and below so they cannot slide. If you want heavier beads, use more strands so no single cord carries too much weight.
My cords are different lengths after knotting. How do I fix it?
Small differences are common, especially early on. First, try tightening and evening out knots from the top down, since slack often hides inside earlier knots. If you still have uneven ends, wait until the hanger is finished and hanging, then trim the fringe evenly. If one cord is dramatically shorter and affects the basket, you may need to re-tie that section because trimming cannot correct a structural imbalance.
How can I make the hanger look more “finished” and less homemade?
Clean finishing is mostly about consistency. Use the same number of knots in matching sections, measure spacing with a ruler, and keep tension steady. After trimming, comb out fringe with a fine-tooth comb for a smooth tassel, then trim again with sharp scissors. Consider adding a neat gathering knot wrap and hiding cord tails under the wrap. If you like small, tidy projects for detail practice, these crochet keychain patterns are great for building neat finishing habits.
What is the best way to clean a macrame plant hanger?
For cotton cord, dust regularly and spot-clean with a damp cloth and mild soap if needed. Avoid soaking the whole hanger if it has wooden rings or beads, since wood can swell or stain. If you must wash, remove the plant first and hand-wash gently, then reshape and air-dry completely before rehanging. Keep hangers out of constant direct moisture, and use a saucer system to reduce dripping and staining.
Final Thoughts
If you are choosing your first of these Macrame Plant Hanger Patterns, start with the minimal four-cord plant sling or the square-knot column hanger. Both teach you the core skills of mounting, tension control, and building a supportive basket without complicated counting. Once you finish one hanger, make the same pattern again with one small change, such as a longer drop, a different cord thickness, or a beaded accent. Repetition is the fastest way to get neat, even knots.
Your sensible next step: pick the pot you actually want to hang, measure it, and cut cord with extra length. Then practice 10 square knots on scrap cord before you begin the real piece. That small warm-up prevents most beginner frustration and helps your finished hanger look clean and balanced.