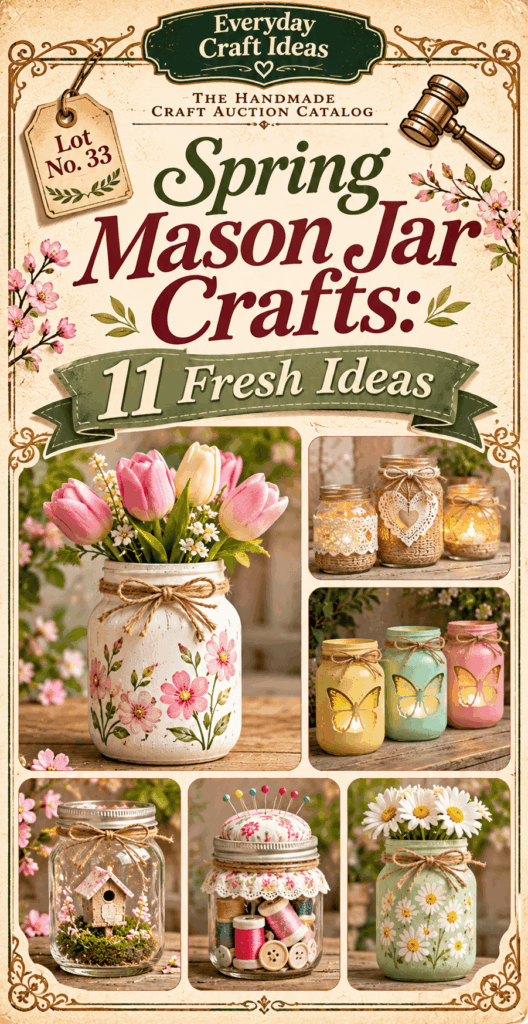
Spring Mason Jar Crafts: 11 Fresh Ideas
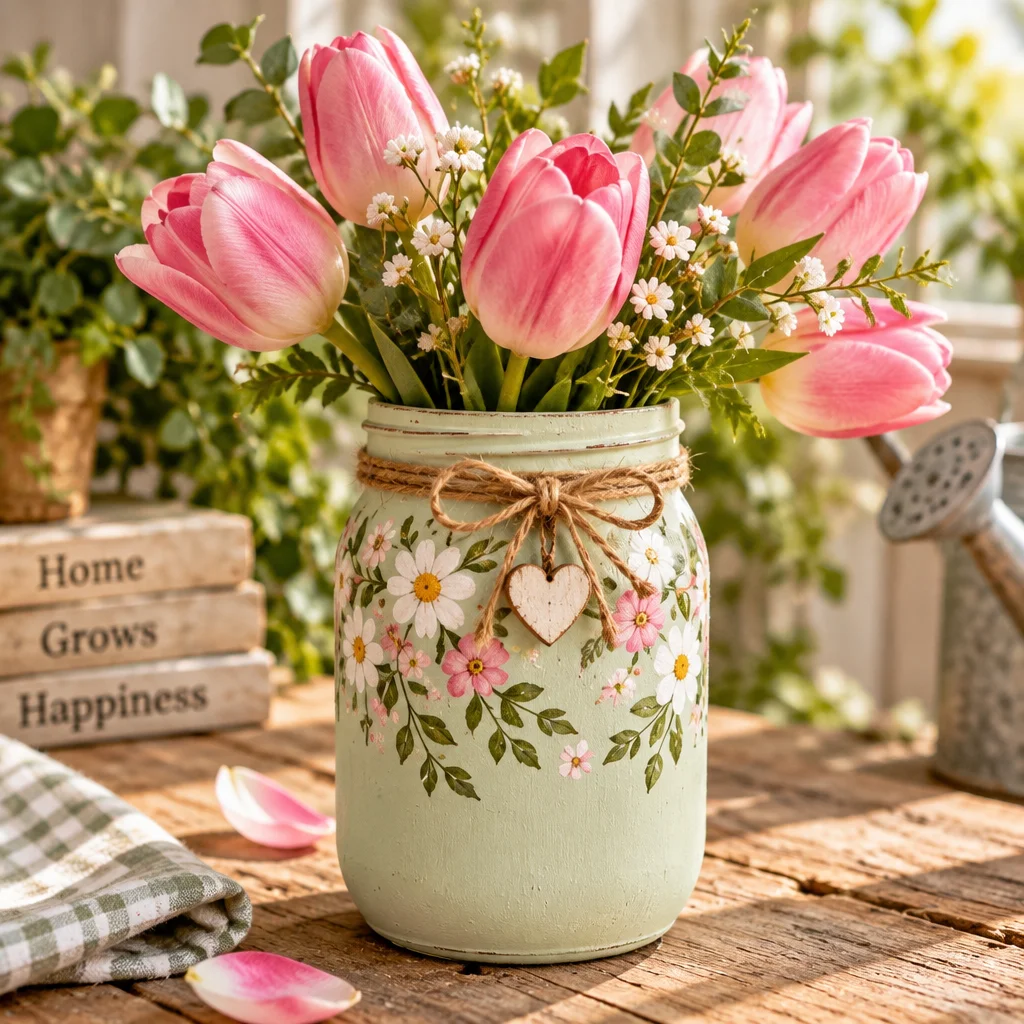
Spring Mason Jar Crafts are one of the easiest ways to refresh your home for the season without buying new decor. With a handful of jars, a little paint, and a few spring stems, you can create vases, giftable planters, lanterns, and organized storage that look cheerful and intentional. In this guide, I will walk you through 11 fresh ideas with beginner-friendly steps, realistic drying times, and tips to help your finishes last. If you want even more jar inspiration later, bookmark these mason jar craft ideas for gifts and home decor. And if you are building a full seasonal crafting list, you may also like these spring crafts for adults.
Planning Spring Mason Jar Crafts
Before you start painting or wrapping, decide how you will use your finished jars. A jar meant as a vase needs a washable, water-safe interior. A jar meant for battery lights needs a way to hide or secure the battery pack. Planning those details first saves you from peeling paint, wobbly arrangements, or decorations that slip.
Difficulty-wise, most Spring Mason Jar Crafts are beginner-friendly. Expect 20 to 60 minutes of active crafting per jar, plus drying time. Painted projects often need a few thin coats, which means a full afternoon if you include curing time. Wrapping and decoupage projects are quicker but still benefit from overnight drying if you seal them.
Think about scale and grouping. Three small jars grouped together usually look more polished than one large jar by itself, especially as a spring centerpiece. Also decide whether the jar will be handled often. A gift jar or storage jar needs a tougher topcoat than a jar that sits on a shelf all season.
- Choose jar size: Pint jars work for vases and storage, half-pint jars are great for favors, and wide-mouth jars are easiest for inserting arrangements.
- Pick a color story: Pastels, clear glass with greenery, or natural twine and kraft tags all read “spring.”
- Set a drying station: Cardboard, parchment paper, and a spot with airflow prevents sticking and smudges.
Supplies, Jar Preparation and Paint Options
Gather supplies that match the techniques you plan to use. You do not need everything for every project, but a few basics will make Spring Mason Jar Crafts go smoothly.
- Jars and lids: Use clean, chip-free mason jars. Save rings even if you replace the flat lids, because rings can hold fabric, wire, or tags.
- Cleaner and degreaser: Dish soap plus rubbing alcohol removes oily residue that causes paint to fisheye or peel.
- Paint options: Acrylic craft paint works well on the outside when paired with primer or a good sealer. Spray paint gives the smoothest finish but needs ventilation. Chalk-style paint offers a soft matte look and is easy to distress.
- Adhesives: Mod Podge for paper and fabric, clear-drying tacky glue for trim, and hot glue for quick holds (not for surfaces that will get wet).
- Sealers: Water-based polyurethane or acrylic sealer protects paint. Choose matte or satin depending on your look.
Jar prep matters. Wash jars in warm, soapy water, rinse well, and fully dry. Then wipe the exterior with rubbing alcohol to remove fingerprints. If you are painting, avoid touching the jar afterward where paint will go. For the best adhesion, especially on glossy glass, apply a light coat of spray primer made for slick surfaces and let it dry before painting.
Floral Spring Jar Projects
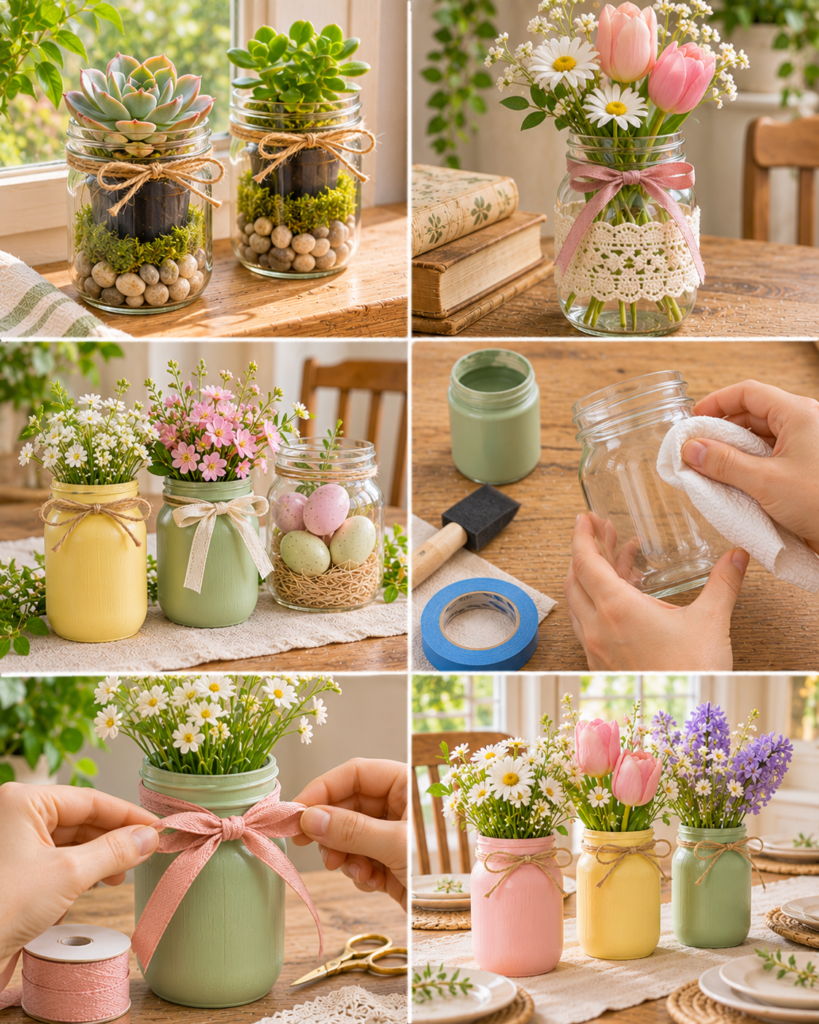
Pastel Painted Flower Vases
These are classic Spring Mason Jar Crafts because they look bright even with simple grocery-store flowers. Use acrylic paint on the exterior only so you can still fill the jar with water.
- Prep the jar: Clean and alcohol-wipe the outside. This prevents peeling near the rim where hands touch.
- Prime (recommended): A thin primer coat helps pastel colors cover evenly on glass.
- Paint in thin coats: Use a foam brush for fewer streaks. Let each coat dry 20 to 30 minutes before the next.
- Optional detail: Add tiny white dots, stripes, or a simple daisy motif with a small brush.
- Seal the exterior: Apply two light coats of sealer for wipeable durability.
Troubleshooting: If you see brush marks, your coat is too thick or drying too fast. Switch to thinner coats and a foam brush, and avoid painting in direct sun.
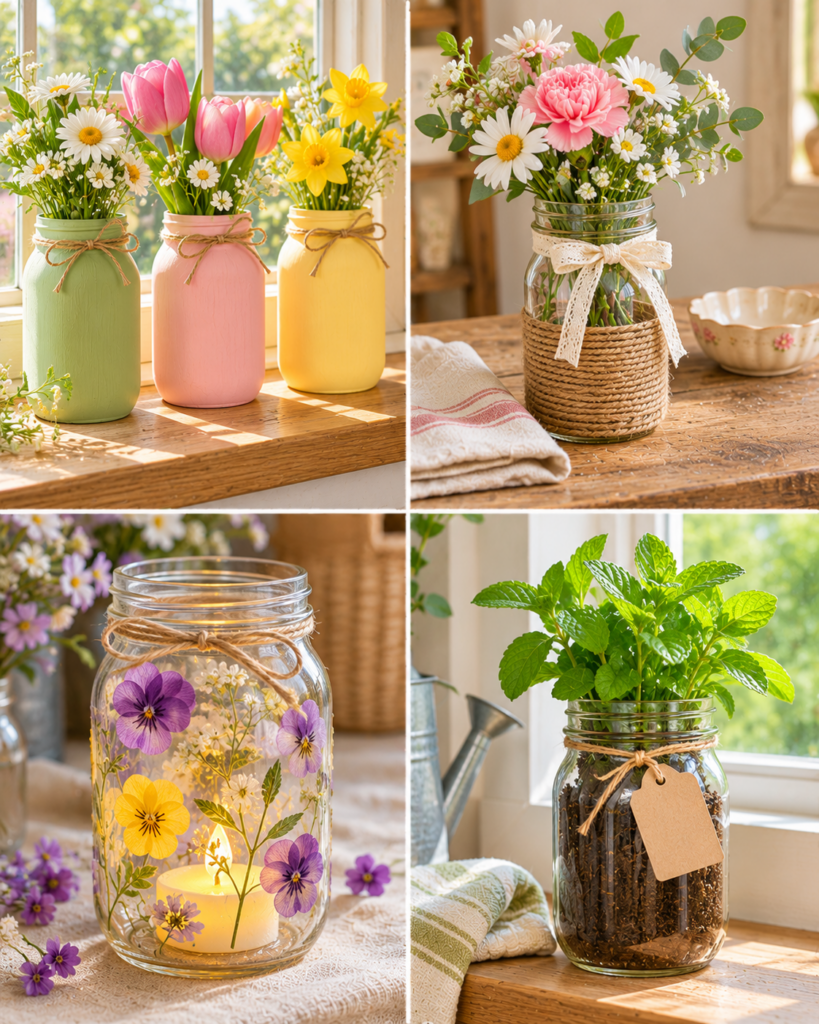
Pressed Flower Display Jars
Pressed flowers create a delicate “botanical specimen” look. This is a display jar, not a water vase. Use fully dried pressed flowers (from a book press or pre-pressed sets).
- Brush a thin layer of Mod Podge onto the outside of a clean jar.
- Use tweezers to place pressed flowers and leaves where you want them.
- Gently brush another thin coat over the top to seal edges.
- Let dry, then add a second sealing coat for durability.
Variation: Place a battery tea light inside for a soft glow that highlights the petals without heat.
Ribbon-Wrapped Bud Vases
For a quick spring touch, wrap ribbon around the jar and add one or two stems. This works well for party tables because it is fast and inexpensive.
- Choose a narrow ribbon (3/8 inch to 7/8 inch) in a spring color.
- Attach the ribbon end with a dot of tacky glue near the back seam area.
- Wrap snugly, keeping edges aligned. Add glue every few inches.
- Finish with a small bow or a glued, clean-cut end.
Tip: If the ribbon slides, your jar may still have oils. Wipe with alcohol and let dry before wrapping.
Dried Flower Arrangement Jars
Dried flowers are perfect if you want long-lasting Spring Mason Jar Crafts. Use bunny tails, dried lavender, or preserved eucalyptus.
- Add floral foam or a crumpled piece of kraft paper inside the jar to help stems stay put.
- Build a simple shape: start with greenery, then add focal stems, then fillers.
- Tie twine around the neck of the jar to finish.
Care: Keep dried arrangements out of humidity and direct sun to reduce fading and shedding.
Spring Table and Gift Projects
Seed Gift Jars
Seed gift jars are thoughtful and easy to personalize. Use the jar as packaging rather than a planter. Fill with seed packets, peat pellets, and a small wooden plant marker.
- Fill the jar with crinkle paper or a small piece of fabric to cushion contents.
- Add 1 to 3 seed packets and a short instruction tag.
- Decorate the lid with a fabric circle under the ring or a kraft label on top.
Finishing tip: Include planting timing for your region, or write “best after last frost” for a general spring guideline.
Mini Plant Display Jars with Drainage Considerations
Glass jars do not breathe, so think of this as a temporary display or use a nursery pot inside the jar. The safest beginner method is “cachepot style” where the plant stays in its plastic pot.
- Choose a wide-mouth jar that fits a small nursery pot.
- Add a thin layer of pebbles in the bottom to lift the pot above any accidental water.
- Place the nursery pot inside and tuck moss around the edges to hide plastic.
- Water the plant in the sink, let it drain, then return it to the jar.
Avoid: Planting directly into the jar without drainage unless you are experienced and using very controlled watering.
Spring Centerpiece Trio
A trio of jars looks styled without being fussy. Use three jars of different heights: for example, a half-pint, pint, and quart.
- Pick one unifying element: same paint color, same twine wrap, or matching labels.
- Use one jar for flowers, one for a candle (battery), and one for greenery or decorative eggs.
- Set them on a small tray or wood slice to visually group the set.
Design tip: Odd-number groupings feel natural, and mixed heights prevent a flat look.
Herb Cutting Propagation Jars
This is a practical Spring Mason Jar Crafts idea that also decorates your kitchen. Many herbs root easily in water, like mint and basil.
- Take a 4 to 6 inch cutting just below a leaf node.
- Remove lower leaves so nothing sits underwater and rots.
- Fill a clean jar with room-temperature water and place the cutting in bright, indirect light.
- Change water every 2 to 3 days to keep it fresh.
Variation: Label the jar with vinyl or a waterproof tag so you can track varieties.
Decorative and Practical Jar Projects
Tissue Paper Mosaic Jars
This technique gives a stained-glass effect and is one of the most forgiving Spring Mason Jar Crafts for beginners. Use bleeding tissue paper or regular craft tissue.
- Tear tissue into small pieces. Torn edges blend better than scissor cuts.
- Brush Mod Podge onto the jar, add tissue pieces, and overlap slightly.
- Brush a top coat over everything, smoothing gently to avoid ripping.
- Let dry fully before adding a second sealing coat.
Troubleshooting: If you get wrinkles, use less glue and smaller pieces. Wrinkles are more visible on large, unbroken sections.
Twine-Wrapped Storage Jars
Twine wraps add texture and hide contents while still looking neat. Use these for craft-room supplies, bathroom cotton balls, or desk storage.
- Start with a clean, dry jar. Apply a thin line of tacky glue near the base.
- Press twine into the glue and wrap tightly, row by row.
- Add glue every few rows to prevent slipping.
- Finish at the top with a clean cut and secure end with glue.
Finishing advice: If the jar will be handled a lot, brush on a clear sealer over the twine so fibers do not fuzz.
Battery-Powered LED Lantern Jars
For safe spring ambiance, use battery-powered LEDs only. This is a great patio accent for evenings.
- Add a strand of micro LED fairy lights or a battery tea light inside the jar.
- Hide the battery pack under moss or inside a small folded paper pouch.
- Optional: frost the jar with a light coat of frosted glass spray (ventilate well and follow label directions).
- Wrap the neck with wire or twine for a simple handle, but carry by the jar body, not the handle.
Important: Do not use real flames inside a closed jar. Heat can crack glass and is a fire hazard.
Choosing Colors and Coordinating a Display
Color is what makes Spring Mason Jar Crafts feel seasonal instead of just “random jars.” Start with two main colors and one neutral. For spring, soft tones like blush, mint, butter yellow, lavender, and sky blue pair well with clear glass and natural textures like twine or kraft paper.
If you are making multiple jars, repeat one element across all of them. That could be the same ribbon, the same paint finish, or matching labels. Repetition is what makes a shelf or centerpiece look curated. Then vary one thing: height, flower type, or pattern. For example, paint two jars solid pastel and add simple dots to the third.
Match sheen levels when possible. A matte chalk-painted jar next to a glossy spray-painted jar can look mismatched unless you plan it intentionally. If you want a cohesive set, seal everything in the same finish. Also consider your home’s background. Pastels pop against white walls and light wood, while brighter colors show better against darker countertops or shelves.
For more seasonal coordination ideas, browse these spring paper crafts and borrow palettes from paper florals and garlands, then echo those colors on your jars.
Tips for Paint Adhesion and Cleaning
Paint adhesion is the difference between jars you can reuse for years and jars that start peeling after a week. The biggest issues are residue, thick coats, and not allowing cure time.
- Degrease first: After washing, wipe with rubbing alcohol. This removes invisible oils that cause fisheyes and flaking.
- Use thin coats: Thick paint skins over on top and stays soft underneath, which leads to dents and peeling when handled.
- Let paint cure: “Dry to the touch” is not fully cured. Give painted jars at least 24 hours, and ideally 48 to 72 hours, before heavy handling.
- Seal for durability: A clear sealer helps with scuffs and makes jars easier to dust. Apply light coats to avoid drips.
Cleaning finished jars depends on the surface. For painted or decoupaged exteriors, wipe with a barely damp cloth and dry immediately. Avoid soaking decorated jars in water. If you need jars that can be washed regularly, keep decoration limited to removable sleeves, tags, or paint on the inside of the jar (using products labeled for glass and following all safety directions).
“I tried the pastel vase idea with a foam brush and two thin coats, and the difference was huge compared to my old streaky attempts. Sealing it made it feel like something I would actually display, not just a quick craft.”
Safety Notes for Glass, Plants and Lighting
Spring Mason Jar Crafts are generally safe, but a few basic precautions prevent accidents and keep your projects looking good.
- Inspect glass: Do not craft with chipped rims or cracked jars. Small cracks can spread with pressure or temperature changes.
- Sanding and sharp edges: If you remove labels with scrapers, work slowly to avoid slipping. If a jar has a sharp edge, do not use it.
- Ventilation: Use spray paint, primer, and frosted glass spray outdoors or in a well-ventilated area. Follow label instructions and drying times.
- Plant health: Do not let cuttings rot in stagnant water. Change water regularly, and keep leaves out of the waterline.
- Lighting: Use battery-powered LEDs only inside jars. Avoid real candles, and do not cover battery packs with anything that traps heat tightly.
If you are crafting with kids or older adults, choose low-mess options like ribbon wraps, tissue mosaics, or seed gift jars. For more age-tailored ideas, you can pull simple techniques from these spring crafts for kids and these spring crafts for seniors.
Frequently Asked Questions About Spring Mason Jar Crafts: 11 Fresh Ideas
Which Paint Sticks to Mason Jars?
Acrylic craft paint can stick well to glass if you clean thoroughly and use a primer designed for slick surfaces. For the smoothest finish, spray paint formulated for glass or multi-surface use is a reliable choice, especially when sealed. Chalk-style paint also adheres nicely but still benefits from a protective topcoat. No matter what you choose, thin coats and full cure time are what keep paint from scratching off.
Can These Jars Hold Fresh Flowers?
Yes, as long as the inside of the jar remains undecorated and clean so it can hold water safely. Keep paint, glue, and sealers on the exterior only. If you accidentally get paint inside the rim, wipe it off before it dries. For best results, use wide-mouth jars for fuller bouquets and add a pinch of flower food to extend bloom life. Wash the jar well between uses to prevent cloudy buildup.
How Do I Avoid Peeling Decorations?
Peeling usually comes from oils on the glass, thick layers of paint or glue, or handling before the project is cured. Degrease with rubbing alcohol, apply thin coats, and allow at least 24 hours of cure time. Seal edges well for decoupage projects, especially around curves and seams. Also consider where the jar will live. A jar that sits by the sink will face humidity and splashes, so it needs a stronger sealer and gentler cleaning.
Do I need to sand mason jars before painting?
Usually no. Glass does not sand the way wood does, and sanding can create uneven haze. Instead, focus on cleaning and priming. If you have a very slick jar and keep getting scratches, a bonding primer made for glossy surfaces is a better fix than sanding. If you do use any abrasive pad, keep it light and even, then clean thoroughly to remove dust.
How can I prevent drips when sealing painted jars?
Use multiple light coats rather than one heavy coat. Hold the jar by the inside rim or set it upside down on a cup so you can seal without touching wet areas. If a drip happens, let it dry completely, then gently sand the drip ridge with very fine sandpaper and recoat lightly. Brushing sealers on too thick is the most common cause of runs.
What is the best way to remove labels and sticky residue?
Soak jars in warm water with dish soap, then peel labels. For sticky residue, use cooking oil or a citrus-based adhesive remover and rub with a cloth, then wash again. Finish with rubbing alcohol to remove any oily film. Avoid scraping aggressively with razor blades unless you are experienced, since slipping can cut you or gouge the glass.
Can I put twine-wrapped jars in the bathroom?
Yes, but expect more wear because humidity can loosen some glues and encourage twine fuzzing. Use a strong tacky glue, wrap tightly, and consider sealing the twine with a clear acrylic sealer once fully dry. Keep the jar away from direct shower spray and wipe it dry if it gets damp. For high-humidity areas, a painted jar may last longer than a fiber-wrapped jar.
How do I make jars look cohesive if I use different techniques?
Repeat one consistent element across all jars, such as matching labels, the same ribbon color, or the same metal lid finish. Keep your color palette limited, for example two pastels plus a neutral. Also try to keep the “visual weight” similar. A heavily mosaicked jar next to a plain clear jar can look unbalanced unless you add a small accent to the plain one, like a bow or tag.
What is a good beginner project if I only have 30 minutes?
Ribbon-wrapped bud vases and seed gift jars are the fastest. They require minimal drying time, use simple materials, and still look polished when you add a neat tag. If you want a slightly more “crafted” look in the same time window, do a quick tissue paper mosaic with larger pieces and plan to add the final sealing coat later once it dries.
Final Thoughts
Spring Mason Jar Crafts are simple, flexible projects that let you decorate with what you already have and tailor everything to your space. Start with one goal: a vase for fresh flowers, a trio for the table, or a gift jar that feels personal. Then choose the technique that matches how the jar will be used, paint for display, twine for texture, tissue mosaic for glow, or a practical propagation setup for your kitchen. Your next step is easy: pick three jars, clean and degrease them, and make a coordinated set using one shared color or trim. Once you finish, you will have spring decor you can refresh again next season with new colors and stems.