Mason Jar Craft Ideas for Gifts and Home Decor
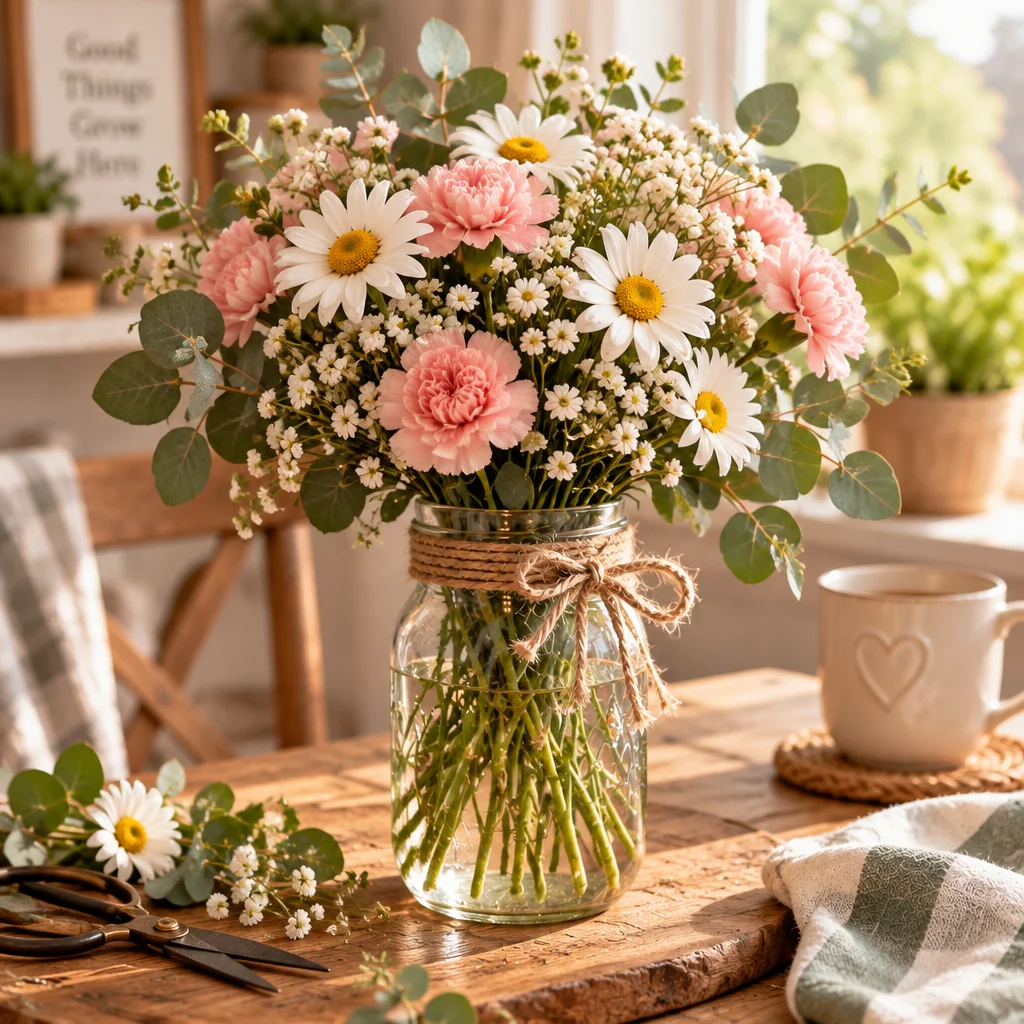
Mason jar craft ideas are a favorite for a reason: they are inexpensive, beginner-friendly, and can look surprisingly polished with just a few simple supplies. Whether you want cozy home decor, a thoughtful handmade gift, or quick seasonal pieces, you can turn empty jars into lanterns, vases, organizers, and “gift-in-a-jar” projects that people actually use. In this guide, I will walk you through what to know before you start, the best materials for glass, and a clear step-by-step tutorial you can apply to many designs. If you are crafting for the holidays, you may also like these free Christmas craft printables and these Christmas paper crafts to make to pair with mason jar gifts (tags, toppers, and quick add-ons).
What You Need to Know Before Starting
Before diving into mason jar craft ideas, it helps to decide your “end use” first, because that affects every material choice. Will the jar be handled often (like a bathroom organizer), exposed to moisture (like a vase), or used with light and heat (like a candle lantern)? Mason jars are designed for food canning, but craft versions should still be treated with basic safety in mind.
Difficulty level: Most mason jar projects are beginner-friendly. Expect 30 to 90 minutes for a single jar, plus drying time for paint or adhesive. More detailed designs (stenciling, layered paint, or wrapped twine) can take 2 to 3 hours including drying.
Size and shape: Wide-mouth jars are easiest for filling, cleaning, and inserting lights. Regular-mouth jars look classic and are great for sleek vases and soap dispensers. Check the rim and threads: bent or chipped glass should be skipped for anything handled frequently.
Heat and flames: If you plan to add light, battery-operated fairy lights are the safest option. For real candles, keep decorations away from the top opening, use only a jar rated for heat, and never leave it unattended. Many “lantern” looks can be achieved without an open flame.
Food vs craft: If you paint the inside of a jar or use non-food-safe materials near the rim, do not later repurpose it for food. Label it “craft use only.”
Supplies, Tools, and Material Choices
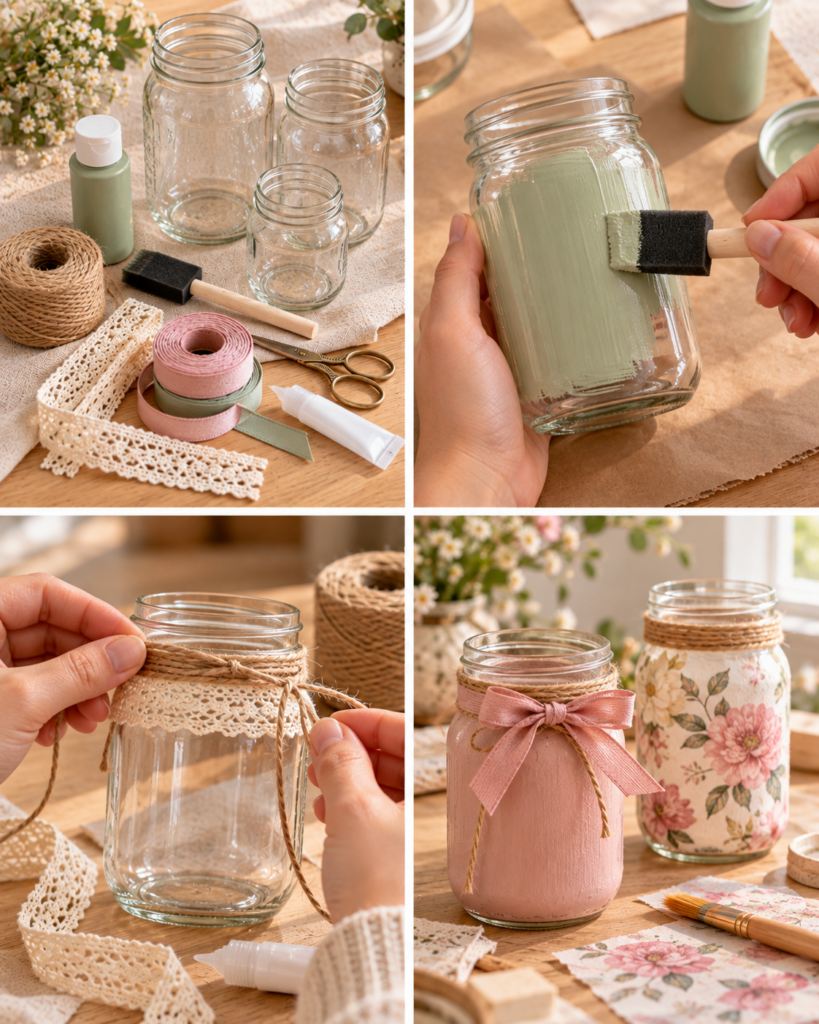
The best mason jar craft ideas start with the right prep and adhesives for glass. Glass is smooth and non-porous, so ordinary school glue and some paints will scratch off unless you prep correctly. Here are reliable, beginner-friendly options and what they are best for.
- Jars: Use clean, unchipped mason jars. Thrifted jars are fine, but avoid anything with hairline cracks.
- Cleaning supplies: Dish soap, a scrub brush, and rubbing alcohol (or white vinegar) for final degreasing. Clean glass is the difference between paint that lasts and paint that peels.
- Paint: Multi-surface acrylic (often labeled for glass/ceramic), enamel craft paint, or glass paint. Chalk-style paint can work on the outside but should be sealed for durability.
- Primer (optional but helpful): A bonding primer improves adhesion, especially if you want an opaque finish on slick glass.
- Adhesives: Clear-drying craft glue for paper and light trims, strong double-sided tape for clean ribbon lines, and a hot glue gun for quick attaching heavier items. Use hot glue carefully, since it can pop off glass if the jar flexes or gets very cold.
- Sealer: A clear acrylic spray sealer or brush-on sealer for painted exteriors. Choose matte or gloss to match your style. Sealers add durability but require good ventilation.
- Decor basics: Twine, ribbon, lace, faux greenery, gift tags, vinyl decals, stencils, and painter’s tape for crisp paint lines.
- Lighting: Battery fairy lights or LED tea lights for safe “glow” projects.
If you want a huge variety of inspiration for styles and finishes, this roundup of Mason Jar Crafts – Sadie Seasongoods is a helpful resource to browse alongside the tutorials here.
How to Make or Use It (Clear Beginner-Friendly Tutorial)
This beginner tutorial creates a versatile “decorated jar base” that you can finish as a gift jar, vase, lantern, or organizer. It is one of the most adaptable mason jar craft ideas because you can swap colors, labels, and toppers without changing the core process.
- Remove labels and residue. Soak jars in warm, soapy water for 15 to 30 minutes, then peel labels. For sticky residue, rub with cooking oil, let sit 5 minutes, then wash again. This prevents bumps under paint and keeps ribbon adhesive from failing.
- Degrease the glass. Wipe the outside with rubbing alcohol on a lint-free cloth. Oils from fingers can cause fisheye spots where paint pulls away.
- Plan your design zones. Use painter’s tape to mark areas you want crisp edges, such as a “label window” on the front or stripes around the jar. Press tape edges down firmly with a fingernail to reduce paint bleed.
- Apply paint in thin coats. Use a foam brush for smooth coverage. Thin coats cure harder than thick coats and are less likely to streak. Let each coat dry fully (usually 20 to 40 minutes) before the next.
- Optional: add stenciling or vinyl. For stencils, use a nearly dry stencil brush or sponge and dab lightly. Too much paint is what causes seepage under edges. For vinyl decals, apply after paint is fully cured.
- Seal the exterior (recommended). When paint is dry, seal with a clear acrylic spray outdoors or in a well-ventilated area. Apply 2 to 3 light passes rather than one heavy coat to avoid drips.
- Add trims and functional parts. Hot glue ribbon or twine around the neck, or use double-sided tape for cleaner lines. If making an organizer, leave the jar body smooth for easy wiping. If making a lantern, add LED lights only after all finishes are fully dry.
- Let it cure before heavy handling. Even if it feels dry, paint often needs 24 to 72 hours to fully cure. Curing time prevents fingerprints and scuffs.
Once you have this base, you can turn it into a bathroom cotton ball jar, a teacher gift jar, or seasonal centerpieces by changing only the label and trim.
Helpful Tips for Better Results
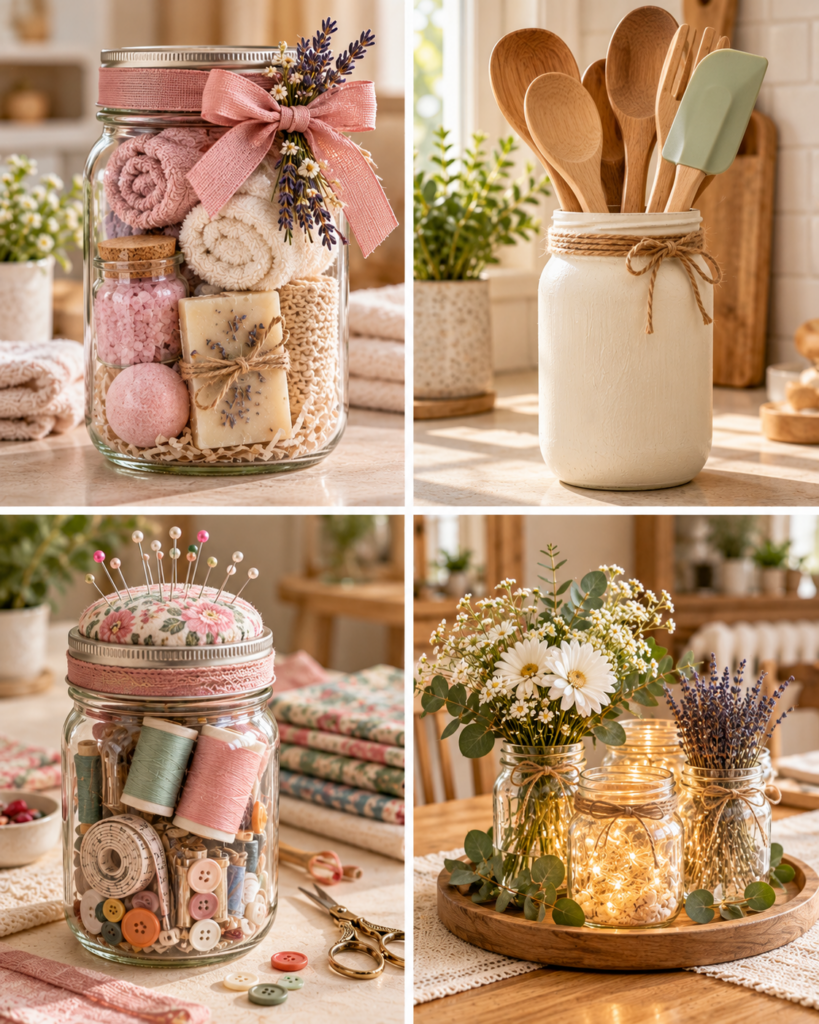
If you have tried mason jar craft ideas before and felt disappointed by peeling paint or messy glue strings, a few small technique changes make a big difference.
- Work with “clean hands” and clean glass. After degreasing, avoid touching the jar where you will paint. Hold it by the inside rim or wear disposable gloves.
- Choose the right brush. Foam brushes reduce streaks on glass. For chalk-style paint, a soft synthetic brush can create a smooth, lightly textured finish.
- Prevent paint bleed on tape lines. After applying tape, paint a thin layer of your base color along the tape edge first. That layer seals the edge. Then paint your contrast color on top.
- Use “less paint” when stenciling. Load your sponge or stencil brush, then dab most paint off on a paper towel before touching the jar. Build color slowly.
- Mind drying and curing. Dry means the surface is no longer tacky. Cure means it has hardened enough to resist scratches. If you seal too soon, you can trap moisture and create cloudiness.
- Plan for how it will be used. If the jar will be handled daily, prioritize durable paints and a good sealer. If it is a centerpiece used occasionally, you can focus more on decorative elements like lace, paper flowers, or burlap.
Reader testimonial: “I made two painted jars as bathroom organizers and my first attempt scratched right away. On the second try, I cleaned with rubbing alcohol, used thin coats, and waited two days before sealing. That one still looks new after a month on the counter.”
For kid-friendly add-ons like simple tags and paper toppers that pair well with jar gifts, browse these printable crafts for kids to keep the finishing touches easy and consistent.
Creative Variations and Project Ideas
Here are practical mason jar craft ideas you can make from the same basic techniques, with notes on what to fill them with and how to display them. Pick one theme and make a matching set for a polished look.
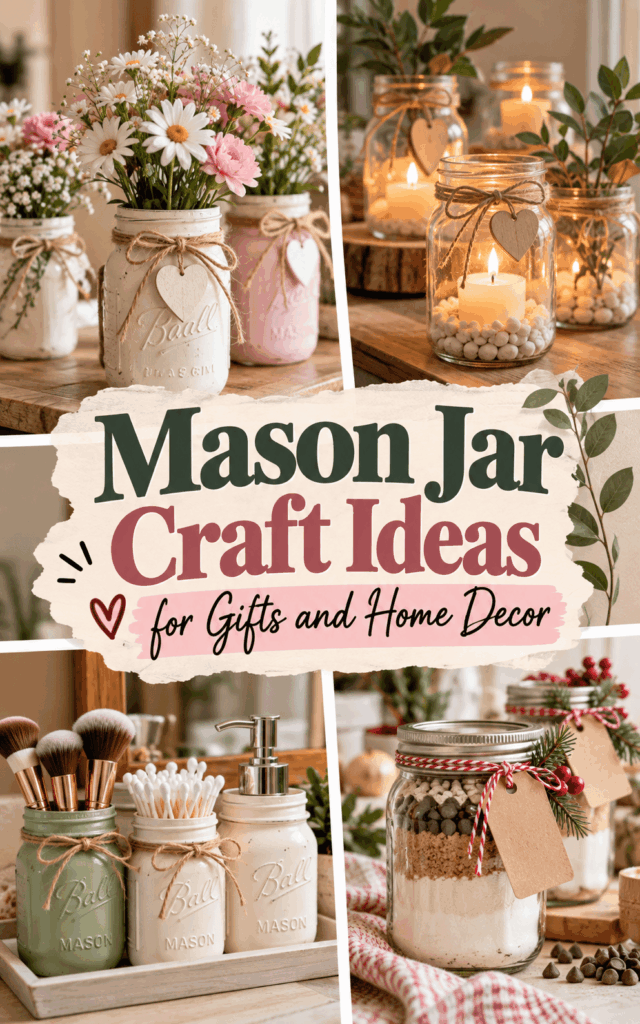
- Rustic twine-wrapped vase: Wrap the lower half in jute twine using tacky glue in small sections. Finish with a simple bow or a small faux sprig. Use for dried florals or silk stems. If using real water, keep twine above the waterline to prevent mildew.
- Bathroom apothecary set: Paint labels directly on the glass with a paint pen or add vinyl words like “cotton,” “swabs,” and “salts.” Seal well and keep the exterior smooth so you can wipe it down.
- Memory jar gift: Decorate the outside minimally, then fill with rolled notes (favorite memories, reasons you appreciate someone, date night ideas). Add a tag with instructions: “Open one whenever you need a boost.”
- LED snow-glow lantern (no flame): Frost the jar with a glass-frost spray or a thin coat of white paint dabbed with a sponge. Add glitter sparingly while tacky, then seal. Place a short string of battery fairy lights inside.
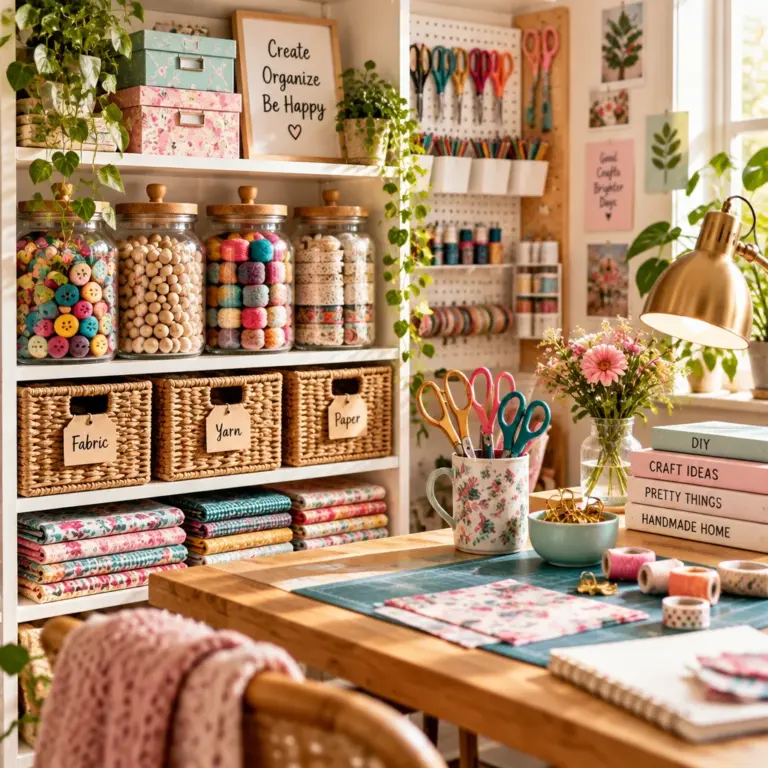
- Craft room organizer: Skip paint on the body, add a neat label, and store buttons, pens, or washi tape. If you mount jars under a shelf using clamps, check weight limits and always predrill safely.
- Holiday gift jars: Use printable gift tags and paper elements for quick personalization. For more seasonal inspiration, see these Christmas crafts for kids for extra decorations you can attach to lids or gift wrap.
The key is to design around function: jars meant for storage need durable finishes, while decorative lanterns can be lighter and more whimsical.
Common Mistakes and How to Avoid Them
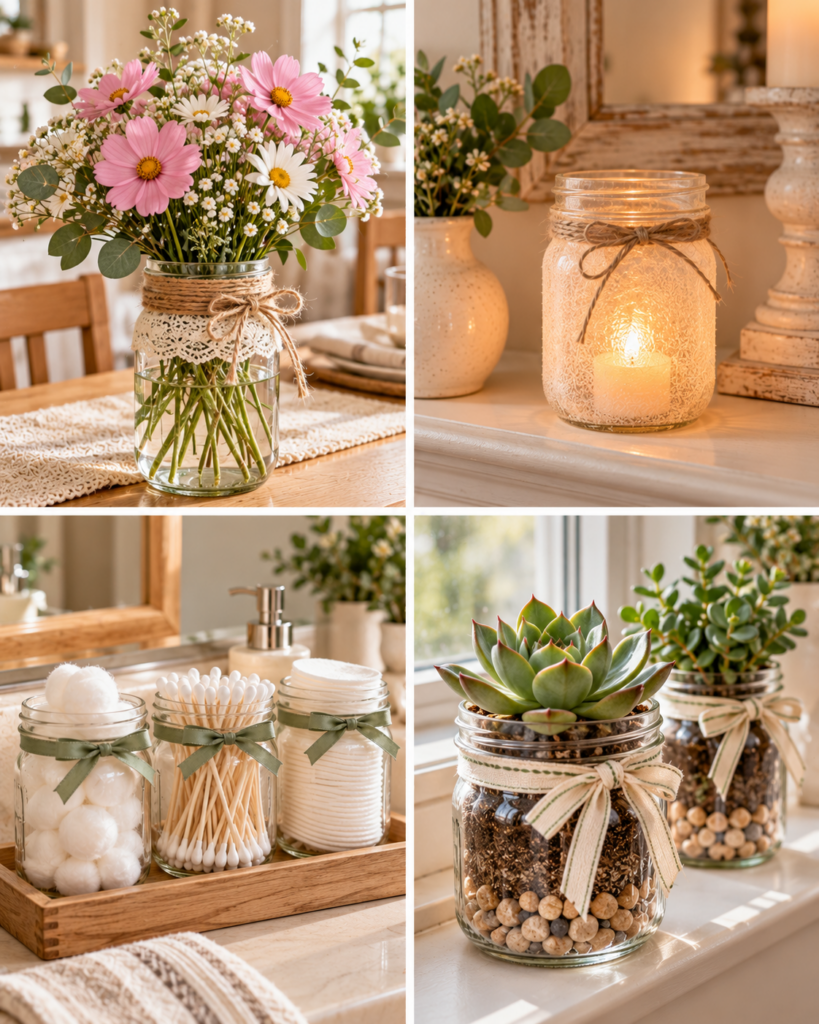
Most problems with mason jar craft ideas come from skipping prep or rushing drying time. Here are the issues I see most often and how to fix them without starting over.
- Paint peels off in sheets. Cause: oily glass or paint not suited for glass. Fix: strip loose paint (warm soapy soak, then gently scrape with a plastic scraper), degrease with alcohol, and repaint using multi-surface or enamel paint. Seal after curing.
- Streaky or blotchy coverage. Cause: thick coats or overworking paint as it dries. Fix: use a foam brush and apply thin coats. Let each coat dry fully before the next.
- Tape lines look jagged. Cause: tape not burnished down or paint seepage. Fix: press tape firmly and use the “seal the edge” trick with the base color first. Remove tape while paint is slightly damp for a cleaner line.
- Hot glue pops off. Cause: smooth glass and temperature changes. Fix: lightly scuff the glue area with very fine sandpaper, wipe clean, then glue. For heavier trims, use a strong clear adhesive designed for multi-surface crafts and allow full cure time.
- Cloudy sealer or sticky finish. Cause: sealing before paint cures, or spraying too heavily. Fix: allow longer drying, then add light coats in low humidity. If it stays sticky, remove sealer with rubbing alcohol (test first), let dry, and reseal lightly.
- Unsafe candle setups. Cause: decorations too close to flame or jar overheating. Fix: switch to LED lights, or keep all decorations below the midpoint of the jar and never leave a flame unattended.
When in doubt, slow down at the cleaning and curing stages. Those steps are not exciting, but they are what makes a handmade jar look store-bought.
Frequently Asked Questions About Mason Jar Craft Ideas for Gifts and Home Decor
What can you make with empty mason jars?
You can make functional organizers (bathroom storage, desk holders, craft supply jars), decor (centerpieces, vases, lanterns with LED lights), and gift projects (memory jars, self-care jars, small “open when” note jars). Many mason jar craft ideas start with the same base techniques: clean the glass, paint or frost the exterior, add a label, then customize the lid with ribbon, fabric, or a tag.
How do you decorate mason jars on a budget?
Start by using what you already have: twine, leftover paint samples, scrap ribbon, and printable tags. Thrift stores often have jars cheaply, and you can simplify by decorating only the neck area (a ribbon wrap plus a nice tag looks intentional). Paper elements are very budget-friendly too, especially if you use printables like these free Christmas craft printables for holiday gifts.
What paint sticks to glass jars?
Multi-surface acrylic paint, enamel craft paint, and paints labeled specifically for glass generally adhere best, especially when the jar is degreased first. Chalk-style paints can work on the outside but often need a protective sealer to reduce scratches. For any painted jar that will be handled often, thin coats, full curing time (24 to 72 hours), and a compatible clear sealer make a noticeable difference in durability.
How do you make mason jar gifts?
Pick a theme that matches the recipient: self-care, office supplies, crafting, or seasonal decor. Decorate the outside simply (paint band, label, or vinyl name), then fill with items that fit neatly and look good through the glass. Add tissue paper or shredded paper for a finished look, and attach a gift tag with a short note and instructions. For kid-made add-ons, check printable crafts for kids for easy tags and toppers.
Can you use mason jars for seasonal decor?
Yes, and it is one of the easiest ways to rotate decor without buying new containers. Keep a set of jars in neutral colors, then swap seasonal accents: faux greenery and pinecones in winter, pastel ribbon in spring, bright florals in summer, and plaid bows in fall. LED fairy lights make quick seasonal lanterns. If you are crafting around the holidays, pair jars with Christmas paper crafts to make for coordinated tags and tabletop decor.
How do you clean jars before crafting?
Wash with warm water and dish soap, then remove labels by soaking. After the jar is dry, wipe the surface you will paint or glue with rubbing alcohol to remove any remaining oils and residue. This “degrease step” is crucial for paint adhesion on glass. If you plan to paint inside the jar (less common for beginners), clean the interior equally well and remember to keep that jar for decorative use only afterward.
Final Thoughts
Mason jar craft ideas work so well because they combine a sturdy base with endless ways to personalize: paint, frost, labels, ribbons, lights, and practical fillings. Start with one jar and one purpose, follow the cleaning and thin-coat painting process, and give your project enough cure time to stay durable. Once you have a finish you love, batch-make a matching set for gifts or a coordinated shelf display. For more inspiration beyond this guide, browse Mason Jar Crafts – Sadie Seasongoods and then pick one idea to complete this week. Your next step: choose a jar size, select a color palette, and prep the glass today so crafting tomorrow feels easy.