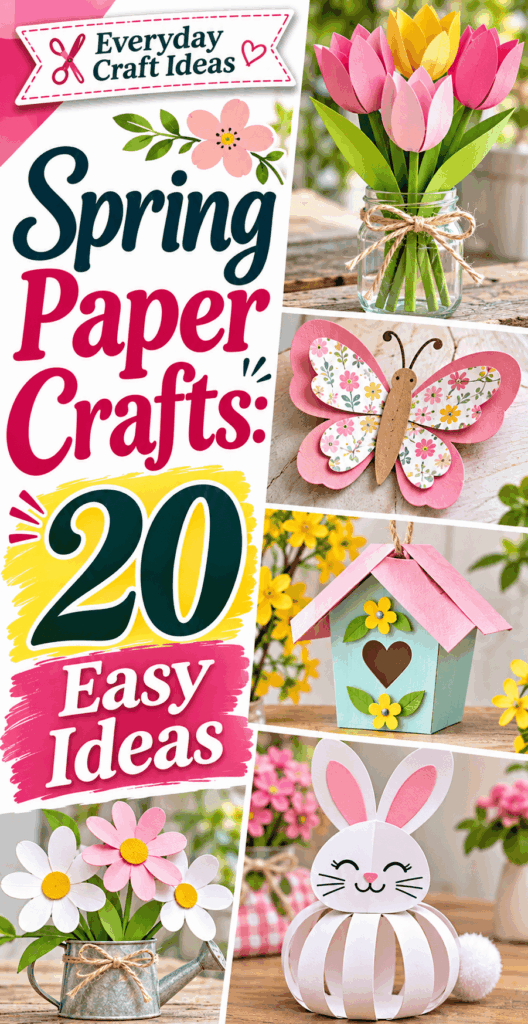
Spring Paper Crafts: 20 Easy Ideas
Spring paper crafts are one of the easiest ways to refresh your home, make cheerful gifts, or keep kids busy on rainy afternoons without buying complicated tools. With a few basics like colored paper, scissors, and glue, you can create bright tulips, fluttery butterflies, window sun catchers, and delicate garlands that look surprisingly polished. In this guide, you will get 20 beginner-friendly ideas plus practical tips for cutting, folding, and assembling pieces so your projects actually hold together. If you are crafting with mixed ages, you may also like these spring craft ideas for kids, and if you want more grown-up decor options, browse these spring crafts for adults. Let’s turn simple paper into springtime decor you will be proud to display.
What you need to get started
Most spring paper crafts use the same core toolkit, and having it ready makes crafting feel relaxing instead of chaotic. Start with a protected work surface, good lighting, and a small container for scraps so you are not constantly clearing the table. Choose papers that match your goal: lightweight paper for folding, sturdier cardstock for items that must stand up, and translucent sheets for windows.
- Paper basics: construction paper (easy for kids), cardstock (great for 3D decor), patterned scrapbook paper (quickly makes projects look “finished”), and tissue paper (best for fluffy blossoms).
- Cutting tools: kid-safe scissors for children, sharp craft scissors for detail work, and a metal ruler for straight lines. If you use a craft knife, pair it with a self-healing mat and adult supervision.
- Adhesives: glue stick for flat layers, white school glue for stronger bonds, and double-sided tape for clean, fast assembly. A mini stapler helps with garlands and paper chains.
- Optional helpers: bone folder (or the back of a spoon) for crisp creases, hole punch for hanging, and markers for shading or details.
Choosing spring paper craft supplies
Pick supplies based on where the project will live. For a mantel garland, cardstock resists curling better than thin paper. For window decorations, try translucent vellum, tissue, or cellophane sheets so the light can shine through. If you are making flowers, crepe paper stretches and shapes beautifully, while plain construction paper makes sturdier petals for kids’ projects.
Color matters more than people think. To avoid a “flat” look, choose two or three tones of the same color family, like pale pink, medium pink, and a deep berry for shadows. Also keep a neutral on hand (white, kraft brown, or soft gray) to balance bright spring colors. Finally, store paper flat and dry. Humidity can warp it, which makes folding and gluing frustrating.
20 ideas and projects to try
Below are 20 spring paper crafts you can mix and match. Most can be done with basic supplies and scaled up or down depending on time and attention span. If you like seasonal crafting year-round, you might also enjoy these Christmas paper crafts later in the year, because many of the folding and garland skills carry over.
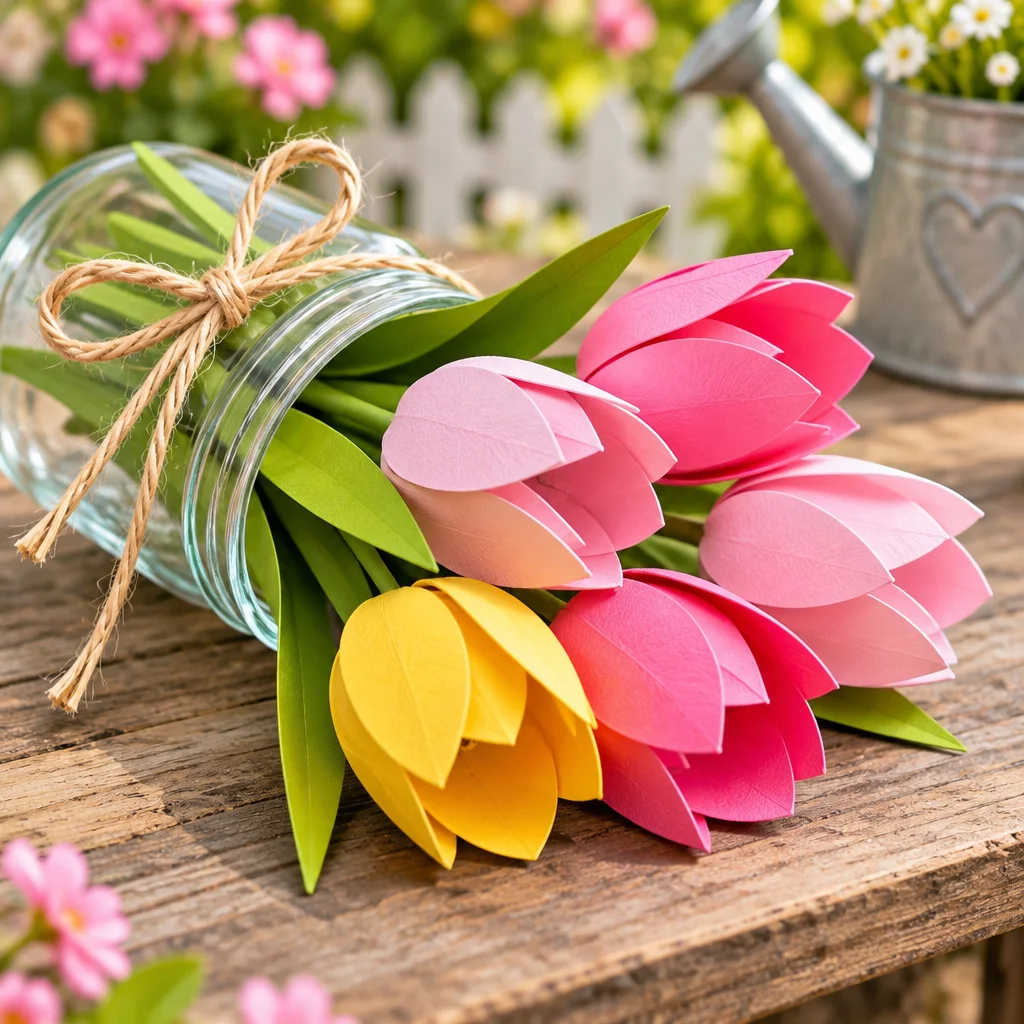
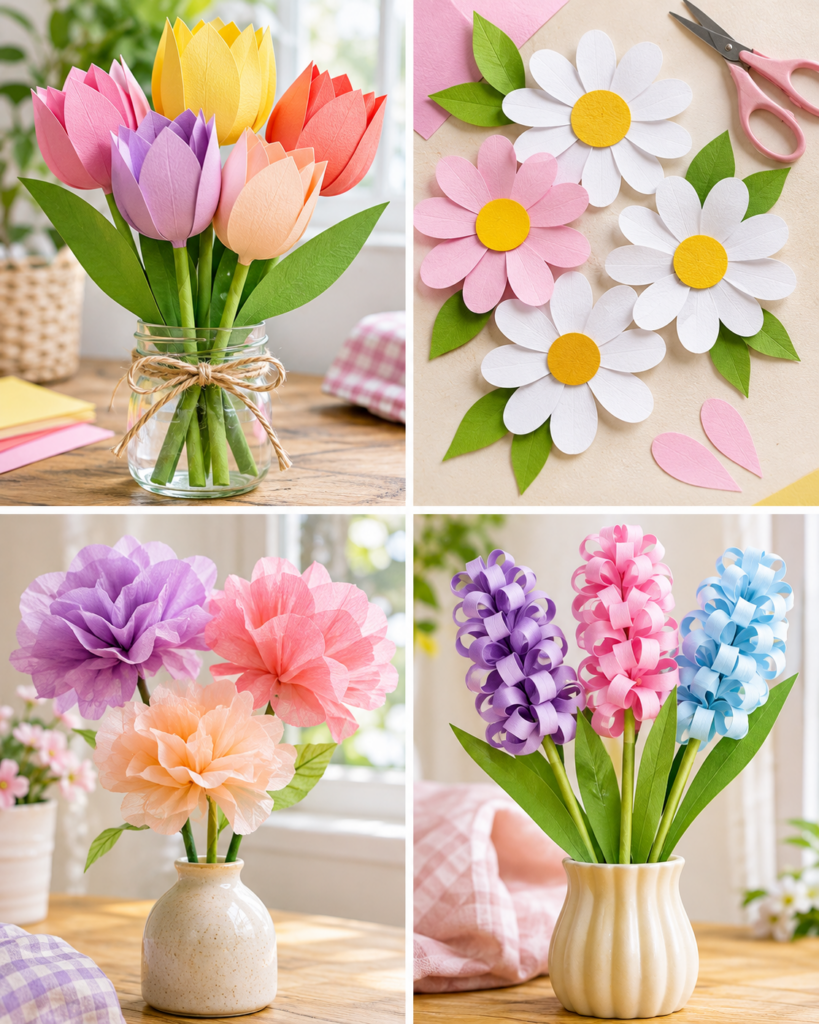
- Paper tulip bouquet: folded petals around a straw or floral wire stem.
- Daffodil cups: trumpet centers made from rolled strips.
- Hyacinth cone blooms: snipped fringe wrapped around a cone.
- 3D cherry blossoms: layered five-petal shapes with a curled center.
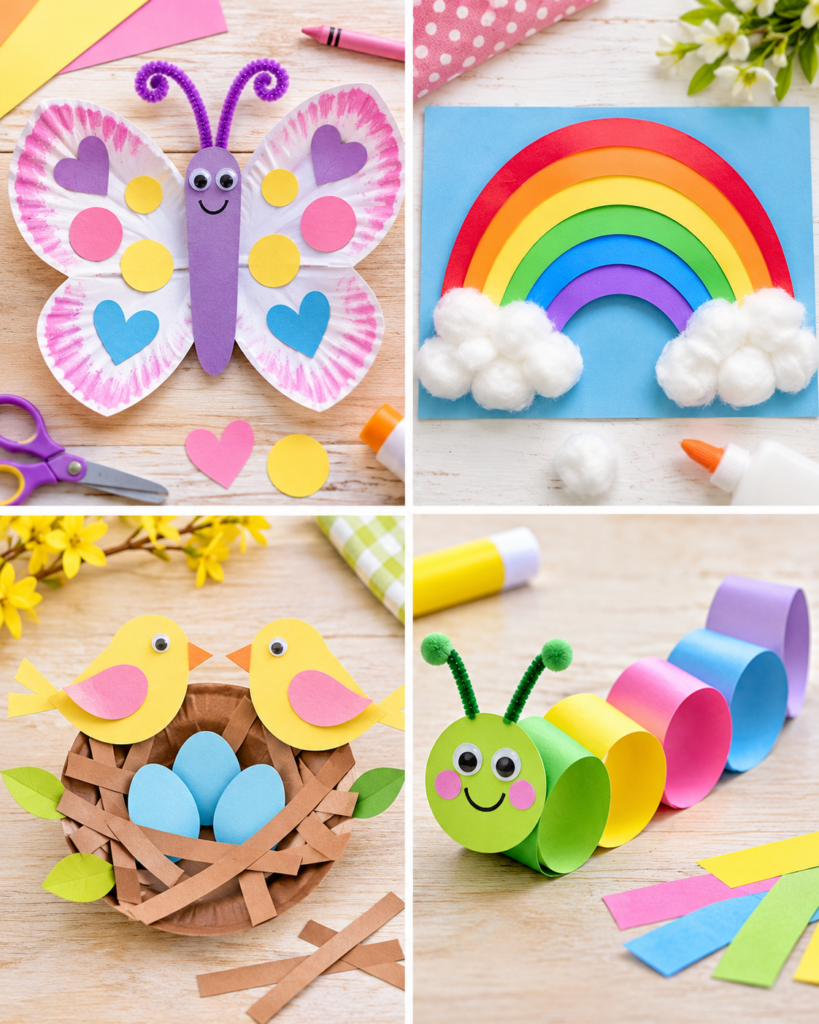
- Butterfly wall swarm: folded wings for a lifted 3D effect.
- Ladybug corner bookmarks: cute and practical for spring reading.
- Bird silhouettes on branches: great for framed art or banners.
- Paper birdhouses: small favor-box style houses with roof tabs.
- Flower garland: repeated blooms strung with twine or ribbon.
- Leaf bunting: simple leaf shapes in two greens for depth.
- Accordion paper fans: easy party decor in pastel colors.
- Pinwheel picks: for planters, centerpieces, or gift toppers.
- Paper kite mobiles: diamond shapes with ribbon tails.
- Rain cloud and raindrops hanging: great for classroom themes.
- Bee and flower wreath: paper rings plus layered embellishments.
- 3D paper blossoms (rolled roses): spiral-cut flowers that look elegant.
- Seed packet gift tags: faux “packets” for labeling gifts.
- Window sun catchers: tissue mosaic inside a cut-out frame.
- Spring lantern wraps: vellum sleeves for LED tea lights.
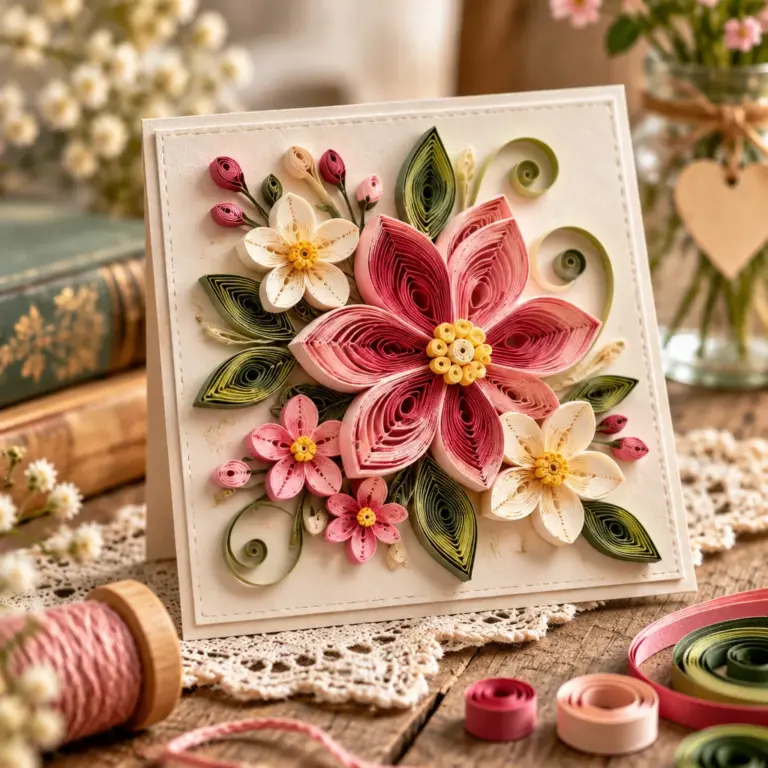
- Pop-up spring cards: tulips or butterflies that lift when opened.
Paper tulips, butterflies, birds, flower garlands, 3D blossoms and window decorations
If you want a balanced set of projects, choose one from each “category.” Tulips and 3D blossoms give you table decor. Butterflies and birds add movement on walls or in a mobile. Garlands quickly fill a room for parties. Window decorations make the most impact for the least effort, especially if you place them where afternoon light hits.
For a cohesive look, repeat one element across projects, like the same pastel palette or the same style of outlining (thin black marker, white gel pen dots, or simple paper layering). When you display several spring paper crafts together, consistency reads as intentional, even when each piece is simple.
How to make and customize the projects
The best part about spring paper crafts is how forgiving they are. If a petal looks uneven, you can trim it. If a garland feels sparse, add more shapes. Use the guidance below to assemble sturdy pieces and personalize them for your space.
Easy kid projects versus adult paper decor
For kids, focus on big shapes and simple joins. Glue sticks, tape runners, and pre-cut pieces reduce frustration. Great kid-friendly wins include butterflies, ladybug bookmarks, paper fans, and tissue sun catchers. For adults or teens who want a cleaner finish, switch to cardstock, use a ruler for folds, and hide seams with layered “cover” pieces like leaf bases, flower centers, or small banner tabs.
If you are crafting as a group, set up stations: one for cutting, one for folding, one for gluing. This speeds up assembly and keeps glue from getting onto scissors and making them sticky. Also consider making “kits” in zip bags with pre-counted petals, centers, and stems. That small prep step prevents the classic problem of having ten flowers but only six centers.
Templates, folding and cutting techniques
Use these core techniques across almost all 20 ideas. The steps are written so beginners understand not just what to do, but why it works.
- Make or print a template: Draw one clean shape on scrap cardstock (petal, butterfly wing, leaf). A stiff template traces faster and keeps sizes consistent, which matters for garlands and bouquets.
- Stack-cut for speed: Clip 3 to 6 sheets together (fewer for thick cardstock). Cut through the stack slowly. This keeps repeated shapes identical and reduces time.
- Score before folding: Lightly crease along a ruler using a blunt edge (bone folder or the back of a butter knife). Scoring prevents cracking and gives crisp folds for fans, kites, and pop-up cards.
- Shape with gentle curl: Run a petal over a pencil or the closed blade of scissors (adult-only) to curve it. Curving creates dimension, especially for tulips and rolled roses.
- Choose the right adhesive for the joint: Use glue stick for large flat areas, white glue for tabs or stems, and double-sided tape for instant grab. Too much liquid glue warps paper, so apply thinly.
- Lock 3D forms with tabs: Small tabs folded inward make cones, lantern wraps, and birdhouses stronger than edge-to-edge gluing.
- Finish with a center or cover strip: Flower centers, butterfly bodies, and banner top strips hide seams and make projects look neat.
Supplies, cost, time and skill level
Most spring paper crafts are low-cost because paper is inexpensive and leftovers are usable. For an average home crafter, expect to spend $10 to $25 to stock basics if you do not already have them, mainly on scissors, glue, and a variety pack of paper. After that, each project is often less than a dollar, especially if you reuse scraps for centers, beaks, or tiny details.
Time estimates: quick projects like bookmarks, butterflies, and simple garlands take 15 to 30 minutes. A fuller tulip bouquet or wreath may take 60 to 120 minutes depending on how many pieces you build. Pop-up cards land in the middle because careful measuring saves rework.
Skill level: beginners do best with flat crafts first, then move to light 3D: cones, accordion folds, and rolled spirals. Advanced skills like intricate paper cutting are optional. If you are selling items at fairs later, many of these techniques also apply to seasonal inventory. For inspiration, these Christmas crafts to sell show how consistent finishing can raise perceived value.
Beginner mistakes and troubleshooting
- Paper warping: Usually too much liquid glue. Switch to a glue stick for flat areas or apply white glue with a toothpick. Press under a book with a clean sheet of paper for 5 minutes.
- Messy edges: Dull scissors tear paper. Sharpen or replace, and cut with the blades fully open for smoother curves.
- Garland twists or droops: Use evenly spaced holes and a stiffer string like baker’s twine. Add small paper “spacers” between shapes if they bunch up.
- 3D flowers won’t hold shape: Curl petals before gluing and let each layer set briefly. For rolled roses, keep tension consistent and glue the base firmly.
- Pop-up card collapses: The fold must be scored and aligned. Test the mechanism with scrap paper first, then rebuild neatly on the final cardstock.
“I tried the butterfly wall swarm with my 7-year-old using only construction paper and a glue stick. The tip about scoring folds made a huge difference. The wings looked crisp instead of crumpled, and we finished a whole ‘flight’ of butterflies in one afternoon.”
Frequently Asked Questions About Spring Paper Crafts: 20 Easy Ideas
What can I make with paper in spring?
You can make flowers (tulips, daffodils, cherry blossoms), insects (butterflies, bees, ladybugs), birds, kites, and bright party decor like garlands and fans. Spring paper crafts also work well for practical items like bookmarks, gift tags, and greeting cards. If you want projects that double as activities for younger kids, keep the shapes larger and focus on coloring, folding, and simple layering.
How do you make paper flowers?
Most paper flowers follow the same formula: cut petals, shape them, and assemble around a center. Start by choosing paper weight. Cardstock makes crisp petals, tissue makes soft ruffles, and crepe paper shapes beautifully. Curl petals around a pencil for dimension, then glue them in layers, smallest to largest. Finish with a center circle, fringed strip, or a few tiny punched dots to hide seams and add realism.
Which spring paper crafts are easy for kids?
Look for projects with minimal measuring and few parts: butterflies, paper fans, ladybug corner bookmarks, simple tulips with oval petals, and tissue-paper window mosaics. Pre-cut the trickiest pieces (like tiny antennae) and offer glue sticks instead of liquid glue to reduce mess. If scissors skills are still developing, provide wide strips and let kids snip fringe, which feels fun and builds control.
What glue works best for paper crafts?
A glue stick is the cleanest choice for flat layering like garlands and card fronts. White school glue is stronger for tabs, cones, and rolled flowers, but apply it sparingly to prevent warping. Double-sided tape is excellent for instant bonding, especially when you need crisp edges on pop-up cards or window frames. If kids are crafting, avoid hot glue unless an adult is operating the glue gun.
How do I keep paper decorations from fading or bending?
To reduce fading, keep bright paper decor out of direct sun for long periods, especially in south-facing windows. For bending and curling, use thicker paper like cardstock for hanging pieces and store finished items flat in a shallow box. If you must hang thin paper, add a second layer or a narrow backing strip. Lightly pressing curled items under a book can help them relax overnight.
Can I use these ideas for classrooms or parties?
Yes. For classrooms, choose assembly-line-friendly projects like leaf bunting, kites, paper birds, or tissue mosaics. For parties, go bigger: oversized paper flowers, long garlands, and accordion fans create impact quickly. Prep kits ahead of time with pre-cut shapes and labeled bags. If you need more holiday group-craft ideas later, these Christmas crafts for kids use similar stations and time-saving setup.
Final tips and next projects
Keep your spring paper crafts successful by simplifying choices: pick one color palette, repeat a few shapes, and focus on clean folds and light glue. If something looks “off,” add a small center piece, outline detail, or extra leaf to hide seams and make the design feel intentional. Save your templates in a folder so next time you can jump straight to cutting and assembly. For your next round of seasonal crafting, try scaling up what you enjoyed most: turn one tulip into a full bouquet, one butterfly into a whole wall display, or one window sun catcher into a set. When you are ready to branch out, these paper craft ideas for Christmas are a fun way to reuse your new skills all year.