Easy Knit Scarf Pattern for Beginners
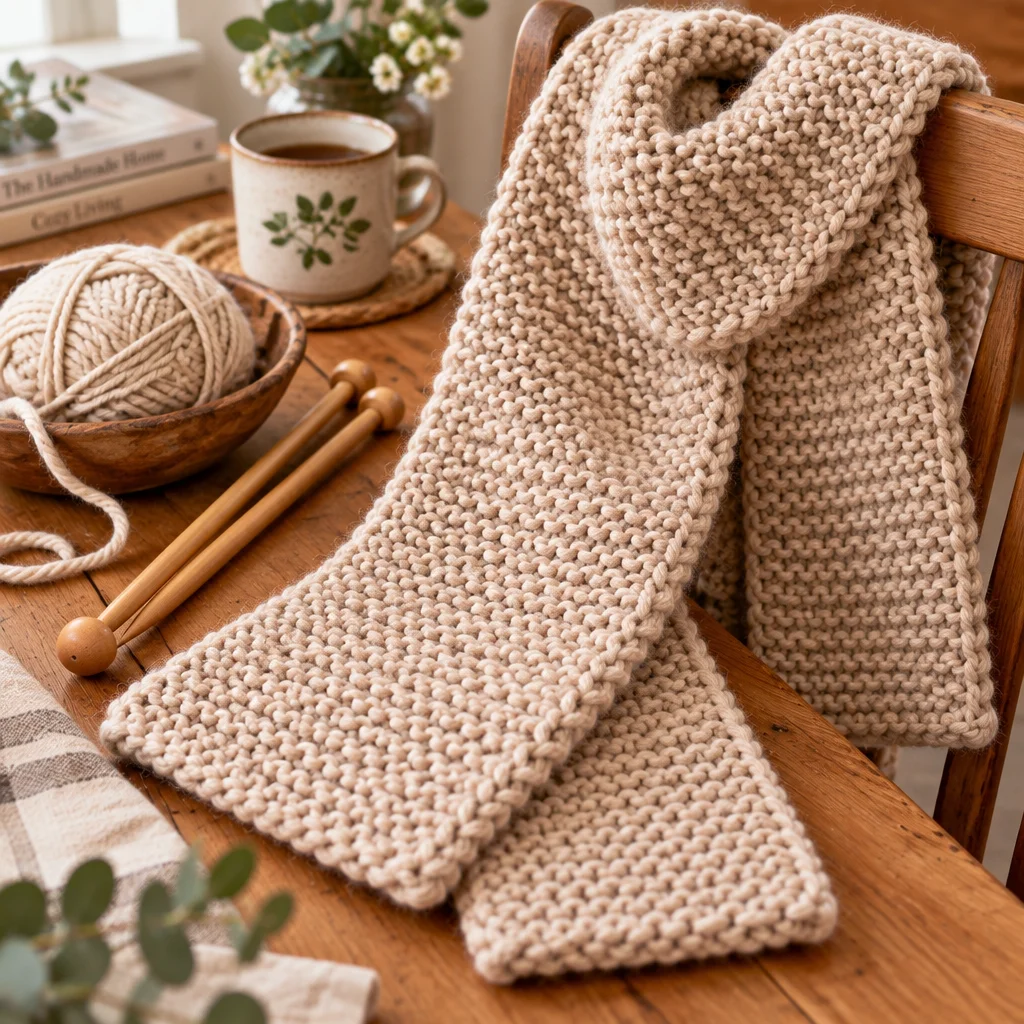
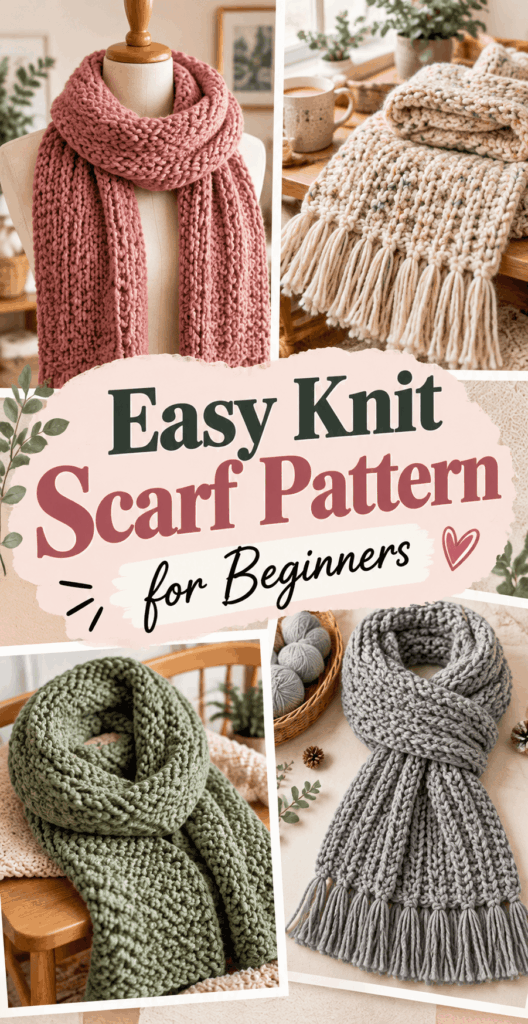
If you are searching for an easy knit scarf pattern that actually works for first time knitters, you are in the right place. A scarf is the classic “I made this!” project because it is practical, forgiving, and easy to size up or down without complicated shaping. In this tutorial, you will learn a beginner-friendly stitch, how to cast on and bind off neatly, and how to keep your edges looking tidy so your scarf feels polished, not homemade in the frustrating way.
This pattern creates a cozy, squishy scarf using only the knit stitch (garter stitch), which means you can knit the whole scarf without worrying about purling. If you also like simple beginner crafts, you might enjoy this easy crochet bookmark pattern for a quick win, or this easy crochet dishcloth pattern to practice tension and edges on a smaller square.
What You Need to Know Before Starting
This easy knit scarf pattern is designed for beginners who know (or are learning) the basic motions: casting on, knitting, and binding off. The stitch pattern is garter stitch, meaning you knit every row. Garter stitch is beginner-friendly because it lies flat, stretches nicely, and hides small tension inconsistencies that are normal when you are new.
Difficulty level: Beginner. If you can make a knit stitch, you can make this scarf.
Estimated time: About 6 to 15 hours depending on your speed, yarn weight, and how long you want the scarf. Many beginners like to work in short sessions across a week or two.
Finished size: Adjustable. A great first scarf is about 6 to 8 inches wide and 55 to 70 inches long. Width is controlled by how many stitches you cast on. Length is controlled by how many rows you knit.
Why this pattern works: There is no shaping, no increases or decreases, and no complicated counting once you are started. Your main job is to keep a steady rhythm and learn what “even tension” feels like.
Before you begin: Plan where you will knit. Good lighting helps you “read” your stitches. If you have pets, keep yarn away from chewing and tangling. Take breaks to avoid hand strain, especially when you are new and gripping needles tightly.
Supplies, Tools, and Material Choices
The materials you choose can make this easy knit scarf pattern feel effortless or frustrating. For a first scarf, prioritize yarn that is smooth, medium-thick, and not fuzzy. Novelty yarns can be beautiful, but they hide stitches and make it hard to fix mistakes.
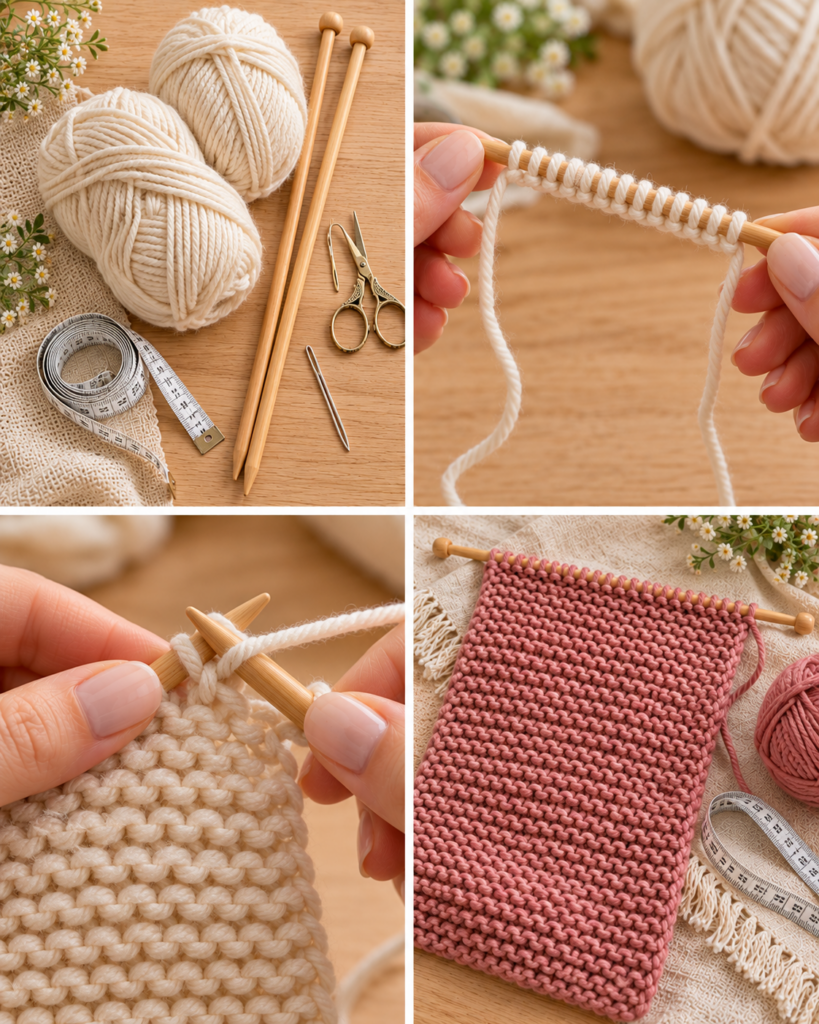
- Yarn: Worsted weight (category 4) is the sweet spot for most beginners. Choose a light or medium color so you can see each stitch. Plan on 250 to 400 yards for an adult scarf depending on length and width.
- Knitting needles: US size 8 (5 mm) is a reliable starting point for worsted yarn. Straight needles work fine, but circular needles (even when knitting flat) hold the weight better as your scarf grows.
- Tapestry needle: For weaving in yarn tails securely so your scarf survives washing and wearing.
- Scissors: Any sharp craft scissors for clean snips.
- Measuring tape or ruler: Useful for checking width and stopping at the length you want.
- Optional stitch markers: Place one at each edge to remind you not to accidentally add or drop stitches.
About fiber: Acrylic is affordable, washable, and beginner-proof. Wool is warm and elastic, which can help your tension, but it may require gentler washing. Cotton tends to feel heavier and can show uneven tension more, so it is not always the easiest first-scarf choice.
How to Make or Use It (Clear Beginner-Friendly Tutorial)
This section walks you through the complete easy knit scarf pattern step by step. The pattern is garter stitch: knit every row. That is it, but the details below help you get clean edges, consistent width, and a scarf that looks finished.
- Choose your scarf width and cast on. For a beginner scarf, cast on 26 to 34 stitches with worsted yarn and US 8 needles. Fewer stitches makes a narrower scarf; more stitches makes it wider. Use the long-tail cast-on if you know it because it creates a neat, stretchy edge. Leave a 6 to 8 inch tail for weaving in later.
- Row 1: Knit across. Insert the right needle into the first stitch, wrap yarn, and pull through. Repeat across the row. Count your stitches at the end of the row. This is how you catch accidental extra stitches early.
- Turn your work and knit every row. Keep knitting each row (garter stitch). Try to keep the yarn tension consistent: not so tight that stitches are hard to insert into, and not so loose that the fabric looks holey.
- Use an edge habit to keep sides tidy. Beginners often like: knit the first stitch, then knit normally to the end. Another simple option is to slip the first stitch purlwise with yarn in front, then knit to the end. If you choose one, stick with it for the whole scarf for consistent edges.
- Measure length as you go. Stop when your scarf reaches 55 to 70 inches, or your preferred length. A quick fit-check: wrap it once around your neck and see if the ends hang where you like.
- Bind off loosely. A tight bind-off makes the scarf end pucker. Bind off in knit: knit two stitches, pass the first stitch over the second, knit one more, pass over again, repeating to the end. If it feels tight, go up one needle size just for binding off.
- Weave in ends securely. Thread the tapestry needle and weave the tail through the back “bumps” of several stitches, changing direction once to lock it in. Trim close, but do not cut so short that the tail slips out.
- Optional: Block your scarf. Blocking helps the scarf relax and look more even. For acrylic, use a gentle wash and lay flat to dry. For wool, follow the label, press moisture out in a towel, then lay flat to shape.
If you want another knit-only approach, the linked pattern Easy Free Knit Scarf Pattern with No Purling – Otherwise Amazing is a helpful comparison because it keeps skills beginner-friendly while still creating great texture.
Helpful Tips for Better Results
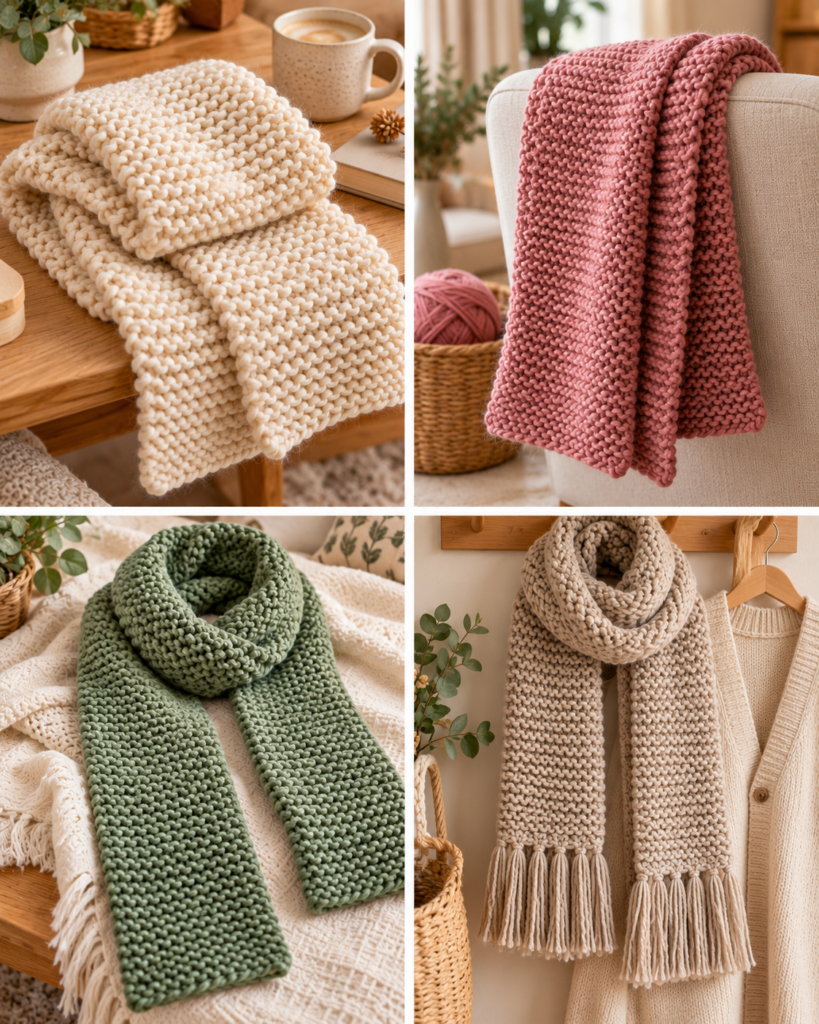
The difference between a “first scarf” and a scarf you are proud to gift often comes down to a few small habits. Use these tips alongside the easy knit scarf pattern above to get smoother fabric and straighter edges.
- Count stitches for the first 10 rows. Most beginners accidentally add stitches by knitting into the yarn between stitches, or lose stitches by dropping an edge stitch. Early counting prevents a trapezoid scarf.
- Watch your edge stitches. The first and last stitch of every row are where mistakes happen. Slow down at the edges and make sure the working yarn is in the correct position before you knit.
- Relax your grip. If your hands cramp or stitches feel impossible to insert into, you are knitting too tightly. Loosen your hold, take breaks, and consider bamboo or wood needles for more “grip” with less strain.
- Fix mistakes sooner. If you see a strange hole or a missing “bump” in garter stitch, stop and investigate. It is easier to undo a few rows than to ignore it and feel unhappy with the finished scarf.
- Join a new yarn ball neatly. Leave 6 inch tails and weave them in later rather than knotting. Knots can loosen and create uncomfortable lumps.
Reader “I tried an easy knit scarf pattern after failing at a hat, and the knit-every-row approach finally clicked. Counting my stitches for the first few inches kept the sides straight, and binding off loosely made the ends match. I finished in a week of evening knitting and actually wear it.”
Creative Variations and Project Ideas
Once you finish your first easy knit scarf pattern, you can change the look dramatically without adding much difficulty. Variations are also a smart way to make a scarf feel custom and gift-worthy.
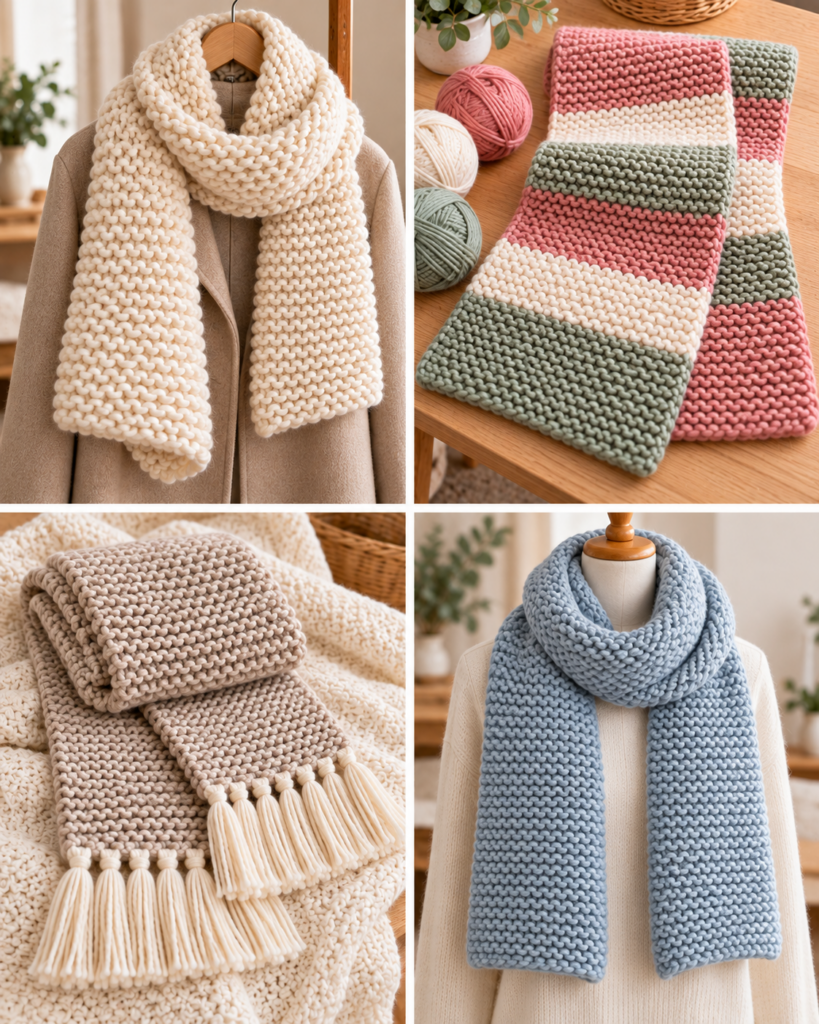
- Striped scarf: Alternate colors every 6 to 12 rows. This hides minor tension changes and makes the project feel more interesting. When switching colors, carry the unused yarn up the side if stripes are wide enough, or cut and weave ends for cleaner edges.
- Chunky quick scarf: Use bulky yarn (category 5) with US 10 to 11 needles. You will get a plush scarf faster, but be extra mindful of binding off loosely because bulky fabric can tighten easily.
- Skinny fashion scarf: Cast on fewer stitches (around 16 to 20 in worsted) for a lighter accessory. Great for mild climates.
- Add fringe: Cut strands about 10 to 12 inches long, fold in half, and attach through edge stitches with a crochet hook or your fingers. Fringe is forgiving and can hide slightly uneven ends.
- Matching gift set idea: Pair your knitted scarf with a small add-on craft like a yarn embellishment from this easy crochet flower pattern to create a cute pin or bag charm. If you also sew, a handmade wrap apron from this easy apron sewing pattern makes a thoughtful “cozy crafts” gift bundle.
These ideas keep the same foundation while helping you practice finishing skills like neat color changes and secure weaving.
Common Mistakes and How to Avoid Them
Almost everyone hits a few bumps with an easy knit scarf pattern. The good news is that most scarf problems are simple to diagnose once you know what to look for.
- Problem: Scarf gets wider or narrower. Usually caused by adding or dropping stitches at the edges. Fix it by counting stitches every few rows and paying attention to the last stitch. Use edge markers to remind you where the row begins and ends.
- Problem: Edges look loopy or messy. This often comes from inconsistent tension on the first or last stitch. Slow down on the edges and keep the yarn snug (not tight) when completing the last stitch of a row.
- Problem: Fabric feels stiff. Tight tension is common for beginners. Try going up one needle size, or practice knitting with relaxed hands. Stiffness can also happen with certain cottons.
- Problem: Holes appear randomly. This can happen if you accidentally yarn over (wrap yarn over the needle without intending to) or if you split the yarn plies and only knit part of the strand. If you see a hole, unravel a row or two and redo it carefully.
- Problem: Bind-off edge is tighter than cast-on. Bind off with a larger needle or consciously keep each bind-off step loose. A tight bind-off makes the scarf end look pinched.
Remember that garter stitch is forgiving. Small inconsistencies often block out, and your knitting will visibly improve over the length of the scarf.
Frequently Asked Questions About Easy Knit Scarf Pattern for Beginners
Can beginners knit a scarf?
Yes, a scarf is one of the best first knitting projects because it is a simple rectangle. This easy knit scarf pattern only requires casting on, knitting, and binding off. You will get lots of repetition, which is exactly how muscle memory develops. Even if your first inches look uneven, your hands learn quickly, and the scarf becomes a record of your progress.
Which stitch is easiest for a scarf?
Garter stitch is widely considered the easiest scarf stitch because it uses the knit stitch on every row. It also lies flat, so you do not have to fight curling edges. That is why garter stitch is the base of this easy knit scarf pattern. Once you feel confident, you can explore ribbing or seed stitch, but garter stitch is a strong starting point.
What yarn and needles work for a first scarf?
Worsted weight yarn with US size 8 (5 mm) needles is a comfortable beginner combination. Choose a smooth, light-to-medium colored yarn so you can see each stitch clearly. Avoid very fuzzy yarns at first because they make it harder to spot mistakes and to unravel. If you want a faster project, bulky yarn and larger needles can work, but your tension control matters more.
How wide should a beginner scarf be?
A good beginner scarf width is about 6 to 8 inches. With worsted yarn, that often lands around 26 to 34 stitches, depending on your personal tension and needle choice. If you want a narrower scarf, cast on fewer stitches. If you want a cozier wrap, add more. The beauty of an easy knit scarf pattern is that you can customize width without changing the stitch.
How long does knitting a scarf take?
Time varies based on yarn thickness, scarf size, and your speed. Many beginners take 6 to 15 hours of knitting time for a worsted-weight scarf. Chunky yarn can cut that down significantly. If you knit for 30 to 60 minutes a day, you can often finish within one to two weeks. The first scarf is also practice, so give yourself permission to go slowly and enjoy it.
How do you stop scarf edges from curling?
Use a stitch that naturally lies flat, such as garter stitch, which is what this easy knit scarf pattern uses. Curling is most common in stockinette stitch (knit one row, purl one row). If you later choose stockinette, add a border like garter stitch or ribbing, and block the finished scarf. For beginners, choosing garter stitch is the simplest, most reliable solution.
Final Thoughts
Making your first scarf is a big milestone, and this easy knit scarf pattern is intentionally built to help you succeed with calm, repeatable steps. Pick a smooth yarn you love, cast on a beginner-friendly width, and focus on steady tension and neat edges. When you bind off loosely and weave in ends carefully, your scarf will look clean and feel comfortable for everyday wear.
If you want more knit-only inspiration, bookmark the comparison pattern Easy Free Knit Scarf Pattern with No Purling – Otherwise Amazing and try it next to see how small design changes create new texture. Your next step: choose your yarn, cast on tonight, and knit the first 10 rows slowly while counting stitches. That small start is usually all it takes to build momentum.