Craft Room Organization Ideas for Small Spaces
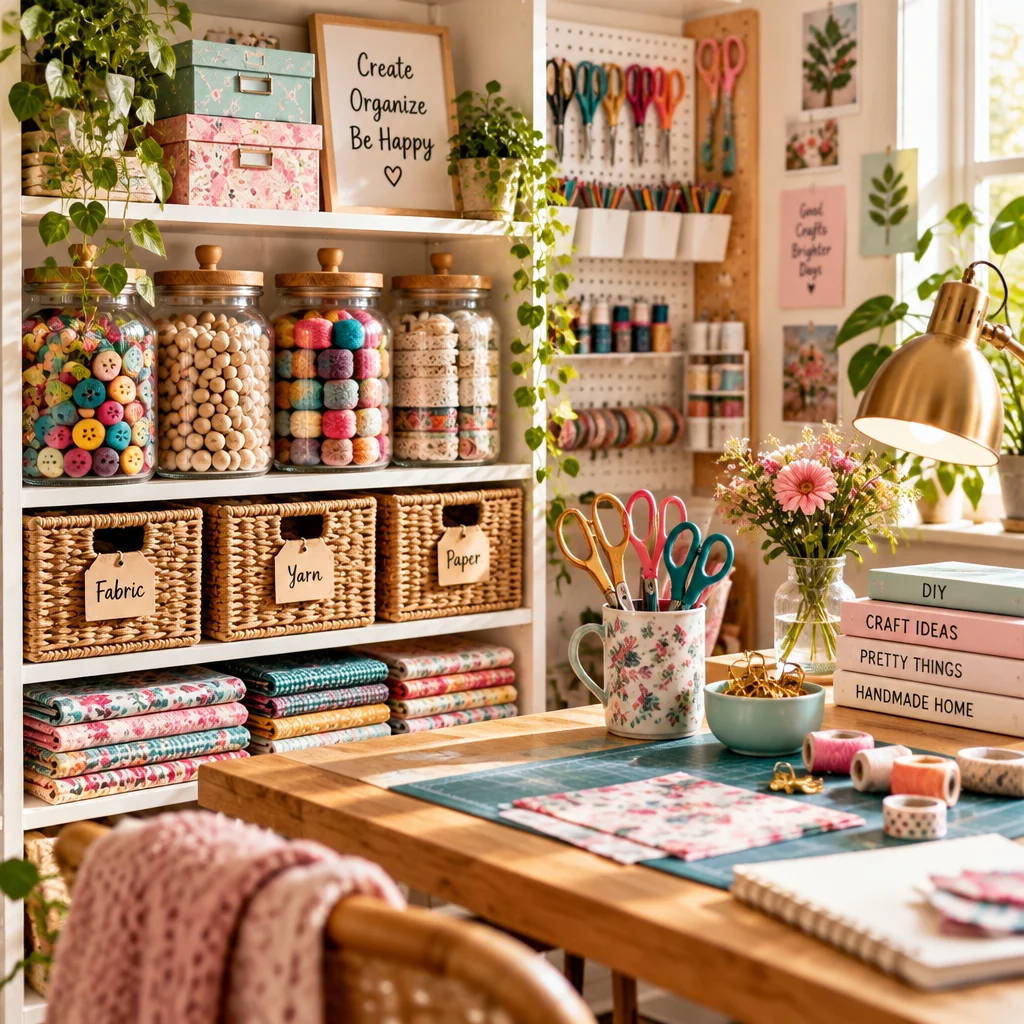
If you are searching for craft room organization ideas that actually work in a small space, you are in the right place. The goal is not a picture-perfect room that only looks tidy for five minutes. It is a setup where you can sit down, find what you need quickly, and clean up without losing your motivation. With a few smart storage choices and a simple system, even a corner of a bedroom or dining room can become a calm, functional craft zone.
In this guide, I will walk you through planning your layout, choosing the right containers, setting up a small crafting station, and keeping supplies under control. If your small space also doubles as a family craft area, you may like rotating kid-friendly projects like printable crafts for kids or seasonal activities from Christmas paper crafts to make because they store flat and clean up fast.
What You Need to Know Before Starting
Before buying bins or drilling holes, take 20 minutes to define how you actually craft. The best craft room organization ideas are personalized to your habits, not someone else’s shelves. Start by listing your main craft types: paper crafts, sewing, Cricut or cutting machine projects, jewelry, painting, or kid crafts. Each category needs a different style of storage. Paper wants flat protection, yarn wants airflow and snag prevention, and wet supplies like paint need leak-resistant containers.
Next, measure your available space and identify “dead zones” you can use. In small rooms, the most valuable storage is vertical: walls, doors, and the back of a closet. Also note your workflow. You want a simple triangle between (1) work surface, (2) tools you grab constantly, and (3) materials storage. If you have to stand up five times to find scissors, your setup will never feel easy.
Finally, choose your “reset level.” A realistic reset is what you can do in 5 minutes: return tools to a cup, slide paper into a tray, close a bin. Build your system around that 5-minute cleanup so it lasts beyond day one.
Supplies, Tools, and Material Choices
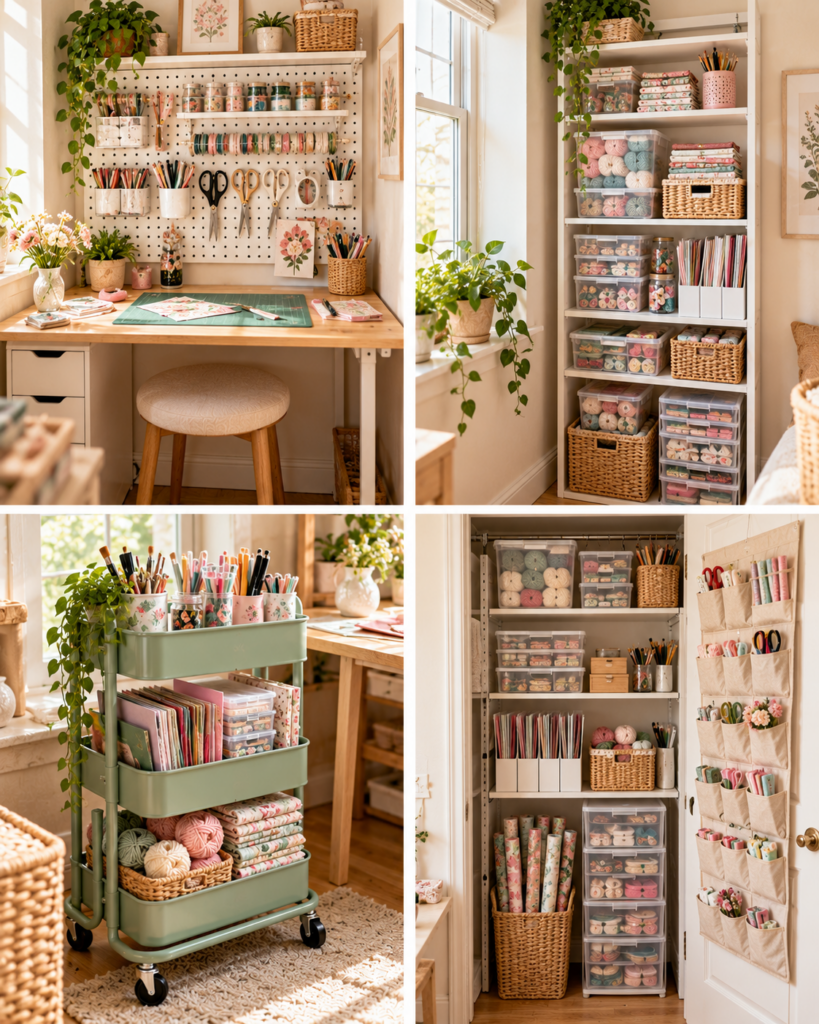
You can implement these craft room organization ideas with items you may already own. The best supplies are modular, easy to label, and sized to your shelves. If you are shopping, focus on containers that stack securely and fit your most common materials.
- Clear, lidded bins (shoebox and sweater box sizes): Great for grouping categories like “gift wrap,” “felt,” or “beads.” Clear sides reduce rummaging, and lids keep dust out.
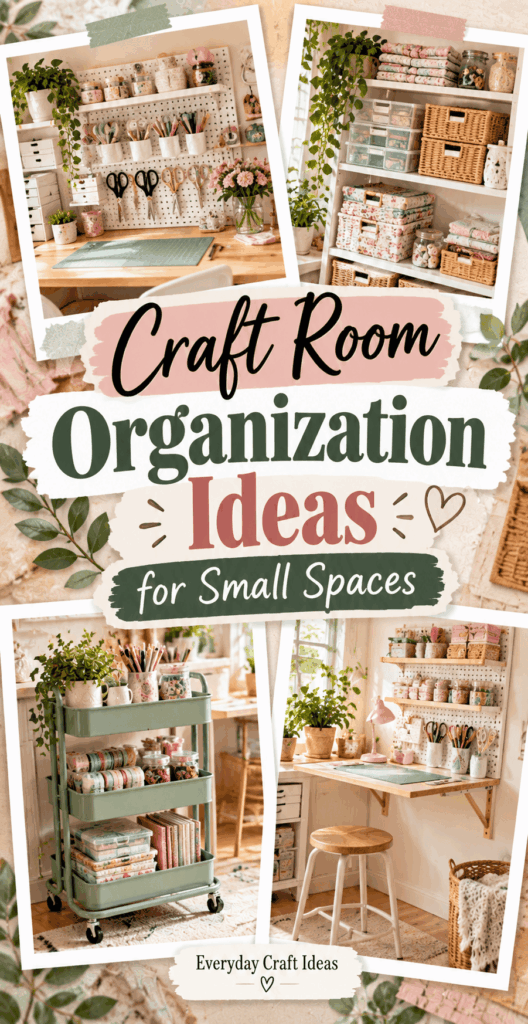
- Drawer units or rolling carts: Perfect for tight spaces because they store vertically and can move. Carts are ideal if you craft at the dining table and need to pack away fast.
- Magazine files and paper trays: These keep cardstock, vinyl sheets, and thin pads upright or stacked without bending corners.
- Pegboard, rails, or wall grids: Wall storage frees your tabletop. Hooks can hold rulers, cutting mats, and frequently used tools.
- Labeling tools: A label maker is nice, but masking tape and a permanent marker work well. The key is consistent labeling.
- Basic install tools: Tape measure, level, screwdriver, anchors rated for your wall type, and a stud finder for heavier storage.
Material choice matters, too. Avoid flimsy bins that bow when stacked. For adhesives, store upright in a small caddy to prevent leaks. For sharp tools like rotary cutters, use containers that fully cover blades for safety.
How to Make or Use It (Clear Beginner-Friendly Tutorial)
This tutorial applies whether you have a tiny spare room, a closet craft nook, or a corner of your living room. Think of it as building a mini “craft system.” These craft room organization ideas work best when you follow the steps in order, because each step reduces clutter before you add storage.
- Empty the area completely and clean it. Wipe shelves, vacuum corners, and start with a blank slate. Dust and scraps make everything feel more chaotic than it is.
- Sort supplies into broad categories first. Use temporary piles or boxes: paper, fabric, yarn, tools, adhesives, paints, kids, seasonal. Do not over-sort yet. You are aiming for quick wins.
- Decide what lives “within arm’s reach.” These are daily items: scissors, ruler, pencil, tape runner, glue, craft knife, cutting mat. Put them in a desktop caddy or top drawer. This single step makes crafting feel easier immediately.
- Assign one container type per category. For example, paper in trays, fabric in bins, small tools in drawers. Uniform container shapes stack better and reduce wasted space.
- Go vertical with a wall zone. Install a pegboard or rail above your desk area. Hang tools you grab often, but avoid overloading. If you have to unhook three things to reach one, it will not last.
- Create a “project in progress” parking spot. Choose one bin, basket, or lidded tray for your current project. This prevents half-finished crafts from spreading across your small space.
- Label everything in plain language. Write labels the way you search in your brain: “glue and tape,” “kid crafts,” “Christmas paper,” “fabric scraps.” Labels should face outward on shelves for fast scanning.
- Test your cleanup routine. Do a 5-minute reset. If anything feels annoying to put away, adjust now. Convenience is the secret to staying organized.
Helpful Tips for Better Results
Once your basic system is in place, these small-space craft room organization ideas make the whole setup smoother and easier to maintain.
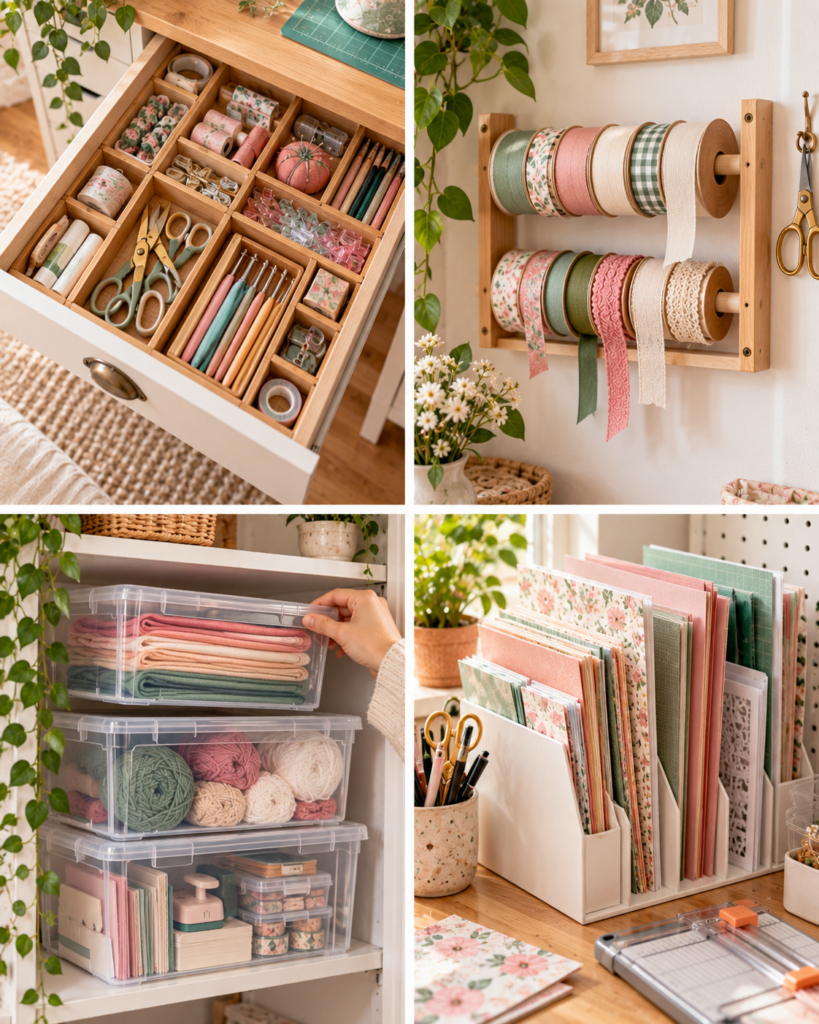
- Use zones, not just containers. A shelf can be a “paper zone,” a drawer unit can be a “tools zone.” Zoning helps you put things back without thinking too hard.
- Store by frequency, not by beauty. Put everyday items between waist and eye level. Store rarely used supplies up high or down low. Your space should support how you craft, not fight you.
- Keep a small “intake bin.” When you buy new supplies or receive hand-me-down craft items, everything goes into the intake bin first. Once a week, sort it properly. This prevents random piles.
- Think thin and stackable. Slim rolling carts, over-the-door organizers, and shallow drawers often outperform deep bins in tiny rooms because you can see what you have.
- Protect your work surface. A self-healing cutting mat or a washable table cover lets you use a desk or dining table without damage, which is important if your craft area is shared.
I only have a corner of my guest room for crafting, and it was constantly messy. I followed the “project parking spot” idea and used a rolling cart for daily tools. Now I can set up in two minutes and clean up fast enough that I actually craft more often.
Creative Variations and Project Ideas
Your organizing system can also support the kind of crafts you want to make. Here are a few small-space friendly variations that pair well with these craft room organization ideas, especially if you craft with kids or do seasonal projects.
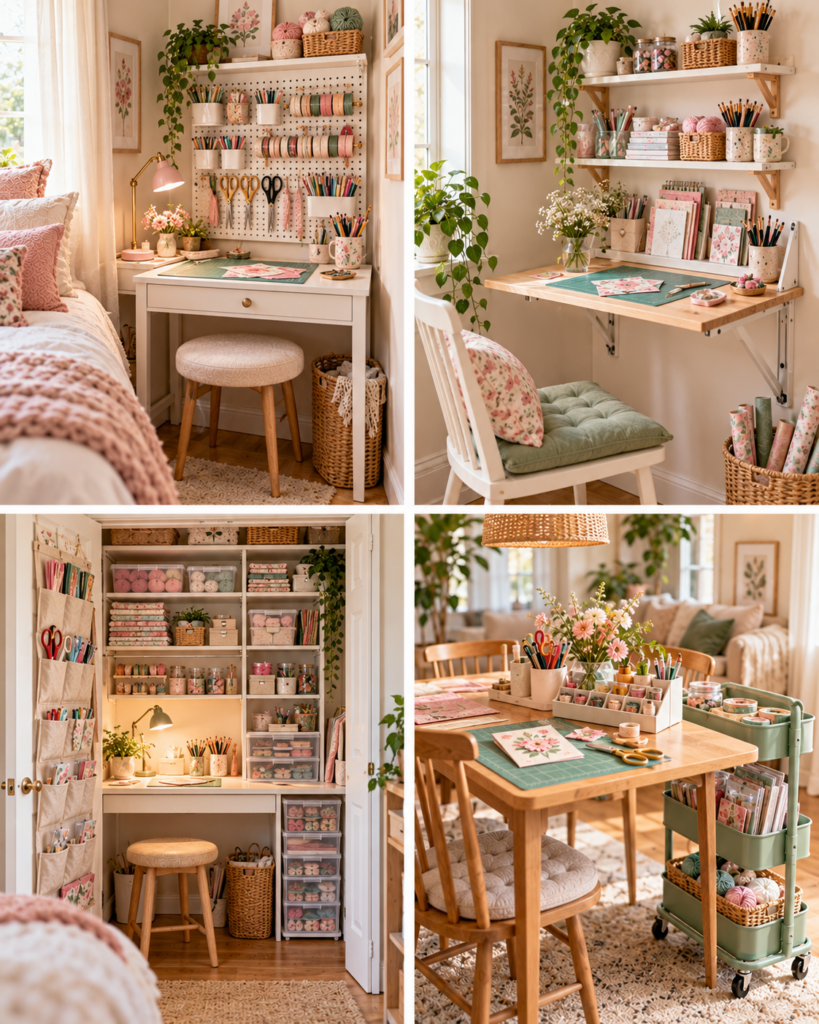
- The “closet studio” setup: Add a tension rod or two inside a closet for ribbon spools, rolls of vinyl, or lightweight bins on S-hooks. Mount a small pegboard on the closet wall and add a clip-on light.
- A portable paper craft station: Store cardstock, printables, and basic tools in a handled file box. This is perfect if you love greeting cards or use a lot of templates. You can refresh your stash with free Christmas craft printables that store flat and are easy to file by theme.
- A kid-friendly “craft drawer” system: If children craft in the same space, dedicate one low drawer or bin for safe supplies: washable markers, glue sticks, child scissors, stickers. Pair it with quick projects like Christmas crafts for kids so you can pull out one bin and put it away fast.
- Micro-sewing corner: Use a lidded bin for fabric and a small toolbox style organizer for sewing feet, needles, bobbins, and clips. A wall hook for your measuring tape and snips keeps the table clear.
Seasonal crafting is a common clutter trigger. Consider one “seasonal crafts” bin only. When it is full, you must use up supplies or donate before adding more.
Common Mistakes and How to Avoid Them
Even great craft room organization ideas can fail if the system is hard to use. These are the most common issues I see in small craft rooms, plus the fix.
- Mistake: Buying storage before sorting. Fix: Sort first, then measure, then buy containers that fit your actual categories. Otherwise you end up with bins that waste space.
- Mistake: Overstuffing deep bins. Fix: Use shallow bins or add smaller boxes inside deep bins to create “sub-compartments.” Overstuffed bins lead to digging and mess.
- Mistake: Storing everything by color. Fix: Store by type and function first. Color sorting is pretty, but it slows you down when you need “all adhesives” or “all watercolor supplies.”
- Mistake: No limit on works in progress. Fix: Choose one WIP bin or basket. If it is full, finish or archive something before starting a new project.
- Mistake: Ignoring safety. Fix: Keep blades, heat tools, resin supplies, and strong adhesives in a higher cabinet or lidded bin away from kids and pets. Store batteries out of reach and unplug heat tools after use.
Also watch out for “mystery bins.” If you cannot label it clearly, you probably have mixed categories. Take five minutes to re-sort before the bin becomes a junk drawer.
Frequently Asked Questions About Craft Room Organization Ideas for Small Spaces
How do you organize craft supplies in a small room?
Start with broad categories, then assign each category a home that matches the material. Paper goes in trays or magazine files, tools go in drawers or cups, and bulky supplies go in lidded bins. In a small room, go vertical with wall storage and keep only daily tools within arm’s reach. The most effective craft room organization ideas also include a single “project in progress” container to stop piles from spreading.
How do you store yarn and fabric?
Store yarn in clear bins or baskets that prevent snagging and keep out dust. Avoid open wire baskets if your yarn catches easily. For fabric, fold yardage and stand it upright like files in a bin so you can see pieces at a glance. Keep scraps in a separate container with a size rule, for example only keep scraps larger than a postcard. Add a lavender sachet or cedar block if you are storing fabric long-term, and check for moisture in basements or closets.
What is the best way to organize small craft tools?
Small tools are easiest to manage when you group by task: cutting, measuring, adhesive, marking, and finishing. Use shallow drawers with dividers, small parts organizers, or repurposed utensil trays. Store sharp tools in cases or blade covers. One of my favorite craft room organization ideas is a “daily tools” caddy that you can lift onto your table, then put back in one motion when you are done.
How do you set up a craft station without a dedicated room?
Choose a portable base, like a rolling cart or lidded tote, and pair it with a protected work surface. A fold-down desk, a small table, or even a lap desk can work if your supplies live nearby. Keep a single kit of essentials so you are not hunting for basics each time. If you do lots of paper activities, store flat projects like printable crafts for kids in a file box so setup and cleanup are quick.
How do you label craft storage?
Use plain-language labels that match how you search mentally, such as “glue and tape” instead of “adhesives.” Place labels on the front of bins at eye level and add a second label on the lid if you stack containers. If your categories change, use removable labels like painter’s tape until the system feels stable. For shared spaces, add a simple picture icon for kids who cannot read yet, especially on “return here” bins.
How do you keep craft supplies tidy on a budget?
Start by using what you have: shoe boxes, sturdy food containers, and small jars for buttons or beads. Standardize slowly, replacing mismatched containers only when they break. Thrift stores often have drawer units, baskets, and trays that work well. The most budget-friendly craft room organization ideas are habits, not purchases: one-in-one-out for new supplies, a 5-minute reset, and an intake bin that prevents random piles from forming.
Final Thoughts
Small spaces can absolutely support big creativity, as long as your storage matches your real crafting style. The best craft room organization ideas are simple: sort by category, store by frequency, use vertical space, and give every project a temporary home. If you want a clear next step, pick one tiny win today, such as creating a daily tools caddy or setting up a single WIP bin. Then do a 5-minute reset after your next crafting session and notice what still feels awkward. Tweak one thing at a time, and your small craft area will become a space you genuinely want to use.