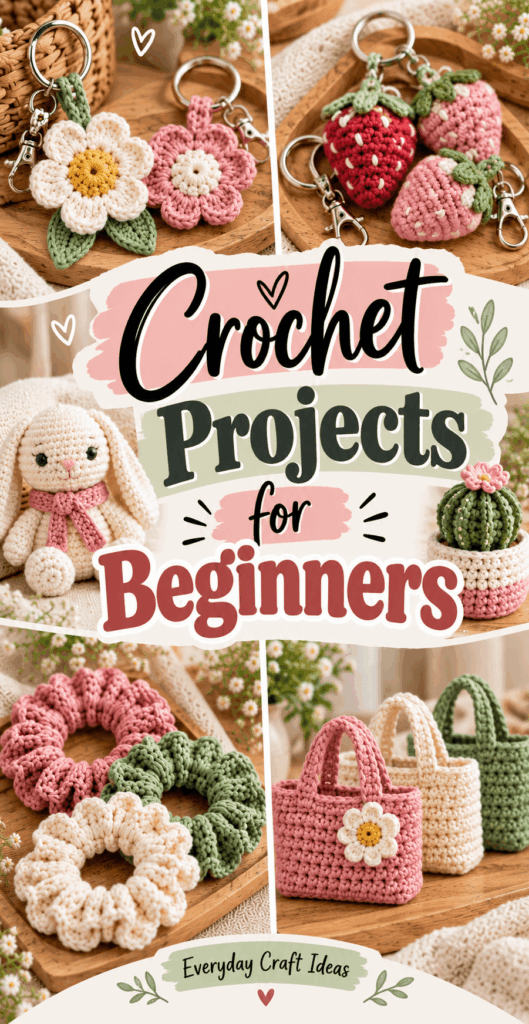
Crochet Projects for Beginners
If you are searching for crochet projects for beginners, you probably want two things: something you can actually finish, and a result you will be proud to use or gift. Crochet is wonderfully learnable, but early success depends on choosing the right yarn, the right hook, and a project that does not demand perfect tension on day one. In this guide, I will walk you through what makes a project beginner-friendly, what to crochet first, and several simple project tutorials (with finishing tips) that build skill without frustration. You will also learn which stitches to focus on, how long it typically takes to feel confident, and what to make next after your first win.
What Makes a Crochet Project Beginner-Friendly?
The best crochet projects for beginners share a few practical traits: they are small, repetitive, forgiving, and easy to measure. “Forgiving” matters because beginners commonly add or lose stitches, crochet tighter than they intend, or misread the top loops of a stitch. A beginner-friendly project should still look good even if your tension varies slightly from row to row.
Look for projects that use basic stitches, usually chain (ch), single crochet (sc), and possibly half double crochet (hdc). Avoid patterns with lots of shaping, complex increases and decreases in every round, or tight gauge requirements. It also helps when a project does not require seams, or only needs one simple seam, because joining pieces can be surprisingly tricky at first.
Materials should also be simple. A smooth, light-colored yarn makes it easier to see the “V” shapes of stitches. And the project should have a clear finish line, like “make 20 rows” or “work until it measures 7 inches.” Those measurable goals keep you motivated and prevent the common beginner problem of crocheting forever and hoping it becomes something.
Finally, the project should teach one new skill at a time, such as “working in rows,” “working in the round,” or “making a simple border,” so you can identify what you learned and repeat it confidently.
What Should a Beginner Crochet First?
Your first make should be fast, useful, and uncomplicated. For most people, the ideal first choice from the world of crochet projects for beginners is a small square or rectangle made with one stitch, like a coaster or dishcloth. These teach the absolute foundations: making a starting chain, placing stitches into the chain, turning your work, and finding the first and last stitch of each row.
Pick a project you can finish in 1 to 2 hours. Early on, the biggest skill is simply getting your hands comfortable with the yarn and hook. A quick finish gives you momentum and helps you practice without feeling overwhelmed.
Here is a beginner-first-project checklist that works well:
- Choose a flat shape (square or rectangle) so you can count stitches easily and see progress row by row.
- Use medium (worsted) yarn in a light color so stitches are visible and not splitty.
- Use a larger hook (around 5.0 mm to 5.5 mm) so loops are easier to pull through.
- Keep the stitch count small (15 to 25 stitches wide) so each row is manageable.
- Skip fancy edging until you can keep straight sides consistently.
If your goal is a gift, a pair of coasters or a bookmark is still beginner-appropriate and looks polished with minimal finishing.
Easy Crochet Projects to Try
The projects below are classic crochet projects for beginners because they build core skills and produce something practical. I will describe simple methods rather than strict pattern notation so you can follow along even if you are still learning abbreviations. If you prefer patterns, you can translate these steps into standard terms as you gain confidence.
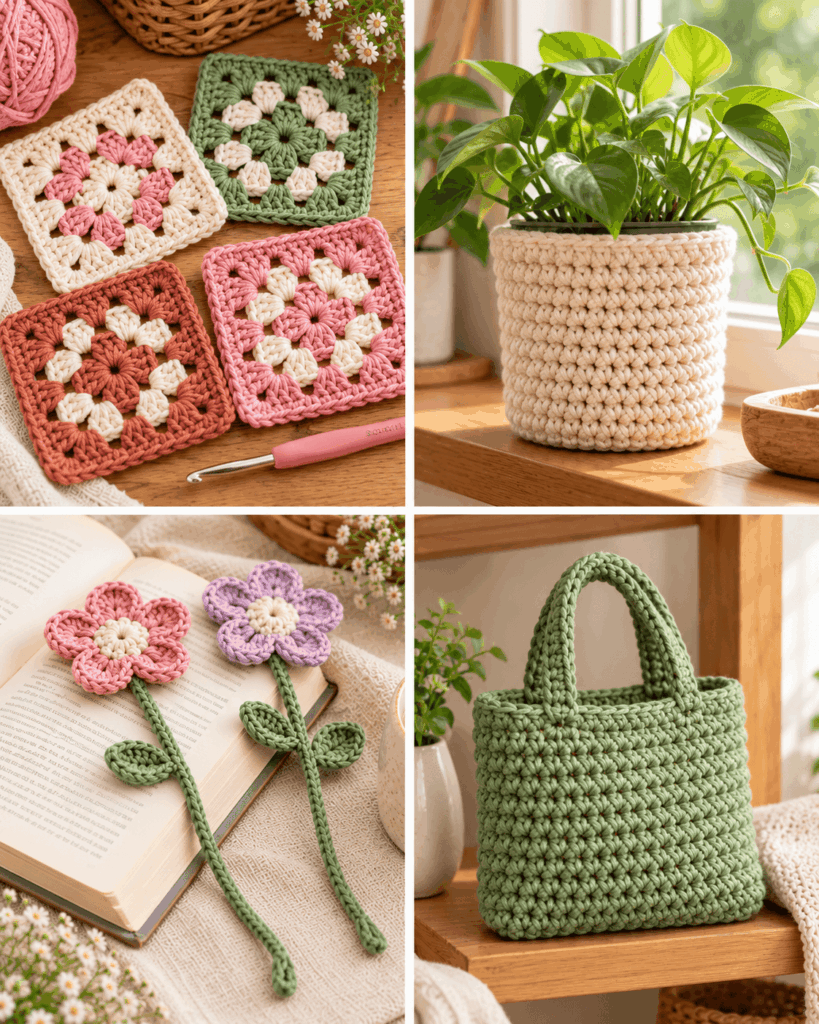
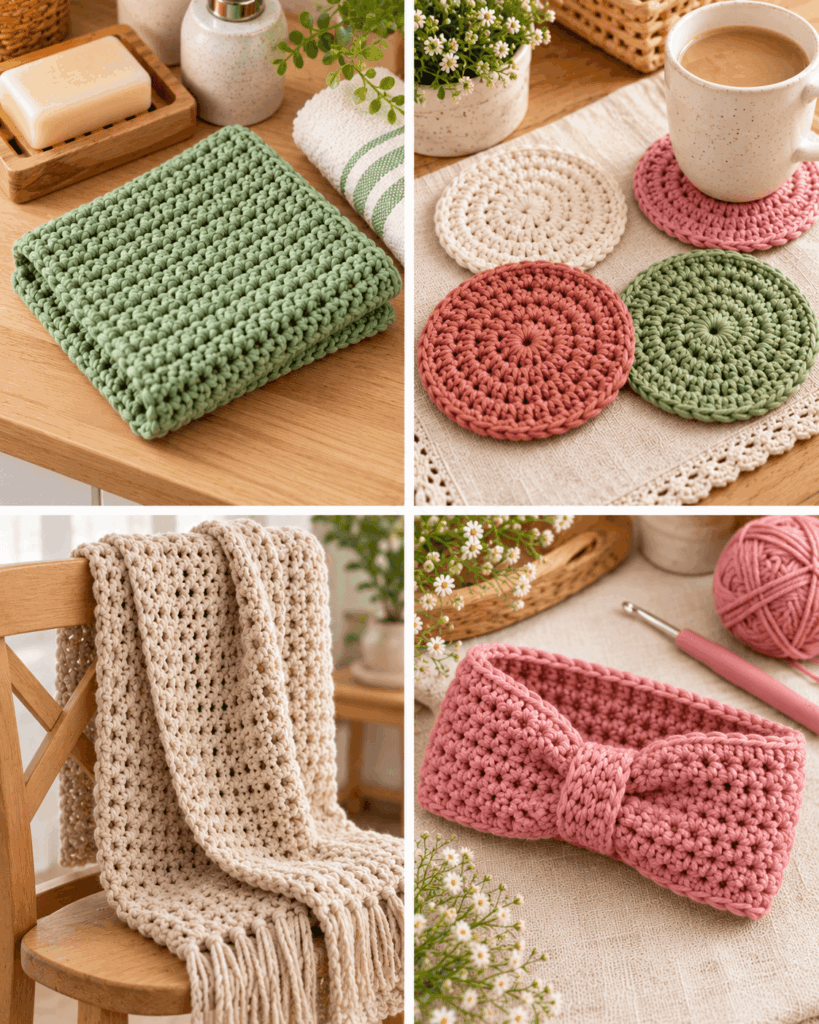
Coasters
Difficulty: Easy. Time: 30 to 60 minutes each. Best yarn: Cotton or cotton blend for heat resistance and absorbency. Coasters are ideal practice for even edges and consistent stitch counts.
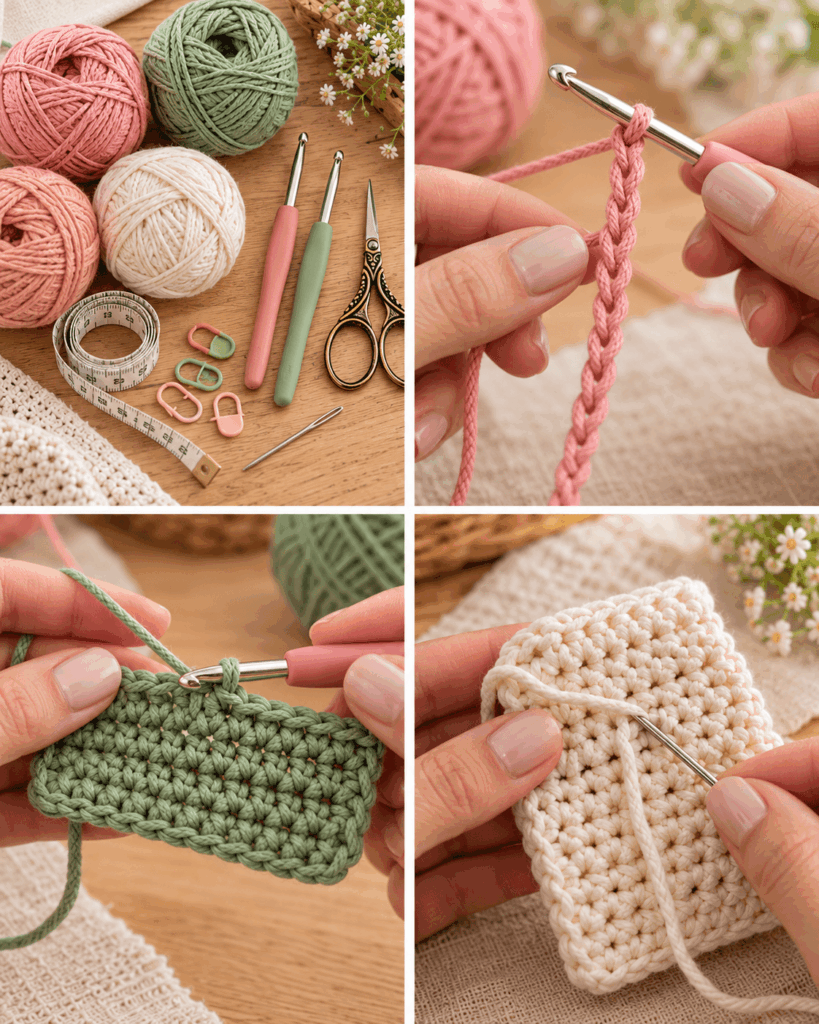
- Make a starting chain of about 16 to 22 stitches, depending on how large you want the coaster. A shorter chain makes a smaller coaster, and it is easier to keep edges neat.
- Work single crochet across the chain. Insert the hook under the top loop(s) of each chain, yarn over, pull up a loop, yarn over, and pull through two loops. This establishes your first row and teaches accurate stitch placement.
- Turn and chain 1, then single crochet into each stitch across. The turning chain helps your edge height match the row. Always place the last stitch into the final stitch of the row, not into the turning chain.
- Repeat until square. Measure with a ruler or by folding corner to corner. Beginners often over-crochet by guessing, so measuring keeps it tidy.
- Finish by cutting yarn, pulling through the last loop, and weaving in ends securely. Weave through several stitches in different directions to reduce unraveling.
Troubleshooting: If the coaster turns into a trapezoid, you are likely skipping the first or last stitch. Count each row until you build the habit.
Dishcloths
Difficulty: Easy. Time: 1 to 2 hours. Best yarn: 100% cotton for scrubbing and washing. Dishcloths forgive imperfect tension because the fabric is meant to be used, not displayed.
- Chain 26 to 36 for a comfortable cloth width. Wider than that can feel slow for beginners.
- Work half double crochet rows for a slightly thicker, squishier texture than single crochet. Yarn over, insert hook, pull up a loop, yarn over, pull through all three loops.
- Keep edges straight by marking the first and last stitch of each row with a removable stitch marker or a scrap of yarn. This is a game-changer for new crocheters.
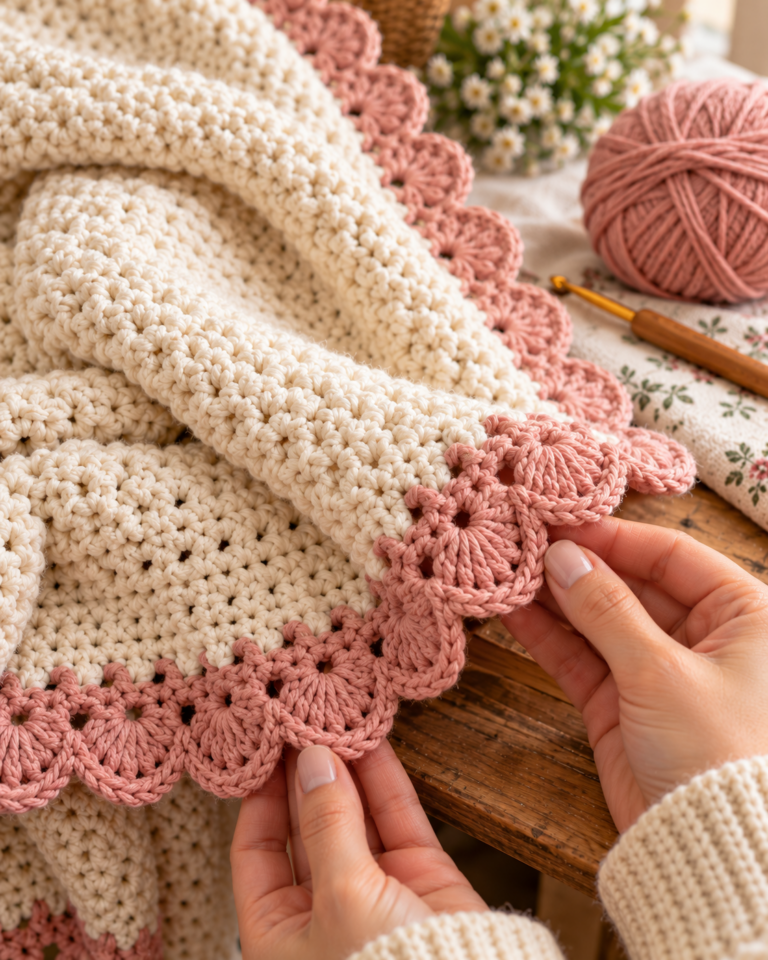
- Add a simple border (optional). Single crochet evenly around the edge to neaten it. Place 3 single crochets in each corner to keep it from curling.
- Wash before use. Cotton often softens after washing and the stitches settle into place.
Care note: Use cotton yarn that can handle hot water if you plan to sanitize dishcloths. Avoid acrylic for hot pans and heavy kitchen heat.
Bookmarks
Difficulty: Easy. Time: 20 to 45 minutes. Best yarn: Smooth cotton or lightweight acrylic. Bookmarks are great for practicing long, even rows without needing a wide piece.
- Chain 8 to 12, depending on desired width. Slimmer looks more bookmark-like and finishes quickly.
- Single crochet back and forth until it reaches your preferred length, usually 6 to 8 inches. Count rows if you want a matched pair.
- Optional tassel: Wrap yarn around two fingers 10 to 15 times, tie at one end, cut the other end, then attach through a corner stitch. Tassels hide minor end imperfections and look intentional.
Finishing tip: Weave ends extra securely since bookmarks get tugged. Run the tail through several stitches, then split the plies slightly if possible and weave back the other direction.
Flowers
Difficulty: Easy to intermediate. Time: 20 to 60 minutes. Flowers teach working in the round and simple shaping, but small stitches can feel fiddly at first.
- Start with a small ring (either a magic ring or chain 4 and slip stitch into the first chain). If magic ring feels confusing, the chain ring method is perfectly fine for beginners.
- Crochet a base round of single crochets into the ring, around 8 to 12 stitches. This creates the center.
- Form petals by chaining and then working back into those chains (for example, chain 4 then slip stitch back near the base). Petals are forgiving because slight size differences still look organic.
- Attach securely to a hat, bag, or hair clip by stitching through the center several times with a yarn needle.
Variation: Change petal count or use a contrasting color for the center. Use cotton for crisp stitch definition or acrylic for softer petals.
Hearts
Difficulty: Easy to intermediate. Time: 15 to 45 minutes. Crochet hearts are wonderful small gifts and excellent practice for increases and working multiple stitches into one space.
- Make a small ring (magic ring or chain ring).
- Work a cluster of stitches into the ring to create the top curves. Many heart patterns use a mix of taller stitches (double crochet) and shorter stitches (single crochet) to shape the lobes.
- Shape the point by tapering down with shorter stitches and a final slip stitch. The change in stitch height creates the heart shape without complex math.
- Block lightly if needed. Pin the heart to a towel in the correct shape and mist with water, then let dry. This helps edges look neat.
Safety note: If making hearts for small children, avoid buttons or glued embellishments that could become a choking hazard. Stitch details on instead.
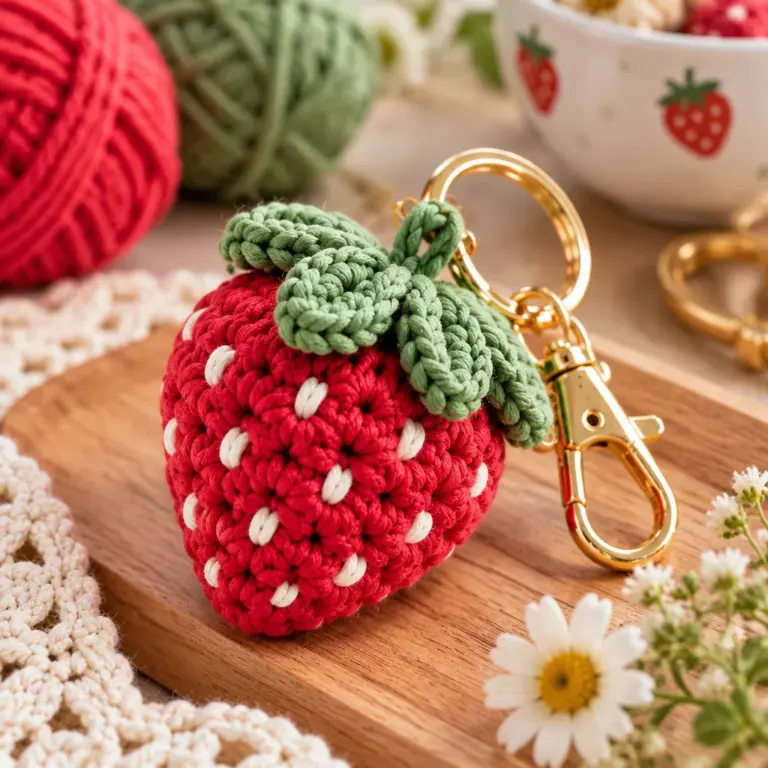
Keychains
Difficulty: Easy. Time: 30 to 60 minutes. A crochet keychain is a small object with a big payoff, and it teaches stuffing and closing an opening if you make a mini pouch or ball.
- Choose a simple shape like a flat circle, a small heart, or a tiny pouch. Flat shapes are easiest because they require less shaping and no stuffing.
- Use tight stitches so the fabric is sturdy. Single crochet works well. If gaps appear, go down one hook size.
- Attach hardware by threading yarn through a stitch and tying around a keyring, or by sewing a small loop onto the piece. Tug firmly to test strength.
- Secure ends aggressively. Keychains get pulled and rubbed, so weave in ends twice and trim only after tension-testing.
Material tip: Cotton is durable. Acrylic can fuzz with abrasion, so pick a high-twist acrylic if you want synthetic.
Simple Bags
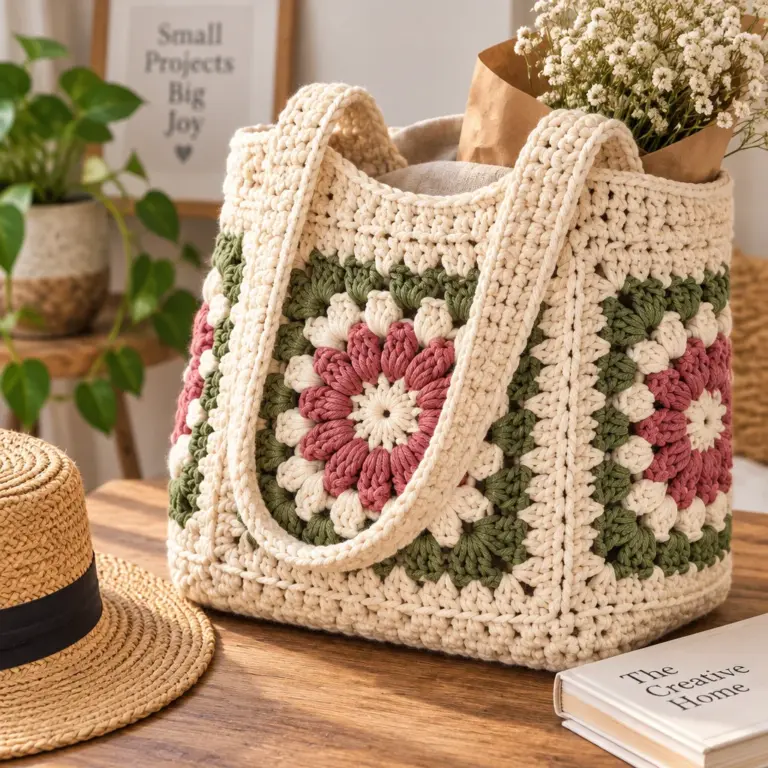
Difficulty: Easy to intermediate. Time: 3 to 6 hours depending on size. Bags are some of the most satisfying crochet projects for beginners because they are usable even if your stitches are not perfect.
- Decide on construction: one flat rectangle folded and seamed is easiest. Work a rectangle in single crochet or half double crochet.
- Measure as you go. For a small tote, aim for a rectangle about 12 inches wide and 24 inches tall before folding (this becomes a 12 by 12 inch bag body).
- Fold and seam the sides with slip stitch crochet or whip stitch using a yarn needle. Slip stitch seams look neat and are beginner-friendly.
- Add straps. The simplest strap is a long chain reinforced with rows of single crochet, then sewn to the bag interior with multiple passes for strength.
- Optional lining: If you plan to carry small items, consider sewing in a fabric lining to prevent stretching and keep keys from poking through stitches.
Troubleshooting: If the bag stretches a lot, use a smaller hook or switch to cotton. Acrylic drape can grow with weight.
What Crochet Stitch Should Beginners Learn First?
If you want to build a solid foundation for crochet projects for beginners, start with three stitches in this order: chain, single crochet, then half double crochet. The chain is your starting line and teaches yarn control. Single crochet is the most useful early stitch because it is compact, easy to count, and works well for coasters, amigurumi bases, and sturdy fabric. Half double crochet comes next because it teaches yarn overs while still being simple and rhythmic.
Once those feel comfortable, add double crochet for quicker, drapier fabric like scarves and simple blankets. Save more advanced techniques like front post/back post, bobbles, or intricate lace until you can maintain consistent tension and identify stitches without guessing.
A practical learning tip is to practice “reading” your crochet: look for the V shapes on top of each stitch and the horizontal bars on the side of rows. Being able to see your stitch anatomy helps you troubleshoot instantly, especially when edges start to wander. As you practice, say the steps out loud: insert, yarn over, pull up a loop, yarn over, pull through. That rhythm reduces mistakes.
What Yarn Is Easiest for Beginners?
The easiest yarn for most newcomers to crochet projects for beginners is a smooth, medium-weight yarn, often labeled worsted or aran (usually a “4” weight). Choose a light or medium color so you can see stitches clearly. Very dark yarn hides stitch definition, and novelty yarns like eyelash or boucle can be nearly impossible to count.
Fiber choice matters. Cotton has crisp stitch definition and is perfect for dishcloths and coasters, but it can feel less stretchy and may be harder on hands if you crochet tightly. Acrylic is soft, budget-friendly, and widely available, making it great for practice swatches, scarves, and hats. Wool blends can be forgiving because they have elasticity, but some people find wool itchy or have sensitivities.
Also consider yarn structure. A tightly twisted, plied yarn splits less than a loosely spun single-ply. Splitting is when your hook catches part of the yarn instead of the whole strand, making stitches messy and frustrating. When shopping, gently rub the yarn between your fingers and look at the twist. If it looks rope-like and smooth, it is usually beginner-friendly.
Finally, buy enough yarn from the same dye lot for a project to avoid subtle color changes, especially for larger pieces like a simple bag.
What Hook Size Is Best for Beginners?
A comfortable hook size helps you succeed with crochet projects for beginners because it affects tension, speed, and how easily your hook moves through loops. For worsted weight yarn, a 5.0 mm (H-8) or 5.5 mm (I-9) hook is a sweet spot for many beginners. These sizes create stitches large enough to see clearly, but not so large that the fabric becomes flimsy.
Ergonomics matter, too. If you have hand fatigue, try an ergonomic hook with a thicker handle. Beginners often grip too tightly, and a comfortable handle can reduce cramping and help you relax your tension. Aluminum hooks glide well with many yarns, while bamboo or wood hooks have more “grab,” which can be helpful if your stitches tend to slide off accidentally.
Use the yarn label as a starting point, not a strict rule. If your fabric looks full of holes when it should be solid, go down a hook size. If it is stiff and difficult to insert your hook, go up a size. For durable items like keychains or bags, a slightly smaller hook than recommended can make stronger fabric. For drapier items like a scarf, follow the label suggestion or size up for softness.
How Long Does It Take to Learn Crochet?
Most people can learn the basics of crochet projects for beginners in a weekend, but “feeling confident” takes a bit longer. Expect about 2 to 5 hours of hands-on practice to get comfortable making chains, single crochet, and turning rows. Within 10 to 15 hours, many beginners can complete small projects without constantly restarting.
The biggest time factor is not intelligence, it is muscle memory. Your hands are learning how to hold yarn, keep tension, and coordinate hook movements. This is why short practice sessions often work better than one long marathon. Try 20 to 30 minutes a day for a week. You will likely notice that your stitches become more even and your speed increases naturally.
It is also normal to restart. In fact, frogging (ripping out stitches) is part of crochet life at every level. If you notice your edges are growing, your stitch count changed, or the fabric is twisting, undoing a few rows now saves a lot of frustration later.
“I started with a wonky coaster and had to restart twice, but the third one finally looked like a square. After that, I made two dishcloths in a weekend and could actually see my tension improving row by row. Small projects really helped me stick with it.”
Common Beginner Crochet Mistakes
Nearly everyone runs into the same issues when starting crochet projects for beginners. Knowing what to watch for helps you fix problems quickly instead of assuming you “just can’t crochet.”
- Adding or losing stitches: This often happens at the first and last stitch of a row. Count stitches every few rows, and mark edge stitches with stitch markers.
- Twisted starting chain: When you crochet into a chain, it can twist, especially on longer chains. For flat projects, keep the chain relaxed and check it lies flat before working the first row.
- Too-tight tension: Tight stitches make it hard to insert your hook and can cause hand pain. Size up your hook, relax your grip, and practice pulling loops a bit taller.
- Not recognizing stitch anatomy: Beginners sometimes crochet into the space between stitches instead of under the top loops. Learn to spot the two top loops that form the V.
- Skipping finishing: Weaving in ends poorly can make a project unravel. Weave through multiple stitches, change direction, and avoid trimming too close.
- Using difficult yarn: Fuzzy, dark, or splitty yarn can make learning miserable. Save it for later when you can crochet by feel.
If you make a mistake, pause and diagnose: Is the stitch count correct? Are you placing the hook under the correct loops? Is your yarn catching and splitting? A calm checklist beats ripping out the entire project in frustration.
What to Crochet After Your First Project
After you finish your first win, the next step is choosing crochet projects for beginners that add exactly one new skill. If you made a coaster in rows, try something in the round like a simple flower or a round coaster. If you made a flat rectangle, try a project with one seam like a simple pouch or small bag. If you have only used single crochet, try half double crochet for a different texture.
A great progression looks like this:
- Project 1: Coaster or bookmark (rows, counting, weaving ends).
- Project 2: Dishcloth (longer rows, edge control, optional border).
- Project 3: Simple bag (measuring, seaming, straps).
- Project 4: Small item in the round (flower or heart for shaping practice).
If you want to make wearables, start with a beginner hat made from a simple rectangle sewn into a tube, rather than a fitted, top-down beanie. If you want blankets, begin with a lapghan using one stitch and a larger hook, and set a realistic timeline so it stays fun.
Common Questions
How do I keep my crochet edges straight?
Straight edges come from consistent stitch counts and correct turning. Mark the first and last stitch of every row for a few projects. Always work into the final stitch of the row, not the turning chain unless the pattern says so. Counting stitches every row feels slow at first, but it quickly becomes a habit and prevents the gradual “triangle blanket” problem.
Why is my crochet fabric curling?
Curling is usually caused by tight tension or a hook that is too small for the yarn. Try going up one hook size and focus on pulling your loops to a consistent height. Some stitches curl naturally, especially single crochet worked tightly. Adding a simple single crochet border can help, and blocking can relax the edges for items like hearts and flowers.
What if I accidentally skip a stitch and notice later?
If it is just one skipped stitch several rows back, you can often “fudge” by making an increase (two stitches in one stitch) in a later row to restore the stitch count, especially on casual items like dishcloths. For projects where shape matters, it is better to rip back to the mistake. Use stitch markers every 10 stitches to catch issues earlier.