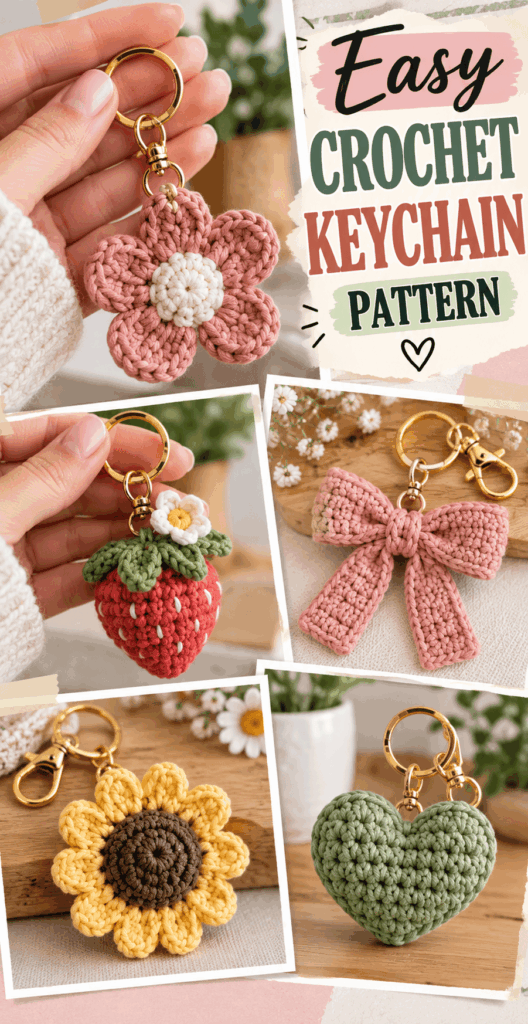
Easy Crochet Keychain Pattern
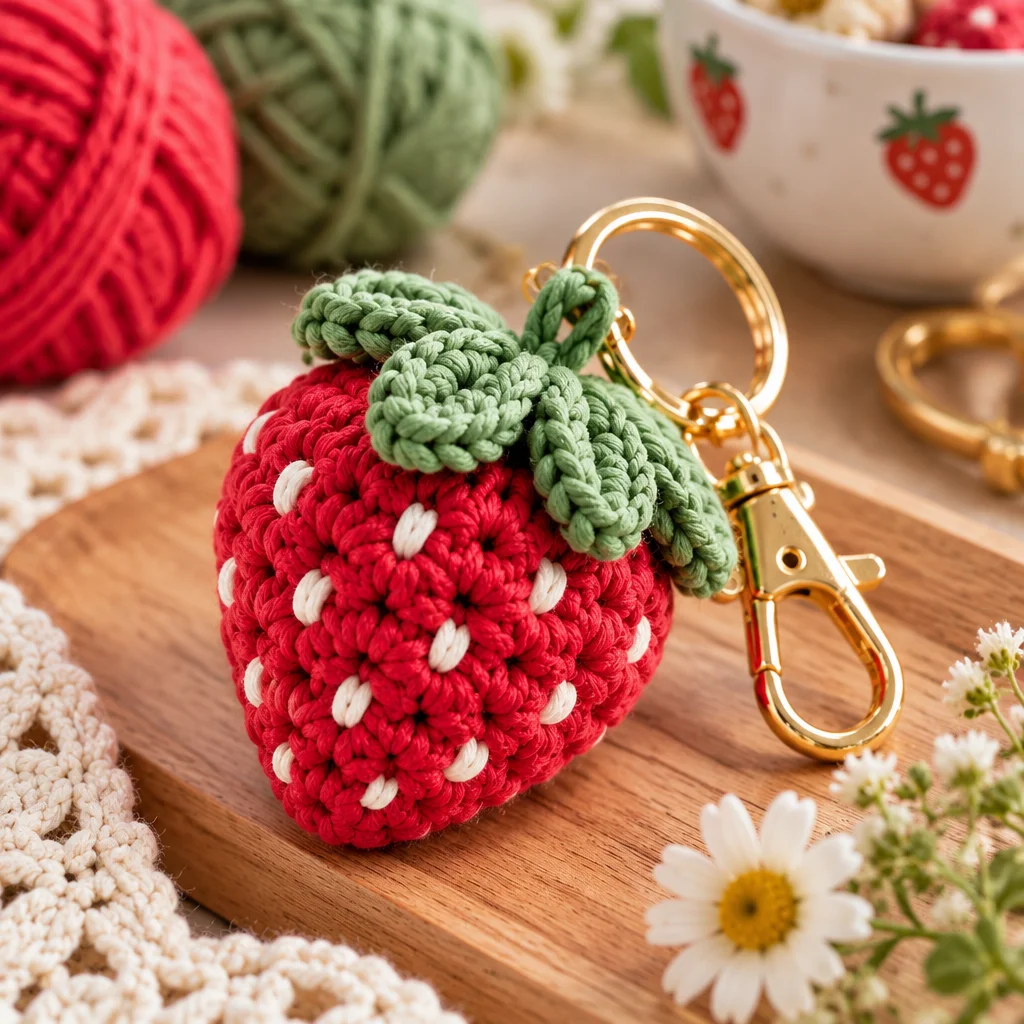
If you are searching for a crochet keychain pattern that is genuinely beginner-friendly and still looks polished, you are in the right place. Crochet keychains are quick, satisfying projects that let you practice core stitches while making something you can use every day. In this guide, you will learn how to crochet a small, sturdy key fob style keychain with clean edges, a secure attachment, and enough structure to survive being tossed into a bag or pocket. I will walk you through the best yarn choices, the simplest construction method, and several ways to personalize your finished piece. By the end, you will have a reliable go-to crochet keychain pattern you can repeat for gifts, craft fairs, or just for fun.
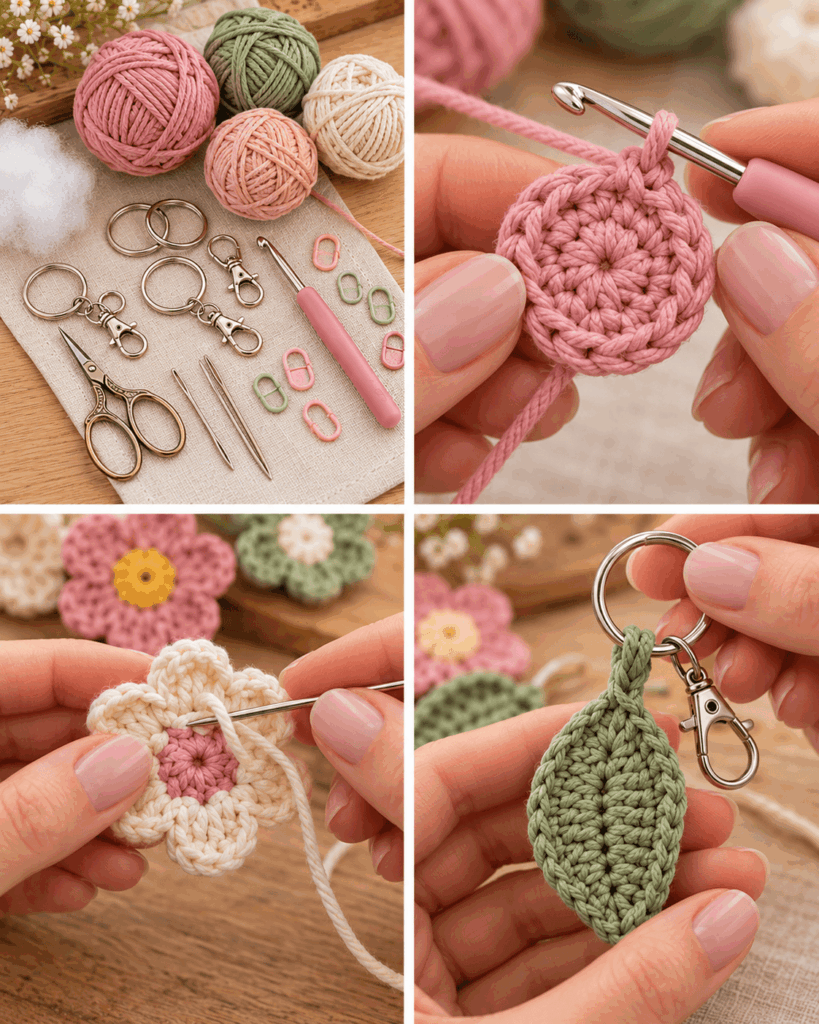
Materials and Hardware
A successful crochet keychain is about more than yarn. The hardware and finishing tools are what keep it secure, neat, and long-lasting. Here is what you need and why it matters:
- Yarn: Choose a durable fiber (more on that below). You only need a small amount, which makes keychains perfect for scraps.
- Crochet hook: Use the size recommended for your yarn, then consider going one size smaller for a tighter fabric. A dense stitch helps keychains hold up to friction.
- Key ring or swivel clasp: Standard split key rings are strong and inexpensive. Swivel lobster clasps look more “store-bought” and clip onto bags easily.
- Jump ring (optional): Useful if your key ring is thick or if you want the crochet to hang freely without strain.
- Yarn needle: For weaving in ends securely. This is not optional for durability.
- Scissors: Sharp scissors give clean cuts that are easier to hide.
- Stitch marker: Helpful if you are counting rows or working in the round for other crochet keychain pattern variations.
Safety note: if this will be used by a child, avoid small removable parts (like beads or weak jump rings) that could become a choking hazard, and skip anything sharp or brittle.
Best Yarn for Crochet Keychains
The best yarn for a crochet keychain pattern is one that resists pilling, stretching, and fuzzing. Keychains rub against keys, zippers, and the inside of bags, so delicate fibers show wear quickly. For most makers, the top choices are cotton and cotton blends. Cotton has a crisp stitch definition, stays fairly firm, and handles friction well. Mercerized cotton is especially strong and smooth, making it excellent for high-use items like keychains.
Acrylic can work, especially for bright colors, but it may pill and get fuzzy over time. If you use acrylic, pick a high-quality, tightly spun yarn and crochet at a tight gauge. Nylon blends and polyester can be very durable and are good for key fobs, but they may feel slippery, so secure your ends carefully.
Consider yarn weight: worsted weight is beginner-friendly and fast, but a DK or sport weight can create a smaller, more refined keychain. Whatever you pick, the most important factor is density. If you can easily see through the stitches, size down your hook or choose a thicker yarn.
Color tip: mid-tone solids show stitches best while you learn the pattern. Very dark yarn can hide mistakes, but it also makes them harder to spot while crocheting.
Easy Crochet Keychain Pattern
This crochet keychain pattern creates a flat, sturdy strap (often called a key fob) that is folded and secured to a key ring. It is simple, practical, and easy to customize. Difficulty is beginner. Expect about 20 to 45 minutes depending on your speed and whether you add finishing details. Finished size is typically about 1 inch wide and 3.5 to 4.5 inches long including the folded section.
Abbreviations: ch (chain), sc (single crochet), sl st (slip stitch), st(s) (stitch or stitches).
Gauge: Not critical, but aim for dense stitches. Tighten your tension slightly if your fabric feels floppy.
Crochet the Main Piece
- Chain your width: Ch 7 for a keychain about 1 inch wide. This gives you 6 sc across. If you want a narrower strap, ch 6. Wider, ch 8 or 9. The width affects how bulky it feels in your pocket.
- Row 1: Sc in the 2nd ch from hook and in each ch across (6 sc). Ch 1, turn. Single crochet makes a firm fabric that holds up well for keychains.
- Rows 2 to length: Sc in each st across. Ch 1, turn. Repeat until the strap measures about 6.5 to 7.5 inches long. This length is folded in half, so it becomes a 3.25 to 3.75 inch keychain plus the fold around the ring.
- Check your firmness: Fold it gently. If it stretches easily or feels thin, redo using a smaller hook or tighter tension.
Shape and Finish
- Optional edging: Sc evenly around the entire rectangle (3 sc in each corner) for a cleaner border. This also helps prevent curling.
- Fasten off: Cut yarn leaving a 10 to 12 inch tail. Pull through to secure.
- Weave in ends: Use a yarn needle to weave ends back and forth through multiple stitches. For keychains, weave in at least 2 directions to reduce the chance of loosening from friction.
Attach the Key Ring
- Fold and position: Slide the key ring onto one end. Fold the strap in half so both short ends meet evenly.
- Secure the ends: Using a yarn needle and a fresh length of yarn (or your tail if long enough), whip stitch the two short ends together. Stitch through both layers firmly across the full width.
- Reinforce: Stitch back across a second time. This is where most keychains fail, so extra reinforcement matters.
- Hide the yarn: Weave the sewing yarn into the strap for at least 1 inch, then trim.
Optional extra security: add a few hand stitches around the folded section just below the ring to prevent the strap from twisting.
What Can You Crochet for a Keychain?
Once you know a basic crochet keychain pattern, you can turn almost any small motif into a keychain. The key is choosing shapes that stay neat when handled daily and that can be attached securely to hardware. Flat items work well because they do not snag as easily and they sit comfortably in a pocket.
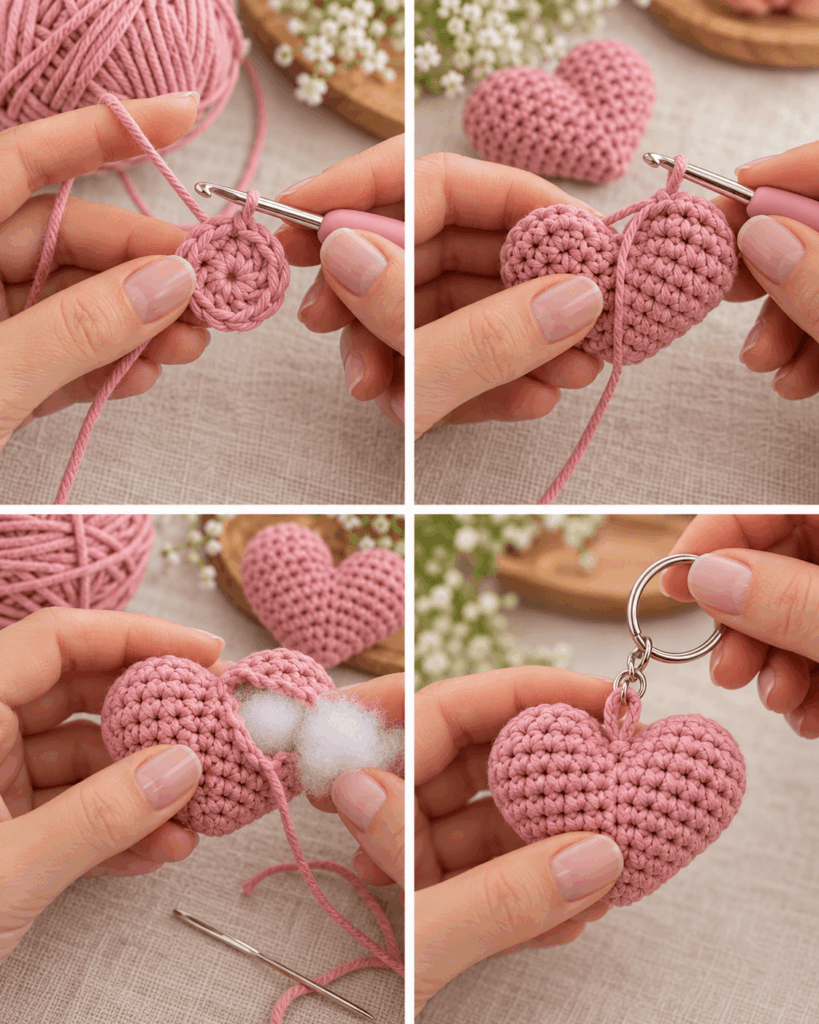
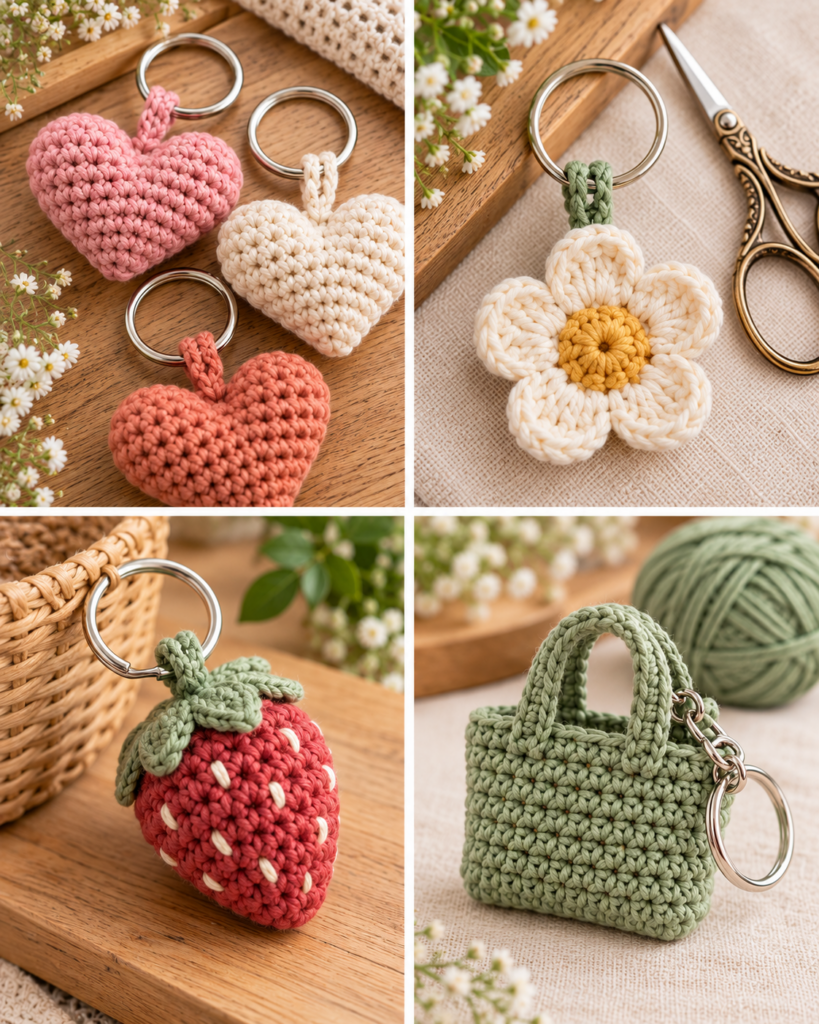
- Mini amigurumi: Tiny hearts, stars, mushrooms, or animals. Use tight stitches and consider stuffing lightly so the shape holds up without getting squished.
- Flowers and leaves: Great for spring gifts. Use cotton to keep petals crisp.
- Granny square minis: A 2 or 3 round tiny square looks adorable and can be backed with felt for strength.
- Letter or initial appliques: Crochet a letter and sew it onto a small base for stability.
- Tassel style: Combine crochet with a wrapped yarn tassel for a trendy bag charm look.
If you are making a dimensional charm, consider adding a small fabric lining or an inner layer of plastic canvas to keep it from collapsing. Also think about where the ring will connect. A small crocheted loop can stretch over time if it is not reinforced, so plan for a sturdy attachment point.
What Size Should a Crochet Keychain Be?
Most crochet keychains look and function best when they are small enough to be convenient but big enough to find easily in a bag. A good target size for a strap style crochet keychain pattern is 3.5 to 5 inches long (including the folded area near the ring) and 0.75 to 1.25 inches wide. If you make it much wider, it can feel bulky on a key ring. If you make it too narrow, it may twist and wear faster.
For charm-style keychains, aim for a main motif that is about 1.5 to 2.5 inches at its widest point. Anything larger can become annoying to carry daily, especially when combined with car fobs and multiple keys.
Practical sizing tips:
- Consider your hardware: Large swivel clasps need a slightly larger loop area or they will crowd the crochet and cause distortion.
- Think about purpose: A backpack charm can be larger than a key ring that will live in your pocket.
- Test in real life: Before you fully finish, clip it to your keys and check how it hangs and whether it catches on pockets.
When in doubt, slightly smaller is usually better for longevity because there is less surface area to rub and snag.
How Do You Attach Crochet to a Key Ring?
Attaching crochet to a key ring is simple, but doing it in a way that lasts takes a little strategy. The two most common methods are fold-and-sew (like the pattern above) and crocheted loop.
Fold-and-sew attachment is the most durable for a strap style crochet keychain pattern. The ring sits inside the fold, and the stress is distributed across the full width of the strap. Use strong yarn or even matching sewing thread for the seam, and stitch through both layers multiple times.
Crocheted loop attachment works best for small motifs. You crochet a chain loop, slip stitch it to the piece, and then put the ring through the loop. To keep the loop from stretching, use tight stitches and reinforce by stitching around the base of the loop with a needle and thread.
If your key ring is thick, use a jump ring in between. This reduces friction on the yarn and prevents the crochet from being forced into a sharp bend, which can wear fibers faster. Whatever method you use, make sure there are no gaps where the key ring could pull through.
How Do You Make a Crochet Keychain Sturdy?
Sturdiness comes from three things: dense stitches, reinforced attachment, and smart finishing. Even a cute crochet keychain pattern will not last if the fabric is loose or the seam is weak.
- Crochet tightly: Size down your hook by 0.5 to 1 mm if needed. A tighter gauge reduces stretching and helps the keychain keep its shape.
- Choose the right stitch: Single crochet is excellent for durability. For an even denser fabric, try yarn under single crochet (if you already know it) or slip stitch crochet, but those can be harder on your hands.
- Reinforce the seam: Stitch the folded end twice, and run your needle through the seam area in different directions.
- Add an inner layer: For extra structure, sandwich a strip of felt, fabric, or plastic canvas inside the fold before sewing shut. Make sure edges are smooth so they do not poke through.
- Edge it: A simple single crochet border around a flat strap reduces curling and protects edges from fraying.
Also pay attention to ends. Weave them in far more securely than you would for a blanket. Keychains experience constant movement, so a short or lazy weave-in will eventually wiggle out.
Can Beginners Make Crochet Keychains?
Yes, crochet keychains are one of the best beginner projects because they are small, quick, and forgiving. This crochet keychain pattern uses basic skills: chaining, single crochet, turning your work, and weaving in ends. It is an excellent way to practice keeping your edges straight and your tension consistent without committing to a large project.
If you are brand new, here is what to focus on while you work:
- Counting stitches: Make sure you have the same number of stitches in each row so the strap does not become wider or narrower.
- Turning chain consistency: Ch 1 at the end of each row and do not accidentally count it as a stitch unless you intend to.
- Even tension: Try to keep your loops the same size. If the strap looks wavy, you may be crocheting too tightly on some rows and too loosely on others.
One of the nicest things about keychains is that even your first attempt can be useful. If it is not perfect, you can call it “rustic,” keep it for yourself, and make the next one a little neater.
“I made this key fob as my first finished crochet item. The step about sewing the folded end twice made a huge difference. After a month on my car keys it still looks neat and has not stretched.”
Easy Ways to Personalize It
After you master the basic crochet keychain pattern, personalization is where the fun really begins. Small changes can make a big visual impact, and they are great for gifts.
- Color blocking: Switch yarn colors every few rows. To keep the edges neat, change colors on the last yarn over of the final stitch in the row.
- Add surface crochet initials: Use a contrasting yarn and embroider a simple letter with backstitch or duplicate stitch. Keep stitches flat so they do not snag.
- Use a decorative stitch border: A crab stitch (reverse single crochet) edge creates a rope-like finish. It is slightly more advanced but very sturdy.
- Add a small charm: Attach a metal charm to the ring or jump ring rather than sewing it onto the crochet, which can distort the fabric.
- Make it a wristlet: Increase the length so it fits over your wrist, and use a swivel clasp. Reinforce the join because wristlets carry more weight.
If you sell or gift keychains, consider adding a small tag or a neat label, but avoid anything with sharp corners that could scratch phones or screens in a bag.
Frequently Asked Questions About Easy Crochet Keychain Pattern
My keychain strap curls. What did I do wrong?
Curling is usually caused by tight tension on one edge or by using a stitch pattern that naturally rolls. Single crochet is fairly stable, but edges can still curl if your hook is too small or if you skip stitches. Try adding a single crochet border around the strap, blocking it lightly with steam (do not touch acrylic with a hot iron), and making sure you work into the last stitch of every row.
Can I use bulky yarn for a crochet keychain pattern?
You can, but bulky yarn often makes a keychain that is thick and awkward on a key ring. It can also felt or pill quickly from friction. If you love the look, keep it short and narrow, use a large key ring or clasp, and crochet tightly so it does not look spongy. Cotton bulky yarn generally performs better than fluffy acrylic.
How do I keep the key ring from wearing through the yarn?
Wear happens when the yarn rubs directly against metal. You can reduce it by inserting a jump ring between the crochet and the key ring, using mercerized cotton, and stitching a small reinforcement area around the fold. Some makers also slide a short piece of clear tubing or ribbon into the fold, but make sure it is smooth and does not create sharp edges inside the crochet.
Should I line or stiffen my crochet keychain?
Lining is optional, but it is helpful if your stitches are slightly loose or if you want a very crisp shape. Felt is easy to cut and insert, and it adds body without much bulk. Avoid messy liquid stiffeners on keychains that will be handled often, since they can crack or become sticky over time. A tight gauge and good yarn choice usually provide enough structure.
What is the strongest way to sew the folded end?
A whip stitch across the full width, repeated twice, is strong and beginner-friendly. For extra strength, add a second line of stitching about 1/8 inch above the first, creating a reinforced band. Use a durable yarn tail or matching sewing thread. Make sure your stitches catch both layers evenly, and knot securely, then weave the ends in opposite directions.
How can I make multiples quickly for gifts or a craft fair?
Batch the steps. Crochet several straps first, all the same length, then do edging on all of them, then weave in ends, then attach hardware assembly-line style. Keep notes on your chain count, row count, and hook size so every crochet keychain pattern comes out consistent. Pre-cut sewing lengths for attaching rings, and consider using the same hardware type for speed.
Conclusion
A well-made crochet keychain pattern is one of those small projects that teaches big skills: even tension, neat edges, secure finishing, and confident attaching of hardware. Start with the simple strap style key fob in this guide, then experiment with colors, borders, and charms as you get comfortable. If your first one is not perfect, that is normal. Make a second using a slightly smaller hook and take extra time on the seam and weave-ins. Your next step is easy: grab a bit of cotton yarn, crochet one strap to test your ideal size, and attach it to your keys for a week. You will quickly learn what you love and what you want to tweak for your perfect everyday keychain.