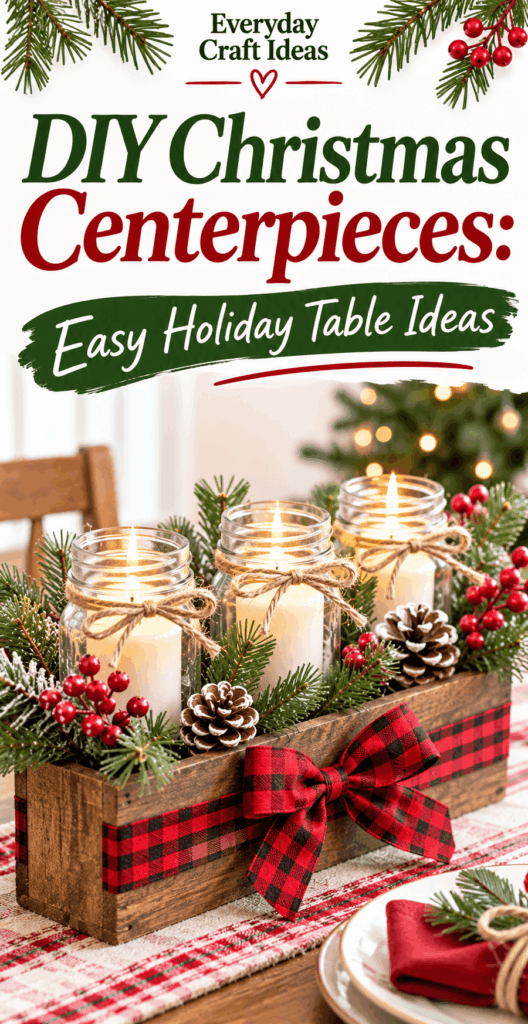
DIY Christmas Centerpieces: Easy Holiday Table Ideas
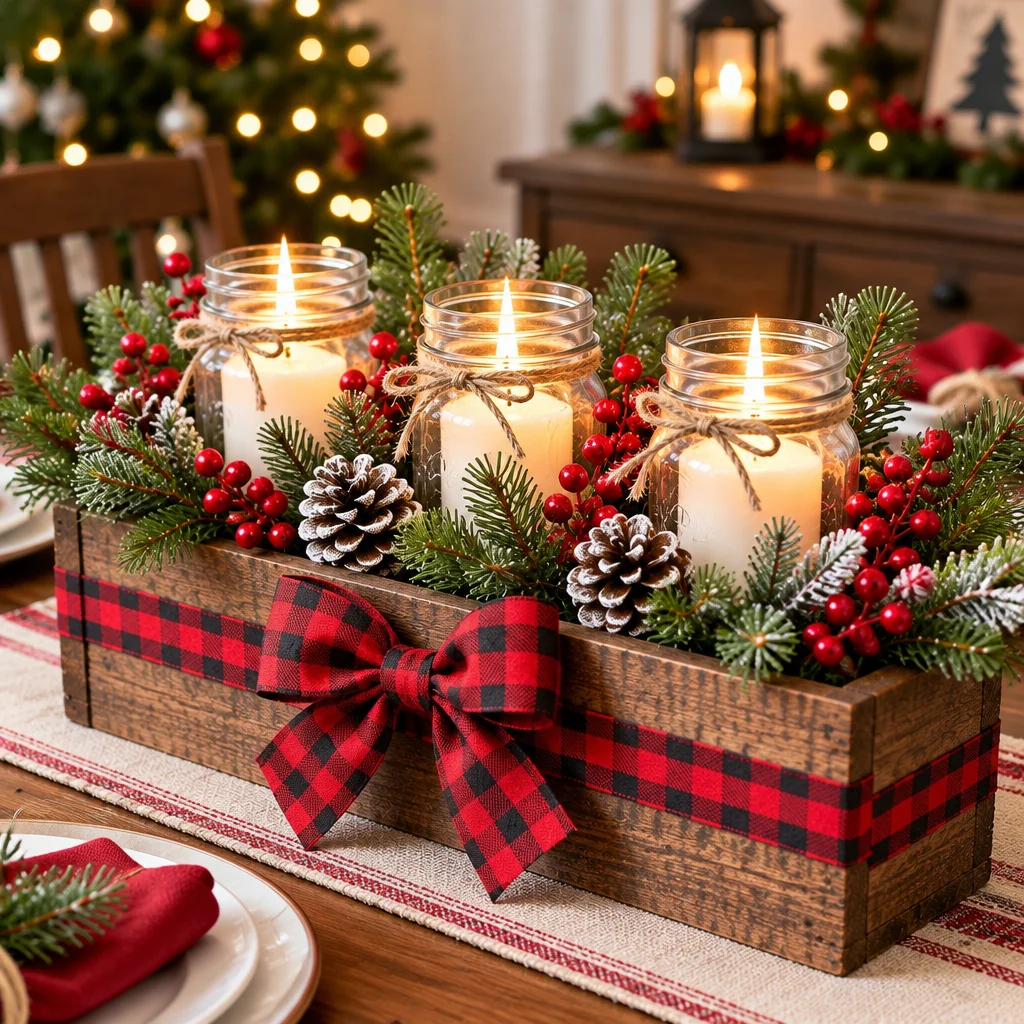
DIY christmas centerpieces are one of the fastest ways to make your home feel festive without redecorating the entire room. A good centerpiece anchors the table, adds sparkle and texture, and still leaves space for plates, serving dishes, and conversation. In this guide, I will walk you through several easy holiday table ideas that beginners can make with simple tools, plus practical techniques for building arrangements that look full and intentional.
You will find options for every style, from cozy rustic to classic red and green to modern metallics. If you are also crafting on a deadline, pair your table decor with quick handmade touches like gift toppers from these Christmas paper crafts or add a small handmade favor inspired by these DIY Christmas gift ideas people actually want. The projects below focus on safe, achievable steps, smart shortcuts, and easy variations so your centerpiece looks great from every seat at the table.
Materials and tools needed
You can make most diy christmas centerpieces with a small “core kit” and then customize with whatever you already have. Think in layers: a base (tray or runner), volume (greenery or filler), focal pieces (candles or ornaments), and accents (bows, picks, or berries). Choosing the right materials up front prevents common problems like tipping, drooping stems, or uneven height.
- Base: A low tray, shallow bowl, cake stand, wood slice, or even a sturdy piece of cardboard wrapped in kraft paper. A tray contains loose bits and makes cleanup easier.
- Greenery or filler: Fresh pine, cedar, faux garland, eucalyptus, or even paper leaves. Fresh greenery adds scent, faux lasts longer, paper works when allergies are a concern.
- Anchors: Pillar candles, LED candles, a vase, or a floral foam-free mechanic such as chicken wire, floral tape grid, or a pin frog (kenzan) in a bowl.
- Decor accents: Ornaments, pinecones, cinnamon sticks, ribbon, mini string lights (battery), berry picks, and small figurines.
- Adhesives and fasteners: Hot glue (for dry items only), glue dots (great for ornaments), floral wire, zip ties, and clear tape.
- Tools: Scissors, wire cutters, pruners (for fresh stems), a ruler or measuring tape, and a lighter or matches if using real candles.
If you are crafting with kids, swap hot glue for glue dots and pre-cut greenery pieces. You can also borrow kid-friendly ideas from these Christmas crafts for kids to create place-card holders that match your centerpiece.
Skill level and estimated time
Most diy christmas centerpieces fall into the beginner-to-confident beginner range because you are working with simple shapes and repeatable steps. The main skills are balancing height, securing items so they do not slide, and creating a pleasing mix of textures. If you can tie a bow, use scissors safely, and place items with intention, you can absolutely do this.
Difficulty: Beginner for tray-based designs; beginner to intermediate for fresh floral-style arrangements that require mechanics (like wire or tape grids).
Estimated time: 20 to 45 minutes for a simple candle-and-greenery centerpiece; 45 to 90 minutes for a fuller arrangement with wired picks, ornaments, and lighting.
Project size: For a standard dining table, aim for a centerpiece length of 18 to 30 inches if it is a runner style, or a 10 to 14 inch diameter if it is a round tray. This keeps it visually substantial without crowding place settings.
Good news for last-minute hosting: You can assemble the base in advance and add candles or fresh greenery the day of your gathering. If you are decorating on a tight budget for multiple events, the same centerpiece structure can be re-themed from Thanksgiving to Christmas to New Year’s just by switching ribbon and accents.
Preparation and safety tips
A little prep makes your diy christmas centerpieces sturdier and safer, especially when candles and greenery are involved. Start by clearing your workspace and laying down kraft paper or an old tablecloth to catch pine needles and glue strings. Measure your table width and note where serving dishes typically go so you do not build something that competes with dinner.
- Candle safety: Keep open flames away from greenery, ribbon tails, and hanging ornaments. If you want the candle look without worry, use quality LED pillars and taper LEDs. Never leave a lit centerpiece unattended.
- Fresh greenery care: If using fresh stems, snip ends and mist lightly. Keep greenery away from heat vents and direct sunlight to reduce drying.
- Hot glue caution: Hot glue bonds quickly and can burn. Use a low-temp glue gun when possible, and reserve hot glue for dry items like pinecones, wood, and plastic ornaments. Do not hot glue fresh stems.
- Stability check: Before decorating, test the base by nudging it gently. Add non-slip shelf liner under trays if your table is slick.
- Allergy-friendly options: Consider faux greenery or paper accents if anyone is sensitive to strong evergreen scents.
Finally, plan your “sight line.” A centerpiece should look pretty but still allow guests to see one another. Build low and wide for conversation-friendly tables, and save tall elements for buffets or entryway tables.
Project ideas and variations
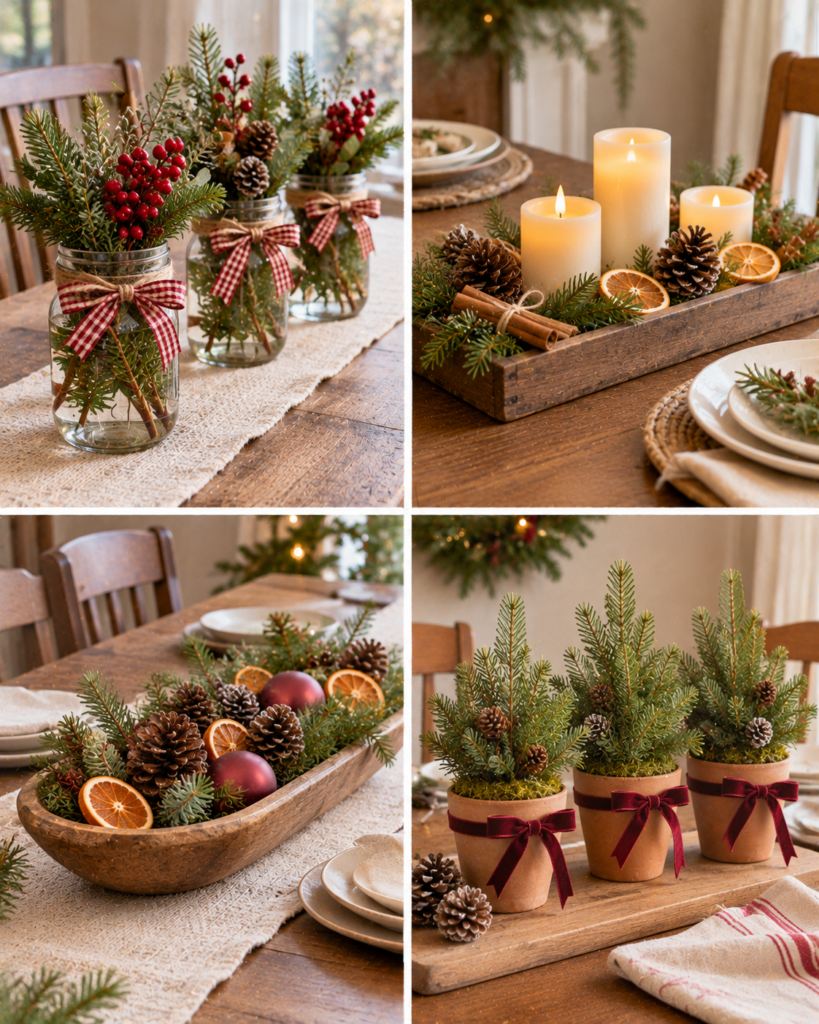
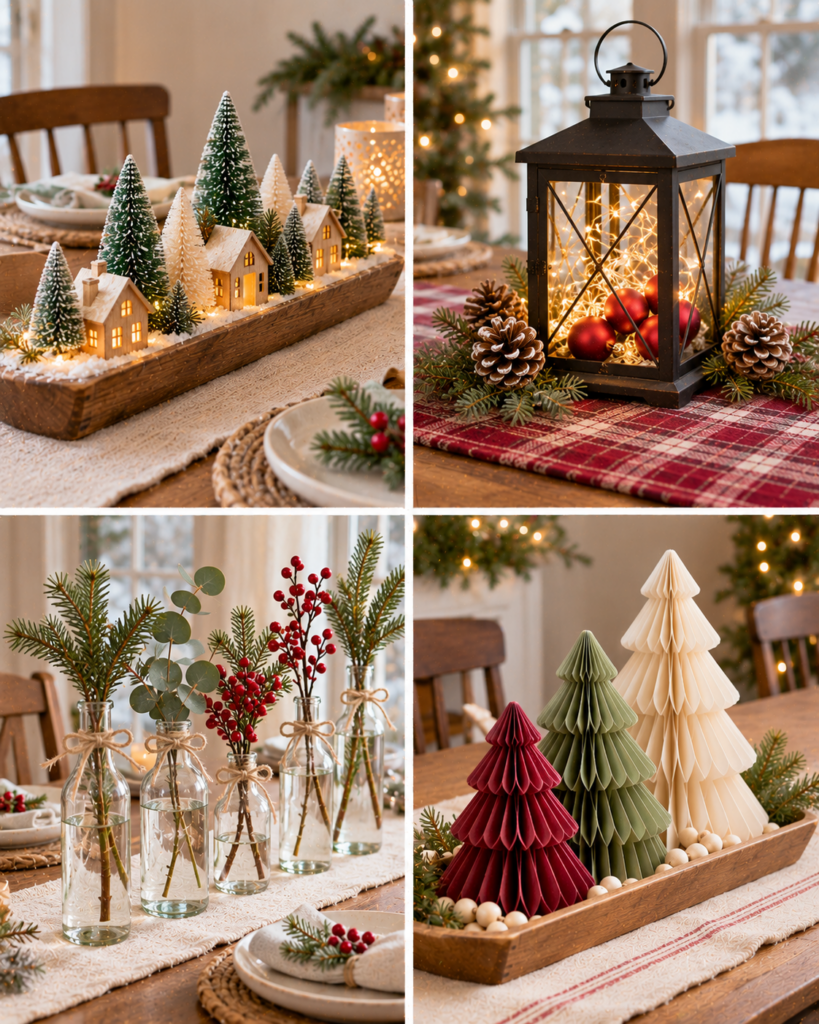
The best diy christmas centerpieces match your table’s purpose. A family-style dinner needs low designs that do not interfere with serving. A coffee table or mantel can handle taller arrangements. Below are three proven directions you can adapt, including ways to personalize with color and meaningful items.
Beginner friendly option
Classic candle tray centerpiece: Place three pillar candles (real or LED) on a tray in a tight cluster, then tuck greenery around them and add ornaments or pinecones. Use odd numbers for a natural look, and vary candle heights for dimension. Finish with a simple ribbon bow tied around one candle base or a small name tag tied to the tray handle for a personal touch.
Budget friendly option
Ornament bowl centerpiece: Fill a shallow bowl with unbreakable ornaments and add one large statement ornament on top. Mix matte and shiny finishes for depth. Add a short battery string light under the ornaments for a glow effect. This option is perfect for small tables because it stays compact and can be made with dollar-store supplies.
Creative and personalized option
Memory lane centerpiece: Add small framed photos, handwritten gift tags, or mini ornaments that represent family traditions. A simple way is to clip tiny photo prints to wired picks and place them among greenery. If you have extra crafting supplies from other parties, you can repurpose design tricks from budget-friendly party decoration ideas, like using a cohesive color palette and repeating shapes for a polished look.
Practical instructions and techniques
Use this step-by-step method to build sturdy diy christmas centerpieces that look balanced from every angle. The example below describes a low tray centerpiece with candles, but the same structure works for a bowl, wood slice, or long runner base.
- Choose and prep your base. Wipe the tray clean, then add a strip of non-slip liner underneath if needed. A stable base prevents shifting when the table is bumped.
- Mark the “safe zone” for dishes. Visually reserve 3 to 4 inches around the centerpiece for plates and serving utensils. Keeping the footprint controlled makes the arrangement feel intentional, not crowded.
- Anchor your main elements first. Place candles or a vase slightly off-center or in a tight cluster. Use a small dot of museum putty, glue dots (for LED candles), or double-sided tape to prevent sliding.
- Add greenery in short sections. Instead of one long garland, cut greenery into 4 to 8 inch pieces. Layer them in the same direction for a tidy look, or crisscross for a fuller, wilder style. Tuck stems under candles or secure with floral wire.
- Create visual triangles with focal accents. Place your largest ornaments or pinecones in three spots around the centerpiece. This spreads attention evenly and avoids a lopsided design.
- Fill gaps with small texture. Add berries, mini ornaments, or cinnamon sticks where you see empty pockets. Step back often and check from the ends of the table.
- Add lighting last. Thread battery fairy lights through greenery and hide the battery pack behind a candle or under the tray edge. Lighting is easier to adjust once everything else is in place.
- Final stability and flame check. If using real candles, confirm no greenery or ribbon is within the flame zone. Trim or reposition anything that could catch.
Technique tip: If your greenery will not stay put, create a tape grid across the tray base (crisscross clear tape) and tuck stems into the “cells.” It works like a simple mechanic without foam.
Common mistakes and troubleshooting
Even simple diy christmas centerpieces can look “off” at first. The fix is usually small: adjust height, repeat a color, or secure a slippery element. Here are the most common issues and how to correct them quickly.
- Problem: Centerpiece looks flat. Add height in small doses. Swap one pillar candle for a taller one, add a small pedestal under a candle, or use a few upright picks. Keep height changes gradual so it still feels cohesive.
- Problem: It feels messy or chaotic. Limit your palette to two or three main colors (for example, green, gold, and cream). Remove a few accents, then re-add them in a repeating pattern around the piece.
- Problem: Items slide when the table is bumped. Use non-slip liner under the tray and small dots of museum putty under candles or figurines. For ornaments, use glue dots rather than hot glue so you can reposition.
- Problem: Greenery dries out too fast. Use fresh greenery only a day or two before the event, mist lightly, and keep away from heat sources. Consider mixing fresh and faux so the centerpiece stays full longer.
- Problem: Candle soot or heat concerns. Switch to LED candles or use glass hurricane holders. Never let flames get close to greenery or ribbon.
“I tried the tape-grid trick with clippings from our yard and it finally stayed put. The centerpiece looked expensive, but it took me about 30 minutes. My guests kept asking where I bought it.”
Finishing and styling tips
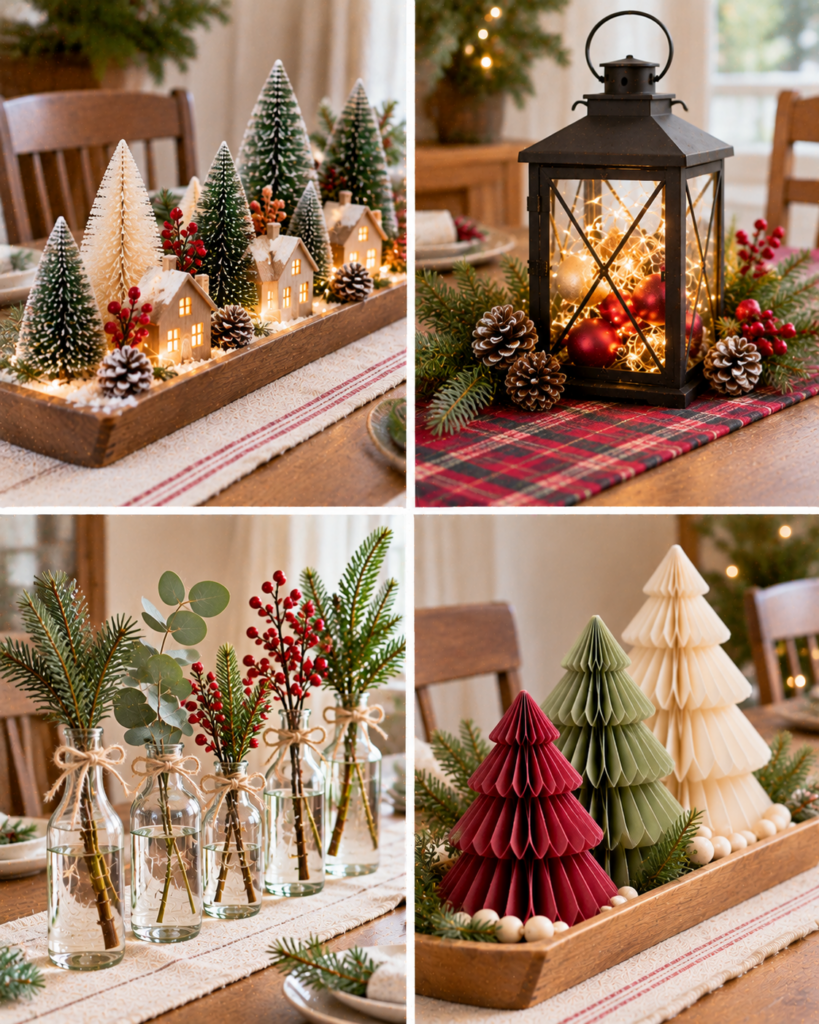
Finishing details are what make diy christmas centerpieces look store-bought instead of thrown together. Start by checking the arrangement from all viewpoints: both ends of the table and from a seated position. If you can see the “mechanics” (tape, wire, or battery packs), hide them with a small greenery sprig or an ornament placed intentionally.
- Use repeatable shine. Add metallics in at least three spots. For example, three gold ornaments spaced around the tray creates a cohesive sparkle.
- Vary texture, not clutter. Combine soft (greenery), glossy (ornaments), and rough (pinecones or wood). Then stop. Too many different small items can read as visual noise.
- Add a simple bow with purpose. Place one bow at the front edge of the centerpiece, not on every candle. Choose wired ribbon so loops hold their shape.
- Coordinate with place settings. Pull one color from your plates or napkins and echo it in the centerpiece. This is the fastest way to make the whole table feel designed.
If you want an extra handmade touch, add matching name tags or mini paper poinsettias. Quick paper accents pair perfectly with the ideas in Christmas paper crafts to make and keep your theme consistent.
Storage and care
One advantage of diy christmas centerpieces is that you can reuse many parts year after year if you store them well. How you store it depends on whether you used fresh greenery, faux stems, or mostly ornaments.
- Fresh greenery centerpieces: Remove and compost greenery after the holiday meal, especially if it has dried. Wipe the tray clean and store candles separately. If sap gets on the tray, a little rubbing alcohol on a cloth can help, but test on an inconspicuous area first.
- Faux greenery and wired picks: Store flat in a shallow bin to avoid crushing. If pieces get bent, reshape gently with your hands. Avoid hot attics where plastic can warp.
- Ornaments and breakables: Wrap fragile ornaments individually or place them in divided ornament storage. Remove glue dots before storage so surfaces do not get sticky over time.
- Lights and batteries: Remove batteries before storing to prevent corrosion. Coil string lights loosely to avoid kinks and tangles.
Before next season, do a quick “refresh” by fluffing greenery, replacing worn ribbon, and swapping in one new accent color to make the centerpiece feel updated without rebuilding from scratch.
Frequently Asked Questions About DIY Christmas Centerpieces: Easy Holiday Table Ideas
How do you make a simple Christmas centerpiece?
Start with a low tray, add two or three candles (LED is easiest), then tuck short greenery pieces around the base. Place three larger accents such as pinecones or ornaments spaced evenly, then fill small gaps with berry picks or mini ornaments. Keep the height low enough that guests can see each other, and secure slippery items with glue dots or museum putty.
What can I use for a budget Christmas centerpiece?
A shallow bowl filled with ornaments is one of the most affordable options. Mix finishes (matte and shiny) for depth, and add a short battery light strand underneath for glow. You can also use pinecones from outdoors (clean and fully dry them first) plus ribbon scraps. Dollar-store candles and a thrifted tray can look high-end with a consistent color palette.
How tall should a Christmas centerpiece be?
For a dining table where people are talking across the table, aim for 6 to 10 inches tall at the highest point. This keeps sight lines open. If you want height, use a design that is tall but narrow (like a slim vase) so guests can still see around it. Taller arrangements are better for buffet tables or entry consoles.
How do you decorate a Christmas table without blocking guests?
Choose a low, elongated centerpiece that runs down the middle and stays below eye level when seated. Keep bulky items toward the center and avoid tall, wide bouquets. Use candles, greenery, and ornaments in a shallow profile, and leave clear space near place settings. If you love height, add two small side pieces at the ends of the table instead of one tall center piece.
Can you make a centerpiece without fresh greenery?
Yes, and it can still look festive. Use faux garland, fabric poinsettias, dried orange slices, paper leaves, or a full ornament-and-light bowl. Another pretty option is a candle tray with ribbon loops and metallic picks. Without fresh greenery, focus on texture contrasts and repeating colors so the centerpiece still feels layered and intentional.
Final thoughts
DIY christmas centerpieces do not need complicated floral techniques to look beautiful. When you build from a stable base, keep the height conversation-friendly, and repeat a few colors and textures, your table will instantly feel holiday-ready. Pick one of the ideas above, gather your materials, and give yourself a relaxed 30 to 60 minutes to assemble, adjust, and refine. If you want to extend the handmade vibe beyond the centerpiece, add simple paper accents or small favors that match your theme. Your next step: choose your color palette tonight, then build the base tomorrow so you can enjoy the glow all season long.