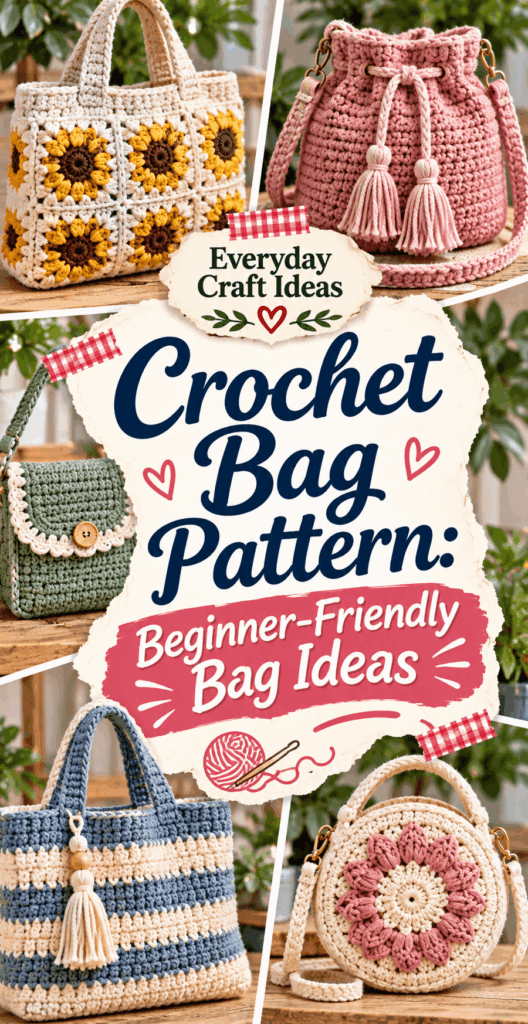
Crochet Bag Pattern: Beginner-Friendly Bag Ideas
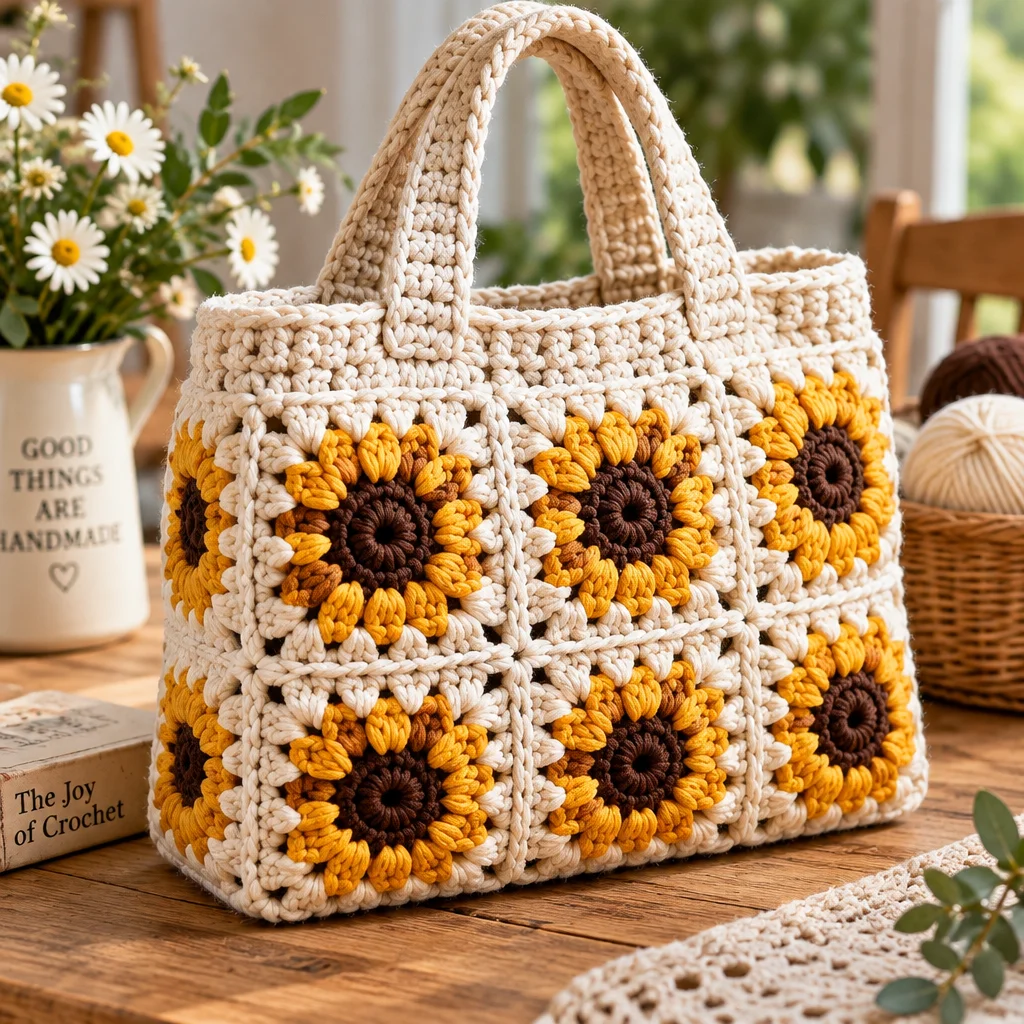
If you’ve been searching for a crochet bag pattern that feels truly doable as a beginner, you’re in the right place. Crochet bags are practical, forgiving, and incredibly customizable, whether you want a simple market tote, a small crossbody, or a structured mini purse. You’ll learn how to choose yarn that holds up to real life, what stitches create a sturdier fabric, and how to finish your bag so it looks polished rather than homemade in a rushed way.
To see a straightforward tote-style example alongside this guide, check out this easy crochet bag pattern. And if you’d like a quick warm-up project before committing to a bag, a small accessory like this beginner crochet bookmark helps you practice tension and neat edges. By the end, you’ll have several bag ideas plus the core techniques to make any crochet bag pattern beginner-friendly and successful.
Materials and tools needed
Choosing the right materials matters more for bags than for many other crochet projects because bags deal with weight, friction, and stretching. A solid crochet bag pattern can still flop or grow if the yarn and hook combination isn’t supportive. The good news is you don’t need fancy supplies, just the right basics.
- Yarn: For everyday totes, look for cotton, cotton blends, or sturdy acrylic. Cotton holds shape well and handles heat better than many synthetics. If you want a soft slouchy bag, a smooth acrylic can work, but choose a yarn with good twist so it won’t pill quickly.
- Hook: Use the size suggested on the yarn label as a starting point, then consider going down 0.5 to 1.0 mm for a denser fabric. Dense stitches make a bag sturdier and prevent items from poking out.
- Stitch markers: Essential for working in the round, tracking side seams, and placing strap anchors evenly.
- Tapestry needle: For weaving in ends securely. Bags get tugged, so flimsy end-weaving can unravel.
- Scissors and measuring tape: Measure strap length and body height accurately so the bag fits your use.
- Optional: lining fabric and sewing needle/thread: A lining reduces stretching and prevents small items from escaping through stitch gaps.
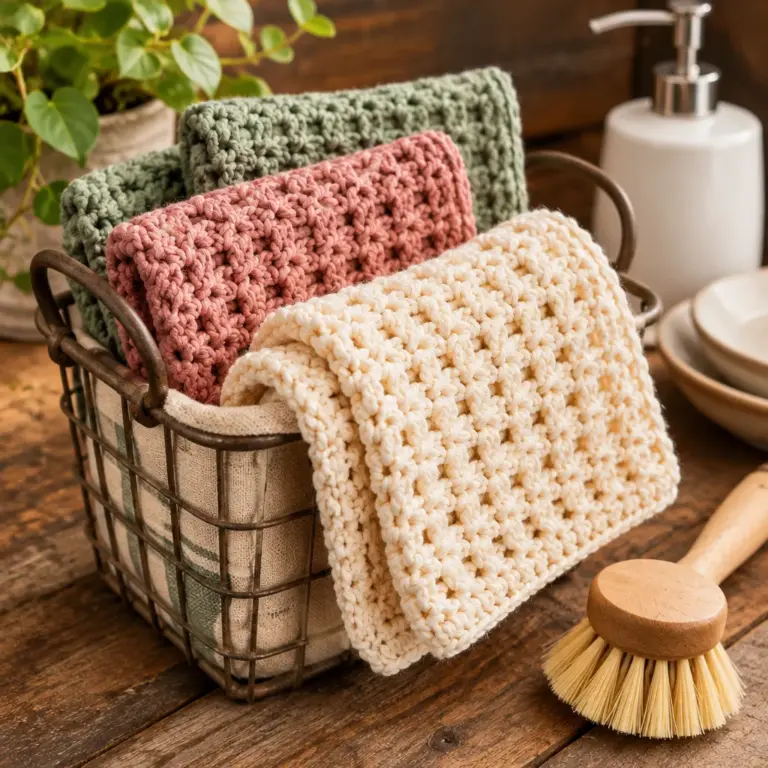
If you’re brand-new to maintaining clean edges and consistent tension, practicing on a small square like this easy crochet dishcloth pattern can help you dial in your stitch size before starting your bag.
Skill level and estimated time
Most beginner-friendly crochet bag projects sit at an easy to easy-intermediate level. If you can chain, single crochet, and work evenly across rows or rounds, you can complete a basic crochet bag pattern. Bags are a great learning project because they teach shaping (increases and decreases), structure (stitch density and reinforcement), and finishing (straps, seams, and optional lining).
Difficulty level depends on the bag style:
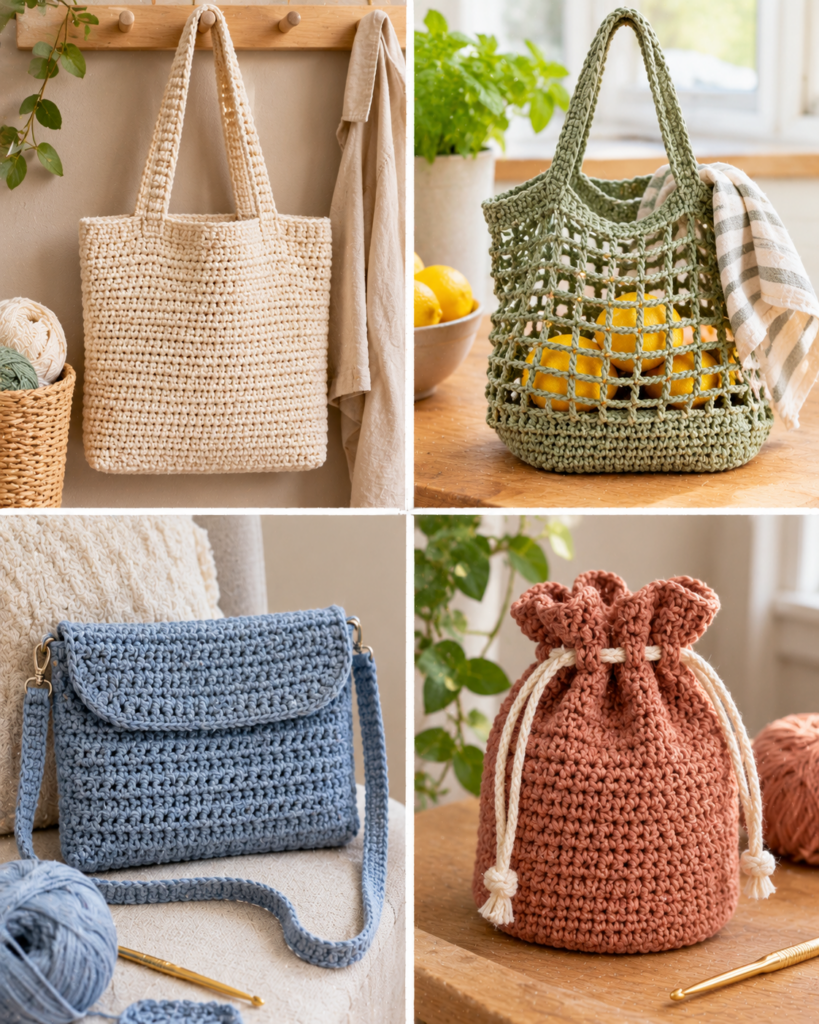
- Very easy: Simple rectangle tote (two panels seamed) or a basic round-bottom market bag with single crochet.
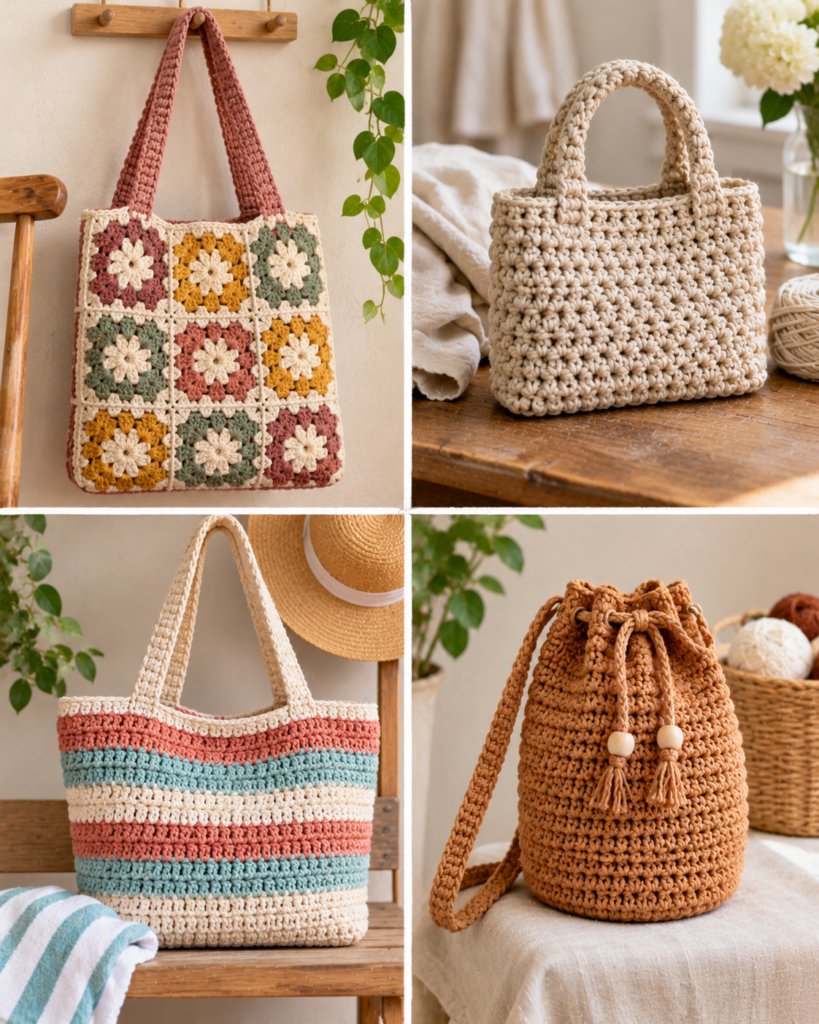
- Easy: Bucket bag in the round, simple crossbody with a flap, or a granny-square tote.
- Easy-intermediate: Colorwork, fitted lining with a zipper, or bags using multiple textures and stitch patterns.
Estimated time varies with size, yarn weight, and your pace. A small wristlet in worsted yarn may take 2 to 4 hours. A medium tote often takes 6 to 12 hours across a few evenings. A larger market bag in cotton can take 8 to 15 hours, especially if you’re aiming for neat finishing and reinforced straps.
Project size and use: Decide early whether you need a lightweight bag for errands, a sturdy book bag, or a small purse for essentials. Your use-case drives yarn choice, stitch density, and whether you should add a lining.
Preparation and safety tips
Before you begin any crochet bag pattern, set yourself up for success with a little prep. This saves time later and prevents the most common “why is my bag stretching?” disappointment.
Swatch for density: Make a small 4 in by 4 in square in the stitch you plan to use (often single crochet). Tug it gently in all directions. If it stretches easily and you can see clear gaps, go down a hook size or choose a firmer stitch. Bags benefit from a tighter gauge than hats or scarves.
Check drape and structure: Hold your swatch by one corner. If it droops dramatically, the bag may slouch. Slouchy can be cute, but if you want structure, adjust now by tightening gauge or switching yarn.
Ergonomics: Crochet bags involve long stretches of repetitive stitching. Use good posture, keep wrists neutral, and take breaks every 20 to 30 minutes. If your hand tingles or aches, stop and stretch. Comfort equals consistency.
Safe use notes: Avoid using loosely stitched bags for carrying sharp items like uncapped pens, scissors, or crochet hooks because they can poke through. For heavy loads like books, reinforce straps and consider lining to reduce stress on stitches and seams.
Prep your plan: Decide strap type (crocheted strap, i-cord, or purchased webbing), closure (open top, button loop, magnetic snap), and whether you’ll add pockets. Making these decisions now prevents ripping back later.
Project ideas and variations
A single crochet bag pattern can create many looks just by changing shape, stitch, or finishing. Below are three beginner-friendly directions, each with a different priority, so you can pick what fits your budget and style.
Beginner friendly option
The Two-Panel Tote is one of the simplest bags: crochet two rectangles, seam the sides and bottom, then add straps. Use single crochet or half double crochet for a sturdy fabric. Keep the top edge neat with one final round of single crochet and a firm strap attachment. This option is perfect if you dislike counting increases in the round. You can also add a simple inside pocket later, even if you skip lining.
Budget friendly option
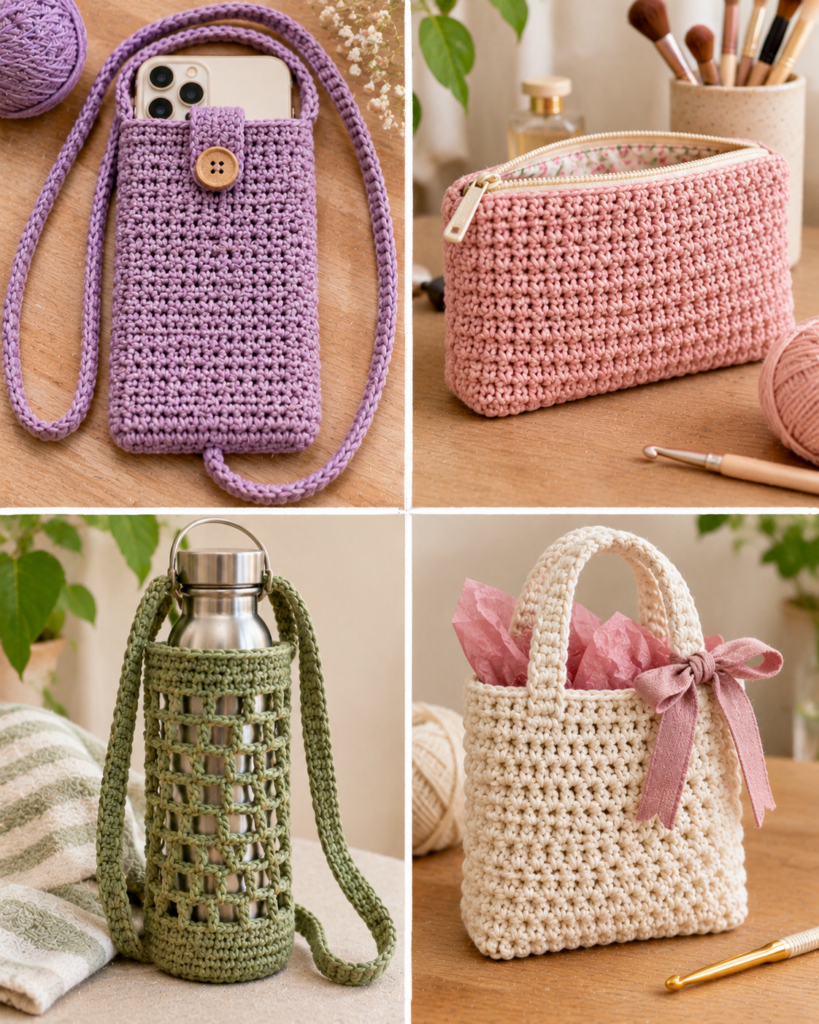
The One-Skein Mini Bag works well with leftover yarn or a single skein of sturdy cotton. Choose a small size like a phone-and-keys pouch. Use a tight stitch and a flap closure with a button. This style is ideal for gifts and craft fairs because it’s quick, uses minimal materials, and still looks intentional.
Creative and personalized option
The Granny Square Statement Bag lets you play with color and stash yarn. Join squares with a flat seam for a clean look, then add a fabric lining to keep the structure and hide ends. Personalize with surface crochet initials, a tassel, or contrasting straps. If you want your edges to look especially crisp, explore finishing ideas like those in these easy crochet edging patterns, many of which translate beautifully to bag openings and flaps.
Practical instructions and techniques
The steps below outline a reliable framework you can apply to almost any beginner crochet bag pattern, especially totes and bucket bags. The goal is a bag that holds shape, carries weight, and has a clean finish.
- Choose your bag dimensions and make a quick plan: Decide width, height, and strap drop (how far the strap hangs from the shoulder). A common tote is about 12 to 14 inches wide and 12 inches tall with a 9 to 11 inch strap drop. Planning prevents accidentally making a bag that is too shallow for your items.
- Start with a solid base: For a rectangle base, chain to your desired length and work single crochet back and forth, or work an oval in the round (single crochet around a starting chain, increasing at the ends). A stable base keeps the bag from turning into a saggy triangle after use.
- Build the body with a dense stitch: Single crochet creates one of the sturdiest everyday fabrics. Half double crochet works too but may stretch more. If you want subtle texture without too many holes, try single crochet in the back loop only for a ribbed look.
- Control stretch as you go: Keep your tension steady and avoid unintentionally increasing. Count stitches every few rounds if working in the round. Many “mystery flares” come from accidental increases where you place two stitches into one stitch.
- Add shaping only if you need it: For bucket bags, work straight up from the base. For tapered styles, place decreases evenly (for example, decrease 4 stitches per round at quarter points). Beginners get best results with minimal shaping.
- Create a firm top edge: Work 1 to 3 rounds of single crochet, and consider a final round of slip stitch for a crisp edge. A firm rim helps the bag keep its silhouette and supports closures.
- Make straps that do not stretch: For crocheted straps, use single crochet straps worked longways (multiple rows) rather than just chaining and crocheting along the chain. You can also crochet an i-cord or sew in cotton webbing behind a crocheted strap for reinforcement.
- Attach straps securely: Sew straps on with multiple passes using strong yarn or matching thread. Reinforce with a small square or extra rounds at the attachment points. Straps are the highest-stress area on any crochet bag pattern.
- Optional: add a lining: A simple cotton lining reduces stretch and prevents small items from slipping through. Cut fabric slightly smaller than the bag, hem the top edge, then hand-stitch it to the inside along the top rim and strap areas.
Common mistakes and troubleshooting
Even a simple crochet bag pattern can surprise you once you start using the bag. Here are the most common issues and fixes that actually work.
Problem: The bag is stretching a lot. This is often caused by a loose gauge, slippery yarn, or straps that are only chains. Fix it by using a smaller hook, switching to cotton or a firmer blend, and rebuilding straps with rows of single crochet. Adding a lining helps dramatically, especially for market bags and totes.
Problem: The sides are wavy or flaring. In the round, flaring usually means accidental increases. Use stitch markers to mark the first stitch of each round and count stitches every few rounds. In rows, wavy edges often come from adding stitches at the ends. Make sure you don’t crochet into the turning chain unless the pattern tells you to.
Problem: The bag leans or twists. This can happen with continuous rounds. Try joining rounds with a slip stitch and chaining 1 at the start, or use a “stacked single crochet” start to keep height consistent. Also check that your strap attachments are evenly spaced.
Problem: Holes between stitches. Some stitch patterns are naturally lacy. If you want a tighter fabric, stick with single crochet, waistcoat stitch (single crochet into the V), or smaller hook size. If you love the airy look, plan a lining to keep it functional.
Problem: Seams look bulky. Use a mattress stitch for an invisible seam or slip stitch seam from the wrong side for a clean ridge. Blocking lightly can also help seams relax and flatten.
Finishing and styling tips
Finishing is what makes a beginner crochet bag pattern look professional. Take your time here, because these last details determine how the bag wears and how long it lasts.
Weave in ends like you mean it: For bags, weave each end through multiple directions, not just a straight line. Run the yarn tail through 6 to 10 stitches, change direction, then go back again. Trim only after tug-testing lightly. If your yarn is slippery, consider a tiny dab of fabric glue on the tail inside the lining area, but do not rely on glue alone.
Block gently if needed: Cotton bags can benefit from light steam blocking or damp blocking to even stitches. Shape the bag to measurements and let it dry fully. Do not overstretch, especially if you want structure.
Add a closure for real life: A magnetic snap adds a clean finish (best installed through lining). A button loop is beginner-friendly and works well for flap bags. For totes, a simple tie closure with a cord can be enough.
Style ideas: Add a tassel, a leather tag, or a scarf tied to one handle. If you want a decorative top edge, you can borrow edging concepts from blanket borders and adapt them to the bag opening using these crochet edging patterns.
“I made my first tote using a simple crochet bag pattern and cotton yarn, and the biggest game-changer was switching to a smaller hook for tighter stitches. My straps stopped stretching once I made them in rows instead of just chaining. I actually use the bag weekly now.”
Storage and care
A handmade crochet bag pattern becomes more enjoyable when you know how to care for it properly. Care depends on yarn choice, lining, and whether you used any hardware.
Washing: Cotton bags usually handle gentle machine washing, but the safest option is hand washing in cool water with mild detergent, especially if the bag has a lining, magnetic snap, wooden buttons, or leather details. If machine washing, place the bag in a mesh laundry bag and use a delicate cycle. Avoid hot water, which can shrink some fibers and warp linings.
Drying: Air dry flat whenever possible. Hanging a wet crochet bag can stretch it. Reshape the bag while damp by smoothing the base and straightening seams. If your bag has a flat bottom, stuff it lightly with a towel while drying to help it keep its shape.
Storage: Store bags stuffed lightly with tissue paper to prevent creases and to support the shape. Keep out of direct sunlight to reduce fading, especially for dyed cotton. Avoid storing in damp areas to prevent mildew.
Pilling and fuzz: Acrylic and some blends may pill over time. You can carefully remove pills with a fabric shaver, but go slowly to avoid catching stitches.
Hardware check: If you use snaps, D-rings, or swivel hooks, inspect occasionally for loosening. Tighten any stitching around attachment points before it becomes a tear.
Common Questions
How do I stop my bag bottom from sagging?
Start with a firmer base: use single crochet, a tighter hook, and consider a rectangular or oval base with evenly placed increases. You can also crochet the base as a double-layer panel by making two bases and stitching them together, or insert a plastic canvas sheet between lining and crochet to keep the bottom flat. Avoid carrying heavy items without strap reinforcement.
Should I work in joined rounds or continuous rounds for a tote?
Both work, but joined rounds create a clearer “round boundary” and can help keep sides straight for beginners. Continuous rounds are faster but may produce a subtle spiral and can lean if your tension changes. If you choose continuous rounds, use a stitch marker to track the first stitch and consider a “jogless join” method when changing colors.
My strap twists or feels uncomfortable. What can I do?
Twisting usually happens with long chain straps or when strap edges are uneven. Make straps in rows of single crochet for stability and comfort. If you already finished the bag, you can sew a strip of cotton twill tape or webbing to the underside of the strap. Also check your strap attachment points to ensure they’re aligned and not pulling at an angle.
How can I add pockets to a crochet bag?
The easiest pocket is a simple rectangle: crochet a small panel, then sew three sides to the inside of the bag, leaving the top open. For extra security, add a snap or small button. If your bag is lined, sew the pocket onto the lining fabric before attaching the lining to the bag, which creates cleaner stitching and stronger support.
How do I make my stitches look more even?
Even stitches come from consistent tension and a consistent way of forming each stitch. Use the same hand position, keep your yarn feed steady, and consider using an ergonomic hook if you grip tightly. Blocking can also even out minor inconsistencies. If edges look messy, add a final single crochet border around panels before seaming for a cleaner outline.
Can I sell items made from a crochet bag pattern?
It depends on the pattern designer’s terms. Many designers allow selling finished items while asking you not to redistribute the pattern itself. Always check the pattern notes or listing. If you’re designing from your own notes or using basic construction techniques, you can generally sell your finished bags. When in doubt, crediting the designer is a respectful best practice.
Frequently Asked Questions About Crochet Bag Pattern: Beginner-Friendly Bag Ideas
What is the easiest crochet bag for beginners?
The easiest beginner bag is usually a two-panel tote made from two rectangles in single crochet. You crochet two identical pieces, seam the sides and bottom, and add straps. There’s minimal shaping, and you can easily adjust size by adding rows or stitches. If you want an even simpler option, make a small pouch with a flap and button, then add a wrist strap.
What yarn is best for crochet bags?
Cotton is a top choice because it’s strong, holds shape, and handles friction well. Cotton blends can be slightly softer while still sturdy. Acrylic can work for casual, lightweight bags, but it may stretch more over time. For market bags carrying produce, choose a smooth, tightly spun cotton yarn and a dense stitch to reduce stretching and sagging.
How do you make a crochet bag sturdy?
Use a smaller hook than the yarn label suggests to create a tighter fabric, and choose dense stitches like single crochet or waistcoat stitch. Reinforce stress points by adding extra stitching where straps attach. Straps should be made from rows (not just chains), and a fabric lining helps a lot by limiting stretch and supporting the overall structure of the bag.
Do crochet bags need lining?
Not always, but lining is highly recommended if your stitch pattern has gaps, you carry small items like lip balm or earbuds, or you want the bag to keep its shape. A lining also protects the yarn from wear caused by keys and sharp corners. For a simple tote in tight single crochet, you can skip lining, but adding it often makes the bag feel more durable.
How much yarn does a crochet bag need?
Yarn needs vary by size and stitch density. A small clutch or mini crossbody may use 150 to 250 yards of worsted yarn. A medium tote often takes 300 to 600 yards, especially in single crochet. A large market bag can take 600 to 900 yards depending on height and strap length. If you’re unsure, buy one extra skein to match dye lots.
Final thoughts
A beginner crochet bag pattern is one of the most satisfying ways to build real crochet skills while making something you can use daily. Focus on sturdy yarn, a tight enough stitch, and reinforced straps, and you’ll avoid the most common stretching and sagging issues. Start with a simple tote or mini bag, then level up with lining, pockets, or decorative edging once you’re comfortable. Your next step: pick the bag style that fits your life, make a quick swatch for density, and commit to careful finishing. You’ll be amazed how quickly your “first bag” turns into a favorite handmade essential.