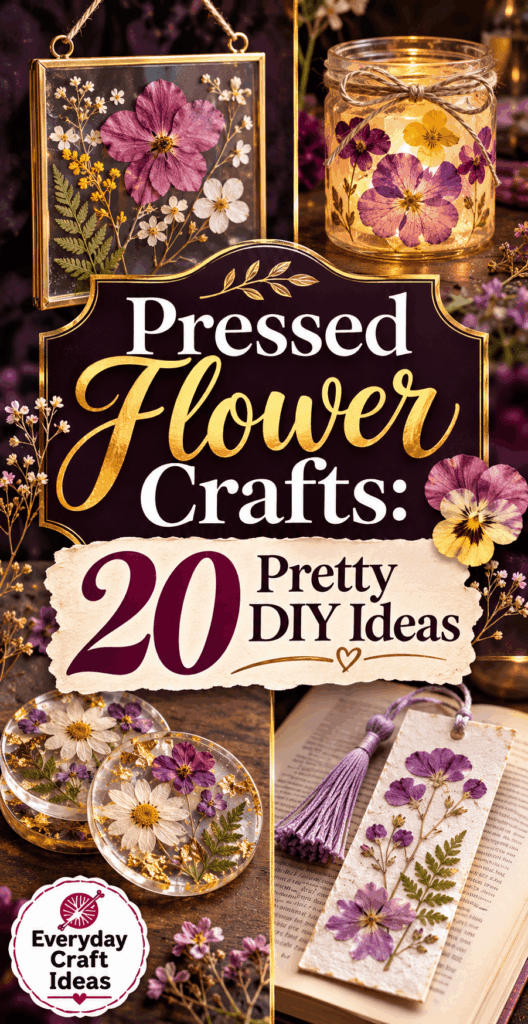
Pressed Flower Crafts: 20 Pretty DIY Ideas
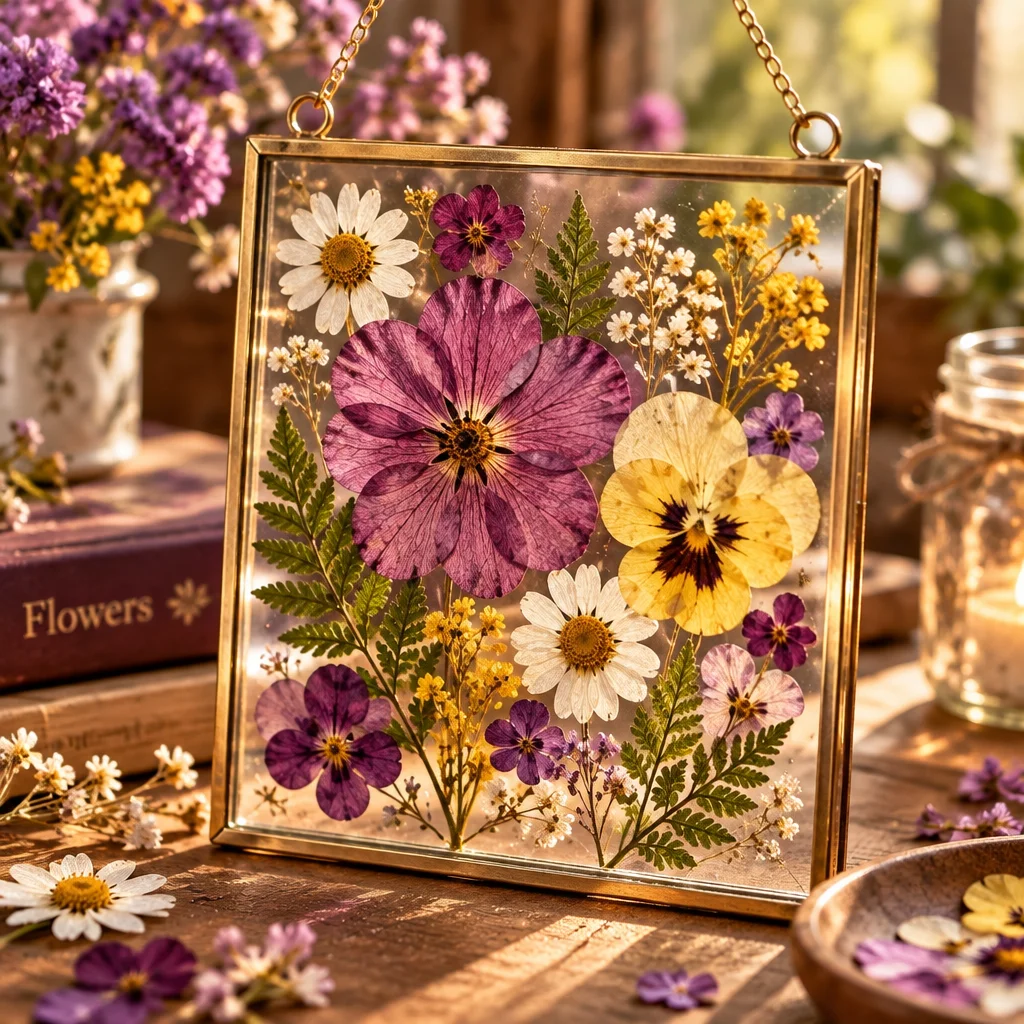
Pressed flower crafts are one of the easiest ways to turn a walk outside, a bouquet, or even a few backyard weeds into lasting decor and meaningful gifts. With a little patience and the right materials, you can preserve blooms for bookmarks, cards, wall art, and keepsakes that look polished even if you are a total beginner. This guide shares 20 pretty DIY ideas, plus the practical “how-to” details that make the results crisp, flat, and long-lasting instead of brown or moldy. If you want seasonal projects, you can also pair pressed flowers with simple shapes from these Christmas paper crafts or kid-friendly gift tags from these Christmas crafts for kids.
What you need to get started
You do not need fancy equipment for pressed flower crafts, but you do need clean, dry materials and a plan for keeping moisture away. Most projects fall into two stages: pressing (drying flat) and mounting (attaching and protecting).
- Pressing setup: A heavy book, flower press, or two flat boards with clamps. Add blotting paper (printer paper, parchment, or uncoated coffee filters) and cardboard for airflow.
- Cutting tools: Small scissors or snips for trimming stems and petals, plus tweezers for placing delicate pieces without tearing.
- Adhesives: Acid-free glue stick for paper crafts, PVA craft glue (used sparingly), double-sided tape for clean edges, or archival gel medium for mounting.
- Protective finishes: Clear self-adhesive laminating sheets, sheet protectors, or glass frames. For paper items, an acid-free spray sealer helps slow fading.
- Workspace basics: Wax paper to protect your table, a soft paintbrush for nudging petals, and a notebook to label what you pressed and the date.
Choose flowers that are already dry on the surface. If they feel damp from rain or dew, let them air-dry indoors for an hour first. Moisture is the number-one cause of browning and mold during pressing.
Pressing and drying flowers safely
Pressing is safe and simple, but treat plants like you would any crafting supply: handle thoughtfully and know what you are picking. Avoid toxic plants, irritant sap, and unknown roadside flowers that may have been sprayed.
- Pick responsibly: Harvest small amounts, avoid protected species, and skip flowers from areas treated with pesticides.
- Prep your blooms: Remove thick stems, split bulky flower heads (like roses) into flatter layers, and blot any surface moisture with paper.
- Build a pressing “sandwich”: Cardboard, blotting paper, flowers (not overlapping), blotting paper, cardboard. This structure helps pull moisture away.
- Apply even pressure: Place inside a heavy book or press and add extra weight. Uneven pressure causes curled petals and wrinkling.
- Wait and check: Leave for 10 to 21 days depending on thickness. Replace damp papers after the first 2 to 3 days if you notice humidity.
Wash hands after handling unknown plants, and keep pressed botanicals away from food surfaces. If you have allergies, consider wearing a simple dust mask when working with very dry petals that can crumble.
20 ideas and projects to try
Once you have a small stash of pressed petals and leaves, you can make a surprising variety of pressed flower crafts. Below are 20 ideas grouped by type, each with a quick note on what makes it work well.
- 1. Minimalist framed botanical: One stem centered on white cardstock looks modern and is very forgiving.
- 2. Gallery wall set: Press similar leaves in different sizes and frame as a trio.
- 3. Floating glass frame art: Sandwich flowers between two glass panes for an airy look.
- 4. Laminated bookmark: Use laminating sheets for durability and a smooth finish.
- 5. Tassel bookmark: Add a ribbon tassel and hole punch before sealing.
- 6. Greeting cards: Mount flowers on folded cardstock and add a simple handwritten message.
- 7. Gift tags: Tiny pressed petals plus initials are perfect for birthdays and holidays.
- 8. Envelope liner accents: Glue a pressed sprig inside an envelope flap for a sweet surprise.
- 9. Wax seal backing card: Pressed flowers around a wax seal look elegant for weddings.
- 10. Phone case insert (no glue): Slip pressed flowers behind a clear case as a removable design.
- 11. Resin-look coaster alternative: Use clear laminating sheets over thick cardstock for a “sealed” look without mixing resin.
- 12. Faux resin keychain: Seal between laminating sheets, cut shape, punch hole, add jump ring.
- 13. Journal cover panel: Cover cardboard with flowers and protect with clear book covering film.
- 14. Candle with external decoration: Tie pressed flowers onto a pillar candle with twine and a paper wrap so nothing is near the flame.
- 15. Tealight holder wrap: Decorate the outside of a glass votive with pressed flowers and decoupage, keeping decorations away from heat.
- 16. Wall hanging banner: Mount flowers on small paper flags and string across a wall.
- 17. Shadow box keepsake: Add a date and small mementos like concert stubs.
- 18. Herbarium-style labels: Press, mount, and label with plant name and location.
- 19. Sun-catcher style window art: Sandwich flowers between clear sheets and hang away from direct harsh sun to reduce fading.
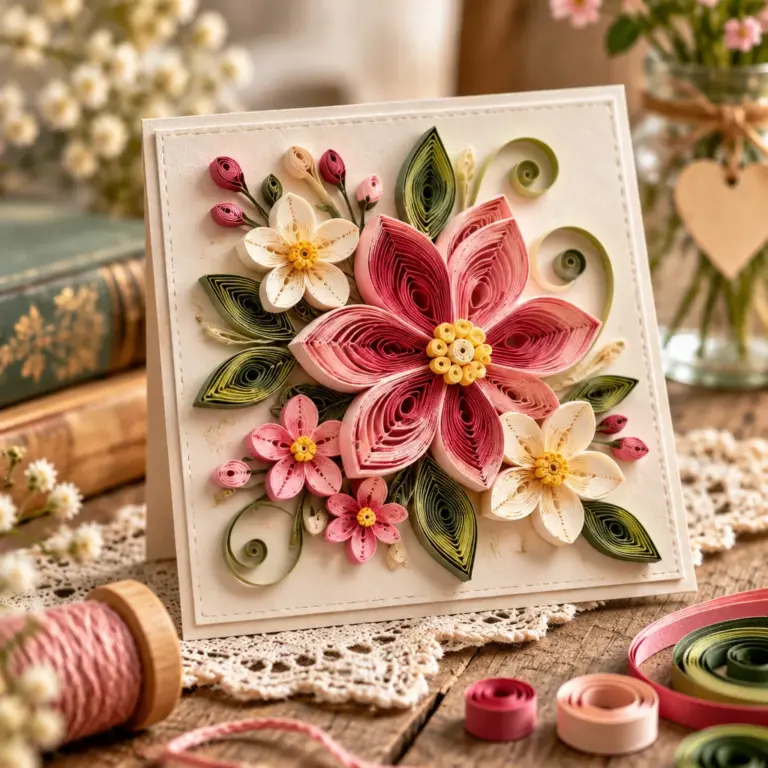
- 20. Mixed-media collage: Combine pressed flowers with paper cutouts, stamps, or simple quilled shapes like those in holiday paper craft ideas.
Framed botanicals, bookmarks, resin-look alternatives, greeting cards, candles with external decoration and wall art
If you want to pick a first project, choose based on how much handling the item will get. Bookmarks and keychains need stronger sealing. Frames and wall art can be more delicate.
Quick picks by goal: For a gift, try a card, tag, or framed piece. For practical use, a laminated bookmark is the most durable beginner option. If you love the glossy look of resin but do not want chemicals or curing time, laminating sheets or clear self-adhesive film can mimic that shine for lightweight items.
Candle note: For candle crafts, keep botanicals external and away from the flame. Never embed dried flowers into a candle you plan to burn, and do not place dried petals where they could ignite. A safe approach is a decorative wrap around a candle that is removed before lighting, or decoration on the outside of a glass holder where heat is minimal.
How to make and customize the projects
The difference between “cute” and “wow” with pressed flower crafts is usually composition, clean adhesive use, and a protective finish. Below is a dependable process you can adapt to most paper-based projects like cards, bookmarks, tags, and framed prints.
- Plan the layout first: Place flowers on your background without glue. Take a quick phone photo so you can recreate it if pieces shift.
- Choose a background with contrast: White cardstock is classic, but kraft paper makes bright petals pop. Dark paper highlights pale flowers.
- Attach with minimal adhesive: Use a tiny amount of glue applied with a toothpick. Too much moisture can stain petals or wrinkle paper.
- Press again briefly: Put the finished piece under clean paper in a book for 1 to 12 hours to keep everything flat while the adhesive sets.
- Seal or protect: Frame under glass, laminate, or use clear film. This prevents snagging and reduces humidity exposure.
To customize, add hand lettering, a simple border, or a cut-paper shape behind the flowers. If you enjoy fiber crafts, pairing a pressed-flower card with a small yarn embellishment can be charming. For example, a tiny crocheted bloom from this easy crochet flower pattern makes a sturdy focal point next to delicate petals.
Choosing flowers and arranging compositions
Not all flowers press the same. Flat blooms (pansies, cosmos, daisies) are easy; thick flowers (roses, peonies) need to be separated into layers. Leaves and ferns press beautifully and fill space when petals are small.
- Use odd numbers: Three small blossoms often look more natural than two.
- Mix shapes: Combine one “hero” bloom with smaller filler flowers and a leaf for structure.
- Mind the direction: Angle stems slightly upward for energy, or keep them straight for a calm, botanical poster look.
- Leave breathing room: Crowding makes pieces look messy and increases the chance of petals lifting at the edges.
If your flowers are brittle, move them with tweezers and support the underside with a scrap of paper. For tiny fragments, a soft dry paintbrush helps you nudge pieces into place without cracking them.
Adhesives, fading prevention and preservation
Pressed flowers fade over time, especially in direct sun. Your best defense is the right adhesive and a protective barrier.
- Best adhesives for paper: Acid-free glue stick for broad contact, or archival gel medium for stronger hold. Avoid soaking petals with watery glue.
- Fast, clean option: Tiny pieces of double-sided tape hidden under petals work well for flat flowers.
- Sealing options: Frames under glass provide strong physical protection. Laminating sheets create a moisture barrier for bookmarks and tags. Spray sealers can help, but use light coats and test first because some sprays darken petals.
- Reduce fading: Display framed pieces away from direct sunlight and humidity. Consider UV-protective glass if you are framing a special keepsake.
If you like soft textures, you can also mount pressed flowers onto felt for a cozy look, then frame it. If you are new to felt work, these felt crafts for beginners are a helpful way to practice clean cutting and gluing.
Supplies, cost, time and skill level
Pressed flower crafts are beginner-friendly and budget-friendly. Most costs come from the finishing step, like frames or laminating supplies.
- Skill level: Beginner for bookmarks, cards, and framed pieces. Intermediate if you are making clean keychains, layered collages, or shadow boxes.
- Time: Pressing takes 10 to 21 days. Assembly is usually 20 to 90 minutes per item depending on complexity.
- Cost: If you already have paper and a heavy book, you can start nearly free. Expect to spend more on frames, UV glass, laminating sheets, and archival adhesives. For selling, packaging adds cost too. If you want giftable seasonal items, these Christmas crafts to sell can help you think about pricing and presentation.
- Project size and use: Bookmarks and tags are small and quick, while wall art and shadow boxes need more planning and protected display space.
Beginner mistakes and troubleshooting
Most issues come from moisture, too much glue, or handling fragile flowers too roughly.
- Problem: Flowers turned brown. Cause: too much moisture or flowers were past their prime. Fix: press fresher blooms, change blotting papers after a few days, and avoid very thick flowers unless split.
- Problem: Mold spots. Cause: damp flowers or humid environment. Fix: discard moldy pieces, clean your press materials, and press in a drier room with fresh paper layers.
- Problem: Petals curl or lift. Cause: uneven pressure or glue applied only in the center. Fix: press longer, use a brief “second press” after mounting, and tack down edges with tiny adhesive dots.
- Problem: Wrinkled background paper. Cause: wet glue or too much sealer at once. Fix: use less adhesive, choose heavier cardstock, and apply sealer in light passes.
“I tried the laminated bookmark idea with daisies from my yard. My first set browned because I rushed the drying, but after I changed the paper on day three and pressed longer, they came out crisp and bright. Now I make a few every month as little gifts.”
Frequently Asked Questions About Pressed Flower Crafts: 20 Pretty DIY Ideas
How long does it take to press flowers?
Most flowers take 10 to 21 days to fully dry when pressed in a book or flower press. Thin petals can be ready closer to 10 days, while thicker blooms and juicy stems need longer or should be split into flatter layers. If you open the press and the flower feels cool or flexible, it still holds moisture. Give it more time and swap the paper if it feels damp.
Which flowers press best?
Flat, naturally low-moisture flowers press best: pansies, violets, cosmos, daisies, buttercups, and small wildflowers. Ferns, grasses, and many leaves also press beautifully and keep their shape. Very thick flowers like roses and peonies can still work, but you will get better results by pressing individual petals or thinner slices of the bloom rather than the full head.
How do you seal pressed flowers?
The most reliable “seal” is physical protection: laminate small items, or frame under glass for artwork. For paper crafts, an acid-free spray sealer can add a light protective layer, but it is not a perfect barrier against humidity. Use multiple light coats and let each dry fully. Always test first because some sealers deepen colors or make delicate petals slightly translucent.
Can I use Mod Podge on pressed flowers?
You can, but use it carefully. Decoupage glue is water-based and can darken petals, cause bleeding, or wrinkle thin paper. If you want to try it, choose a matte formula, use a very thin layer, and apply with a soft brush in gentle strokes. It is often better to glue flowers down first and then protect the whole piece behind glass or clear film.
Why are my pressed flowers cracking when I handle them?
They are likely over-dry and brittle, or you are picking them up by the petals instead of supporting the whole flower. Use tweezers, slide a scrap of paper underneath to lift, and avoid bending. For projects that will be handled often, like bookmarks, seal them in laminating sheets so the flowers are never touched directly.
How should I store pressed flowers before crafting?
Store them flat, dark, and dry. A simple method is a binder with sheet protectors, with each flower set tucked into a page. Keep the binder away from sunlight and bathrooms or kitchens where humidity fluctuates. Label the date and flower type so you can use older, more fragile pieces in framed art and save sturdier ones for handled projects.
Final tips and next projects
Pressed flower crafts reward patience. Press fresh, dry blooms, give them enough time to fully dry, and handle them like delicate paper. When in doubt, choose a simple layout, use minimal adhesive, and protect your finished work under glass or laminate for longevity. For your next step, pick one “practical” project (a laminated bookmark) and one “display” project (a framed botanical) so you learn both sealing styles. If you want to branch out into mixed materials, try pairing pressed florals with clean cutouts from paper craft templates or adding soft texture with ideas from beginner felt projects. Start small, keep notes, and you will quickly build a stash of beautiful pressed pieces ready for gifting and decorating.