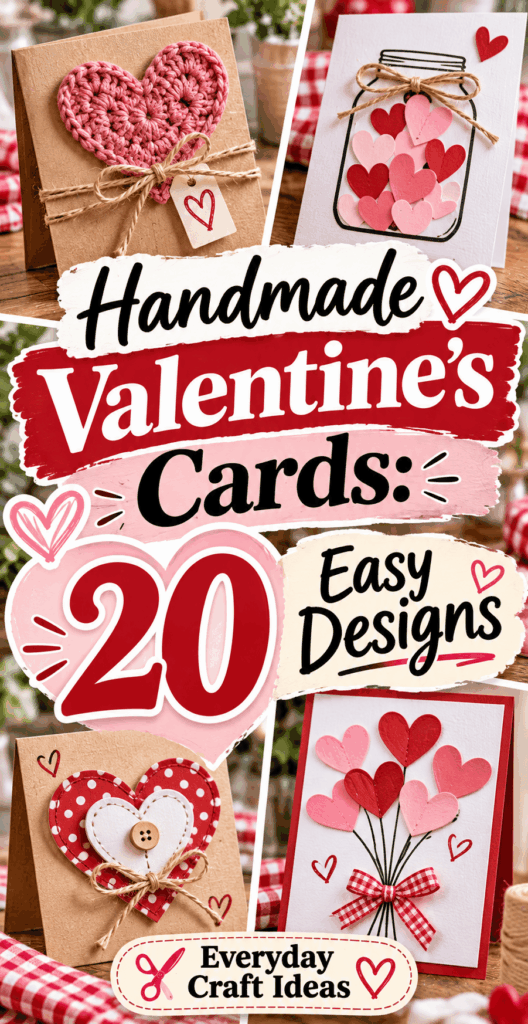
Handmade Valentine’s Cards: 20 Easy Designs
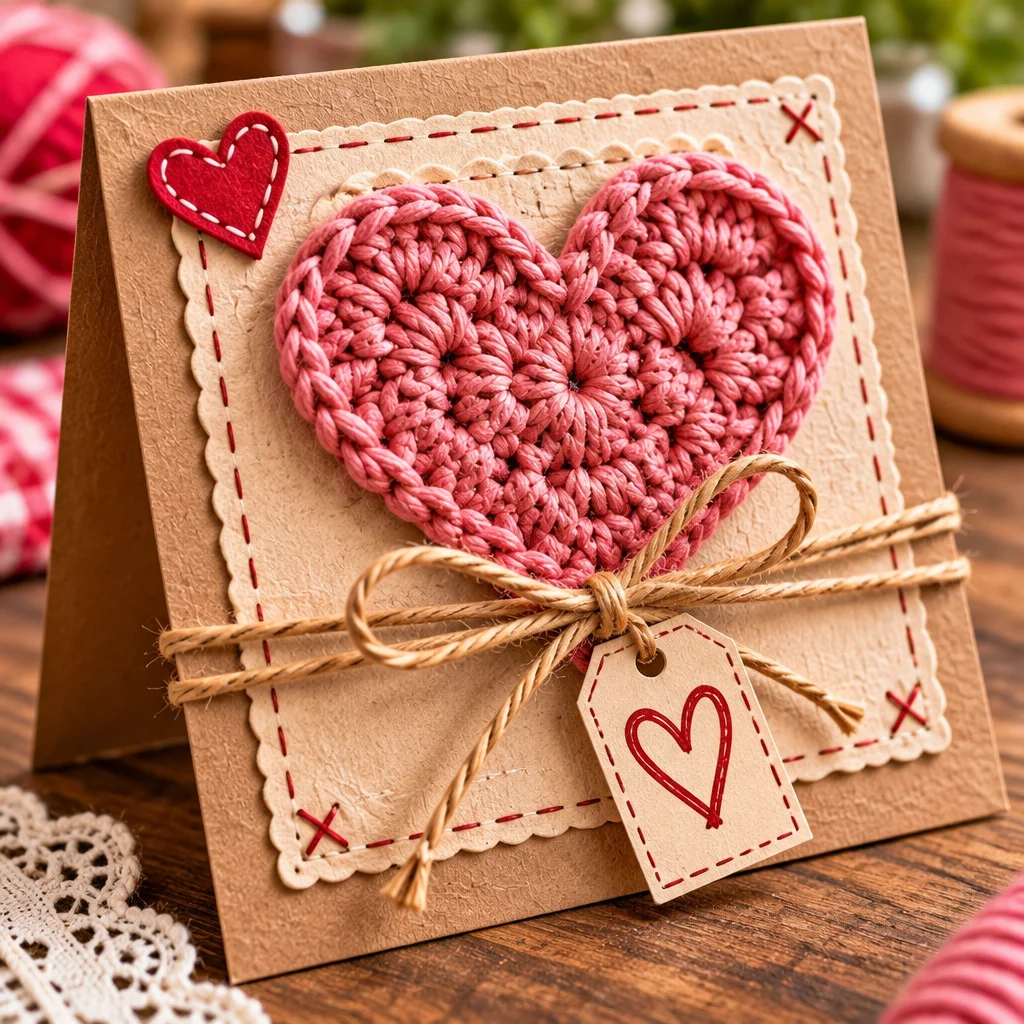
Handmade valentines cards are one of the easiest ways to turn a simple “Happy Valentine’s Day” into something personal, memorable, and genuinely fun to make. You do not need fancy machines or advanced art skills, just a few dependable supplies and a set of designs that work even if you are brand new to crafting. In this guide, you will learn 20 beginner-friendly card ideas, plus how to customize them for partners, friends, kids, and classmates. If you want to pair your card with a small handmade gift, you might also like this easy DIY leather keychain idea or these creative gift wrapping ideas for handmade presents to finish everything beautifully.
What you need to get started
You can make excellent handmade valentines cards with a small, reliable toolkit. The goal is clean folds, strong adhesion, and materials that do not warp or bleed through. Plan to work on a smooth table with good lighting, and keep a scrap sheet underneath when stamping or painting.
Card bases, paper weights and tools
- Cardstock (200 to 300 gsm): This is your base. It folds crisply and supports layers, pop-ups, and light watercolor. Lighter paper tends to buckle or feel flimsy.
- Patterned paper (120 to 180 gsm): Great for layering, cutouts, and quick designs. Avoid very thin scrapbook paper for heavy glue areas.
- Adhesives: Use a glue stick for large, flat areas, liquid PVA glue for small pieces, and foam tape/dots for dimension. Double-sided tape is excellent for photos because it avoids moisture.
- Cutting tools: Sharp scissors for curves, a craft knife for windows and intricate cuts, and a metal ruler for straight lines. Always cut on a self-healing mat.
- Marking and finishing: Pencil and eraser, black fineliner, gel pen for highlights, and an ink pad for stamping. A bone folder (or the back of a spoon) helps make professional folds.
- Optional upgrades: Heart punches, washi tape, watercolor set, and alphabet stamps speed up bulk-making.
Preparation tip: pre-cut five to ten card bases at once (A6 is a favorite size), then keep a small tray for scraps you can use as tiny hearts and banners later.
20 ideas and projects to try
These 20 designs are organized so you can pick something fast or go more detailed. Most take 10 to 30 minutes each once your supplies are out. For all designs, start with a folded cardstock base and build on top. If you are making classroom cards, pick a template-based idea like stamping, washi tape stripes, or minimalist hearts. If you are making a romantic card, choose dimension: pop-up hearts, layered cutouts, or a photo window.
Pop-up hearts, watercolor cards, stamped designs, paper cutouts, photo cards and minimalist cards
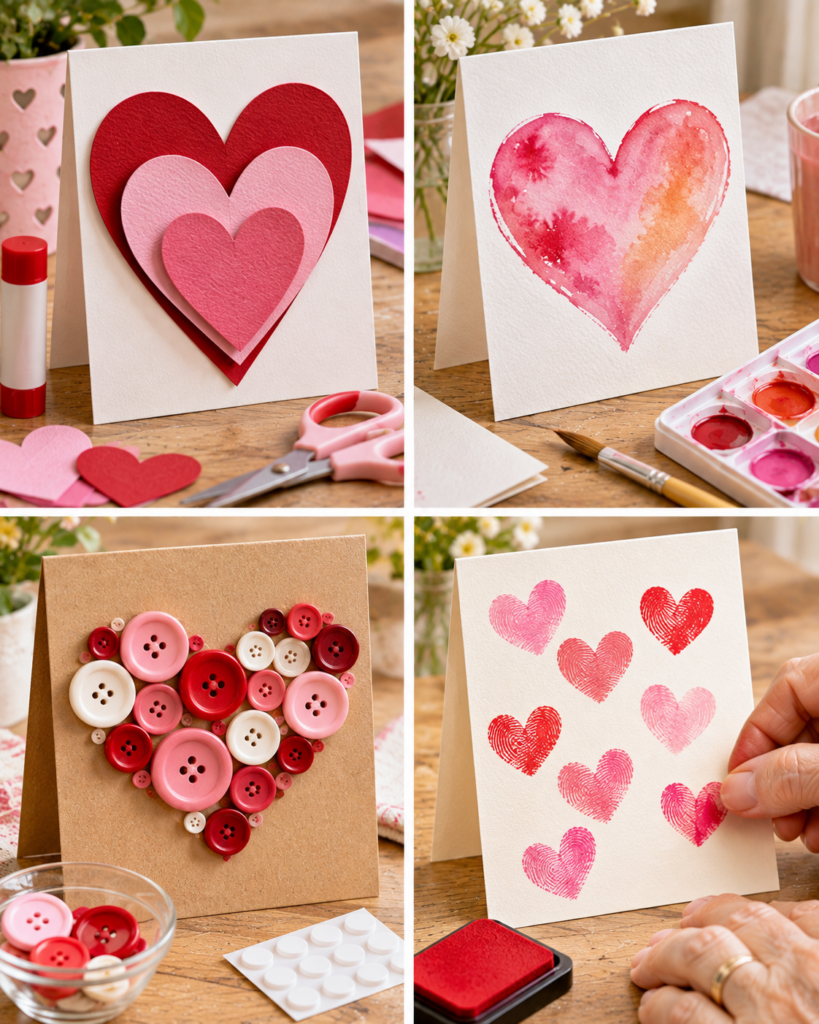
- Simple pop-up heart: One folded heart inside that stands when opened.
- Double pop-up hearts: Two hearts at different depths for extra impact.
- Watercolor wash + lettering: Pink-to-red gradient with a crisp message on top.
- Galaxy heart watercolor: Dark wash, salt texture, and white gel pen stars.
- Stamped heart border: Repeat a small heart stamp around the edge.
- Stamped “XO” pattern: Alternate stamps in two ink colors for a modern look.
- Paper cutout heart window: Cut a heart opening and back it with patterned paper.
- Layered scalloped hearts: Stack three sizes with foam tape for dimension.
- Conversation hearts: Cut small candy-heart shapes and write messages.
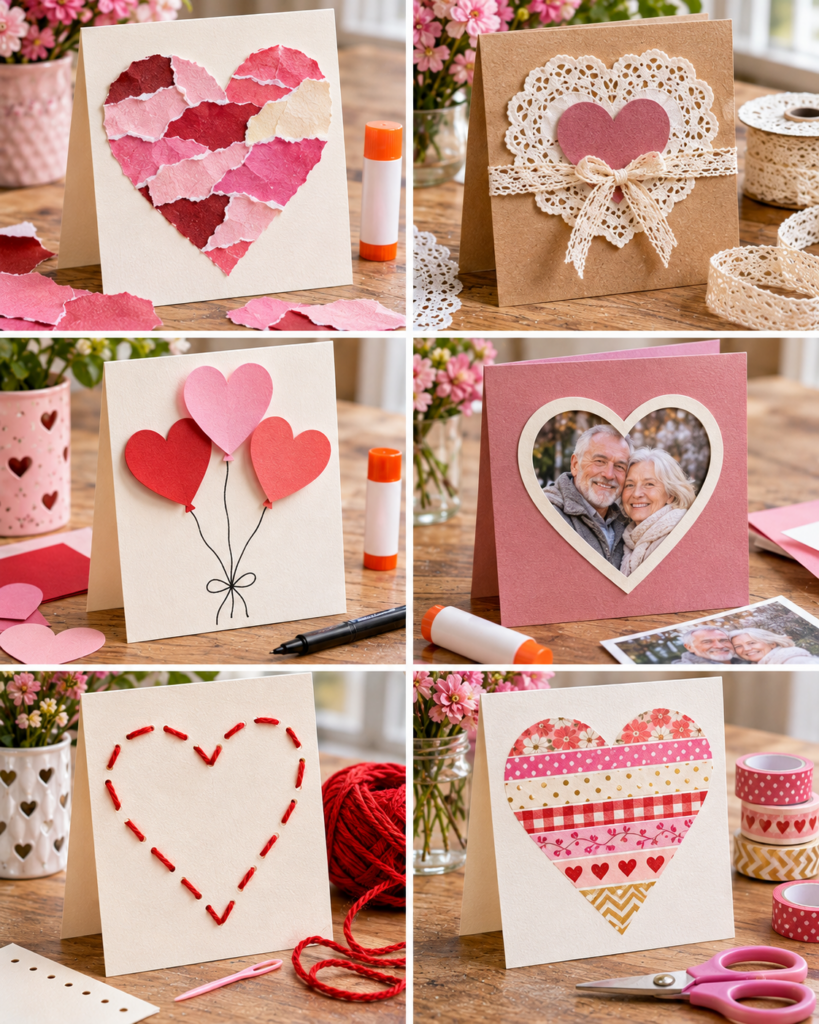
- Washi tape stripes: Diagonal stripes plus a focal heart cutout.
- Minimalist single line heart: Draw one continuous heart line and add a small note.
- Torn paper collage: Tear pink/red paper pieces into a heart silhouette.
- Button heart: Arrange buttons into a heart and secure with strong glue.
- Yarn-wrapped heart: Wrap embroidery floss around a cardstock heart cutout.
- Doily heart: Fold a paper doily, cut a heart, and mount it as delicate lace.
- Origami heart: Fold a small heart and attach it as a focal element.
- Photo window card: Cut a window and mount a small photo behind it.
- Polaroid-style mini photo: Make a paper “frame” and tuck a picture inside.
- Negative space heart: Cut a heart out of the front; the inside message shows through.
- Monogram heart: Big initial in the center with tiny hearts around it.
To bundle a card with another handmade item, consider adding a matching note tag, similar to techniques used in simple handmade notebook projects where clean folds and neat edges make everything look polished.
How to make and customize the projects
This is the section that helps your cards look intentional rather than “glued together.” The biggest difference comes from measuring, dry-fitting before you glue, and keeping your message readable. Work from background to foreground: base, then large layers, then details like letters and tiny hearts. When using wet media like watercolor, paint first and let it dry fully before adding pen or adhesive.
Cards for partners, friends, kids and classmates
Partners: Add dimension (foam tape), a photo element, or a pop-up. Stick to a limited color palette (two to three colors) so it feels thoughtful. Include an inside message that references a shared moment.
Friends: Try “XO” patterns, conversation hearts with jokes, or a minimalist design with a bold line drawing. Bright colors and playful fonts work well.
Kids and classmates: Choose fast templates: stamped borders, washi tape, or pre-cut hearts. Avoid messy glitter in classrooms; use metallic paper or gel pens instead. Keep attachments flat so they fit easily into backpacks.
Envelope sizing, personal messages and bulk-making
- Pick a standard size: A6 (about 4 x 6 inches) is easy and fits common envelopes. A2 (4.25 x 5.5 inches) is also popular. Make one “master” and test it in an envelope before producing multiples.
- Write the message early: For photo window or pop-up cards, write the inside message before you attach 3D parts. It is much easier to write on a flat surface.
- Bulk-making strategy: Assembly line your steps: fold all bases, cut all hearts, stamp all fronts, then glue. This keeps results consistent and saves time.
- Personalization shortcut: Keep the front design consistent, and personalize inside with one specific sentence. Even one line that names the person makes the card feel custom.
- Finishing touch: Add a matching envelope liner or a small seal. If you enjoy presentation details, borrow ideas from these handmade gift wrapping techniques to make your envelope feel special too.
Supplies, cost, time and skill level
Most handmade valentines cards cost very little once you have basic supplies. Expect a beginner to spend 30 to 60 minutes on the first card because you are choosing colors and learning how much glue to use. After that, many designs drop to 10 to 25 minutes each. Pop-up and photo window designs take longer because measuring and alignment matter.
Estimated cost: If you buy cardstock, glue, and one ink pad, you can often make 10 to 20 cards for the price of a few store-bought ones. Cost goes up with specialty items like embossing powder, thick foam tape, or large sticker packs, but those are optional.
Skill level: These projects are beginner-friendly with a few “precision moments” such as cutting windows and making pop-up folds. If you can fold neatly and cut simple shapes, you can do all 20 ideas.
“I made a batch of 12 stamped ‘XO’ cards for my coworkers using two ink colors and a heart punch. I thought they would look homemade in a bad way, but the tip about assembly line steps made them consistent and really neat. The foam tape on just one heart per card made them feel fancy.”
Beginner mistakes and troubleshooting
- Warped cardstock: Usually too much liquid glue or wet paint. Use a glue stick for large areas, and let watercolor dry under a book (with scrap paper on both sides) once fully dry.
- Glue wrinkles under patterned paper: Apply adhesive edge-to-edge, then smooth from the center outward with a clean finger or bone folder.
- Pop-up does not “pop”: The fold direction is wrong or the heart is glued past the fold line. Score folds first, and glue only the designated tabs.
- Messy lettering: Lightly pencil guidelines first, then ink. Let ink dry before erasing to avoid smudges.
- Uneven layers: Dry-fit and mark placement with small pencil ticks you can erase later.
If you like producing crafts in batches for holidays, the planning approach here also works well for other seasons. This list of handmade holiday craft ideas has similar “repeatable” project structures that are great for practicing consistency.
Frequently Asked Questions About Handmade Valentine’s Cards: 20 Easy Designs
How do you make a Valentine card at home?
Start with a cardstock base folded in half (A6 or A2 size). Choose one simple focal element like a heart cutout, stamp, or watercolor shape. Glue the background layer first, then add the focal element with glue or foam tape. Write your inside message before adding bulky pop-up pieces. Finish by checking that everything opens smoothly and fits your envelope without bending.
What paper is best for handmade cards?
For the base, use cardstock around 200 to 300 gsm so it holds its shape and takes glue without rippling. For layers and decorative elements, lighter paper (120 to 180 gsm) is easier to cut and punch. If you plan to paint, choose watercolor paper for the painted panel and mount it onto cardstock, which prevents warping and keeps the fold clean.
How do you make pop-up hearts?
Cut a heart shape that is symmetric. Fold it in half vertically to create a center crease. Inside the card, mark the center fold, then glue only one half of the folded heart to one side of the card, keeping the crease aligned with the card fold. Close the card firmly to transfer the heart to the other side, then open to test the pop. Trim if it catches.
How do I keep cards from looking messy or “too crafty”?
Limit your palette to two or three colors and repeat them throughout the card. Use one main focal point and leave some white space. Cut with sharp tools and replace blades if they drag paper fibers. Also, hide adhesive: use thin tape for edges and tiny dots of glue for small pieces. A simple border or frame can make even a basic heart look intentional.
What is the fastest design for classroom Valentines?
Washi tape stripes with a pre-cut heart is one of the quickest. Tear or cut two to four strips, press them down firmly, then trim the ends with scissors. Add a small heart punch-out on top and write “To” and “From” on the back. Stamped patterns are also fast because you can repeat the same motion across many card fronts without measuring.
How can I attach photos without wrinkling or bleeding?
Avoid liquid glue on photos because moisture can cause rippling. Use photo-safe double-sided tape, tape runners, or small foam squares at the corners. If your photo paper is glossy, press firmly for a good bond. For a “window” card, mount the photo on a backing cardstock rectangle first, then tape that panel behind the cutout to keep everything square.
Final tips and next projects
The best handmade valentines cards are not the most complicated, they are the ones that look neat, open smoothly, and clearly reflect the person receiving them. Choose one or two designs from the list, make a practice version, then batch-cut your pieces to save time. Remember to let paint and ink dry fully, use the right adhesive for the job, and keep bulky embellishments away from the fold so the card closes cleanly. Next, try pairing your card with a tiny gift like this DIY polymer clay coaster tutorial for a cozy at-home theme, or revisit your favorite design and challenge yourself to make it in a new color palette.