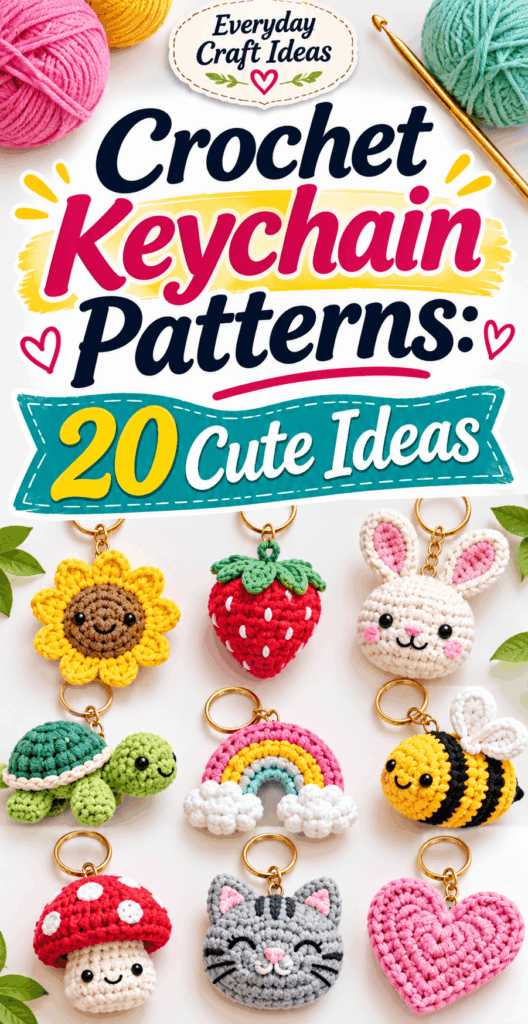
Crochet Keychain Patterns: 20 Cute Ideas
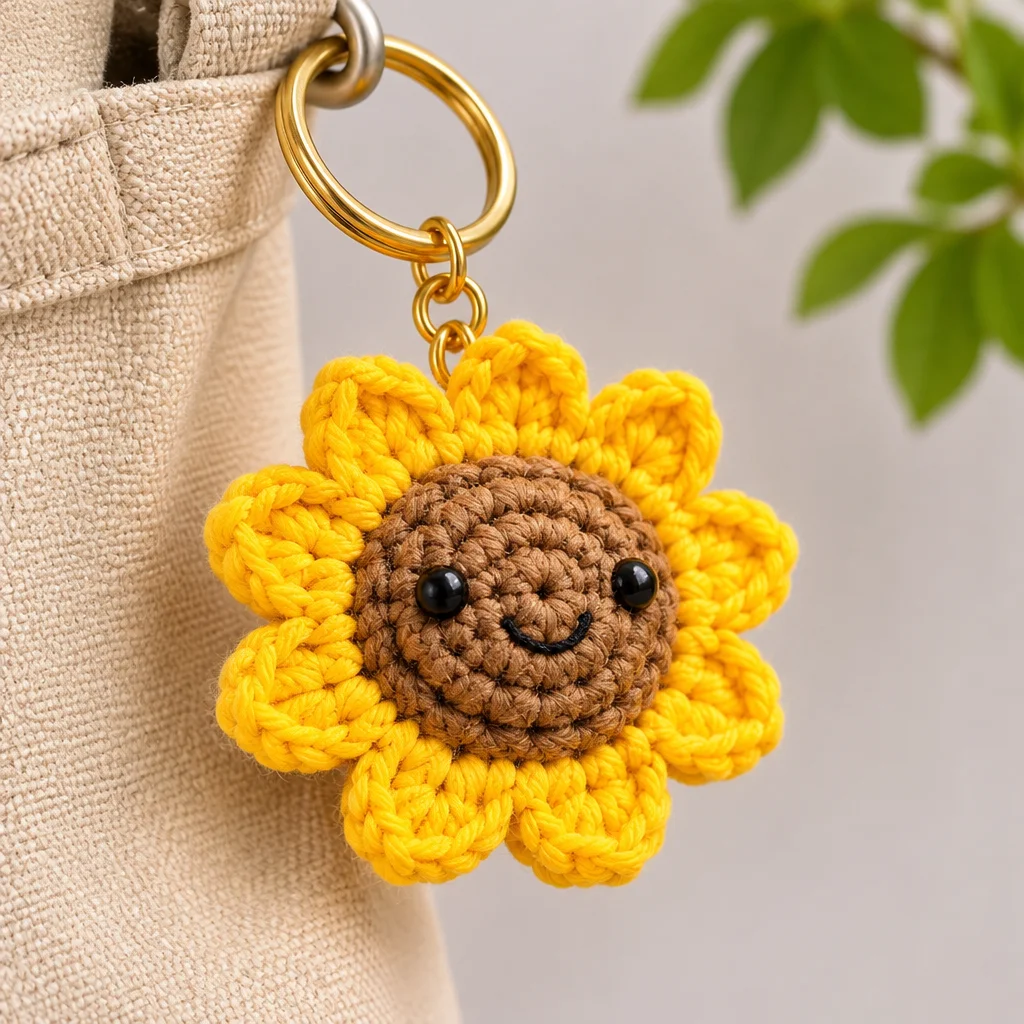
If you are searching for crochet keychain patterns that are cute, quick, and genuinely useful, you are in the right place. Keychains are one of the best small crochet projects because they teach you clean stitches, tidy finishing, and durable assembly without taking over your whole week. In this guide, you will get 20 idea-based designs you can actually complete, plus practical advice on yarn choice, keyring hardware, stuffing, and making your pieces strong enough to survive daily use. Whether you crochet to relax, need a last-minute handmade gift, or want a portable project for commuting, these patterns and tips will help you make keychains that look polished and stay attached.
Why This Project Is Worth Making
Crochet keychain patterns are worth making because they are small, affordable, and surprisingly skill-building. Most keychains take 20 to 90 minutes depending on the design. Flat motifs like hearts can be done in under half an hour, while tiny amigurumi animals may take closer to an hour or more, especially if you add embroidered faces.
Cost stays low. Many keychains use 5 to 15 grams of yarn, so you can work from scraps. Hardware is inexpensive and reusable if you decide to redo a piece. The difficulty ranges from beginner to confident beginner: if you can chain, single crochet, and slip stitch, you can make several of the ideas here.
This project suits:
- Beginners who want a finishable win and practice neat edges.
- Gift makers needing stocking stuffers, party favors, or teacher gifts.
- Market sellers who want a quick add-on item.
- Parents and teens looking for backpack charms (with safety notes for small parts).
The reader outcome is simple: you will learn which designs hold up, how to attach hardware securely, and how to avoid the common durability mistakes that make keychains fall apart.
Supplies, Materials, and Beginner Setup
Before starting any crochet keychain patterns, set yourself up for clean stitching and strong finishing. A small project can still fail if the yarn splits, the hook is mismatched, or the hardware is weak.
- Yarn: Worsted-weight cotton or a cotton blend is a beginner-friendly default because it resists fuzzing and holds shape. Acrylic works too, but it can pill faster on keys.
- Hook: Use a hook size slightly smaller than the yarn label suggests to make a denser fabric. For worsted cotton, that is often 3.0 to 4.0 mm depending on your tension.
- Tapestry needle: Essential for weaving in ends and stitching pieces together firmly.
- Sharp scissors: Clean cuts help you weave ends without fraying.
- Stitch marker: Helpful for working in continuous rounds for amigurumi designs.
- Stuffing: Small scraps of fiberfill work well. In a pinch, yarn scraps can be used, but it can create lumps.
- Keychain hardware: Split rings, swivel clasps, lobster clasps, and small jump rings.
Budget substitutions: If you do not have fiberfill, use clean fabric scraps cut into tiny pieces. If you lack stitch markers, a contrasting scrap of yarn works.
Safety: Keychains with safety eyes, beads, or tiny buttons are not suitable for small children. If the keychain will be used on a child’s backpack, embroider features instead of using hard parts.
Keychain yarn and hardware
The difference between cute and truly functional crochet keychain patterns often comes down to yarn and hardware choices. Keys rub against pockets and bags, so choose materials that can handle friction.
Best yarn for durability: mercerized cotton (smooth and sturdy), cotton-acrylic blends (a bit softer), or tightly spun acrylic. Avoid very fluffy chenille for keychains you will use daily, because it sheds and the stitches can loosen around attachment points.
Hardware options:
- Split key rings (25 to 30 mm): The classic option for house keys. Strong, but you need a firm crochet loop.
- Swivel clasp keychains: Great for bag charms and zipper pulls. Add a short chain strap for movement.
- Lobster clasp: Handy if you want to clip and remove the charm.
- Jump rings: Use between crochet and clasp. Choose thicker jump rings so they do not bend.
Realistic constraints: A crochet loop made from yarn alone will wear out. Plan a reinforced attachment, such as crocheting around a metal ring, adding a nylon cord core, or stitching the loop with strong thread.
Design variations: Keep hardware visible for a modern look, or crochet a small “cap” or strap cover for a softer style. If you sell items, standardize ring size and strap length so your products look consistent.
Flat flowers and hearts
Flat motifs are the easiest crochet keychain patterns to start with because they require minimal assembly and no stuffing. They also lie nicely in a pocket.
Here are 6 cute flat keychain ideas with practical notes:
- Classic heart (single color): Use worsted cotton; add a simple chain loop at the top. About 20 to 35 minutes.
- Two-tone heart: Crochet the last round in a contrasting color for a clean outline.
- Puffy heart (still mostly flat): Make two heart shapes and single crochet them together with a tiny bit of stuffing for dimension.
- 5-petal flower: Great for scrap yarn. Add a small circle center in a second color.
- Daisy: White petals with a yellow center. Use tight stitches so petals keep their shape.
- Leaf or clover: A leaf is a nice “unisex” option and looks great in green cotton.
Constraints: Very lacy flowers can catch on keys. If you want delicate petals, stiffen slightly by using tighter tension and a smaller hook, not glue.
Finishing tip: Block flat motifs quickly by spritzing with water, shaping, and letting them dry under a book. This makes the edges look intentional.
Tiny fruit and shapes
Tiny fruit and geometric shapes are fun crochet keychain patterns because they are instantly recognizable and perfect for bright yarn scraps. These are typically small amigurumi or semi-3D shapes, and they look best with simple embroidered details.
Try these 7 fruit and shape ideas:
- Mini lemon: Oval shape in yellow with a tiny green leaf. Add a few surface stitches for texture.
- Strawberry: Red body, green top. Use French knots or small stitches for seeds (avoid beads for kid use).
- Watermelon wedge: Triangular slice with color blocks: red, white, green. Add black stitches for seeds.
- Avocado half: Green outer, pale center, and a brown “pit” circle. Super popular and quick.
- Mini mushroom: White stem, red cap with embroidered dots. Cute for cottagecore vibes.
- Star or hexagon: Flat but graphic, great for practicing clean corners and consistent tension.
- Mini donut: Crochet a ring and add “icing” in a second color with sprinkle stitches.
Realistic constraints: Keep them small but dense. If your stuffing shows through, go down a hook size or switch to a tighter yarn. For stripes and color blocks, carry yarn neatly or fasten off and weave in ends securely so nothing snags.
Beginner amigurumi options
If you want your crochet keychain patterns to look like tiny plushies, beginner amigurumi is the way to go. The key is choosing shapes that are mostly spheres or cylinders so assembly stays simple.
Here are 7 beginner-friendly amigurumi keychain ideas:
- Mini octopus: One body with short curled tentacles. Minimal sewing.
- Simple cat head: Round head, tiny ears, embroidered whiskers.
- Tiny bear: Head plus small ears. Skip the body for a faster make.
- Whale: Oval body with a small fin. Add a spout stitch on top.
- Bee: Striped body, tiny wings. Use surface slip stitches to define stripes.
- Cloud: Puffy scallops, embroidered eyes. Great for pastel yarn.
- Mini ghost: Rounded top and wavy bottom. Very forgiving shape for beginners.
Constraints and durability: Keep protruding parts small. Large ears and wings get caught on zippers. When possible, stitch appendages on with the same yarn plus an extra pass of sewing thread for reinforcement.
Face details: Embroidery is safest and often cutest at this size. Use a backstitch for smiles and small satin stitches for eyes. If you use safety eyes, place them before stuffing and always use the washers properly.
Secure attachment and finishing
The number one reason crochet keychain patterns fail is weak attachment. Your crochet can be perfect, but if the strap stretches or the ring pulls through, the keychain will not last.
- Choose an attachment style: For flat motifs, a crocheted loop works. For amigurumi, a short strap is better than attaching the ring directly to stitches on the head.
- Make a dense strap: Chain 10 to 18, then single crochet back along the chain. For extra strength, single crochet again around the strap edges to create a firm cord-like tab.
- Anchor to the keychain: Stitch the strap to the keychain with multiple passes. Go through several stitches on the body, not just one loop.
- Reinforce discreetly: For daily-use keychains, run a length of strong sewing thread or thin nylon cord through the strap and knot securely inside the piece.
- Weave ends like you mean it: Weave at least 3 direction changes through dense stitches. Trim close, then gently tug the fabric to hide the end.
- Final inspection: Pull-test the ring and strap firmly. If anything shifts, add more stitching now, not later.
Variation: Crochet directly around a small metal ring (single crochet around it) to create an almost indestructible top loop.
Yarn usage
One reason crochet keychain patterns are so popular is how little yarn they use. Most designs use 5 to 15 grams of yarn, which is ideal for scraps and leftovers from bigger projects.
Practical estimates:
- Flat heart or flower: 3 to 8 grams depending on size and border.
- Mini fruit (3D): 5 to 12 grams including a leaf or top.
- Small amigurumi head: 8 to 15 grams depending on tightness and stuffing.
Constraints: “Scrap-busting” can backfire if the yarns vary wildly in thickness. If you combine yarn weights, your keychain will look uneven and may not fit hardware the same way. Try to keep each keychain to one yarn weight, and if you change brands, use the hook size that gives you the same dense fabric.
Color planning tip: Choose one neutral (cream, black, gray) plus two bright colors. This makes it easy to create sets of matching keychains. If you sell or gift them, sets look more intentional than random single colors.
Gift packaging
Packaging turns simple crochet keychain patterns into gifts that feel finished. You do not need expensive supplies, just a clean presentation and a small note on care.
- Cardstock tag: Cut a small rectangle, punch a hole, and attach the keychain ring through it. Write “Handmade” and the fiber content if you know it.
- Mini envelope or kraft bag: Perfect for teachers, coworkers, and party favors. Add tissue paper so the keychain does not rattle.
- Keychain backing card: If you make several, create a consistent backing size so they stack neatly. Include a short message like “Pull-test before heavy use.”
- Personalization: Add a small initial charm or embroider a tiny letter onto a flat motif for a custom touch.
Care note to include: “Spot clean with mild soap, reshape, air dry.” Most keychains should not be machine washed because hardware can snag and the piece can stretch.
Reader testimonial: “I tried the flat heart first and used cotton yarn with a smaller hook like you suggested. The difference was huge. My first attempt stretched, but the second one stayed firm and the keyring never pulled through.”
Common Mistakes and How to Fix Them
Even simple crochet keychain patterns can misbehave. Here are the issues I see most often, plus fixes that actually work.
- Problem: The fabric looks holey and stuffing shows. Fix: Go down 0.5 to 1.0 mm in hook size, and keep tension steady. For amigurumi, use single crochet in continuous rounds and avoid tall stitches.
- Problem: The keyring pulls the stitches open. Fix: Do not attach a ring to one stitch. Create a strap, crochet around a small metal ring, or reinforce with sewing thread.
- Problem: Keychain twists or curls. Fix: Add a border round of single crochet to stabilize, or block flat pieces. For straps, stitch them to the body in two places to prevent spinning.
- Problem: Ends pop out after a week. Fix: Weave ends through dense stitches with multiple direction changes. For slippery yarn, split the plies with your needle and weave through the yarn itself.
- Problem: Small parts fall off (ears, leaves, wings). Fix: Stitch on with more passes than you think you need. Use matching sewing thread for reinforcement, and knot securely inside.
- Problem: The piece gets fuzzy fast. Fix: Switch to mercerized cotton or a tighter spun yarn. Keep keychains out of pockets with rough coins or tools.
Frequently Asked Questions About Crochet Keychain Patterns: 20 Cute Ideas
How big should a crochet keychain be?
Aim for 2 to 3.5 inches (5 to 9 cm) for the crochet piece, plus hardware. Smaller than that can be fiddly, and larger pieces become bulky in pockets. If it is a bag charm, you can go bigger, but keep protruding parts short so they do not snag on zippers. Make one “test” size first and adjust your hook and rounds from there.
Do I need to line or stiffen the keychain?
Usually no. Dense stitches with cotton yarn are enough. If you want extra firmness for flat motifs, add a second layer (two hearts stitched together) rather than using glue stiffeners. Glue can discolor yarn and may crack with repeated bending. Blocking helps motifs lie flat and look more professional without changing the feel.
Can I wash crochet keychains?
Spot cleaning is safest. Use mild soap, a damp cloth, and gentle pressure, then reshape and air dry. Machine washing can bend hardware, snag yarn, and stretch stitches. If you expect heavy dirt (for example, a backpack charm), choose cotton yarn and embroider details so there are no parts that can rust or loosen in water.
Why does my amigurumi keychain look lumpy?
Lumps usually come from uneven stuffing or stuffing that is too chunky. Add stuffing in tiny pieces, pushing it into the curves with the back of your hook or a chopstick. Also check your stitch count each round. Missing increases or decreases can distort the shape and create bumps that stuffing will exaggerate.
What is the best way to add faces and details?
For durability and safety, embroidery is best. Use black or dark brown yarn or embroidery floss, and keep stitches small. Backstitch makes smooth lines for smiles, and tiny satin stitches work for eyes. If you use safety eyes, install them before stuffing and avoid them for items intended for children under three.
How do I stop the strap from stretching?
Use single crochet (not chains alone) and a smaller hook to create a firm strap. Reinforce by stitching the strap down through multiple stitches on the body. For maximum strength, thread a thin nylon cord or strong sewing thread inside the strap before you sew it in place. This keeps the strap from lengthening over time.
Final Thoughts
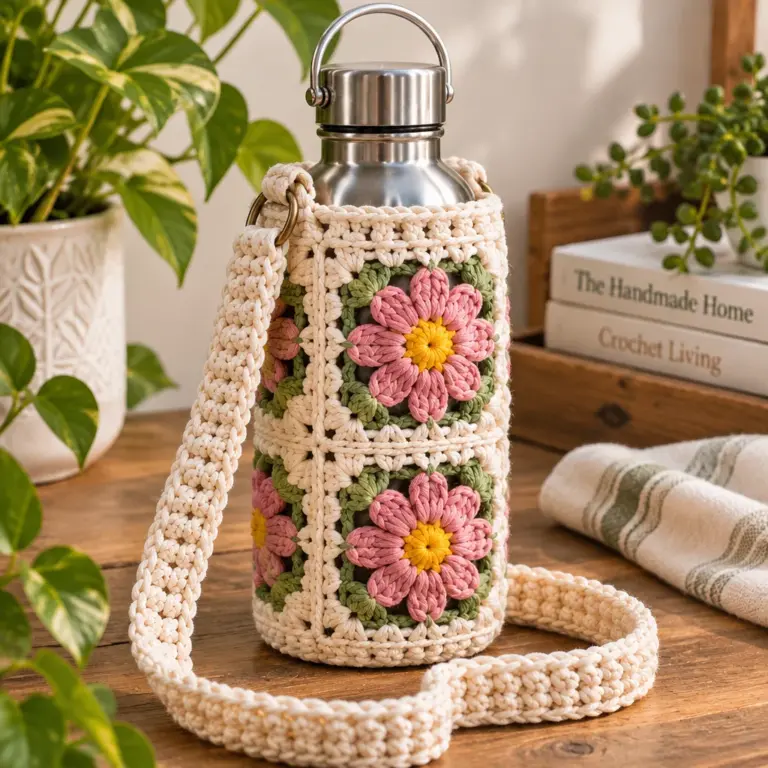
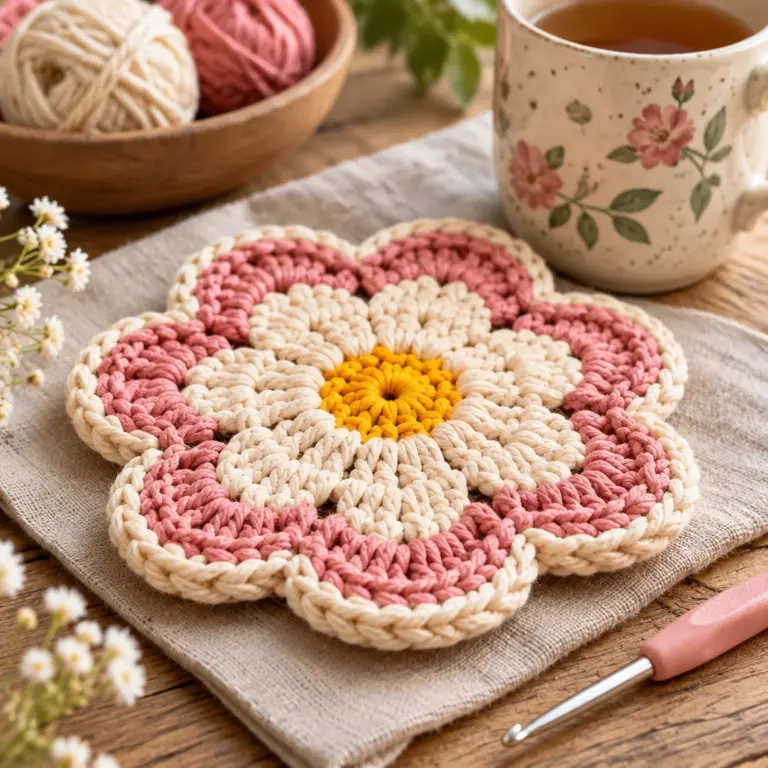
Crochet keychain patterns are small projects with big payoff: you get a cute, functional item while practicing the finishing skills that make every crochet project look better. Start with a flat heart or flower to master clean edges, then try a fruit or mini animal once you are comfortable working tight stitches and sewing small parts securely. If you want a clear next step after keychains, move up to crochet coasters or a small zip pouch charm set using the same yarn and hardware techniques. Pick one idea from the list, gather your hardware first, and do a quick pull-test at the end. Your future self will thank you every time your keychain stays strong.