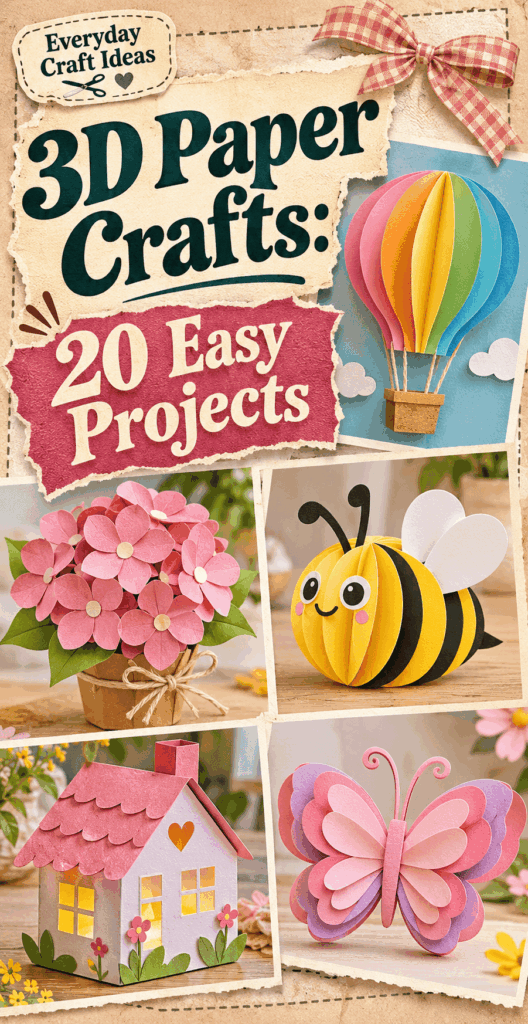
3D Paper Crafts: 20 Easy Projects
3D Paper Crafts are one of the fastest ways to make decorations, gifts, and keepsakes that look impressive without needing expensive supplies. If you can cut, fold, and glue neatly, you can build flowers, stars, pop-up cards, and tiny paper “sculptures” that add real depth to your projects. In this guide, you will find 20 beginner-friendly ideas with practical steps, timing, and tips to help your pieces hold their shape. If you are crafting for a season, you might also like these collections of easy spring paper crafts and Christmas paper crafts to make, which pair beautifully with many 3D techniques you will learn here.
Getting started with 3D paper crafts
Dimensional paper projects look complicated, but most 3D Paper Crafts rely on a few repeatable skills: accurate cutting, clean scoring, crisp folds, and patient assembly. Start with projects that use simple symmetry, like folded stars or rosettes, before moving to tabbed shapes like cubes and houses. For most beginners, the sweet spot is a project that takes 20 to 45 minutes and uses a single type of paper, plus one adhesive.
Before you begin, set up a clean, flat surface and plan for drying time. Many pieces need a few minutes under a light weight (like a book with scrap paper on top) to stay flat while glue sets. Keep a “test scrap” of the same paper nearby so you can trial folds and glue amounts. Also think about the final use: hanging décor needs lighter paper and stronger attachment points, while tabletop pieces benefit from heavier cardstock and reinforced bases.
If you are crafting with kids, pre-cut small parts and choose low-mess glue options. For more kid-friendly seasonal makes, browse Christmas crafts for kids for ideas that adapt well to simple 3D paper forms.
Best paper weights, cutting tools and adhesives
- Paper choice: Use 65 to 80 lb cardstock for boxes, houses, and stand-up décor. Use 24 to 32 lb text paper for stars, rosettes, and garlands that need easy folding.
- Cutting tools: Sharp scissors work for most shapes. A craft knife with a metal ruler is better for straight edges, windows, and tabs. Always cut on a self-healing mat.
- Scoring tools: A bone folder is ideal, but a capped ballpoint pen can score folds on cardstock (test first to avoid tearing).
- Adhesives: Glue sticks are clean and great for layered pieces. Liquid tacky glue is strong for tabs and structural seams, but apply thinly to avoid warping. Double-sided tape is excellent for fast, crisp assembly.
Safety note: store craft knives capped and cut away from your body. Ventilate if you use spray adhesive, and keep it off surfaces you eat on.
20 easy 3D paper craft ideas
This section is your project menu. Each idea includes a realistic difficulty level, approximate time, and the key “success tip” that makes the difference between flimsy and sturdy. Many of these 3D Paper Crafts can be made from scrap cardstock, old book pages, or leftover wrapping paper. If you plan to sell seasonal items, look at Christmas crafts to sell for display and packaging inspiration that works well with dimensional paper ornaments and gift toppers.
As you work through the projects, remember two golden rules: measure twice and glue lightly. Over-gluing is the most common reason paper buckles. When in doubt, use small dots of tacky glue or thin strips of double-sided tape.
Folded stars, accordion rosettes, paper diamonds and pleated fans
- Folded lucky stars (easy, 20 minutes, small): Cut 1 cm by 25 cm strips. Tie a flat knot, wrap the tail around, then puff each point gently. Tip: Use smooth paper, not fibrous, to avoid ripped points.
- Accordion rosettes (easy, 30 minutes, medium): Fold two identical strips accordion-style, glue ends to form a circle, then add a center circle to lock it. Tip: Score folds on cardstock for crisp pleats.
- 3D paper diamonds (medium, 45 minutes, hanging): Cut two identical diamond “nets” with tabs, score folds, assemble into two halves, then join. Tip: Reinforce the top hanging point with a small cardstock washer.
- Pleated fans (easy, 20 minutes, décor): Accordion fold a rectangle, pinch at center, wrap with a narrow paper strip, and flare open. Tip: A tiny dot of glue at the outer edges keeps the fan from collapsing.
Layered butterflies, 3D hearts, paper clouds and hanging raindrops
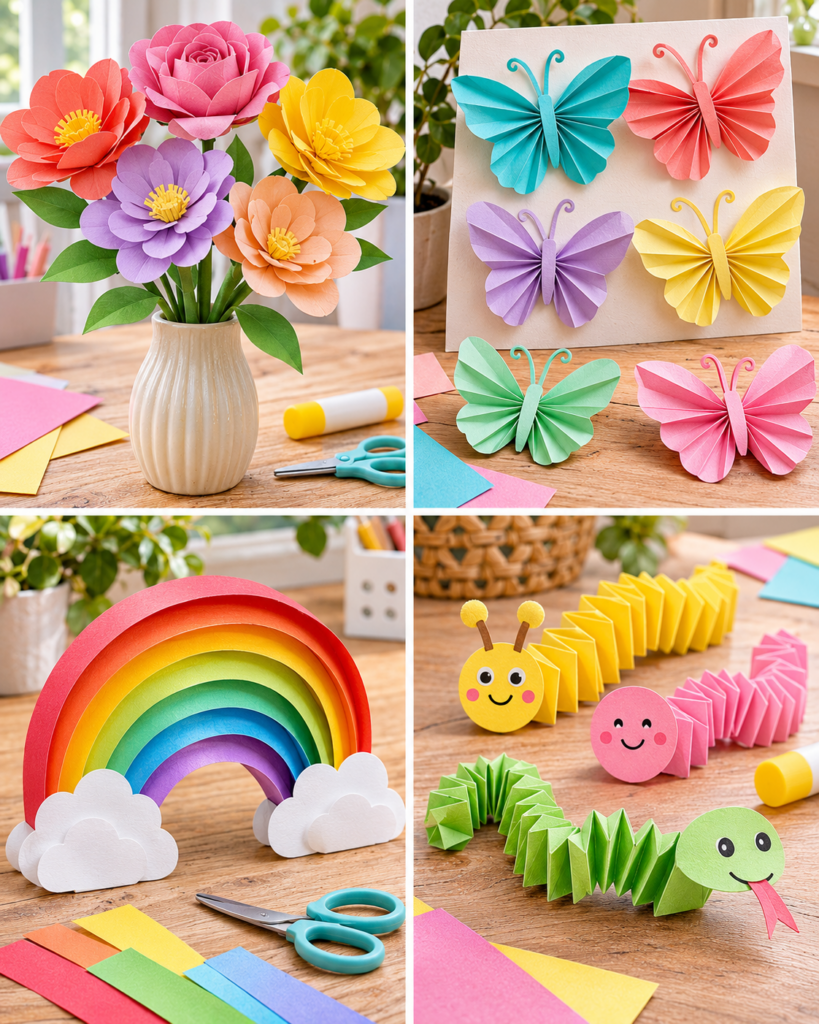
- Layered butterflies (easy, 25 minutes, wall art): Cut 2 to 3 butterfly silhouettes, fold wings slightly upward, and stack with foam tape or paper spacers. Tip: Offset layers for realistic depth.
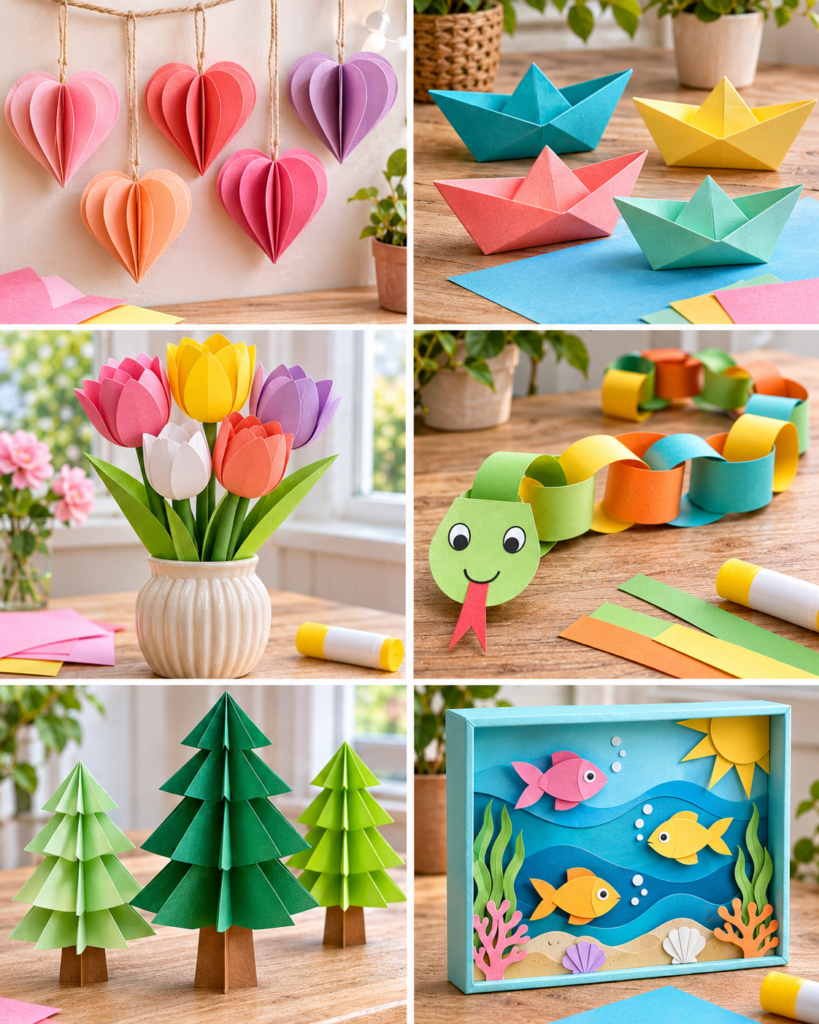
- 3D paper hearts (easy, 30 minutes, garland): Cut 6 to 10 identical hearts, fold each down the center, glue halves together into a full 3D heart. Tip: Align center folds carefully before pressing.
- Paper clouds (easy, 35 minutes, nursery décor): Cut several scalloped cloud layers, stack with spacers, and add a flat backing piece. Tip: Use lightweight paper for the top layers so they “float.”
- Hanging raindrops (easy, 20 minutes, mobile): Cut two teardrops, glue around the edge leaving a tiny opening, insert thread, then seal. Tip: Lightly curve the paper around a marker before gluing for fuller shape.
Rolled roses, paper tulips, daisies and succulents
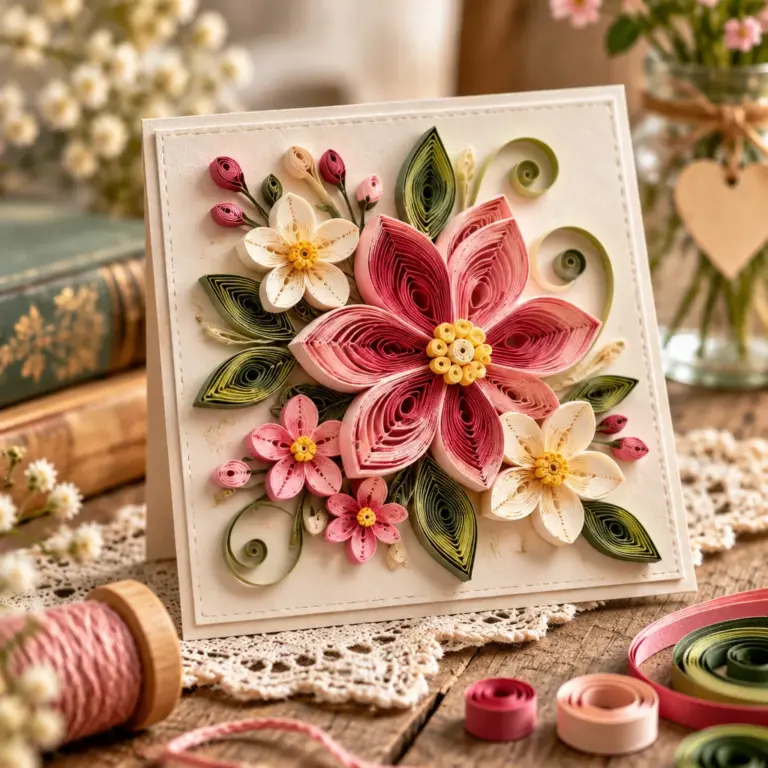
- Rolled spiral roses (easy, 30 minutes, bouquet): Cut a spiral circle, roll from the outside inward, then glue the base flap to secure. Tip: Loosen the roll slightly for a natural bloom.
- Paper tulips (medium, 45 minutes, stems): Make 3 identical petal shapes, curve them with a bone folder, glue into a cup, and add a stem using floral wire wrapped in green paper. Tip: Let each seam dry before adding the next petal.
- Daisy stack flowers (easy, 25 minutes): Cut 2 to 3 daisy layers, curl petals upward, and glue with a domed center circle. Tip: Use a pencil eraser to press the center without flattening petals.
- Paper succulents (medium, 60 minutes): Cut multiple pointed petals in graduated sizes, curl tips, and build from smallest to largest in a spiral. Tip: Heavier cardstock makes succulents hold shape best.
“I tried the spiral roses with leftover cardstock from invitations. The tip about loosening the roll made them look real instead of tight little cones. I ended up making a whole paper bouquet for my desk in one evening.”
Pop-up birthday cards, butterfly cards, paper cubes and geometric ornaments
- Simple box pop-up card (medium, 45 minutes): Cut two parallel slits on the fold line, push the tab inward, crease, and decorate the “step.” Tip: Measure slits evenly so the card closes flat.
- Butterfly pop-up card (medium, 50 minutes): Attach a folded butterfly to a V-fold mechanism inside the card. Tip: Use a glue stick so the mechanism stays flexible and not lumpy.
- Paper cube (easy, 30 minutes, desk décor): Use a cube net with tabs, score, fold, glue tabs inside. Tip: Glue opposite sides first to keep the cube square.
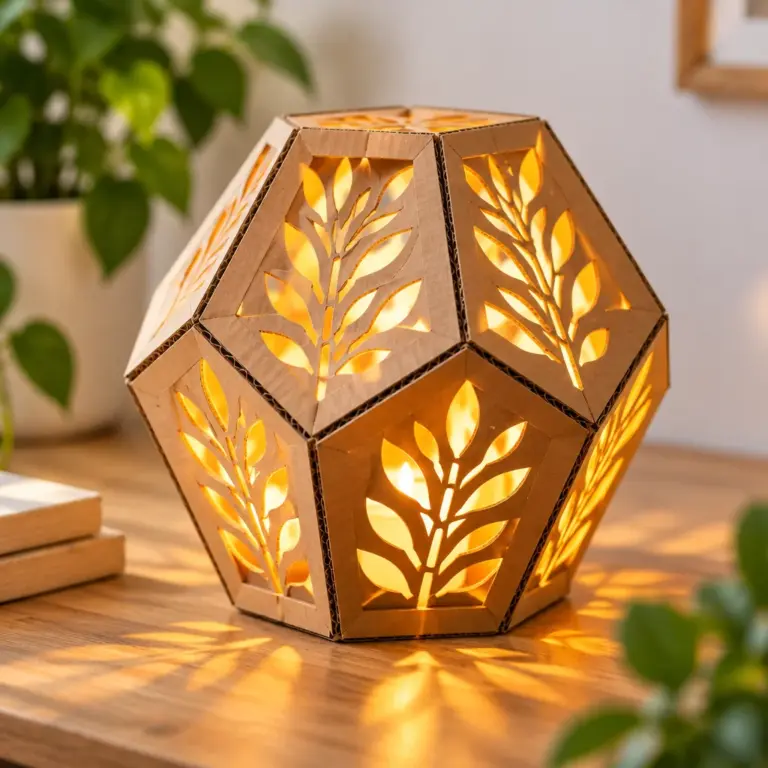
- Geometric ornaments (medium, 60 minutes, hanging): Build a faceted shape from repeated units (like small triangles) or assemble a pre-drawn net. Tip: Pre-fold all creases before any gluing to avoid fighting the paper.
Mini paper houses, gift boxes, hot-air balloons and shadow-box scenes
- Mini paper houses (medium, 60 minutes, village): Cut a house template with tabs, score folds, glue walls, add a roof sleeve. Tip: Add an internal brace strip inside long walls to prevent bowing.
- Gift boxes with lids (easy, 45 minutes): Score a box base and lid, fold up sides, glue tabs. Tip: Make the lid 2 mm wider than the base so it fits without crushing corners.
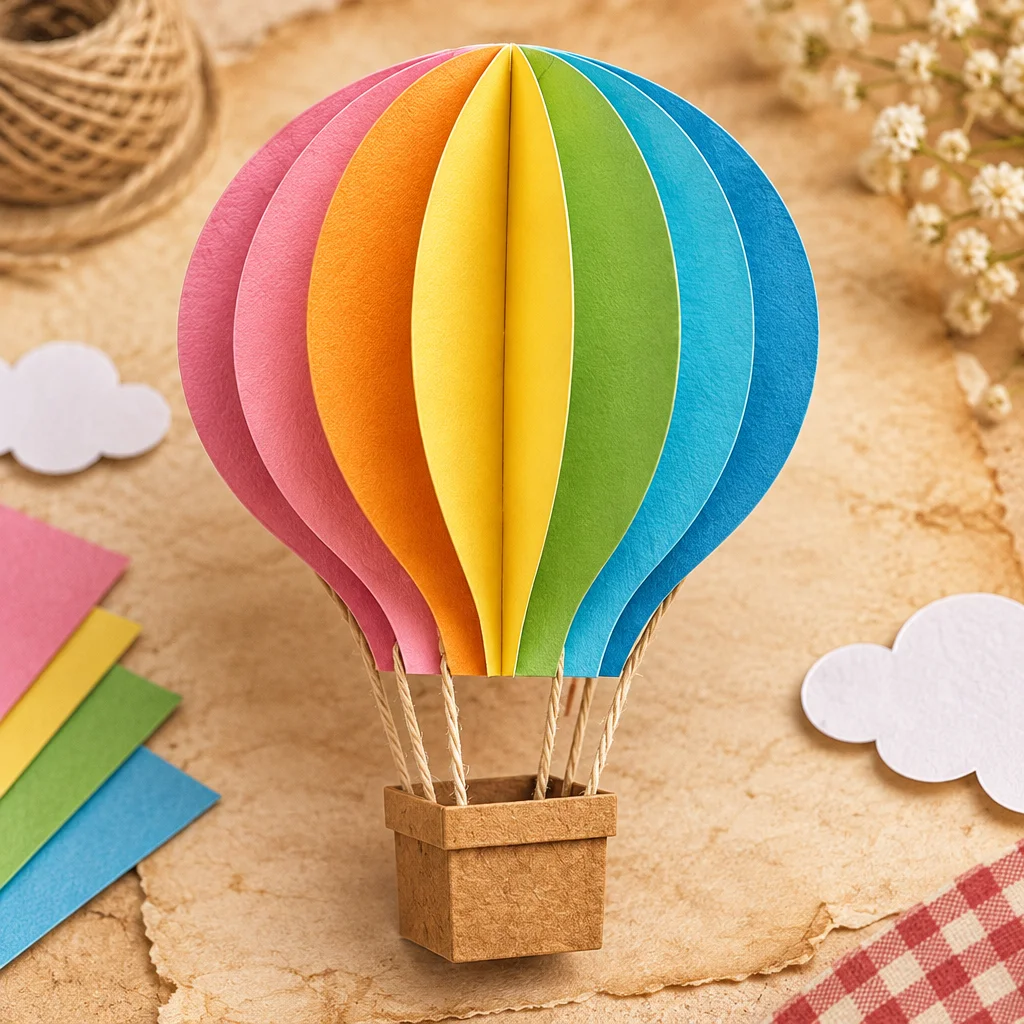
- Hot-air balloon (medium, 60 minutes, hanging): Glue 6 to 8 balloon panels along a center seam, leaving a small opening to attach strings to a tiny basket. Tip: Use clips or clothespins to hold seams while drying.
- Shadow-box paper scene (medium, 90 minutes, frame): Layer cut silhouettes with foam tape or paper spacers inside a deep frame. Tip: Plan layers from background to foreground and test-fit before sticking anything down.
How to make paper shapes hold their form
If your 3D Paper Crafts look great at first but sag later, the issue is usually structure, not creativity. Paper needs clear folds, firm joints, and enough “engineering” to resist gravity and humidity. The good news is you can fix most problems with three upgrades: better scoring, smarter tab assembly, and hidden supports.
Start by choosing paper weight for the job. Thin paper is fantastic for origami-like folds, but it will not hold large walls upright. Cardstock holds shape but needs scoring or it will crack on tight folds. Also consider grain direction. Paper bends more easily with the grain; if a fold keeps springing open, rotate your template 90 degrees and test again.
Adhesive matters, too. Glue sticks are forgiving but weaker for load-bearing seams. Tacky glue is strong but must be applied sparingly. For long seams, double-sided tape can give a crisp edge while a tiny bead of tacky glue at stress points adds strength.
Scoring sharp folds and assembling tabs
- Score before cutting out delicate shapes: If possible, score while the paper is still a larger rectangle. The extra paper gives you control and prevents bent corners.
- Use a ruler for straight scores: Place the ruler on the fold line and run the bone folder along it with medium pressure. Too much pressure can tear cardstock.
- Pre-fold every crease: Fold mountain and valley creases first, then unfold. This “trains” the paper so assembly is faster and cleaner.
- Glue tabs in small sections: Apply glue to one tab, press 10 to 20 seconds, then move to the next. This prevents drifting and keeps corners aligned.
Building depth with spacers and layered pieces
- Paper spacers: Roll tiny paper tubes or accordion-fold mini strips to create consistent height behind layers.
- Foam tape alternatives: If you do not have foam tape, stack two or three scrap cardstock squares to make a firm riser.
- Internal bracing: Add a strip inside a wall (houses, boxes) or a cross brace inside a large shape to prevent collapsing.
Displaying and storing dimensional paper crafts
Once you start making 3D Paper Crafts, you will want them to last past the first party or season. Display choices should protect the piece from sun, moisture, and pulling forces. Direct sunlight can fade colored paper quickly, especially reds and pastels. Kitchens and bathrooms introduce humidity that can soften glue and curl edges. A simple solution is to display paper items away from vents and wipeable surfaces, and store them in boxes between uses.
If you are gifting a delicate item like a paper flower bouquet or shadow-box scene, include a quick care note: keep dry, avoid heat, and hold from the base. For hanging décor, always distribute the weight across a reinforced point, not a single punched hole in thin paper.
Hanging lightweight pieces without tearing
- Reinforce holes: Add a small cardstock circle on both sides before punching, like a tiny “washer.”
- Use thread-friendly knots: Tie a double knot and add a dot of glue on the knot, not on the paper fibers.
- Choose the right hanger: Clear fishing line is discreet for ornaments, while ribbon is gentler on paper edges.
Keeping folded and glued projects from getting crushed
- Use compartment boxes: Ornament organizers or divided craft boxes stop pieces from rubbing and snagging.
- Support with tissue: Lightly stuff hollow shapes (balloons, diamonds) with tissue to prevent dents.
- Store flat when possible: Rosettes and layered butterflies last longer stored in a flat container with parchment between layers.
Frequently Asked Questions About 3D Paper Crafts: 20 Easy Projects
What paper is best for 3D paper crafts?
For structural projects like boxes, houses, and geometric ornaments, choose 65 to 80 lb cardstock so walls stay upright and tabs do not flop. For projects that rely on tight folds, like stars and rosettes, lighter paper (24 to 32 lb) creases more cleanly and makes smoother curves. If you notice cracking on folds, score first and consider slightly lighter cardstock or paper with a smoother finish.
Can I make 3D paper crafts without a cutting machine?
Yes. Most 3D Paper Crafts can be made with scissors, a craft knife, and a ruler. The key is to simplify templates: use basic nets (cube, house) and symmetrical shapes you can fold and cut together. For repeated petals or butterflies, make one sturdy template from cardstock and trace it. A cutting machine speeds things up, but neat scoring and careful assembly matter more than automation.
How do you make paper decorations stand up?
Add a base or support. For a freestanding heart or butterfly, glue it to a folded “tent” stand or a flat rectangle base. For paper flowers, use floral wire stems and a heavier base like a small jar filled with rice (hidden by tissue). For lightweight sculptures, internal braces and thicker paper help. Also reduce top-heaviness by keeping upper layers light and compact.
Why is my paper warping after I glue it?
Warping usually means too much moisture from liquid glue. Switch to a glue stick or double-sided tape for large flat areas, and reserve tacky glue for seams and tabs. If you must use liquid glue, apply a very thin layer and spread it with a scrap of cardstock. Press the piece under clean paper and a book for a few minutes to dry flatter.
How can I get cleaner folds and sharper edges?
Score before folding, especially on cardstock. Use a ruler to keep the score line straight and a bone folder to press the crease firmly. Fold carefully, aligning corners before you press down the whole crease. If edges look fuzzy, your blade or scissors may be dull. Fresh blades make a noticeable difference, particularly on geometric ornaments and pop-up mechanisms.
What is the easiest 3D project for a total beginner?
An accordion rosette or a simple 3D heart is a great first win. Both teach core skills: consistent folding, symmetry, and controlled gluing. Start with medium-size pieces (not tiny) so you can align edges easily. Once you can make a rosette that lies flat and opens evenly, you are ready for more advanced builds like diamonds, balloon panels, and shadow-box scenes.
Final thoughts and the easiest project to try first
3D Paper Crafts reward patience more than perfection. If you are new, begin with an accordion rosette: it uses basic supplies, teaches you how scoring and crisp folds change the final look, and it is easy to turn into banners, ornaments, or wall décor. Then try a 3D heart to practice aligning folded centers and building symmetrical volume. As you move up to cubes, houses, and shadow-box scenes, remember to pre-fold everything, use minimal glue, and reinforce hanging points. Pick one project from the list today, gather your cardstock and adhesive, and give yourself permission to learn through small, satisfying builds.