DIY Christmas Ornaments: 21 Beautiful Ideas to Make
diy christmas ornaments are one of the easiest ways to make your holiday decor feel personal, cozy, and truly yours. Whether you want a tree full of handmade keepsakes, a quick craft night with friends, or a meaningful activity with kids, you can make beautiful ornaments with simple supplies and a little planning. In this guide, you will get 21 ornament ideas plus the core techniques that help them look polished, hang well, and last for years.
If you are also crafting for giving, pair these ornaments with small handmade presents from these DIY Christmas gifts people actually want. And if you love soft, classic textures, you will also enjoy these felt Christmas ornaments to make.
The projects below range from paper and salt dough to wood, felt, beads, and clear fillable balls. I will walk you through materials, safety, prep, step-by-step techniques, troubleshooting, and storage so your diy christmas ornaments come out sturdy, balanced, and ready to display or gift.
Materials and tools needed
You do not need a huge craft room to make diy christmas ornaments, but a few reliable basics make everything easier and safer. Choose supplies based on the ornament style you like, then build your kit over time. Here is a practical starter set, with notes on why each item matters.
- Adhesives: A low-temp hot glue gun for quick assembly, tacky glue for paper and felt, and clear-drying craft glue for smooth finishes. Use hot glue for structure and tacky glue for neat edges.
- Cutting tools: Sharp scissors, a craft knife (adults only), and a self-healing mat. Clean cuts are the difference between homemade and handmade-looking.
- Hanging hardware: Ornament hooks, ribbon, baker’s twine, and small jump rings. A strong hanger prevents mid-season falls.
- Base materials: Cardstock, felt, air-dry clay or salt dough, unfinished wood shapes, clear plastic or glass fillable balls, and pinecones.
- Decorative details: Acrylic paint, paint pens, glitter (or glitter glue to reduce mess), sequins, beads, buttons, jingle bells, and faux greenery.
- Finishing supplies: Mod Podge or a clear acrylic sealer, soft brush, and optional spray sealer for durability.
- Helpful extras: Hole punch, needle and thread, embroidery floss, small pliers, ruler, and a pencil for marking.
When buying fillable balls, choose shatterproof plastic if children or pets are around. For paper crafts, heavier cardstock resists warping.
Skill level and estimated time
Most diy christmas ornaments are beginner-friendly because the parts are small and forgiving. The main skills you will practice are cutting, gluing, simple stitching, and basic painting. If you can cut a shape, tie a knot, and follow drying times, you can make ornaments you will be proud to hang.
Beginner projects like paper stars, cinnamon dough shapes, or ribbon-wrapped balls typically take 10 to 30 minutes each, plus drying time for glue or paint. These are great for craft nights because you can batch steps, like cutting all pieces first, then decorating, then adding hangers.
Intermediate projects such as beaded snowflakes, embroidered felt ornaments, or decoupage ornaments often take 30 to 60 minutes each. The extra time usually goes into neat finishing: hiding glue, keeping symmetry, or sealing for shine.
Kid-friendly projects vary by attention span. Plan 15 to 25 minutes of active crafting per ornament, with an adult handling hot glue, craft knives, and small parts.
For a full tree refresh, aim for a weekend session: 2 to 3 hours can produce 12 to 18 coordinated diy christmas ornaments if you repeat 2 to 3 designs and assembly-line the process.
Preparation and safety tips
Good prep prevents most craft frustration. Before you start making diy christmas ornaments, set up a workspace that protects your table and keeps small pieces from wandering. Use a tray or baking sheet to corral beads, sequins, and ornament caps. Cover the surface with kraft paper or a silicone mat for quick glue cleanup.
Drying and curing: Paint and glue need airflow. Arrange ornaments on a cooling rack or parchment so they do not stick. For salt dough or clay, follow the correct drying method and allow extra time in humid weather.
Hot glue safety: Use a low-temp gun when possible, keep a bowl of cool water nearby, and press pieces together with a silicone finger protector or a craft stick. Burns happen fast on small items.
Small parts: Beads, bells, and ornament caps are choking hazards. If kids are crafting, choose larger pieces and avoid loose glitter. Glitter glue, sequins in glue, or paper confetti are safer alternatives.
Sealers and sprays: If you use spray sealer or aerosol paint, work outdoors or in a well-ventilated area. Let items off-gas fully before bringing them inside or packing them away.
Tree safety: Balance matters. If an ornament is heavy, use stronger ribbon and place it deeper on a sturdy branch. This prevents falls and keeps fragile diy christmas ornaments safe.
Project ideas and variations
This section gives you 21 beautiful diy christmas ornaments ideas you can mix and match for a coordinated tree. Choose 3 to 5 designs and repeat them in your color palette for the most “designer” look. If you want more kid-centered options, browse these Christmas crafts for kids. For quick folded and cut projects, you may also like these Christmas paper crafts to make.
Beginner friendly option
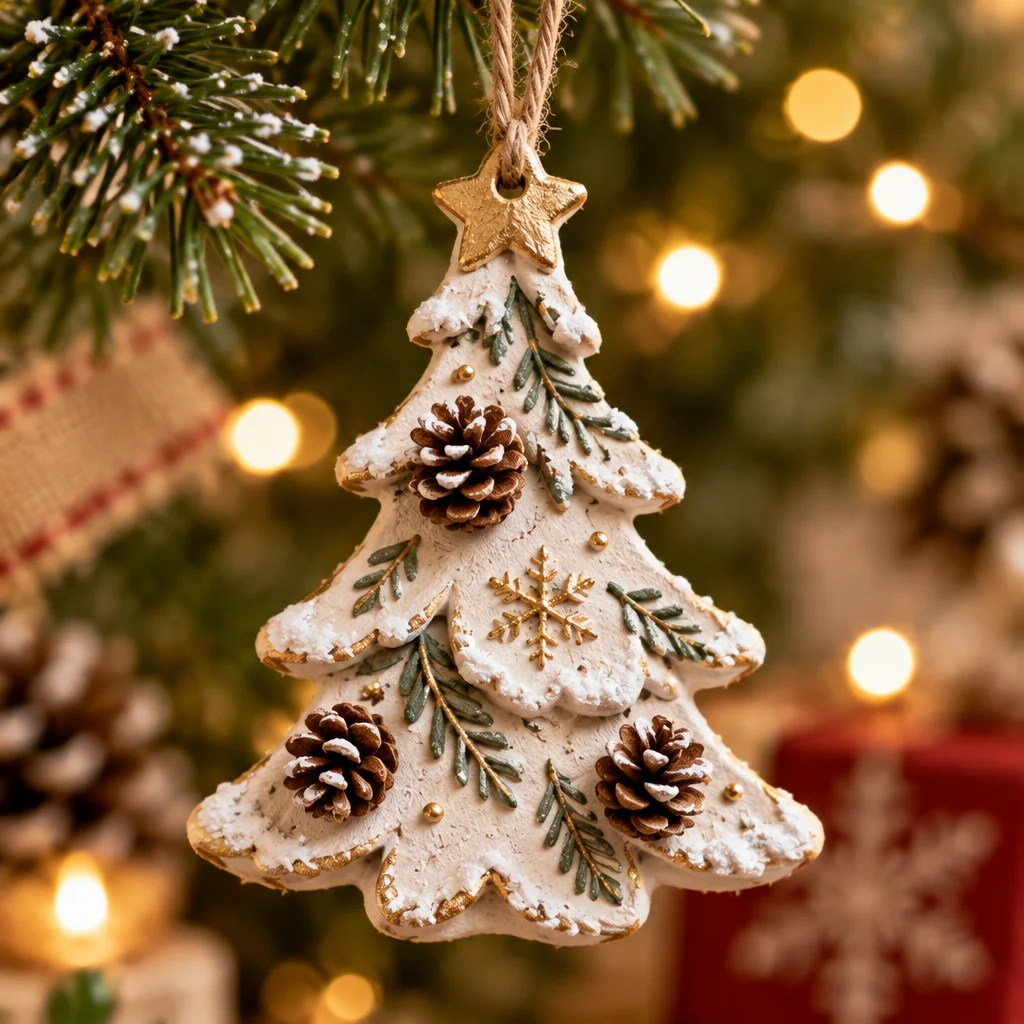
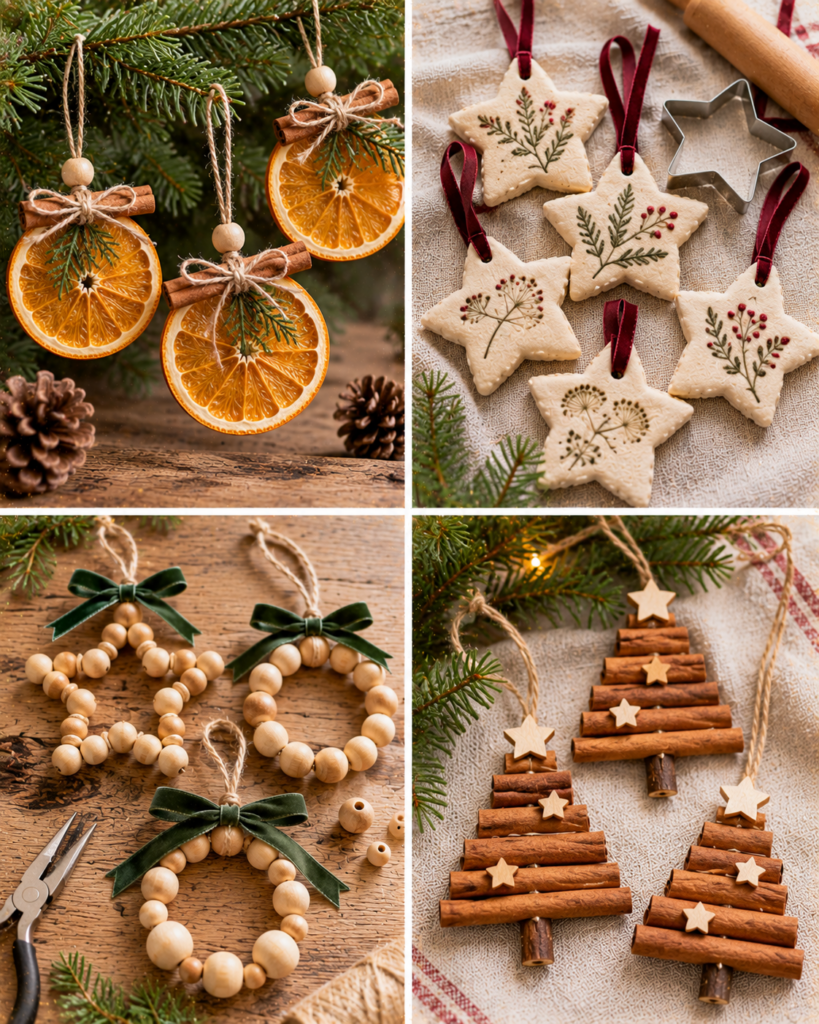
- 1. Salt dough cutouts: Roll, cut with cookie cutters, poke a hanging hole, bake low and slow, then paint and seal.
- 2. Paper accordion trees: Fold strips accordion-style, stack largest to smallest, skewer through the center, top with a bead.
- 3. Cinnamon applesauce ornaments: Mix into a firm dough, cut shapes, air-dry several days, then seal for strength.
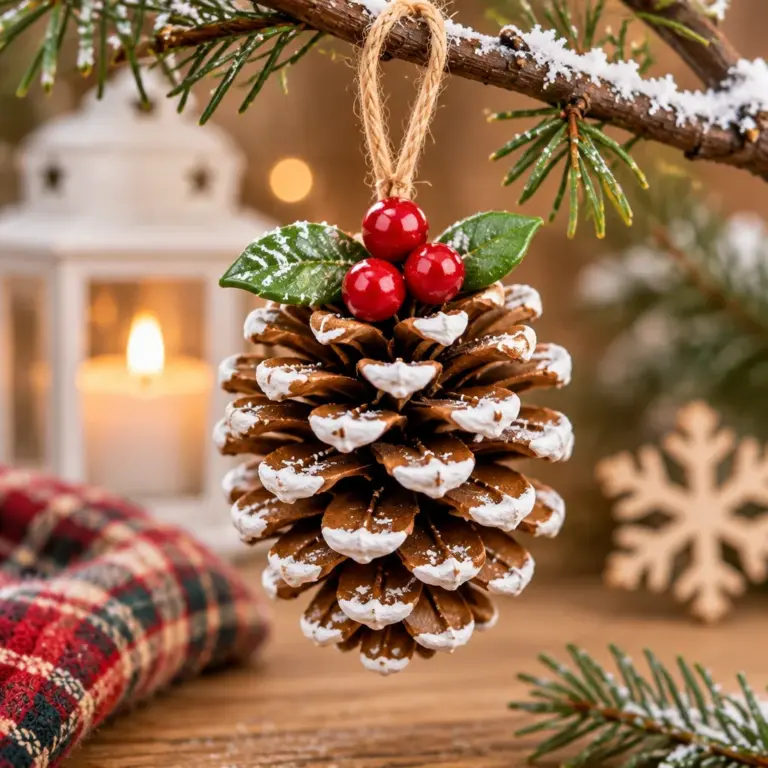
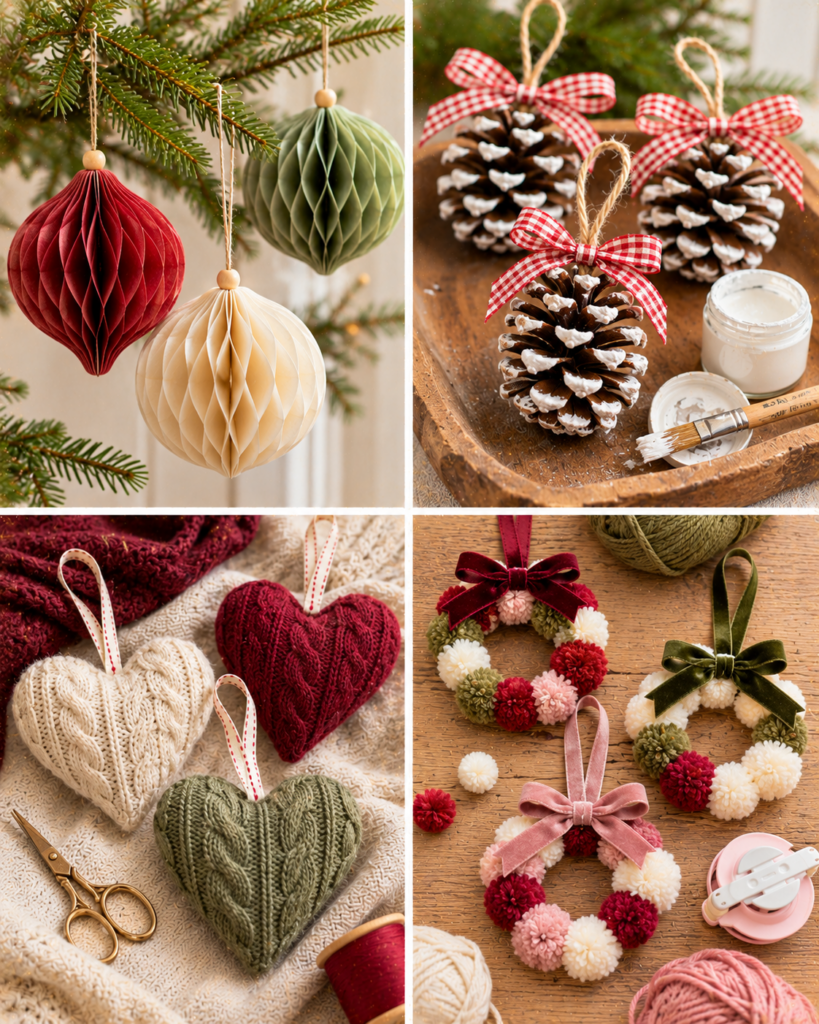
- 4. Pinecone glitter tips: Dry pinecones, brush glue on the edges, dip in glitter or use glitter glue, add a bow.
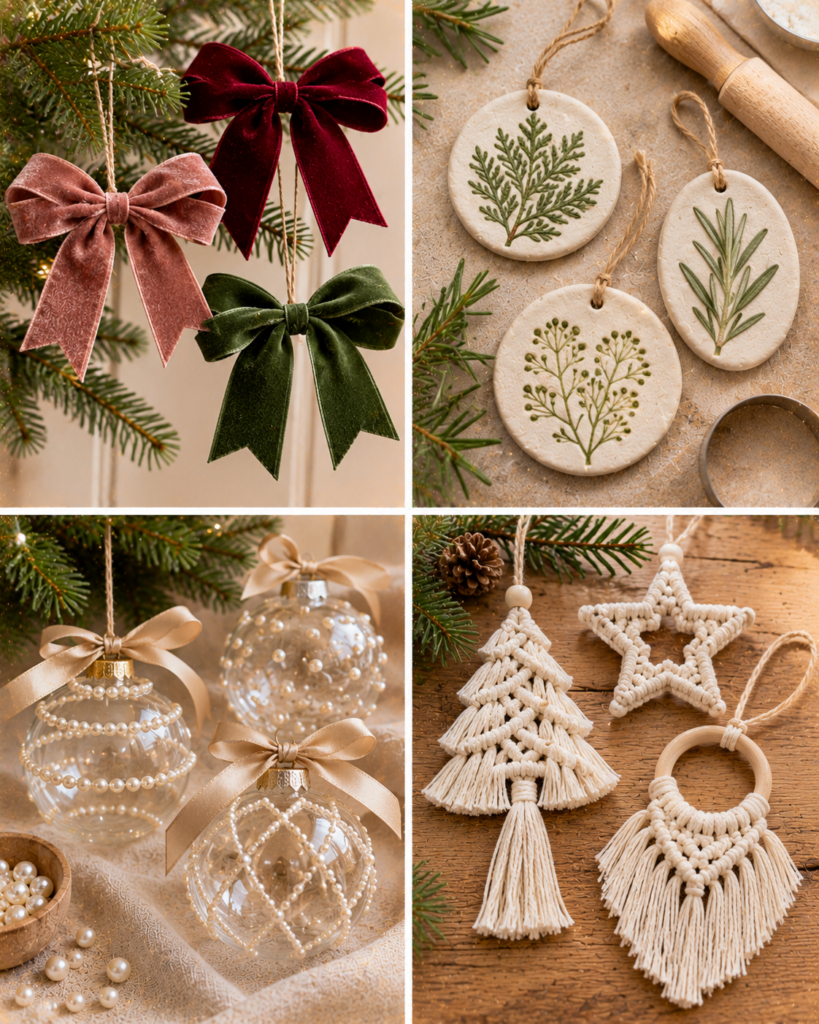
- 5. Ribbon-wrapped baubles: Wrap thin ribbon around a foam or plastic ball with a dot of glue every few turns.
- 6. Pom-pom wreaths: Glue mini pom-poms around a cardboard ring, add a tiny bow and hanger.
- 7. Simple felt shapes: Two matching felt cutouts, blanket stitch around, lightly stuff, then close.
Budget friendly option
- 8. Cardstock 3D stars: Score, fold, and glue points for a sculptural look with minimal supplies.
- 9. Upcycled sweater mittens: Cut mitten shapes from an old sweater, stitch, and stuff with scraps.
- 10. Book page trees: Fold or roll old pages into cones, add twine and a small bead topper.
- 11. Buttons on wire: Thread buttons onto floral wire, twist into a wreath or candy cane shape.
- 12. Painted cardboard gingerbread: Cut thick cardboard, paint “icing” with a paint pen, seal.
- 13. Nature slices: Use dried orange slices or cinnamon sticks tied into bundles with twine.
- 14. Yarn tassel ornaments: Wrap yarn, tie, trim evenly, and add a bead cap if you have one.
Creative and personalized option
- 15. Clear fillable photo ornaments: Roll a small photo strip to fit inside, add faux snow and a name on the outside.
- 16. Hand-lettered name disks: Paint wooden circles, add names with vinyl or paint pen, seal for durability.
- 17. Beaded snowflakes: Use pipe cleaners or wire, thread beads, twist into six arms, add a loop.
- 18. Mini embroidery hoop ornaments: Stretch fabric, embroider a simple star or initials, trim, finish the back with felt.
- 19. Decoupage story ornaments: Apply tissue or napkin designs with Mod Podge, smooth gently, seal.
- 20. Tiny house ornaments: Assemble from cardstock or thin wood, add a tea-light “window” effect with vellum.
- 21. Memory ornaments: Tie a small charm, baby shoe lace, or meaningful bead onto ribbon with a label tag.
Mix textures for depth: matte felt, shiny beads, natural wood, and a few metallic accents make diy christmas ornaments look curated instead of crowded.
Practical instructions and techniques
Instead of giving 21 full tutorials, this section teaches the core techniques that make most diy christmas ornaments successful: strong hangers, clean glue, smooth paint, and balanced weight. Use these steps no matter which design you choose.
- Create a sturdy hanger first: Cut ribbon or twine 6 to 8 inches long. Tie a double knot and test it with a gentle tug. For heavy ornaments, use narrow ribbon doubled over or ornament wire. Attaching the hanger early helps you check balance.
- Reinforce stress points: Any place that holds weight needs extra support. For caps on fillable balls, add a dot of hot glue inside the cap before pressing it on. For paper ornaments, sandwich the hanger between two layers of cardstock.
- Use the right glue for the surface: Tacky glue grabs paper and felt without lumps. Hot glue is best for wood, pinecones, and quick holds. Use tiny amounts, then press for 10 to 15 seconds to avoid stringy glue webs.
- Paint in thin layers: Two thin coats look smoother than one thick coat. Let the first coat dry fully to prevent tacky fingerprints and streaking.
- Seal when needed: If the ornament will be handled often or stored for years, apply a clear sealer. Brush-on sealer works well for painted dough and decoupage. Spray sealer is faster, but use ventilation.
- Check weight and hang: Hang the ornament on a mug handle or a test branch. If it tips, move the hanger attachment point slightly or add a small counterweight like a bead at the bottom.
Hannah M., reader: “I tried the clear fillable photo ornaments and the tip about gluing the cap from the inside saved me. Last year mine popped off in storage, but this time they stayed together and looked store-bought on the tree.”
Common mistakes and troubleshooting
When diy christmas ornaments do not turn out as planned, it is usually one of a few fixable issues. Here are the most common problems I see, plus practical solutions you can apply immediately.
Warped paper ornaments: This often happens when glue is too wet or paint is too thick. Switch to tacky glue applied in a thin layer, and use heavier cardstock. Press pieces under a book (with wax paper between) while drying.
Ornament caps falling off: Caps fail when the fit is loose or the ornament is heavy. Add a small bead of hot glue inside the cap, then press and hold. For extra security, tie the ribbon around the cap’s wire loop rather than relying on friction alone.
Salt dough cracking: Cracks come from rolling too thin or baking too hot. Roll 1/4 to 3/8 inch thick and bake low (often 200 to 250°F depending on your recipe) until dry. Let cool slowly. Seal after painting to reduce humidity absorption.
Glue strings everywhere: Hot glue strings appear when you pull away too quickly. Pause, twist the gun tip slightly, and “wrap” the string back onto the glue bead. A quick pass with a hair dryer on low can help shrink stray strings, but keep it brief.
Uneven glitter: If glitter looks patchy, the glue layer is inconsistent. Brush glue evenly in small sections. For cleaner results, use glitter glue or mix glitter into Mod Podge and paint it on.
A little troubleshooting goes a long way, and it helps your diy christmas ornaments survive hanging, gifting, and storage year after year.
Finishing and styling tips
Finishing is what makes diy christmas ornaments look intentional instead of random. Start by choosing a simple color plan: two main colors, one metallic, and one neutral. For example, red, white, gold, and kraft brown. Then repeat shapes and textures across the tree so everything feels cohesive.
Hide construction details: Cover knots with a bow, a bead, or a tiny faux greenery pick. Back felt ornaments with a second layer of felt to hide stitches and give structure. On wooden ornaments, paint the edges last for a crisp outline.
Add dimension: Layer pieces instead of keeping everything flat. A small foam dot behind a paper star or a felt applique gives shadow and depth. Mix matte and shiny finishes: satin ribbon, glossy beads, and matte painted dough balance each other.
Use personalization carefully: Names and dates make keepsakes, but keep text short and readable. Paint pens work well on wood and sealed dough. If lettering looks shaky, lightly pencil guidelines first, then trace with the pen.
Make sets for a designer look: Create three variations of one theme, like stars in three sizes, then repeat them. Sets of 3, 6, or 9 diy christmas ornaments look planned and are easier to distribute evenly around the tree.
For gifting, tie two or three coordinating ornaments together with ribbon and a simple tag. This feels generous without a lot of extra work.
Storage and care
Homemade ornaments last much longer when you store them like collectibles, not like leftovers. Before packing diy christmas ornaments away, let everything cure completely. Some sealers feel dry quickly but need 24 to 72 hours to harden, especially in humid climates.
Use compartment storage: A divided ornament box is ideal, but you can also use egg cartons for small ornaments, or cardboard cell dividers inside a lidded bin. The goal is to prevent ornaments from rubbing and losing glitter, paint, or delicate details.
Wrap fragile items: Tissue paper works for most ornaments, but avoid newsprint on light-colored paint because it can transfer ink. For glittery pieces, wrap loosely so glitter does not stick to the tissue and pull off later.
Control moisture: Salt dough, paper, and natural items like pinecones dislike humidity. Store in a dry indoor closet, not an attic or damp basement. Add a small silica gel packet to the bin to reduce moisture.
Prevent hanger tangles: Remove ornament hooks and store them separately. For ribbon hangers, tuck them inside the compartment so they do not knot together.
With careful storage, diy christmas ornaments can become a tradition you add to each year instead of remaking from scratch.
Frequently Asked Questions About DIY Christmas Ornaments: 21 Beautiful Ideas to Make
What can I use to make Christmas ornaments?
You can make diy christmas ornaments from paper, felt, wood shapes, salt dough, air-dry clay, clear fillable balls, pinecones, beads, and even upcycled items like sweater scraps or cardboard. Choose materials based on who is crafting and how durable you need them. If kids are involved, pick larger pieces and non-breakable bases like plastic balls, cardstock, or felt, and use glitter glue instead of loose glitter.
What are the easiest homemade ornaments?
The easiest diy christmas ornaments are usually the ones with minimal measuring and fast assembly: salt dough cutouts, paper stars, pinecones with bows, pom-pom wreaths, and ribbon-wrapped balls. They do not require special tools, and you can make them assembly-line style. Focus on a clean hanger attachment and neat glue application, because those two details instantly make simple ornaments look well finished.
How do you make ornaments with kids?
Set up a kid-friendly station with washable paint, larger beads, felt shapes, stickers, and plastic fillable ornaments. Pre-cut tricky shapes and handle hot glue, craft knives, and sealing sprays as the adult. Keep steps short: decorate first, then add hanger last. For less mess, use trays for small parts and choose glitter glue or confetti instead of loose glitter. Always supervise small items with younger children.
How can I make Christmas ornaments look expensive?
To make diy christmas ornaments look expensive, limit your palette, repeat designs in sets, and focus on clean finishing. Use satin or velvet ribbon, add small metallic accents, and seal painted or decoupaged surfaces for a smooth sheen. Hide knots and glue spots with beads or bows. Also, vary texture intentionally: matte felt plus glossy beads plus natural wood reads more “boutique” than using only one finish.
How do you store homemade ornaments?
Store diy christmas ornaments in compartments so they do not knock together. Wrap delicate items in tissue paper, keep hooks separate to prevent tangles, and label bins by theme or material. Avoid humid storage spots, especially for paper, dough, and natural ornaments. If an ornament includes fragrance items like cinnamon or dried citrus, store them away from very absorbent ornaments so scents do not transfer unexpectedly.
Why does my ornament keep tilting forward on the tree?
Tilting usually means the hanger is attached too far forward or the ornament is bottom-heavy. Try moving the hanger attachment point slightly toward the back or higher up on the ornament. For fillable balls, ensure the ribbon is tied tightly to the metal loop, not just slid under the cap. You can also add a small bead or charm at the bottom center to counterbalance and help it hang straight.
Can I use regular school glue instead of craft glue?
School glue can work for lightweight paper, but it dries slower and can wrinkle cardstock or loosen with humidity. For diy christmas ornaments you want to keep, tacky glue is a better upgrade because it grabs faster and dries stronger. If school glue is all you have, use a very thin layer, spread it evenly, and press the piece flat under a book with wax paper until it dries completely.
How do I keep salt dough ornaments from absorbing moisture later?
After baking and cooling, paint both sides, then seal both sides and the edges. Skipping the back is a common reason for warping later. Use a brush-on sealer for full coverage and let it cure fully before storage. Also store in a dry indoor closet with a silica gel packet. Even well-sealed diy christmas ornaments made from dough can soften slightly if kept in a damp basement.
What is the best way to add names and dates neatly?
For crisp personalization, use a paint pen on a sealed surface. First, paint and let dry, then apply a thin sealer coat, let it cure, and write the name last. Lightly pencil a guideline so letters stay straight, then erase gently after the ink dries. If you are using vinyl, burnish it firmly and seal around the edges so it does not lift during storage or handling.
How do I make paper ornaments that do not get crushed?
Choose heavier cardstock, and build structure by layering. For example, glue two identical shapes together with the hanger sandwiched between them. Add folds, score lines, or internal supports like a small rolled paper tube behind the design. Finish with a thin sealer coat to add stiffness. When storing, place paper diy christmas ornaments in compartments and avoid stacking heavy items on top of them.
What can I do if my hot glue looks messy on small ornaments?
Use smaller glue dots and press longer rather than adding more glue. A low-temp gun reduces stringing and gives you a bit more control. If glue blobs show, cover them intentionally with a bow, felt leaf, bead, or faux berry. You can also let the glue cool, then trim carefully with small scissors. For some designs, switching to tacky glue gives a cleaner edge, just with longer drying time.
Final thoughts
Making diy christmas ornaments is one of those holiday projects where small effort brings big payoff. Pick a few ideas that match your style, prep your workspace, and lean on the core techniques: secure hangers, the right glue for the material, thin paint layers, and a protective seal when needed. If you want a cohesive tree, repeat a handful of designs in the same palette and vary texture for depth. Your next step: choose three ornament