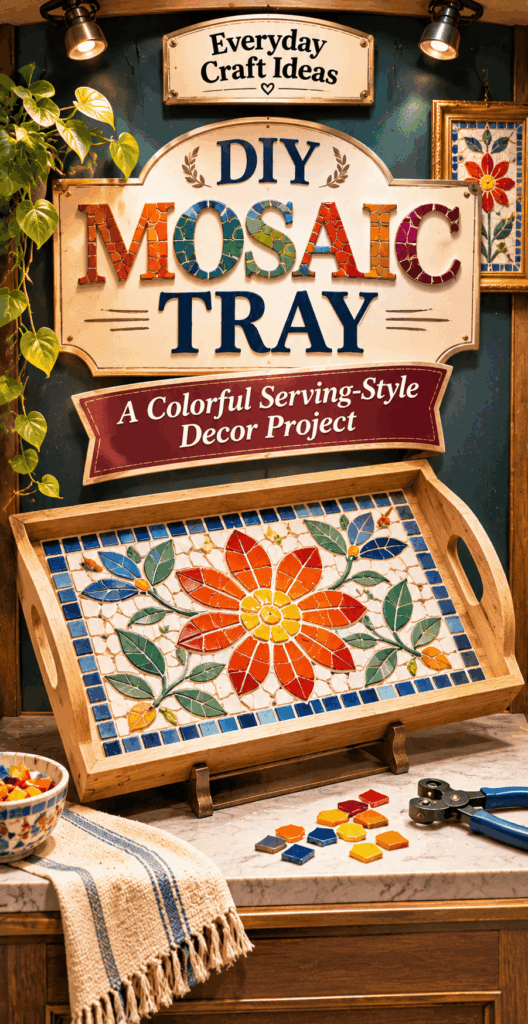
DIY Mosaic Tray: A Colorful Serving-Style Decor Project
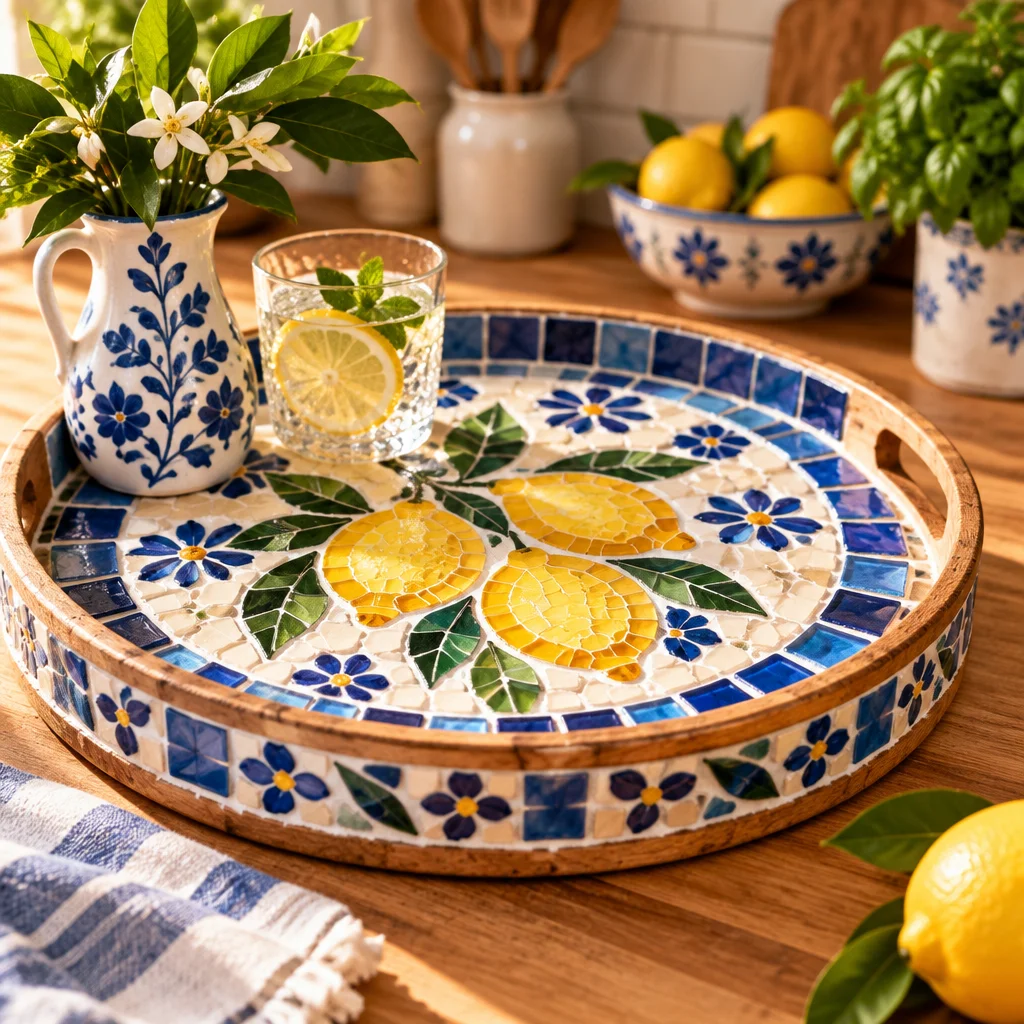
A Mosaic Tray DIY project is one of the most satisfying ways to turn simple materials into a functional decor piece you will actually use. The finished tray can live on a coffee table as a candle-and-vase vignette, serve drinks for guests, or organize toiletries on a bathroom counter. It suits beginners because mosaics are forgiving: small gaps and imperfect edges disappear once grouted, and “mistakes” often look intentional in a handmade pattern.
Expect a weekend-friendly timeline, usually a few hours of hands-on work plus drying and curing time. You will practice basic tiling skills like spacing, cutting, and grouting on a small scale before ever tackling a larger surface. If you enjoy making coordinated table decor, pair your tray with ideas from these DIY candle holder projects or build it as a centerpiece base alongside easy holiday table centerpieces. The main appeal is color and texture: a mosaic tray catches light, hides wear, and feels like a boutique find you made yourself.
Choose a Tray and Mosaic Materials
Wooden tray versus other rigid bases
Your base determines how durable your Mosaic Tray DIY will be and what products you should use. A wooden tray (unfinished or lightly finished) is beginner-friendly because it is easy to find and simple to customize with paint or stain. Choose a tray with a flat bottom panel and sturdy sides, not a thin, flexible base that may warp. Hardwood and plywood both work, but avoid particleboard trays in humid rooms.
Other good bases include MDF trays (stable and flat, but must be well sealed), metal trays (great for a modern look, but require an adhesive designed for non-porous surfaces), and pre-made serving trays with a recessed center which helps protect tile edges. If you want a fully water-stable option, a cement board insert mounted into a tray frame is extremely durable, though it adds steps and weight.
Tile, adhesive, grout and protective finish
Pick mosaic materials that match how you will use the tray. Glass mosaic tiles are colorful and easy to arrange, while ceramic tiles offer a classic look and are usually cheaper. You can also use broken dish pieces for a one-of-a-kind patchwork, but you will need to smooth sharp edges and work carefully.
- Adhesive: Use tile mastic or a strong construction adhesive labeled for tile and the tray surface. For wood trays, a quality mastic is common. For metal or glossy surfaces, choose an adhesive rated for non-porous materials.
- Grout: Sanded grout suits wider gaps; unsanded grout suits very tight joints (common for small glass mosaics). Many beginners find pre-mixed grout convenient for small projects.
- Protective finish: A penetrating grout sealer helps resist stains. If you want extra protection, a clear topcoat designed for tile and grout can work, but keep food-contact considerations in mind.
Safety when handling sharp tile edges
Mosaic work is safe when you treat sharp edges with respect. Wear safety glasses when cutting tile. Use cut-resistant gloves if you are handling broken ceramic. Keep a small container for shards and wipe your workspace with a damp paper towel at the end so tiny fragments do not end up on the floor. If you sand edges, wear a dust mask and clean up dust thoroughly. Never rush cleanup: the most common mosaic injury is a small cut from an overlooked chip.
Mosaic Tray Pattern Ideas
Mediterranean tile-inspired pattern
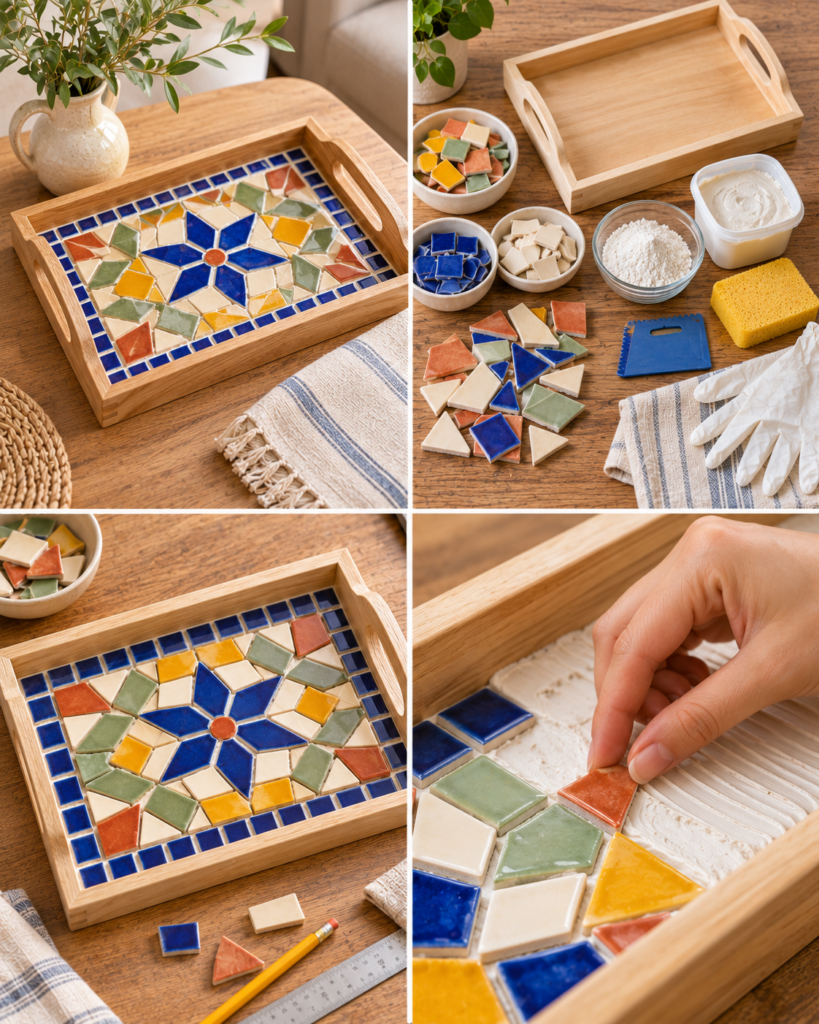
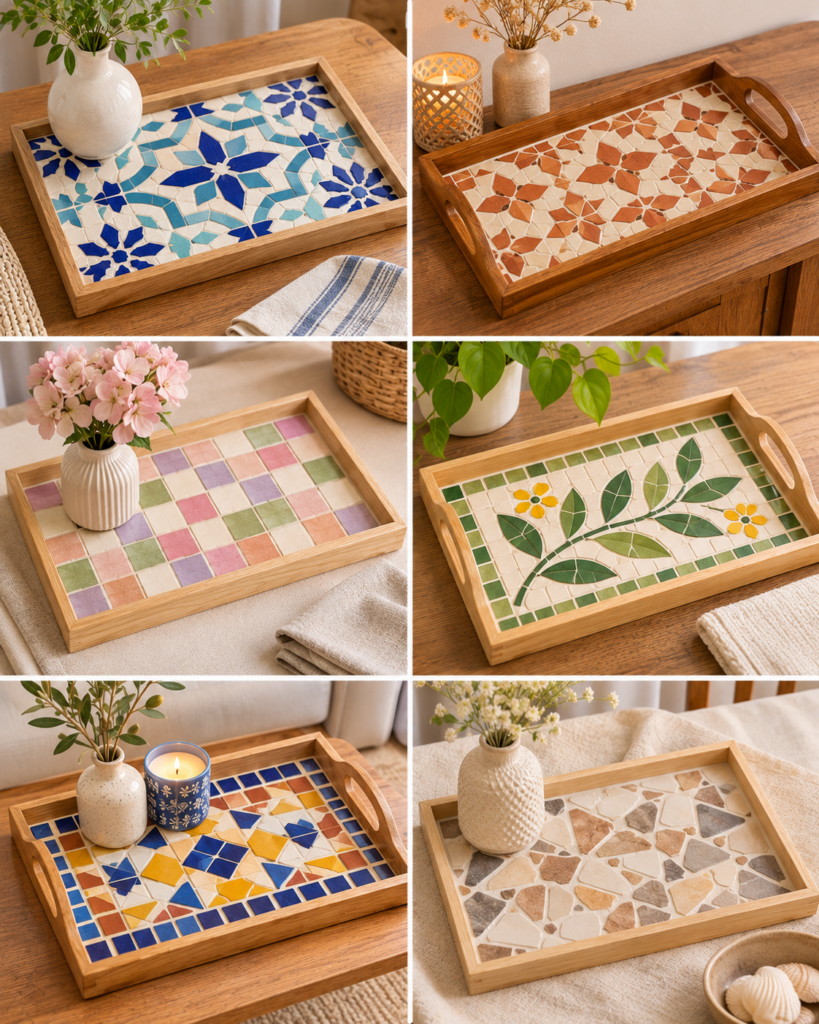
For a bright, artisan feel, build a repeating motif using blues, terracotta, white, and sunny yellow. Use small squares or pre-cut glass mosaics and keep grout lines consistent. A simple approach is to create “tile blocks” in 2-inch squares, then repeat them across the tray like a tiled courtyard floor.
Geometric checkerboard design
A checkerboard is a clean first Mosaic Tray DIY pattern because it is easy to plan. Use two colors in equal sizes, like black and white ceramic squares, or soften it with cream and gray. This design looks best with crisp spacing and a grout color that supports the contrast, such as medium gray for white tiles.
Broken-tile patchwork
Patchwork mosaics are perfect for using leftover tile samples. Mix shapes and sizes, but control the chaos by limiting your palette to three to five colors. Arrange larger pieces first, then fill gaps with smaller “tesserae” pieces. This style is forgiving and hides minor spacing inconsistencies.
Floral centerpiece motif
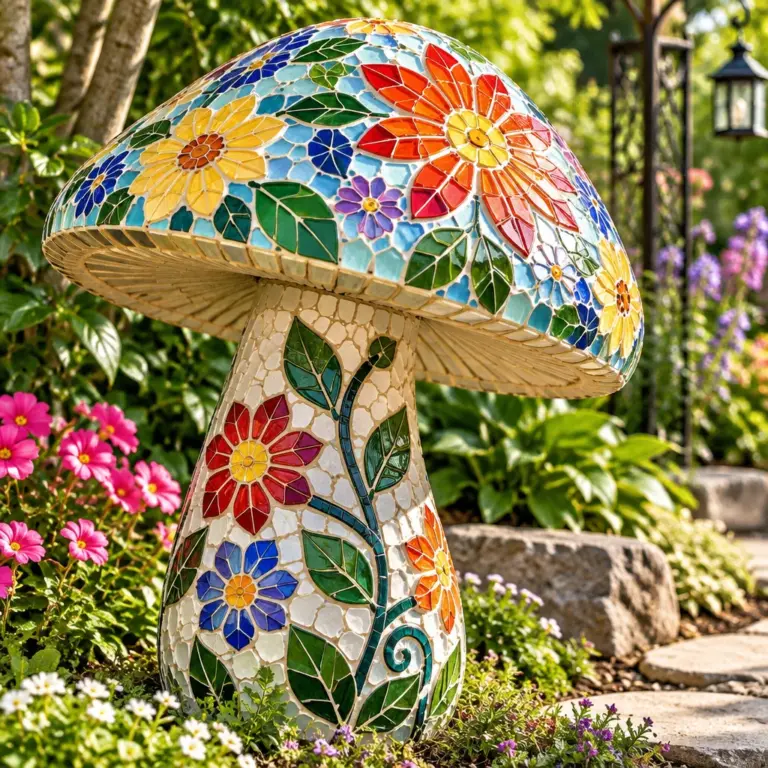
Create a central flower or mandala, then surround it with a simple border. To keep it beginner-friendly, use one flower silhouette in the middle and “petal” shapes made from oval glass gems or leaf-shaped tiles. A solid border helps frame the motif and makes the tray look finished.
Coastal blue mosaic
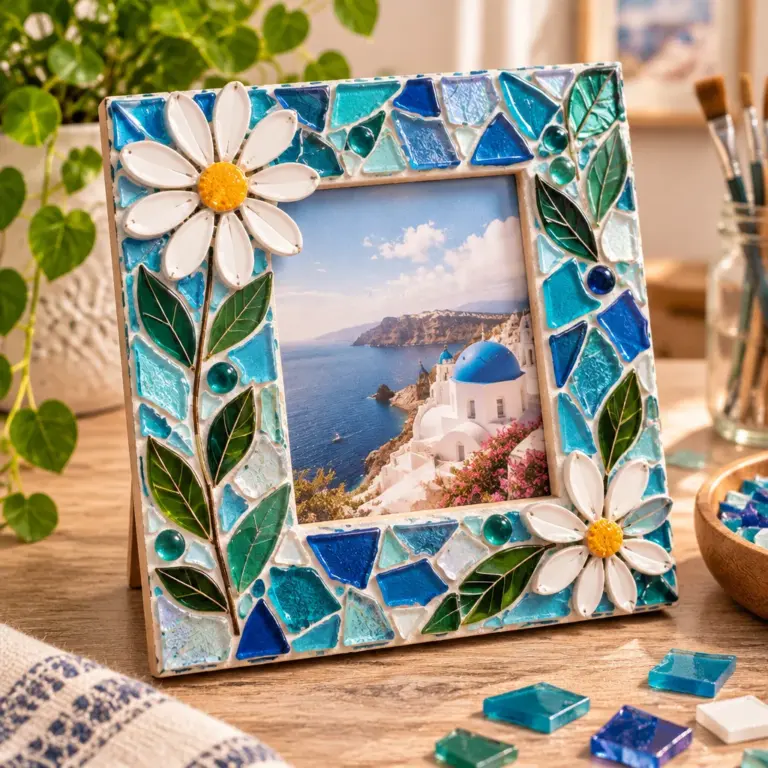
Coastal palettes look great on serving trays. Blend sea-glass tones like aqua, teal, and navy with a few white tiles as highlights. Consider a wave-like flow that runs lengthwise across the tray. A pale grout (white or light gray) enhances the airy look.
Minimal neutral tile border
If you want subtle texture rather than bold color, tile only the border and leave the center painted or stained wood. Use small neutral tiles, then grout in a matching tone. This hybrid look is elegant and keeps the tray lighter in weight.
How to Plan and Tile the Tray
Sketch the layout and test-fit pieces
Planning is what separates a neat mosaic from a stressful one. Before any glue, do a dry layout so you can adjust spacing and avoid awkward slivers at the edges.
- Measure the tiled area (inside the tray walls or the tray face) and note the dimensions. This tells you whether full tiles will fit or if you will need cuts.
- Choose your grout line width and stick to it. Many mosaics look good with 1/16 to 1/8 inch gaps, but larger gaps can be fine for rustic patchwork.
- Dry-fit the border first if you have one. Borders frame the design and help hide small size discrepancies at the edges.
- Take a quick photo of the dry layout. It becomes your reference once adhesive is applied.
Spread adhesive and maintain even gaps
- Work in small sections so the adhesive stays workable. Spread a thin, even layer using a small notched trowel or a craft spatula.
- Press tiles gently into the adhesive. Avoid pushing so hard that glue squeezes up into the grout lines, which makes grouting harder later.
- Use spacers or a simple guide like toothpicks to keep gaps consistent. With irregular pieces, aim for “visually even” spacing rather than perfect measurements.
- Keep edges tidy by wiping stray adhesive immediately with a damp cloth. Dried adhesive on tile faces is much harder to remove.
Apply grout and clean the surface
- Let adhesive cure fully according to the label. Grouting too soon can shift tiles.
- Mix or prepare grout to a peanut-butter consistency if using powder. Let it slake (rest) if the manufacturer instructs, then remix.
- Spread grout diagonally across tile lines with a rubber float, pressing it into gaps to eliminate air pockets.
- Wipe with a damp sponge after grout begins to firm up. Rinse the sponge often and use light pressure so you do not pull grout out of joints.
- Buff haze off the tile faces with a dry cloth once the grout has set a bit more. This reveals the color and shine.
Finish edges and allow full curing
Edges are where trays get bumped, so finish them thoughtfully. If tile edges are exposed, consider adding a wood trim strip, a metal edge profile, or a neat grout “bevel” that slopes slightly down to the tray base. After grout cures, apply a grout sealer and allow full curing time before use. Many projects fail because they are used too early, before grout and sealer harden properly.
Using and Caring for Your Mosaic Tray
Decorative use versus food-contact suitability
A Mosaic Tray DIY can be decorative, functional, or both, but be realistic about food contact. Even when sealed, grout is slightly textured and can trap crumbs or moisture. For serving, it is best used as a carrier for mugs, wrapped foods, napkins, or small plates rather than as a cutting or eating surface. If you want the tray for gifting, it pairs nicely with a candle or small decor bundle and can be part of a handmade present idea similar in spirit to Christmas gifts people actually want.
If you plan to place unwrapped food on it, choose materials and finishes that explicitly state they are food-safe when cured, and remember that many common craft sealers are not intended for direct food contact. When in doubt, keep it as a serving-style decor tray and place a washable mat, parchment, or small plates on top.
Protect the tray from moisture and heavy impacts
Mosaic is durable, but trays take impact around handles and corners. Lift the tray with two hands and avoid banging it against door frames. For cleaning, wipe with a damp cloth and mild soap, then dry. Do not soak the tray or leave standing water, especially on a wood base. If you use it in the bathroom, re-seal grout periodically. Add felt pads underneath if it will sit on delicate furniture.
“I tried this Mosaic Tray DIY as my first mosaic project and it turned out better than I expected. The dry layout photo helped so much when I started gluing, and switching to a medium-gray grout made the colors pop without looking messy. I use it on my coffee table every day.”
Frequently Asked Questions About DIY Mosaic Tray: A Colorful Serving-Style Decor Project
Can I mosaic a wooden tray?
Yes, and wood is a popular choice for a Mosaic Tray DIY because it is lightweight and easy to find. The key is stability and prep. Pick a tray that is flat and sturdy, lightly sand glossy finishes, and wipe away dust. Use an adhesive suitable for tile on wood, and seal grout after it cures. Avoid soaking the finished tray or storing it where humidity fluctuates a lot.
What grout should I use for a mosaic tray?
Use unsanded grout for very small joints (often with glass mosaics) and sanded grout for wider joints or rustic broken-tile designs. Pre-mixed grout can be convenient for small trays, but powdered grout is often more economical and offers more color choices. Choose grout color intentionally: light grout highlights each tile; darker grout hides stains and visually ties mixed colors together.
Can I serve food directly on a mosaic tray?
It is best to treat a mosaic tray as a serving and carrying surface, not a direct food-contact platter. Grout lines are textured and can be harder to sanitize perfectly. If you want to use it for entertaining, place small plates, napkins, or a washable liner on top. For party setups, it can be a beautiful base for decor clusters or snacks in bowls, similar to styling you might do with simple centerpiece arrangements.
How do I stop tiles from sliding while the adhesive dries?
Use a thinner adhesive layer and press tiles in gently so they “grab” instead of floating. Work in small sections and start with a border to create a stopping point. If your tray has vertical sides and you are tiling near edges, let the first section set before continuing. You can also use painter’s tape as a temporary hold for awkward pieces.
What if my grout dries too fast or looks patchy?
Grout can flash-dry in hot, dry conditions or if mixed too stiff. Work in smaller areas, keep your mixing water measured, and avoid over-wiping with a very wet sponge, which can wash pigment out and cause patchiness. If it is already cured and blotchy, a grout colorant can even out the tone. Sealing afterward helps keep the color more consistent over time.
How can I make this project gift-ready?
Choose a classic color palette, keep the pattern simple, and finish the edges neatly so it looks polished. Let everything cure fully before wrapping. Include a small care note: wipe clean, do not soak, and lift with two hands. For a themed gift bundle, pair the tray with a handmade accessory like something inspired by these ornament-making ideas during the holidays, or coordinate it with event decor planning like budget-friendly baby shower decorations.
Final Thoughts
If you have been curious about mosaic but worried it is too technical, a Mosaic Tray DIY is a practical first project because it stays small, teaches core skills, and produces something useful. Focus on three success habits: pick a stable tray, dry-fit your design before gluing, and respect curing time for adhesive, grout, and sealer. Those steps matter more than artistic perfection.
Your next step is simple: choose one pattern style from the ideas above and gather materials with a consistent thickness so the surface stays even. Once you finish your first tray, you can scale up the same process to coasters, plant saucers, or a tabletop insert. Start with one tray, keep the layout manageable, and enjoy the moment when grout pulls the whole design together.