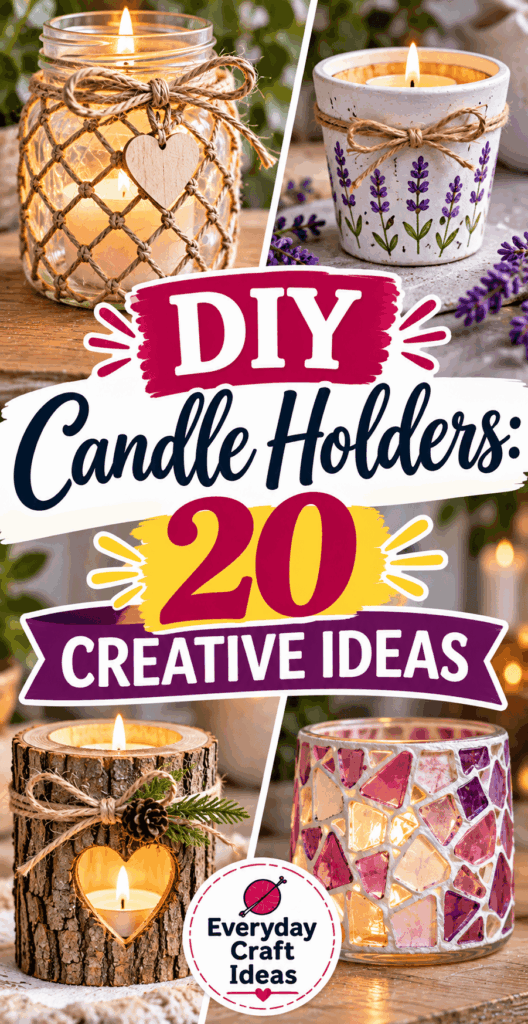
DIY Candle Holders: 20 Creative Ideas
If you are searching for diy candle holders that look store bought but feel personal, you are in the right place. Candle holders are one of the easiest decor projects to customize for your home, a party, or a seasonal table, and you can make many of them with materials you already have. In this guide, I will walk you through safe materials, simple tools, and 20 creative ideas ranging from painted glass to concrete-look pieces and LED displays. If you are decorating for an event, candle holders pair beautifully with budget-friendly details like these DIY baby shower decorations on a budget or a festive tablescape from DIY Christmas centerpieces and easy holiday table ideas.
What you need to get started
Most diy candle holders projects fall into two categories: holders for real flame candles (tea lights, votives, tapers) and holders for flameless LED candles. Real flame designs need special attention to heat, airflow, and stability. LED designs are more forgiving and are perfect if you want something kid-friendly or if you plan to use paper, fabric, or dried botanicals.
Here is a practical starter kit, plus why each item matters:
- Heat-resistant insert (tea light cup, votive cup, or small glass): protects your decorative outer layer from direct flame and hot wax.
- Glass jars (mason jars, yogurt jars, spice jars): non-flammable base material, easy to clean, and readily available.
- Adhesives (high-temp hot glue for decor away from heat, craft glue for paper, silicone adhesive for glass-to-glass): wrong glue can soften near warmth.
- Basic tools (scissors, craft knife, ruler, sandpaper, paintbrushes): for neat edges and smooth finishes.
- Finishes (acrylic paint, spray paint, water-based sealer): improves durability and makes cleanup easier.
Choosing safe candle holder materials
Use glass, ceramic, metal, or sealed concrete for real candles. Avoid plastic anywhere near a flame, and treat wood as decorative only unless the flame is contained inside a glass insert that keeps heat away from the wood. If you want a natural look with moss, raffia, twine, or dried flowers, place those materials on the outside of a jar, never inside where the flame sits. For taper holders, ensure the base is heavy enough to resist tipping and the socket fits the candle snugly. When in doubt, choose an LED candle and enjoy the same cozy glow with far fewer constraints.
20 ideas and projects to try
Below are 20 diy candle holders ideas with quick notes on what they are best for and what to watch for. Many can be completed in under an hour, especially if you batch-make several at once.
- Painted glass votive: paint the outside of a jar for a translucent glow. Keep paint off the rim where heat collects.
- Frosted sea-glass look: use frosted glass spray or etching cream on the exterior only.
- Pressed flower jar: press flowers, then decoupage to the outside of glass. Use LED for safest results.
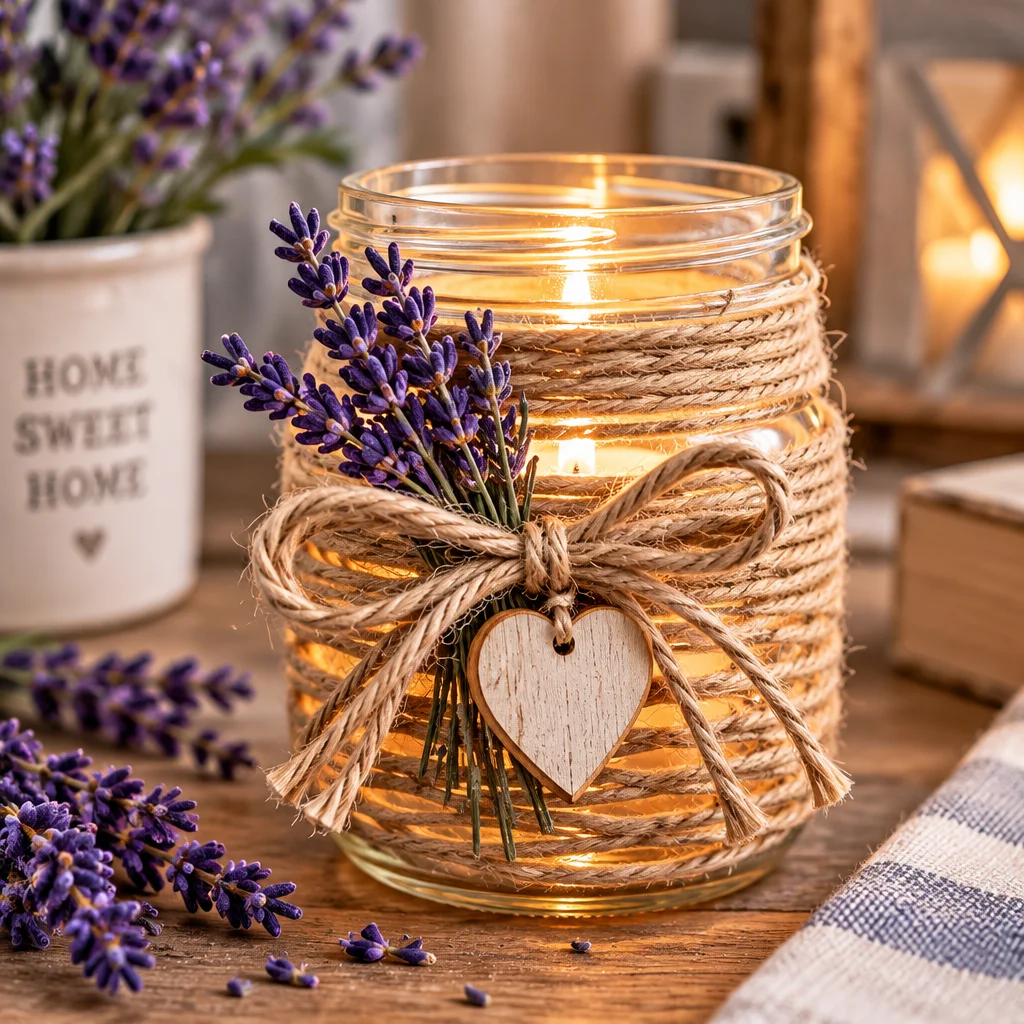
- Twine-wrapped lantern jar: wrap jute twine around a jar, leaving the top inch bare.
- Pebble mosaic holder: glue small stones to a glass cylinder, but keep the inside plain glass.
- Hurricane vase with sand: set a votive cup in sand for stability, great outdoors with wind protection.
- Mason jar wire-handle lantern: add a wire handle and hang from a hook, best with LED.
- Wine bottle taper: insert a taper candle into a cleaned bottle neck, stabilize with a drip-free candle or use a taper adapter.
- Concrete-look jar (faux finish): paint a jar with a textured stone finish, then seal.
- True concrete tealight block: pour concrete into a mold and embed a metal or glass tealight cup.
- Air-dry clay pinch pot: make a decorative holder for LED only, or use a glass insert for real flame.
- Polymer clay sleeve: bake a decorative sleeve that slides over a glass votive.
- Wood slice base with glass cup: glue a glass cup onto a sealed wood slice, with felt feet under.
- Driftwood candle cluster: attach multiple glass cups to a driftwood piece for a centerpiece.
- Brass-look spray-painted thrift holder: upgrade mismatched metal pieces into a matching set.
- Geometric paper wrap (LED): create a cut-paper shade around an LED votive.
- Cut-out tin can lantern: punch patterns into a can, paint it, and use a tealight inside.
- Seasonal shadow wrap: wrap vellum or thin cardstock around a jar for patterned light, LED recommended.
- Mini terrarium candle (LED): layer stones and faux moss around an LED votive inside a glass bowl.
- Wooden LED display box: a simple wooden tray with drilled recesses for LED tea lights.
Painted glass holders, clay holders, mason jars, concrete-look pieces and wooden LED displays
If you are unsure where to begin, start with painted glass and mason jar versions because glass is inherently heat-safe. Clay and wood are best approached as “decorative shells” around a glass insert, especially for beginners. Concrete looks advanced, but the faux concrete finish is as simple as textured spray paint and a matte sealer. For a quick win that still looks high-end, the wooden LED display is wonderfully forgiving: even if your drilling is not perfect, the warm light hides small imperfections.
How to make and customize the projects
Use this basic process for most diy candle holders to get clean results and avoid common safety issues. These steps apply whether you are painting a jar, making a clay sleeve, or assembling a wood-and-glass piece.
- Decide: real flame or LED first. This determines your materials. If you want paper, dried plants, or a tight enclosed look, choose LED.
- Measure your candle and insert. A tea light cup needs a flat base and about 1 inch clearance from anything decorative. A taper needs a snug socket so it does not wobble.
- Prep the surface. Wash glass with dish soap, then wipe with rubbing alcohol. Lightly sand glossy surfaces (like glazed ceramic or sealed wood) so paint and glue grip.
- Create the “safe core”. For real candles, plan a glass or metal cup that holds the flame. Build your decorations around the outside, not inside the burn area.
- Decorate in thin layers. Paint thin coats to avoid drips. Let glue dry fully so pieces do not slide later when the holder warms slightly.
- Seal where appropriate. Use a water-based sealer for paint, decoupage, and porous surfaces. Keep sealer away from the candle rim and any area that will directly heat.
- Test for stability. Place the candle, gently tap the table, and check tipping risk. Add adhesive felt pads or a wider base if needed.
- Do a short burn test (real candles only). Light for 15 minutes on a heat-safe surface, watch for overheating, smoking, or softening glue. If anything seems off, switch to LED.
Modern, rustic and holiday styles
To make your diy candle holders fit your home, pick a style theme and repeat it across multiple pieces. For modern decor, stick to matte black, white, and warm metallics, and use simple shapes like cylinders and straight-sided jars. For rustic looks, combine wood slices, twine wraps, and muted paint, then distress edges lightly with sandpaper. For holiday versions, swap out seasonal wraps or tags instead of remaking the whole holder. You can even coordinate candle holders with other crafts, like handmade details from DIY Christmas ornaments or small add-ons that work well as DIY Christmas gifts people actually want.
LED candle safety, heat-resistant inserts and cleaning
LED candles still need basic care: avoid covering ventilation holes on battery compartments and keep them away from water if they are not rated for outdoor use. For real flame candles, a heat-resistant insert is your best friend. Use a purpose-made votive cup, a small tempered glass, or a metal tealight cup nested inside the decorative holder. Cleaning is easiest if you prevent wax spills: keep the candle centered and trim wicks to about 1/4 inch to reduce soot. If wax does spill onto glass, let it harden, then pop it off with a plastic scraper and wash with warm soapy water.
Supplies, cost, time and skill level
One reason diy candle holders are so popular is that you can scale them to your budget. A single painted jar holder can cost only a few dollars if you already have paint and a recycled jar. Mid-range projects like concrete-look painted sets or wood slice bases usually land around $10 to $25 for several holders, especially if you buy tea light cups and felt pads in multipacks. True concrete holders cost a bit more upfront because you may need a small bag of mix, a mold, and sanding supplies, but each finished piece is inexpensive once you have the basics.
Time and difficulty by type:
- Beginner (15 to 45 minutes): painted glass, twine wraps, sand-filled hurricanes, thrift flip spray paint upgrades.
- Confident beginner (1 to 2 hours): pebble mosaics, decoupage, wood slice with glass cup, cut-out tin lantern.
- Intermediate (2 to 4 hours plus curing): true concrete blocks, drilled wooden LED trays, clay sleeves with careful fitting.
Make-and-take parties love these projects because they are small, portable, and forgiving. If you are assembling party decor, consider pairing them with coordinated favors or table elements such as these DIY Easter basket ideas for kids and adults for spring gatherings.
Beginner mistakes and troubleshooting
If your paint streaks on glass, you are likely using coats that are too thick or painting over greasy residue. Clean with alcohol and switch to thin coats, allowing full drying between layers. If decorations slide off a jar, the glue may not be suited for glass; use a clear-drying adhesive rated for glass or a tiny amount of silicone adhesive for permanent holds. If a holder wobbles, widen the base with a wood round, add felt pads, or choose a shorter candle. If your tealight creates soot, trim the wick and ensure enough airflow above the flame. Any sign of scorching, melting, or overheating means you should stop using real flame and convert the piece to LED.
“I made three painted jar holders using the ‘safe core’ tip with votive cups inside. The first one got a little smoky, but trimming the wick and keeping paint off the rim fixed it. Now they look amazing on my shelf and I feel confident lighting them.”
Final tips and next projects
The best diy candle holders balance creativity with safe construction: keep real flames contained in glass or metal, decorate on the outside, and always test stability before you style a whole table. If you are making a set, batch your steps, do all surface prep first, then paint, then seal. You will get a more consistent finish and save time waiting for layers to dry. Next, try creating a matching centerpiece tray, seasonal napkin rings, or a small gift set with LED votives. If you want more event-friendly crafts, revisit the baby shower and holiday centerpiece ideas linked above and build a coordinated look around your new candle holders.