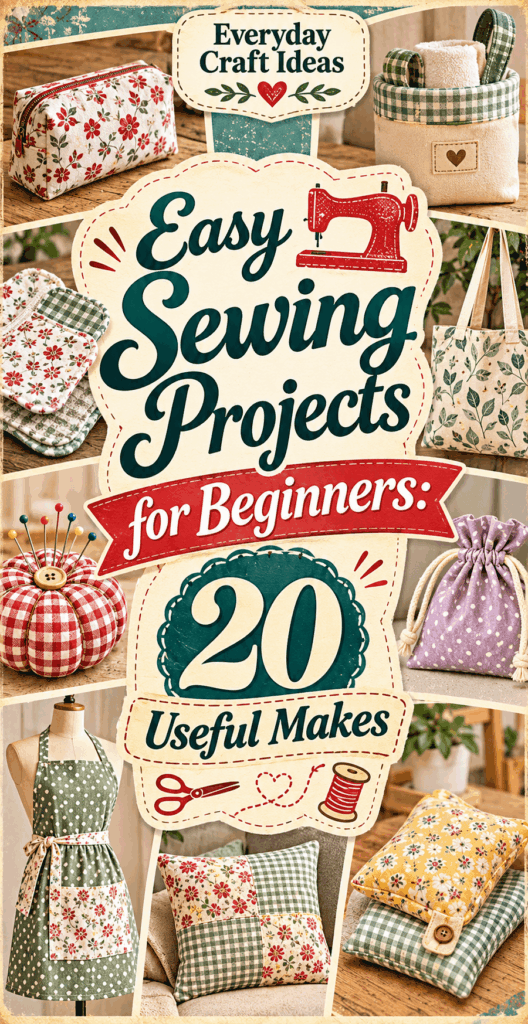
Easy Sewing Projects for Beginners: 20 Useful Makes
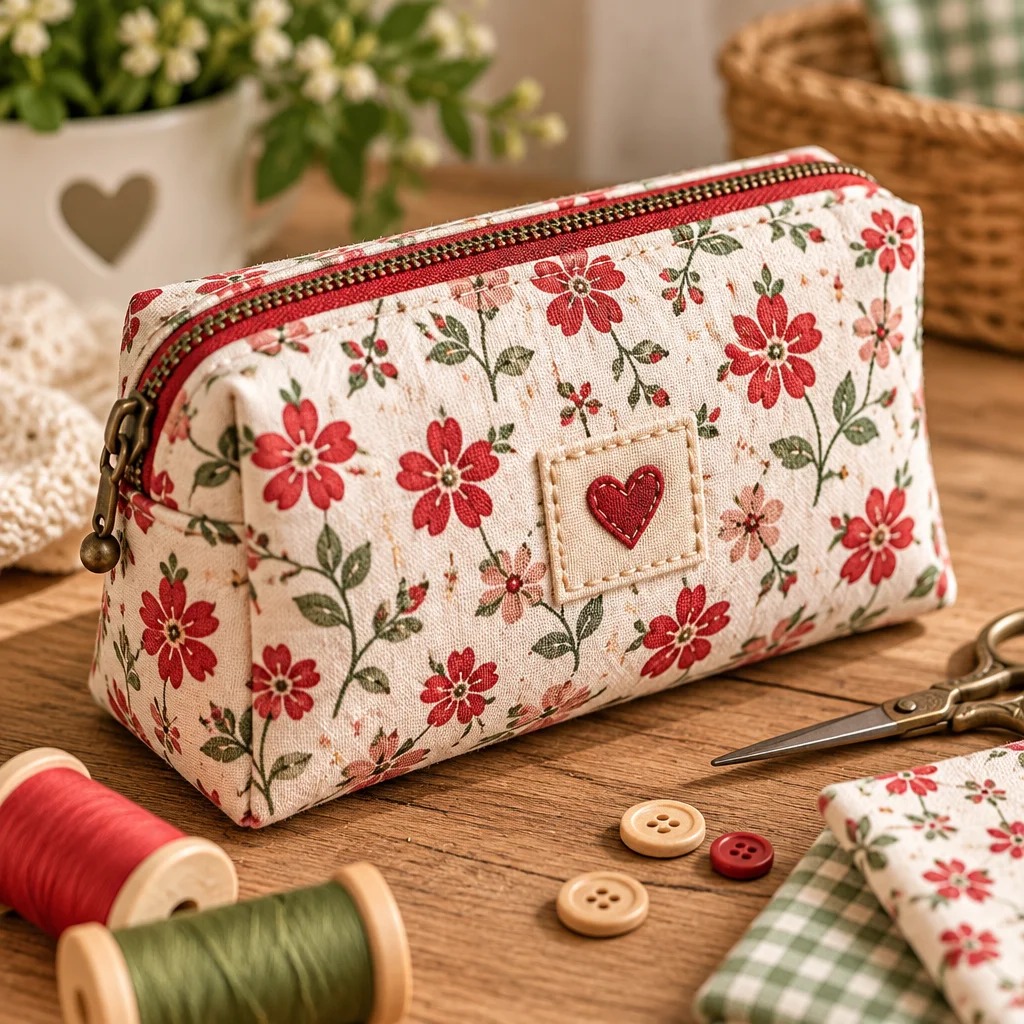
If you are searching for easy sewing projects for beginners that feel genuinely useful (not just practice scraps), you are in the right place. This guide walks you through 20 beginner-friendly makes you can actually use around the house, gift, or keep in your bag. You will learn what to sew first, which fabrics behave best, and how to finish your projects so they last through real life washing and wear.
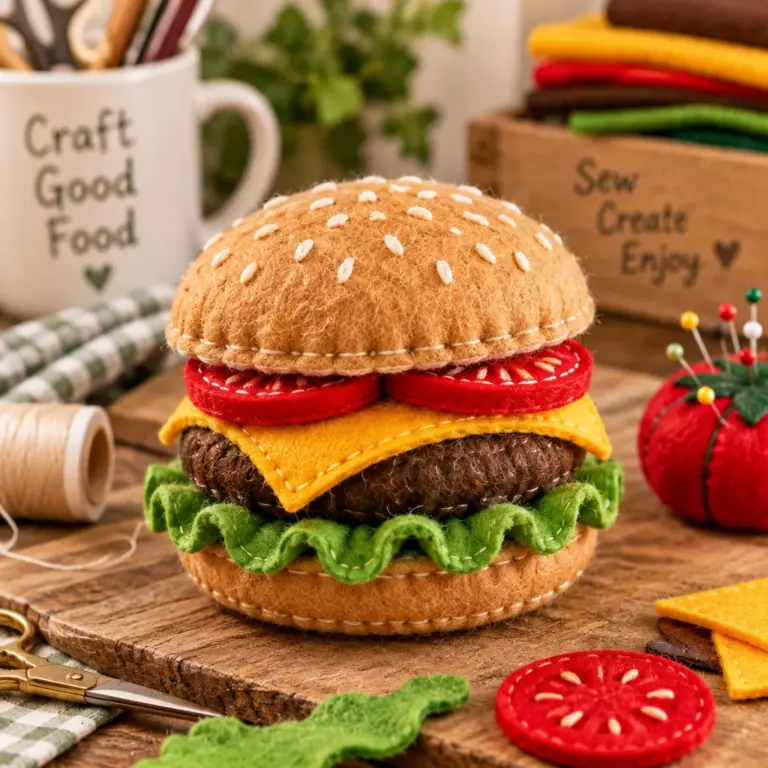
Many first projects pair well with other simple crafts when you want quick wins. For example, adding a felt applique or tag can level up a pouch fast, and these felt crafts for beginners are a great companion skill. If you like small, portable creativity for gifting, you might also enjoy easy beaded bracelet patterns for beginners alongside your sewing.
Below you will find the materials list, how to prep safely, and a big set of project ideas with variations. Then we will cover the core techniques that apply to almost every beginner project, plus troubleshooting so you can fix common issues instead of giving up.
Materials and tools needed
You do not need a studio full of equipment to start sewing. For most easy sewing projects for beginners, a basic machine setup plus a few accurate tools will help you get neat, repeatable results. Focus on tools that improve measuring, cutting, and pressing, because those steps often matter more than fancy stitches.
- Sewing machine or hand-sewing needles: A basic machine that does straight stitch and zigzag is plenty. If you are hand sewing, choose sharp needles (sizes 7 to 9) for woven cotton.
- Thread: All-purpose polyester thread is strong and forgiving. Match color loosely at first, perfection can come later.
- Fabric scissors or rotary cutter: Keep fabric scissors for fabric only. Paper dulls blades and causes jagged cuts that throw off seams.
- Measuring tools: A clear quilting ruler, tape measure, and a seam gauge help you keep consistent seam allowances.
- Pins or clips: Clips are great for thick layers like quilting cotton plus interfacing or vinyl.
- Iron and ironing board: Pressing is not optional. Press seams as you go for flatter, more professional results.
- Marking tool: Chalk, washable pen, or a mechanical fabric pencil helps you mark hems and stitch lines.
- Optional helpers: Seam ripper (must-have), turning tool or chopstick, interfacing for structure, and a cutting mat if using a rotary cutter.
If you want an extra beginner craft to do with your fabric scraps, paper crafting is a nice break from the machine. Try these paper quilling ideas for beginners for gift toppers and tags.
Skill level and estimated time
This article is designed around easy sewing projects for beginners that use mostly straight stitches, simple rectangles, and low-stress finishing. Most projects fall into three practical levels:
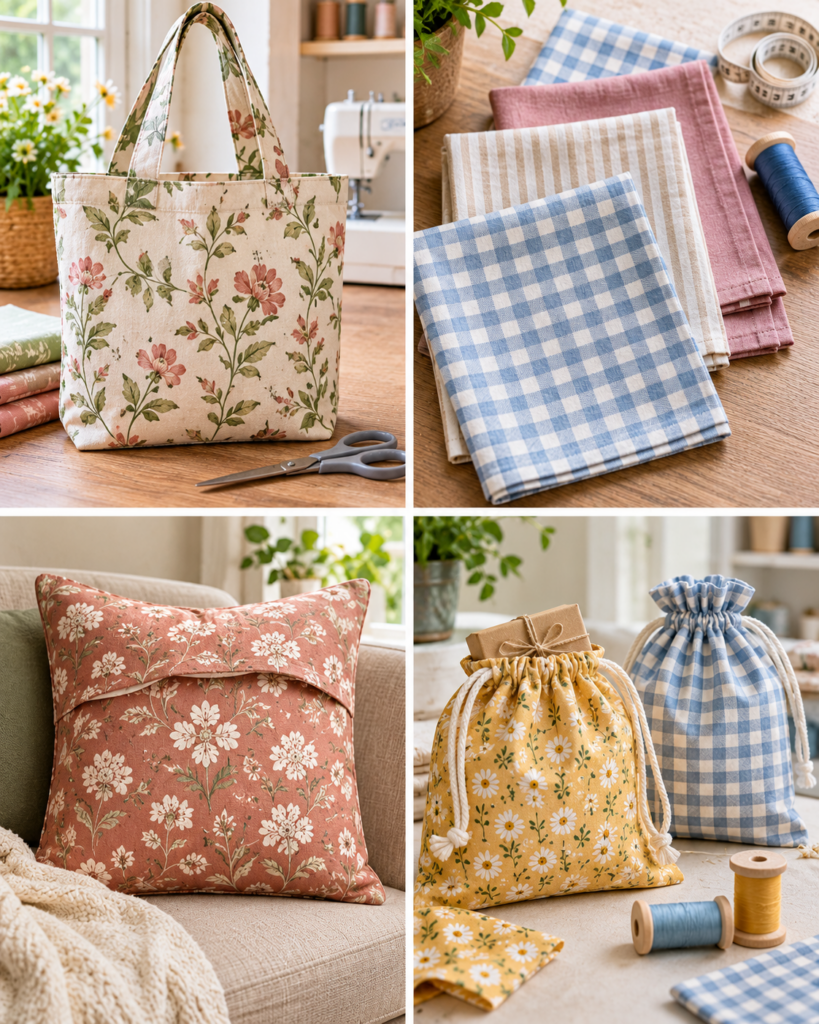
- True beginner: Straight seams, pressing, and turning right side out. Examples: napkins, tote bag, pillowcase, simple pouches. Estimated time: 20 to 60 minutes.
- Confident beginner: Basic hems, simple casings, topstitching, and layering. Examples: drawstring bag, apron, headband, bowl cozy (with the correct batting). Estimated time: 45 to 120 minutes.
- Adventurous beginner: Zippers, boxed corners, light interfacing, or elastic. Examples: zip pouch, pencil case, scrunchies, simple skirt with elastic waist. Estimated time: 60 to 180 minutes.
Your time depends on cutting accuracy and how often you stop to press. Add 10 to 15 minutes for setup: winding a bobbin, testing stitches, and pressing fabric. If you are sewing as a complete beginner, plan extra time the first few projects because you are building muscle memory and learning how your machine behaves.
A good rule: smaller projects finish faster, but they can be fiddly. Medium-sized items like a tote bag or apron are often easier because you have more fabric to hold onto and guide under the presser foot.
Preparation and safety tips
Good preparation makes easy sewing projects for beginners feel easier. Start by choosing stable fabrics: quilting cotton, cotton canvas, and cotton-linen blends are friendly. Avoid stretchy knits until you are comfortable controlling fabric feed, and skip slippery satin for now.
- Prewash when it matters: If the finished item will be washed (napkins, tote, pillowcase, kitchen items), prewash and dry fabric to prevent shrinkage later. Press it flat before cutting.
- Square up your fabric: Align the grain by tugging gently and trimming a straight edge. Off-grain cuts cause twisting seams and wavy hems.
- Test stitch settings: Use a scrap of the same fabric layers to test stitch length (2.5 mm is a good default) and tension.
- Pin safely: Keep pins out of your mouth. Use a magnetic pin holder or pincushion and remove pins before stitching over them to avoid needle breaks.
- Iron safety: Keep cords away from the machine pedal area. Always place the iron upright when not in use.
- Microwave projects warning: If you make a bowl cozy, use 100 percent cotton fabric, 100 percent cotton thread, and 100 percent cotton batting labeled microwave-safe. Never use metallic fabrics or polyester batting.
Finally, clean as you go. A tidy cutting surface helps you keep pieces paired correctly, which is a common beginner mistake.
Project ideas and variations
Here are 20 easy sewing projects for beginners that are genuinely useful. Most can be made from fat quarters, remnants, or upcycled textiles.
- Fabric napkins: Hemmed squares for everyday meals.
- Reusable snack bags (lined): Cotton outer with food-safe, washable lining.
- Simple tote bag: Great for groceries and library trips.
- Drawstring gift bag: Reusable wrapping that looks special.
- Pillowcase (envelope or burrito method): A confidence builder with clean seams.
- Table runner: Straight lines and easy quilting if you want practice.
- Mug rug or coaster set: Small quilting practice without overwhelm.
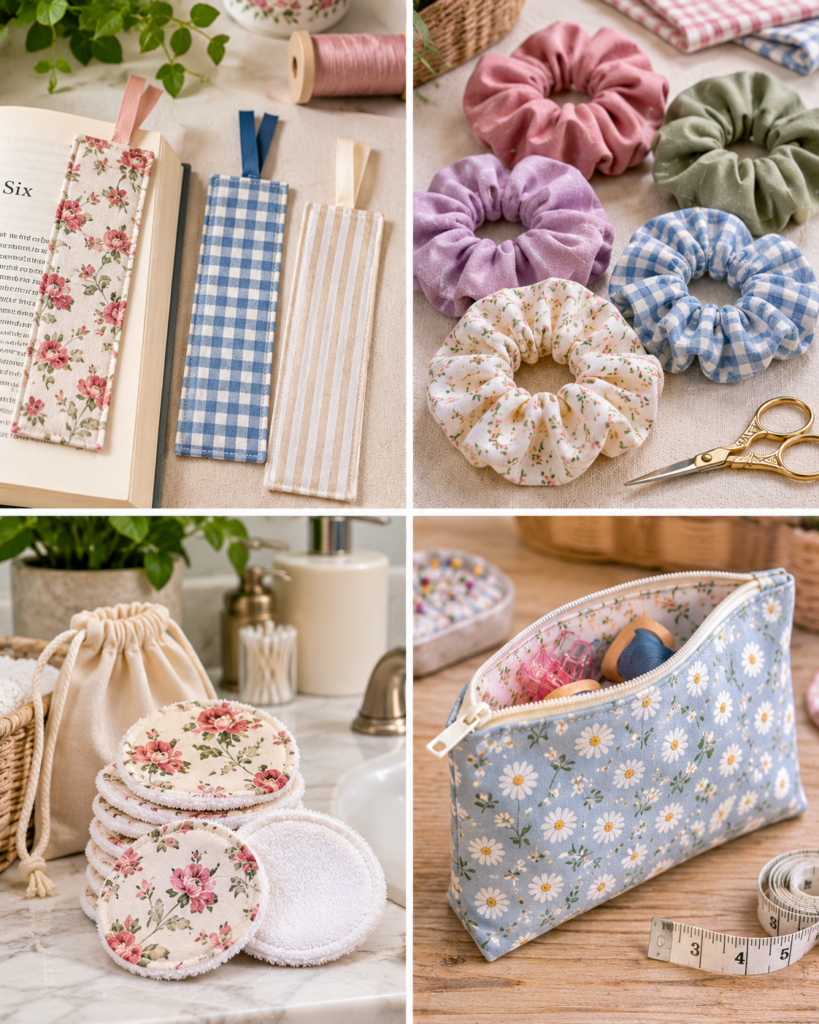
- Scrunchies: Teaches casings and turning.
- Basic zipper pouch: Learn zipper placement with minimal stress.
- Pencil case: A slightly longer zipper pouch, great for school supplies.
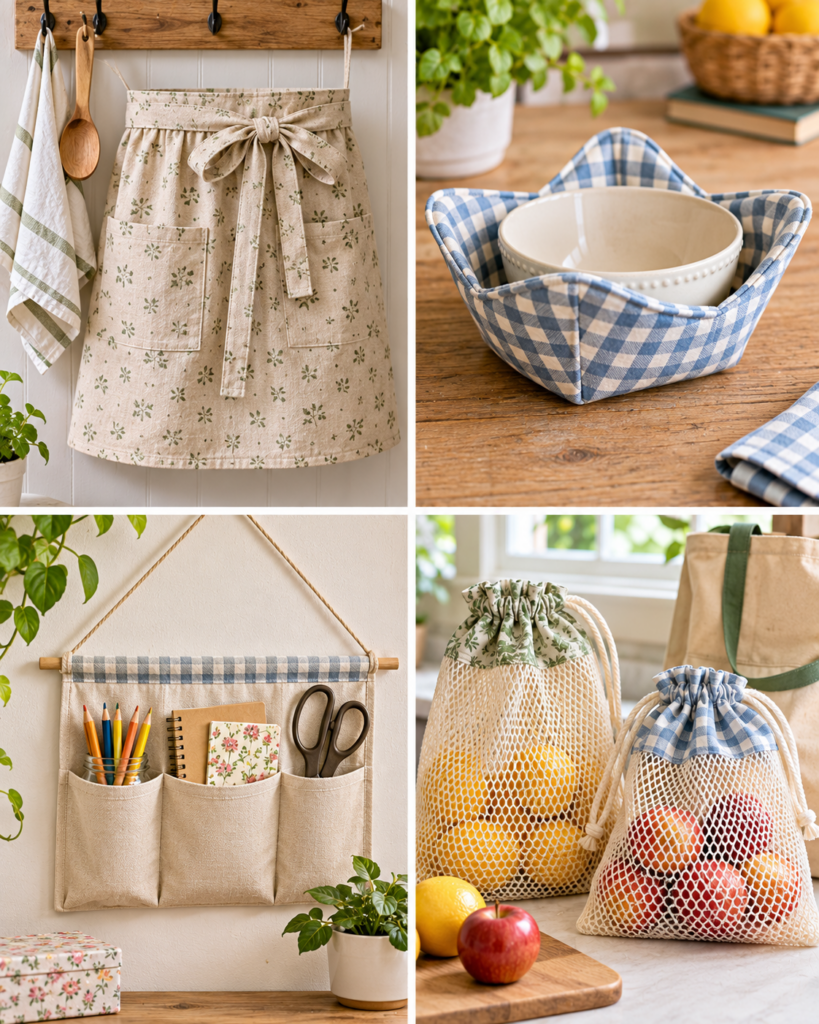
- Microwave bowl cozy: Only with proper cotton materials.
- Pot holder: Use insulated batting made for heat protection.
- Apron (no-fuss): Useful and forgiving fit.
- Headband: Elastic or tie-back versions.
- Key fob wristlet: Small webbing and a clasp.
- Hanging kitchen towel: Add a loop or topper for a towel that stays put.
- Fabric bookmarks: Quick gifts from scraps.
- Simple phone sleeve: Add padding with fusible fleece.
- Pet bandana: Triangle fold with a casing.
- Elastic-waist skirt (woven cotton): A first wearable without zippers or buttons.
Beginner friendly option
If you want the smoothest start, choose napkins, a pillowcase, or a table runner. They teach seam allowance, pressing, and topstitching without tricky hardware. Keep edges stable by pressing hems with a ruler and stitching slowly at corners. For napkins, mitered corners look polished but a simple double-fold hem is perfectly acceptable for a first project.
Budget friendly option
Upcycle a button-down shirt into a pillowcase, tote bag, or drawstring bag. Shirts often provide pre-finished hems you can reuse, saving time and thread. Thrifted cotton tablecloths also make excellent fabric for beginner projects: large pieces, easy to cut, and usually already softened by washing.
Creative and personalized option
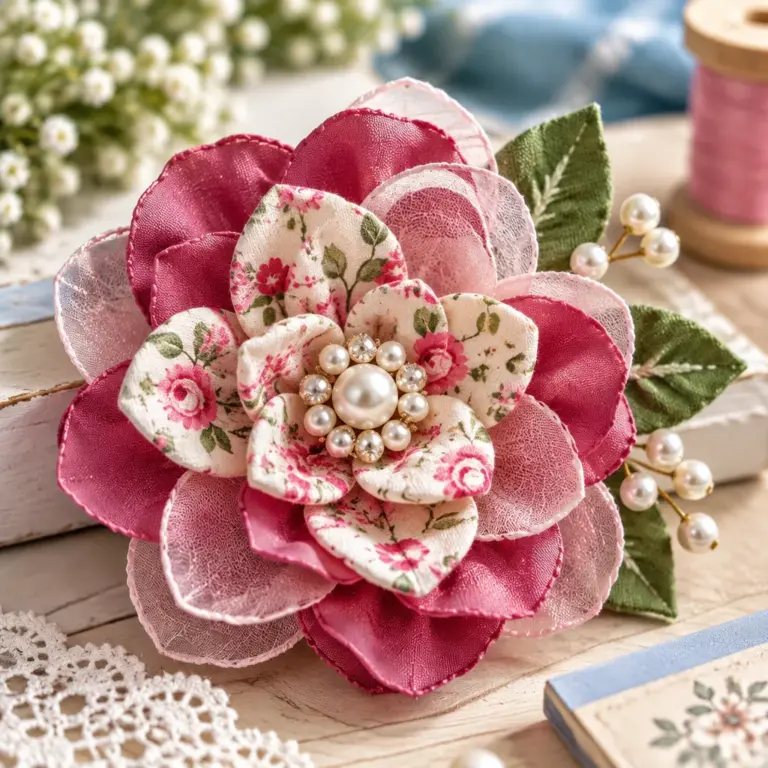
Add simple details that do not complicate construction: contrast topstitching, a patch pocket on a tote, a name label sewn into a seam, or a strip of decorative fabric on a pillowcase cuff. If you like making coordinated handmade gifts, pair a sewn pouch with a small crochet item, like a simple keychain or flower from these crochet projects for beginners. This keeps sewing simple while still feeling special.
Practical instructions and techniques
Most easy sewing projects for beginners use the same building blocks. Master these steps once and you can apply them to almost every item in the list.
- Choose a forgiving fabric and needle: Start with quilting cotton and a universal 80/12 needle. This combination reduces skipped stitches and puckering.
- Press first, then cut: Wrinkles distort measurements. Press flat fabric gives you accurate rectangles, which is the secret behind crisp pouches and straight runners.
- Mark and measure seam allowance: Use a consistent seam allowance, usually 3/8 inch or 1/2 inch for beginner projects. Consistency matters more than the specific number.
- Pin or clip strategically: Pin at corners and key matching points first (like pocket placement). Too many pins slow you down, but too few can cause shifting layers.
- Stitch with a steady pace: Use stitch length 2.5 mm for seams, 3.0 mm for topstitching. Guide fabric, do not pull it. Pulling causes wavy seams and can bend needles.
- Backstitch only where needed: Backstitch at the start and end of seams that will take stress (bag straps, pocket tops). Avoid bulky backstitching on corners.
- Press seams as you go: Press seam allowances to one side or open depending on thickness. This reduces bulk and makes topstitching easier.
- Finish raw edges: Zigzag stitch, pinking shears, or a simple fold-over finish keeps woven fabrics from fraying in the wash.
- Turn and shape carefully: Use a blunt turning tool to poke corners gently. Do not stab through the fabric. Press after turning for a clean edge.
- Topstitch for durability: A line of topstitching near an edge strengthens openings and makes beginner projects look intentional.
Once these techniques feel comfortable, zippers and elastic become much less intimidating because you already control fabric layers and edges.
Common mistakes and troubleshooting
Beginner sewing is a mix of skill and setup. When easy sewing projects for beginners go wrong, it is usually one of these fixable issues:
- Puckered seams: Often caused by tension too tight, stitch length too short, or pulling fabric. Solution: lengthen stitch slightly (2.5 to 3.0), rethread top and bobbin with presser foot up, and let feed dogs do the work.
- Skipped stitches: A dull or wrong needle is the usual culprit. Replace the needle, confirm it is inserted fully, and match needle type to fabric (ballpoint for knits, universal for woven).
- Thread nests under fabric: Typically the top thread is not seated in tension discs. Rethread with presser foot raised, hold thread tails for the first few stitches, and ensure bobbin is wound smoothly.
- Uneven hems: This comes from inconsistent folding. Press a measured hem with a seam gauge and pin. For long hems, baste first to check.
- Crooked topstitching: Watch the seam guide, not the needle. Consider using a piece of painter’s tape as a visual guide for a perfectly straight line.
- Bulky corners: Trim seam allowances and clip corners before turning. For thick layers, grade seams by trimming one layer shorter than the other.
“I started with napkins and a drawstring bag, and the pressing tips made a huge difference. My seams stopped twisting, and I finally got corners that looked neat without fighting the fabric.”
Keep your seam ripper nearby and use it without shame. Unpicking cleanly is a real sewing skill and helps you learn faster than sewing over mistakes.
Finishing and styling tips
Finishing is what makes easy sewing projects for beginners look polished and last longer. The goal is not perfection, it is durability and clean edges.
- Press for shape: After turning an item right side out, roll the seam between your fingers so the edge sits exactly on the fold, then press. This single step makes pouches and pillowcases look store-bought.
- Edge topstitching: Topstitch 1/8 inch from the edge to keep seams flat and strengthen openings. Use a slightly longer stitch length for a nicer look.
- Add a label or tag: Stitch a small folded ribbon into a side seam or add a fabric label at the edge of a pouch. It helps you identify handmade gifts and looks intentional.
- Structure with interfacing: For bags and zip pouches, a light fusible interfacing or fusible fleece prevents sagging. Fuse with heat and steam according to the product instructions, and let it cool flat so the glue sets properly.
- Neat corners: For boxed corners on totes or pouches, mark carefully and sew slowly across thickness. Reinforce with a second line of stitching if the project will carry weight.
Styling idea: make sets. Matching napkins plus a table runner, or a zip pouch plus a key fob wristlet, looks coordinated and is an easy handmade gift win.
Storage and care
Taking care of your handmade items is part of making easy sewing projects for beginners truly useful. Most cotton projects are washable, but the right care keeps seams tight and edges crisp.
- Prewash cotton items: Wash finished napkins, tote bags, pillowcases, and aprons on cool to warm settings. Use a gentle cycle for quilted items to reduce abrasion.
- Drying: Tumble dry low for cotton or line dry to reduce shrinkage and fading. For zip pouches, line drying helps preserve interfacing and shape.
- Pressing after washing: Pressing restores the structure of hems and topstitching. Use steam for cotton and a pressing cloth for anything with fusible materials.
- Storage: Store fabric items completely dry to prevent mildew. Keep coasters and mug rugs flat so they do not curl at the edges.
- Heat safety reminders: Pot holders and bowl cozies should be made with the correct heat-resistant batting. Retire them if they become thin, scorched, or stiff from repeated overheating.
If you made a drawstring bag or tote from thrifted fabric, consider washing it separately the first time to check for dye bleed. A color catcher sheet can help prevent transfer onto lighter fabrics.
Frequently Asked Questions About Easy Sewing Projects for Beginners: 20 Useful Makes
What should a beginner sew first?
Start with something flat and rectangular, like fabric napkins, a simple table runner, or a basic pillowcase. These projects teach measuring, cutting on grain, sewing straight seams, and pressing, which are the foundation for almost every other make. Choose quilting cotton because it stays put under the presser foot. Finish edges with a simple hem or zigzag so the project survives washing.
What can I sew with straight stitches?
A lot, including tote bags, drawstring bags, napkins, pillowcases, curtains, bookmarks, coasters, simple aprons, and many pouches. Straight stitches work for construction seams, topstitching, and hems on woven fabric. If you need stretch, you can still use straight stitch for many steps, but knits typically need zigzag or stretch stitches at stress points to prevent popped seams.
Can I sew beginner projects by hand?
Yes. Many easy sewing projects for beginners can be hand sewn successfully, especially napkins, simple pouches, hem repairs, scrunchies, and felt accents. Use backstitch for seams because it is strong, and running stitch for basting. Keep stitches small and consistent, and press with an iron as you go. Hand sewing takes longer, but it is quiet, portable, and builds excellent control.
What fabric is easiest to sew?
Quilting cotton is the easiest for most beginners because it is stable, not slippery, and presses well. Cotton canvas is also beginner-friendly for bags, though it is thicker at seams. Avoid very stretchy knits, rayon challis, satin, and anything very sheer until you have more confidence. If you are unsure, buy a small cut and test stitch, press, and wash it first.
What basic sewing supplies do I need?
At minimum: fabric scissors, pins or clips, a seam ripper, measuring tape or ruler, marking tool, iron, thread, and needles (machine or hand). A clear ruler and seam gauge make hems and seam allowances much easier to keep consistent, which is why beginners often improve quickly once they add them. If using a machine, extra bobbins and a pack of universal needles are essential.
Final thoughts
Learning to sew does not have to mean weeks of practice before you make anything useful. With the right fabric, careful pressing, and a few repeatable techniques, easy sewing projects for beginners can look clean and hold up to everyday use. Choose one project from the list that solves a small problem in your life, like organizing cords with a pouch or replacing paper towels with cloth napkins. Cut carefully, sew slowly, and press at every stage. Your next step: pick a stable cotton fabric, make a simple tote or drawstring bag, and use it immediately. Real use is the fastest way to learn what to improve on the next make.