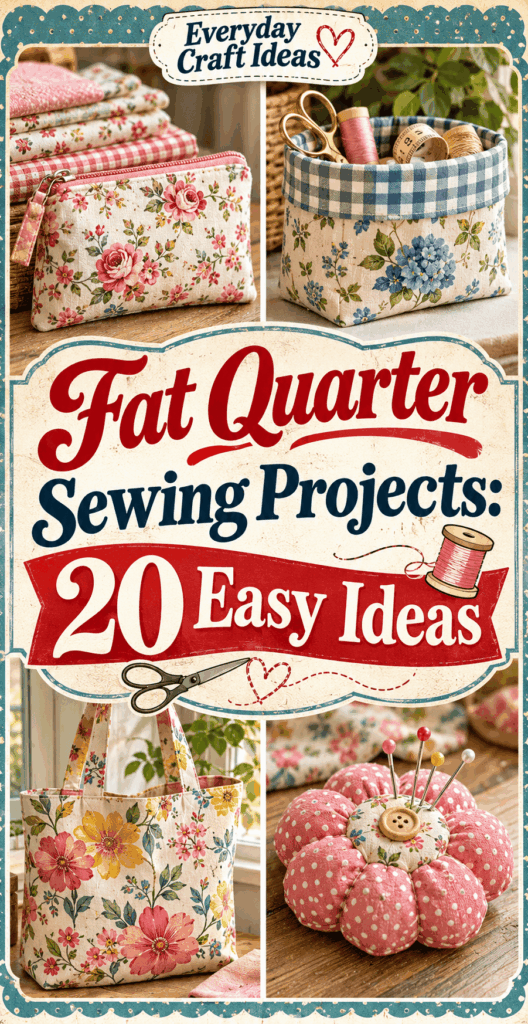
Fat Quarter Sewing Projects: 20 Easy Ideas
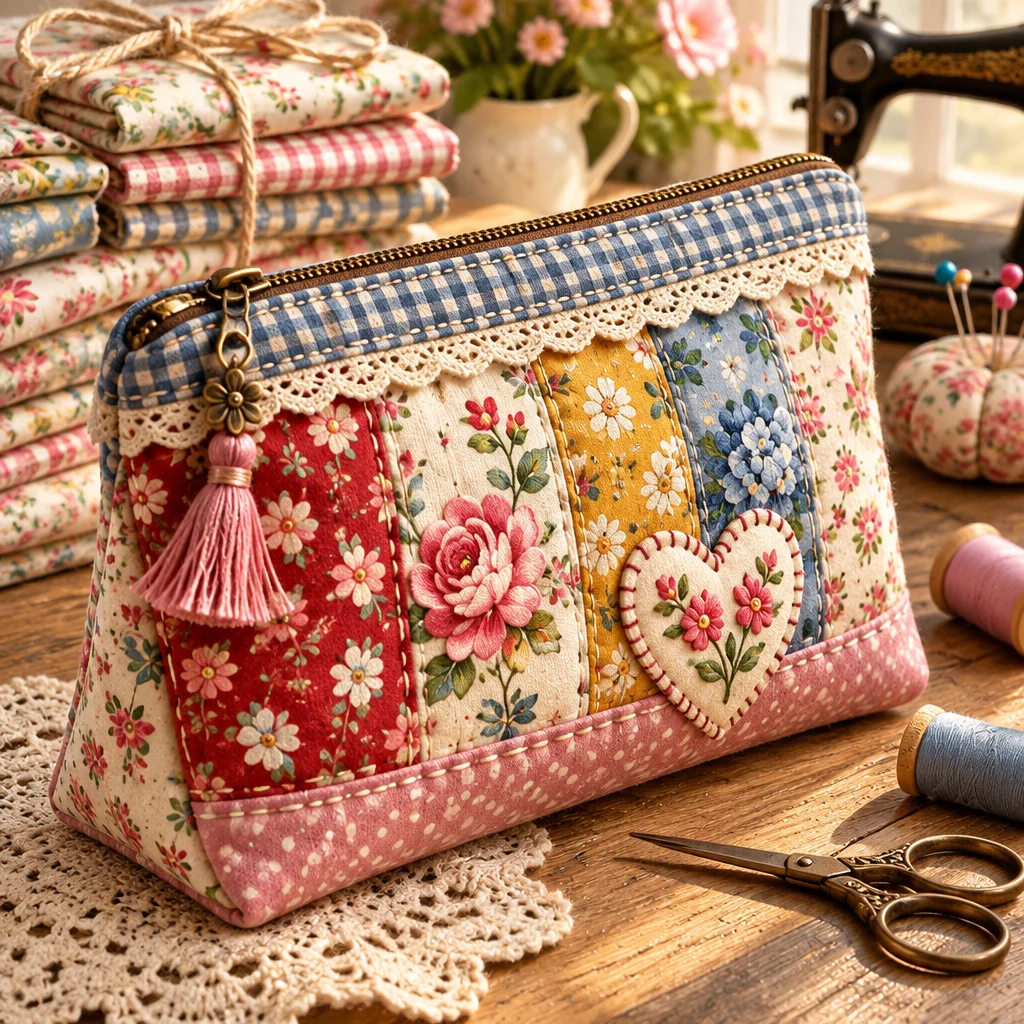
Fat quarter sewing projects are the sweet spot for beginners and busy crafters: small cuts of fabric, quick makes, and satisfying results without committing to a full garment. If you have a stack of quilting cotton you have been saving “for something special,” this is your sign to start. In this guide you will find 20 easy, practical ideas, plus clear tips on cutting, seam allowances, pressing, and finishing so your projects look polished and hold up to real life. If you are brand-new to stitching, you may also like these easy sewing projects for beginners for extra practice, and if you are trying to use up leftovers, browse these scrap fabric sewing project ideas to stretch every inch.
What you need to get started
You do not need a big studio to succeed with fat quarter sewing projects, but a few well-chosen tools make everything easier and more accurate. A basic sewing machine with a straight stitch is enough for nearly every project below. Add an iron and ironing board or mat because pressing is not optional if you want crisp edges and flat seams. A rotary cutter, acrylic ruler, and self-healing mat speed up cutting, though sharp fabric scissors also work if you go slowly and mark carefully.
- Needles and thread: Universal 80/12 needles handle quilting cotton well. Use good all-purpose polyester thread for strength and fewer lint issues.
- Measuring and marking: A clear ruler (at least 6 x 24 inches) helps with long cuts; chalk or washable marker is ideal for notches and placement lines.
- Pressing tools: A steam iron, pressing cloth (or clean cotton scrap), and optional seam roller for small pieces keep layers aligned.
- Notions for closures: Zippers (7 to 14 inches), sew-on snaps, hook-and-loop tape, or drawstring cord expand what you can make.
- Stabilizers and interfacing: Light woven fusible interfacing adds structure to pouches and baskets; batting is useful for coasters and mini quilts.
Keep a small bin for offcuts. Many “too small” pieces become tabs, zipper ends, patchwork squares, or binding strips.
What is a fat quarter and what size is it?
A fat quarter is a quarter-yard cut that is “fat” because it is cut wider than a standard quarter-yard strip. Instead of 9 inches by the fabric width, it is typically about 18 x 22 inches (45.7 x 55.9 cm), though sizes vary slightly by manufacturer and trimming. That extra width makes it more versatile for small sewing items because you can cut wider shapes like pockets, pouch panels, and quilt blocks.
Most fat quarters are quilting cotton, which is stable, presses well, and is forgiving for beginners. You can also find fat quarters in flannel, linen blends, and canvas. If you mix fabric types in one project, match care instructions and consider adding interfacing to lighter pieces so everything feeds evenly through your machine.
20 ideas and projects to try
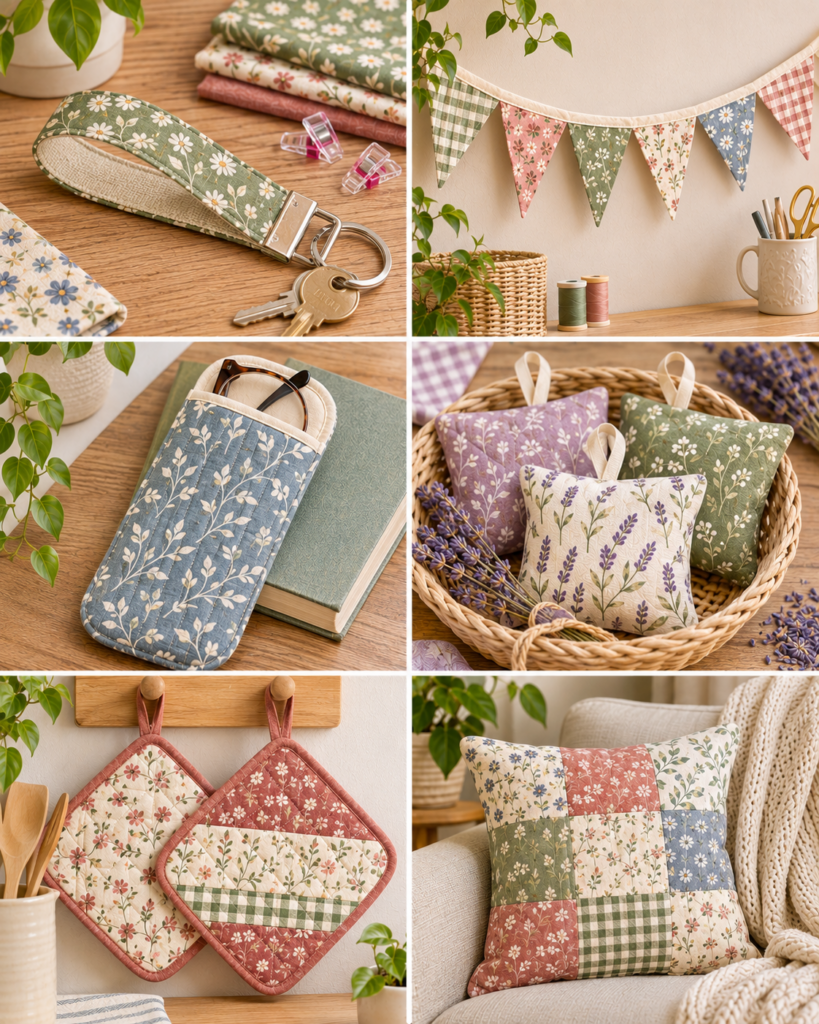
The best fat quarter sewing projects are useful, giftable, and sized to finish in an afternoon. Below are 20 ideas you can rotate through as your skills grow. Many can be made with one fat quarter plus lining or interfacing, and several are perfect for batching. If you want a wearable option after a few small wins, try an apron next using this easy apron sewing pattern and coordinate it with your fat quarter stash.
- 1. Zipper pouch: Great for notions, makeup, or chargers. Add boxed corners for depth.
- 2. Envelope pillow cover (mini): Use two overlapping back panels and one front panel.
- 3. Fabric bookmarks: Add fusible fleece for body; topstitch for durability.
- 4. Reversible headband: A quick win that teaches turning and pressing.
- 5. Scrunchies: Use narrow strips and learn safe elastic insertion.
- 6. Mug rug: A coaster plus a snack space, quilted for texture.
- 7. Quilted coasters: Use batting scraps and practice binding or turned edges.
- 8. Fabric napkins (set of 2): Hemmed squares, great for learning corners.
- 9. Drawstring gift bag: Reusable wrapping, easy to batch.
- 10. Microwave bowl cozy: Use 100 percent cotton fabric, thread, and batting only.
- 11. Heat-safe potholder: Layer cotton batting, add quilting lines for stability.
- 12. Key fob wristlet: Needs webbing or interfacing and a key ring.
- 13. Lanyard: Similar to key fob but longer, great for events.
- 14. Fabric bin or basket (small): Add interfacing or foam for structure.
- 15. Glasses case: Quilted or interfaced, with snap or elastic loop.
- 16. Needle book: Felt pages inside, fat quarter outside, add pockets.
- 17. Patchwork placemat (mini): Practice piecing and quilting straight lines.
- 18. Baby burp cloth (small): Cotton top with flannel back for absorbency.
- 19. Mini quilt wall hanging: A few bold blocks and simple binding.
- 20. Simple tote (small): Often needs two fat quarters or a contrasting bottom band.
Choose one project that teaches a new skill (like installing a zipper) and one “comfort project” (like napkins) so you build confidence without burnout.
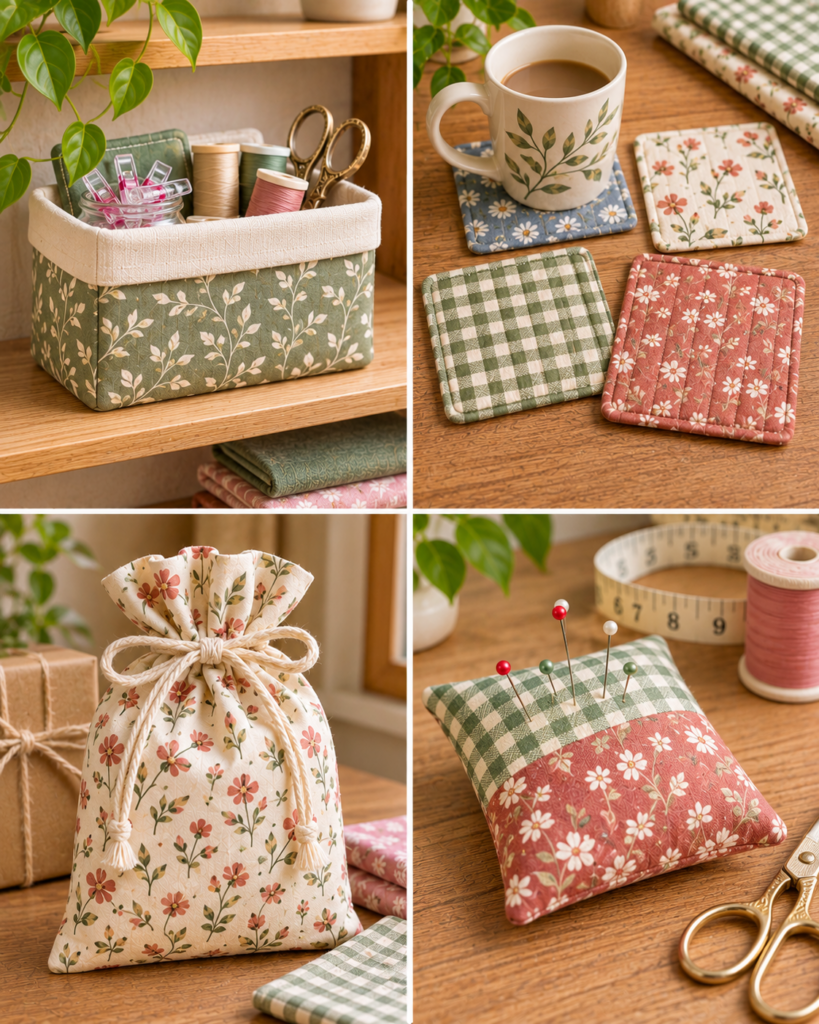
Pouches, napkins, fabric baskets, bookmarks, scrunchies, coasters and small quilts
If you are not sure where to start, begin with these crowd-pleasers because they use basic seams and reward careful pressing. A simple zipper pouch teaches layering and edge control. Napkins teach measuring, folding, and stitching accurate hems. Fabric baskets build your confidence with boxed corners and structure. Bookmarks and coasters are ideal for practicing topstitching straight lines, which makes every future project look more professional. Scrunchies are quick and excellent for learning to sew tubes and feed elastic safely with a pin. Small quilts or mini wall hangings let you practice piecing without the overwhelm of a full-size quilt. When you sew in categories like this, you repeat the same core skills and get faster with each make.
How to make and customize the projects
Most fat quarter sewing projects follow the same rhythm: square up fabric, cut panels, stabilize if needed, sew with a consistent seam allowance, press, then finish with topstitching or binding. The difference between “homemade” and “handmade” is usually the last 10 percent: neat corners, pressed seams, and a clean closure. Customization is also where fat quarters shine because one print can be the feature and another can be the lining or accent.
- Square up and plan: Trim frayed edges and true the corners so pieces match. This prevents twisting and puckers later.
- Stabilize intentionally: Add fusible interfacing to pouch exteriors, baskets, and straps. Fuse with heat and pressure, then let it cool flat so it bonds well.
- Use a consistent seam allowance: A standard 1/4 inch is common for quilting; 3/8 inch is forgiving for bags. Mark your machine throat plate if needed.
- Press at every stage: Press seams as sewn to set the stitches, then press them open or to one side. This reduces bulk and helps accuracy.
- Topstitch for strength: Topstitching keeps seams flat, strengthens openings, and looks polished. Lengthen stitch to 3.0 mm for prettier topstitching.
- Finish edges where needed: Zigzag, overcast, or use pinking shears on raw edges inside unlined projects to reduce fraying.
For extra personality, add a fabric label, a contrasting zipper tab, or a strip of patchwork across the front panel. Keep embellishments away from areas that will get heavy wear like bag bottoms and strap attachment points.
Projects using one versus multiple fat quarters
One fat quarter is often enough for flat items: napkins (usually two smaller ones), a headband, scrunchies, coasters, bookmarks, and small pouches. For lined items, one fat quarter can be the outside while a second fat quarter (or a solid yardage) becomes the lining. Structured items like baskets and small totes often use two fat quarters plus interfacing or foam because you need exterior, lining, and sometimes pockets.
A simple rule: if your project needs two large rectangles (front and back) plus a lining, plan on at least two fat quarters. If you are short, piece the lining from scraps because it is hidden and forgiving.
Cutting layouts, seam allowance and prewashing
Before cutting, decide whether you will prewash. Prewashing reduces shrinkage and removes excess dye, which matters for napkins and items that will be washed often. If you do not prewash, at least press with steam and consider color catchers for the first wash of the finished item. When cutting, align the ruler with the fabric grain so pieces do not warp. If you are making a pouch, cut both exterior panels at the same time by stacking layers right sides together, then trim as a unit so they match perfectly.
For seam allowance, quilting projects usually use 1/4 inch. Bag projects are often 3/8 inch to 1/2 inch for durability. What matters most is consistency. If corners look “off,” it is usually a seam allowance issue or skipping pressing.
Supplies, cost, time and skill level
Fat quarter sewing projects are budget-friendly because the fabric is pre-cut and widely available in bundles. A single fat quarter typically costs a few dollars, and many projects use one to two. Interfacing, batting, elastic, and zippers are the add-ons that can raise cost, but they also dramatically improve function. For example, a pouch made without interfacing tends to collapse and wrinkle, while a lightly interfaced pouch holds its shape and is easier to zip.
Time estimates vary by your comfort level. Bookmarks, coasters, and scrunchies can take 20 to 45 minutes each once you know the steps. A lined zipper pouch often takes 60 to 90 minutes the first time, then less as you repeat it. A small tote or fabric basket can take 1.5 to 3 hours depending on straps, pockets, and structure.
Skill level is beginner-friendly overall, especially if you start with straight seams and work up to zippers and boxed corners. If you are building a learning path, pair this article with these useful beginner sewing makes and keep practicing your straight stitch, pivoting at corners, and topstitching.
Beginner mistakes and troubleshooting
- Wavy seams: Usually caused by pulling fabric. Let the feed dogs move the fabric and guide lightly. Try a walking foot for thick layers.
- Puckered corners: Clip corners (without cutting stitches) and press. Reduce stitch length slightly on tight curves.
- Zipper won’t lay flat: Press zipper tape away from seam before topstitching. Use a zipper foot and sew slowly near the pull.
- Uneven hems on napkins: Use a hemming gauge or ruler and press the fold first, then stitch. Miter corners for less bulk.
- Fraying inside: Use a zigzag or overcast stitch on raw edges, or line the project next time.
“I finally used my fat quarter bundle instead of hoarding it. The napkins were my first win, and after two zipper pouches I stopped being scared of zippers. Pressing after every seam made a bigger difference than I expected.”
Frequently Asked Questions About Fat Quarter Sewing Projects: 20 Easy Ideas
What can I make with one fat quarter?
With one fat quarter you can make several small items or one medium item. Good one-fat-quarter choices include a simple zip pouch (small), two to four scrunchies, a set of coasters, a headband, fabric bookmarks, a small drawstring bag, or two cloth napkins if you cut them slightly smaller. If you want a lined pouch, you can piece the lining from scraps or use a contrasting cotton from your stash.
How many fat quarters for a tote?
For a small tote, plan on two fat quarters minimum: one for the exterior and one for the lining, plus interfacing for body and webbing or fabric for straps. If your tote has pockets, a boxed bottom, or contrasting panels, three fat quarters is more comfortable. You can also combine fat quarters with solid yardage for the lining to keep the outside coordinated and reduce piecing.
Should I wash fat quarters first?
It depends on the project and the fabric. Prewashing is smart for items that will be laundered often, such as napkins, bowl cozies, and baby items, because it removes shrinkage surprises and excess dye. For quilting cotton used in a pouch or basket, you can skip prewashing to preserve the crisp factory finish, but do press with steam. If you mix dark and light prints, consider prewashing the darks or using color catchers.
What needle and stitch length should I use for quilting cotton?
An 80/12 universal needle is a reliable default for quilting cotton. Use a 2.5 mm stitch length for seams and a slightly longer 3.0 mm stitch length for topstitching so it looks neat and does not tunnel. If you sew through multiple layers of batting or interfacing, switch to a fresh needle to prevent skipped stitches. Always test on a scrap sandwich that matches your project layers.
How do I keep small pieces from shifting while I sew?
Pressing and pinning help, but the biggest improvement often comes from reducing bulk and sewing in the right order. Use clips for thick layers and fine pins for quilting cotton. Try basting with a long stitch or a fabric glue stick made for sewing to hold edges before stitching. Sew slowly and keep your seam allowance guide visible. If layers creep, adjust presser foot pressure if your machine allows it.
How do I make my projects look more professional?
Focus on three upgrades: accurate cutting, consistent seam allowance, and pressing. Trim threads as you go, and press seams flat before turning items right side out. Add topstitching where it makes sense, especially along pouch openings and bag edges. For corners, clip and then use a blunt point turner, not scissors, to avoid poking through fabric. Finally, choose thread that blends with your main fabric for a clean look.
Final tips and next projects
The fastest way to improve at fat quarter sewing projects is to repeat a favorite pattern two or three times, making one small change each round like adding interfacing, trying a different closure, or practicing cleaner topstitching. Keep notes on what needle, seam allowance, and interfacing you used so you can recreate your best results. If you want to keep the momentum going, graduate from pouches and coasters to a small tote or a mini quilt, then tackle wearable sewing with an apron using this beginner-friendly apron pattern. And when your cutting table fills with offcuts, circle back to these scrap fabric sewing projects to use every last piece. Pick one idea from the list today, set up your machine, and enjoy a finish you can hold in your hands.