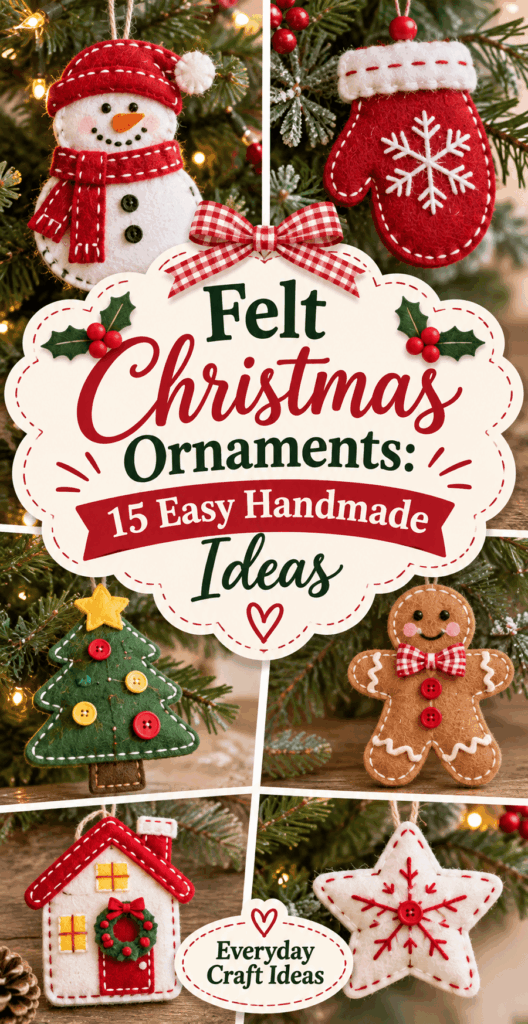
Felt Christmas Ornaments: 15 Easy Handmade Ideas
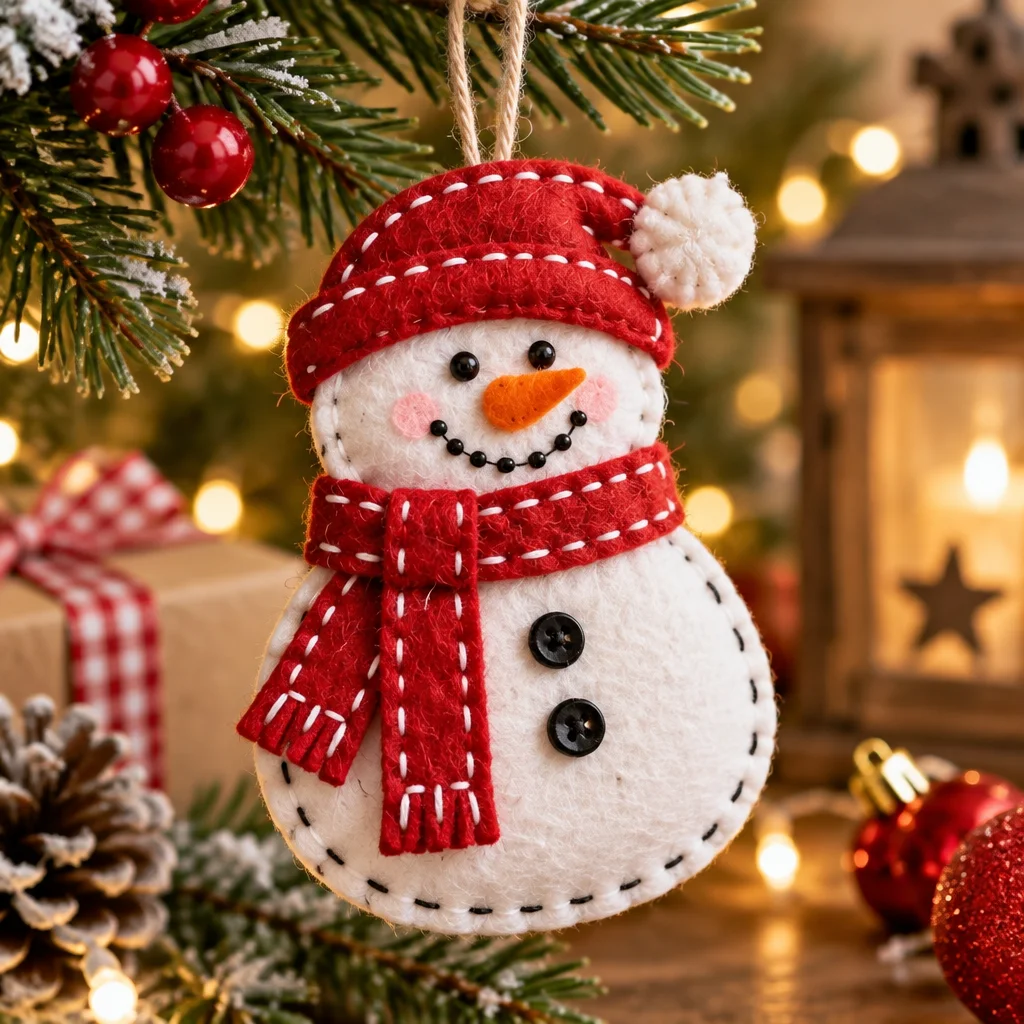
Making felt christmas ornaments is one of the easiest ways to create a cozy, handmade holiday look without needing advanced sewing skills or expensive supplies. Felt is forgiving, it doesn’t fray, and it comes in every color you can imagine, so beginners can get great results quickly. In this guide, you’ll find 15 simple ornament ideas plus the core techniques that make them turn out neat and durable.
If you want even more inspiration after you finish this list, browse these additional felt ornament ideas and patterns. And if you’re crafting with little helpers, you’ll also like these Christmas crafts for kids that keep things fun and age appropriate.
Most of these ornaments are palm-sized, lightweight, and perfect for trees, garlands, gift toppers, or stocking tags. You can make a matching set in a weekend, or batch-produce a dozen quick shapes in one evening while watching a holiday movie.
Materials and tools needed
You can make felt christmas ornaments with a small basic toolkit. The key is choosing the right felt thickness and a reliable way to cut clean shapes. Here’s what I recommend and why it matters:
- Felt sheets: Craft felt (polyester) is budget friendly and fine for flat ornaments. Wool or wool-blend felt is sturdier, pills less, and gives a premium look, especially for stuffed ornaments.
- Sharp scissors: Use small, sharp craft scissors for curves and details. Dull blades chew felt edges and make pieces look fuzzy.
- Template material: Cardstock or thin cardboard helps you trace consistent shapes for batches.
- Needle and thread or embroidery floss: Embroidery floss is strong and decorative. A size 7 to 9 hand sewing needle works well for blanket stitch.
- Fabric glue or hot glue: Fabric glue is less bulky and more flexible. Hot glue is quick but can create lumps if overused.
- Polyfill stuffing: Use small pinches so ornaments stay smooth without bulges.
- Ribbon or cord: 1/8 inch ribbon, baker’s twine, or thin cord makes sturdy hangers.
- Optional decorations: Sequins, seed beads, mini pom-poms, metallic thread, buttons, and small jingle bells add personality.
Helpful extras: a disappearing fabric marker, pinking shears for decorative edges, and a thimble if you’ll sew thick layers.
Skill level and estimated time
These felt christmas ornaments are designed for beginners, but they scale beautifully for experienced crafters. If you can trace a shape and sew a simple running stitch, you can make most of the stuffed designs. No-sew options are included too.
Difficulty: Beginner to confident beginner. Flat glue-together ornaments are the easiest. Stuffed ornaments with blanket stitch are the next step up, mostly because consistent stitches take a little practice.
Time: Plan on 10 to 25 minutes per ornament for simple flat designs. Stuffed ornaments typically take 25 to 45 minutes each depending on detail work. If you are making a set, you’ll get faster by batching: cut all pieces first, then decorate, then assemble.
Size and use: Most ornaments are 2.5 to 4 inches tall, which keeps them lightweight for tree branches and easy to store. Smaller mini ornaments (about 2 inches) are great for gift wrapping. Larger 5 to 6 inch ornaments look beautiful on a wreath but may need a stronger hanger like doubled cord.
Tip for planning: decide whether your ornament set will be mostly flat (faster) or mostly stuffed (more dimensional) so you can prep the right supplies from the start.
Preparation and safety tips
Good prep makes felt christmas ornaments look crisp and professional. Start by ironing felt only if the manufacturer allows it, and always use low heat with a pressing cloth. Many craft felt sheets are synthetic and can melt under high heat, so when in doubt, skip ironing and flatten pieces under books overnight.
Trace and cut carefully: Trace templates with a light hand so marks do not show on the finished ornament. Cut with smooth, long snips rather than choppy cuts to avoid jagged edges.
Hot glue safety: If you use hot glue, keep a small bowl of cool water nearby. Hot glue strings can stick to fingers and cause burns. Use a silicone finger cap or craft tweezers to press small pieces into place.
Bead and sequin safety: If ornaments will be handled by small children or pets, avoid small loose parts. Sew embellishments firmly instead of gluing when possible, and skip beads entirely for kid-safe projects.
Needle safety: Store needles in a magnetic case or pincushion. When hand sewing, push the needle through thick layers slowly and use a thimble to protect your finger.
Before you begin, decide how you’ll hang each ornament. Adding the hanger loop early is easier than trying to wedge it into a finished seam.
Project ideas and variations
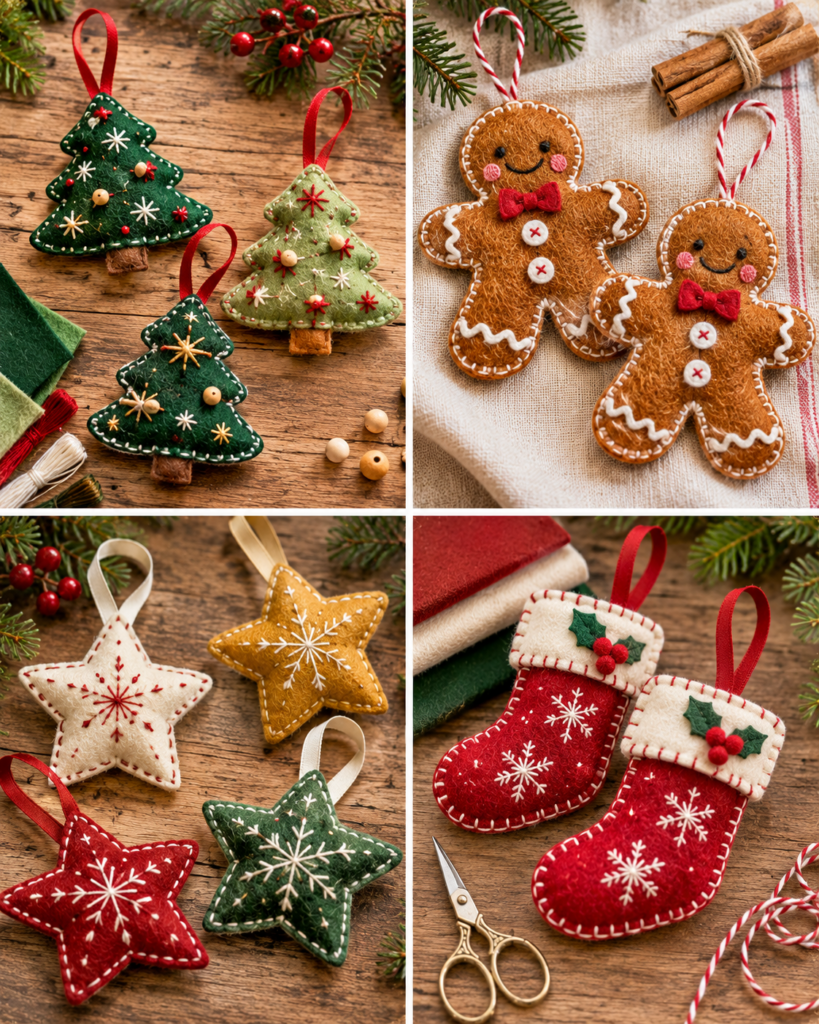
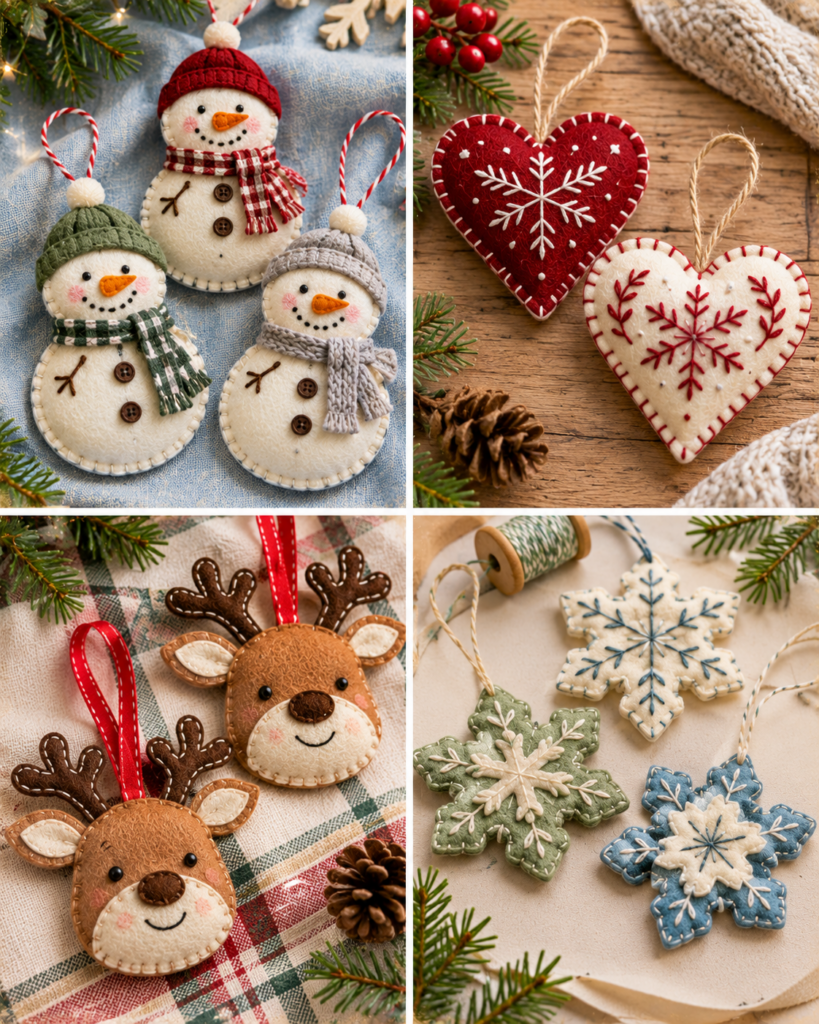
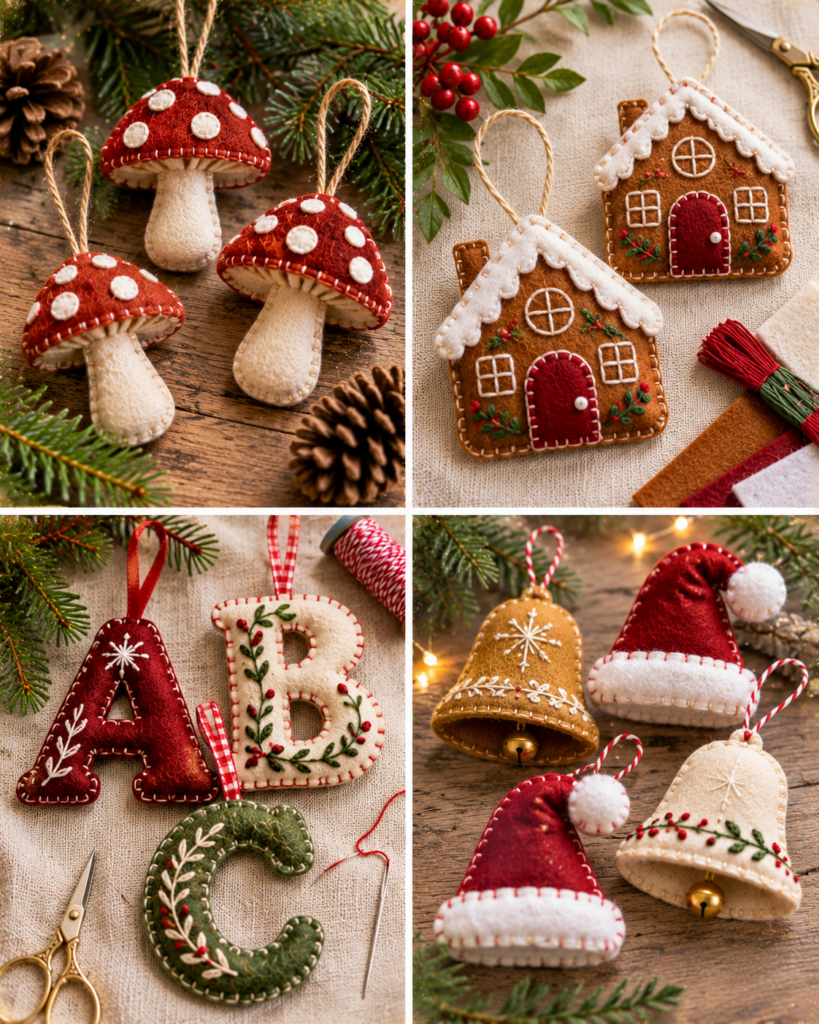
Below are 15 easy felt christmas ornaments you can mix and match into a coordinated set. For a cohesive tree, pick a limited palette like red, white, and forest green, then repeat the same stitch style and hanger ribbon. If you want a more playful look, mix bright colors and add sparkle with sequins or metallic thread.
- 1. Classic star: Flat or lightly stuffed, with blanket stitch around the edges.
- 2. Gingerbread person: Add white “icing” with embroidery floss.
- 3. Simple heart: Great for personalized initials.
- 4. Christmas tree: Layer two or three green triangles for dimension.
- 5. Snowflake: Cut from stiff felt and add tiny bead accents.
- 6. Candy cane: Red and white stripes, stitched or glued.
- 7. Mini wreath: Green ring with a red bow.
- 8. Stocking: Add a cuff and a tiny name tag.
- 9. Mitten: Embroider simple geometric patterns.
- 10. Penguin: Black body, white belly, orange beak.
- 11. Reindeer face: Add antlers and a red nose.
- 12. Santa hat: Red triangle with a white trim and pom-pom.
- 13. Ornament ball: A circle with stitched “cap” detail on top.
- 14. Dove: White silhouette, beautiful in minimalist decor.
- 15. Tiny presents: Small squares tied with ribbon “bows.”
Beginner friendly option
Start with flat shapes like stars, hearts, trees, and ornament balls. Cut two identical pieces, decorate the front, then glue or stitch around the edge. If sewing feels intimidating, use fabric glue and press under a heavy book to set. These are perfect for quick success and for making multiples that look consistent.
Budget friendly option
Use inexpensive craft felt, baker’s twine, and simple running stitch. Skip stuffing and create flat ornaments that still look charming with a contrasting stitched outline. You can also repurpose buttons and ribbon scraps from your stash. For even more low-cost seasonal projects, see these Christmas paper crafts to make to pair with felt ornaments on gifts and garlands.
Creative and personalized option
Add initials, dates, or short names using embroidery. Another easy personalization is a tiny felt “tag” stitched onto the ornament. Make a set as keepsakes for teachers or neighbors, especially when paired with packaging ideas from these DIY Christmas gifts people actually want. Personal touches also help ornaments become family tradition pieces rather than one-season decor.
Practical instructions and techniques
Use this core method for most stuffed felt christmas ornaments, then swap the shape and decorations. Take your time with the first one, and the rest go faster.
- Choose a template and cut cleanly: Trace your pattern onto felt and cut two identical pieces. Clean edges are the foundation of a polished ornament, especially on simple shapes.
- Decorate the front piece first: Add embroidery details, small felt appliqués, or stitched-on buttons before you assemble. It is much easier to sew decorations onto a flat piece than onto a stuffed shape.
- Add the hanger loop: Cut 6 to 8 inches of ribbon or cord, fold into a loop, and place the raw ends at the top between the two felt layers. Secure with a clip or a pin set away from where you will sew.
- Stitch the perimeter: Blanket stitch gives a classic handmade look and strong edge. Start with a knot hidden between layers, keep stitch spacing consistent (about 1/8 to 1/4 inch), and turn corners slowly for neat points.
- Stuff lightly and evenly: Pause when 1 to 2 inches remain open. Use tiny pinches of polyfill and push into corners with a blunt tool (like a chopstick). Overstuffing causes lumps and makes seams strain.
- Close and secure: Finish stitching the opening, tie off with a small knot, and bury the thread tail between layers with your needle so it doesn’t show.
- Optional edge shaping: Gently pinch edges to distribute stuffing. For flat ornaments, skip stuffing and stitch fully around or glue with a thin, even bead.
If you prefer a no-sew build, replace stitching with fabric glue: apply a thin line, press pieces together, and let cure fully under weight. Avoid hot glue for long seams because bumps show through light felt.
Common mistakes and troubleshooting
Even simple felt christmas ornaments can go a little wonky the first time. Here are the most common issues and how to fix them without starting over.
- Ornament looks lumpy: This is usually from overstuffing or stuffing with large clumps. Remove a bit of polyfill through a small opening, then restuff using tiny pinches and push into corners first.
- Edges don’t line up: Your two cut pieces may be slightly different. Next time, stack felt and cut both layers together. For the current ornament, trim the larger side carefully after basting or after gluing has set.
- Stitches look uneven: Mark light guide dots around the edge to keep spacing consistent. Also keep thread tension gentle. Pulling too tight puckers the felt.
- Glue shows or feels stiff: You likely used too much. Apply a very thin layer and spread it with a toothpick. If glue has seeped out, let it dry fully, then trim carefully with small scissors.
- Hanger pulls out: The loop ends need to be caught securely in stitching or glued with enough overlap. Insert at least 1/2 inch of the ribbon ends inside the ornament and stitch through the ribbon for extra strength.
- Beads fall off: Glue alone often fails on felt fibers. Sew beads and sequins with several passes of thread and knot securely on the back side.
“I made the gingerbread and star ornaments using blanket stitch for the first time. My stitches were messy at first, but the guide to stuff lightly and slow down at corners made a huge difference. I ended up making eight ornaments in two evenings and they look surprisingly neat on the tree.”
Finishing and styling tips
The finishing touches are what make felt christmas ornaments look intentional rather than last-minute. Start by trimming any stray fibers with small scissors and removing visible marker lines gently (test first on a scrap). If your ornament is stitched, steam lightly from a distance if the felt allows it, then press under a book to keep it flat.
Make hangers consistent: Using the same ribbon color and length across your set instantly makes everything look cohesive. For a classic look, try red satin ribbon. For rustic, use jute twine. For modern, use metallic cord.
Add a “collection detail”: Repeat one design element across different shapes, such as white blanket stitch on every ornament or tiny red bead accents. This creates a curated set even if the shapes vary.
Display beyond the tree: Felt ornaments look great tied onto napkin rings, hung from cabinet knobs, or used as gift toppers. For gift wrapping, make flat ornaments so packages stay neat. If you’re using them as present add-ons, write a name and year on a small felt tag stitched to the back.
Balance weight: Stuffed ornaments should be light. If you add bells or many beads, use stronger ribbon and hang them closer to the trunk where branches are sturdier.
Storage and care
With a little care, felt christmas ornaments can last for years. The main enemies are moisture, crushing, and color transfer from dark felt onto light felt.
Clean gently: Spot-clean only. Use a lint roller for dust and a barely damp cloth for small marks. Avoid soaking felt ornaments, especially wool felt, which can shrink or distort.
Prevent crushing: Store ornaments in a shallow box with a lid. Layer them between sheets of tissue paper or felt scraps. For stuffed ornaments, avoid stacking heavy items on top. If an ornament gets flattened, reshape it with your fingers and let it rest in a roomy spot for a day.
Keep embellishments safe: If you used glue, give ornaments a full 24 hours cure time before storage. For beaded ornaments, wrap individually so beads don’t snag threads or scratch other ornaments.
Label your sets: Write “wool felt” or “glued” on the storage box so you remember how gently to clean later. Store in a dry place away from direct sunlight to prevent fading, especially with bright reds.
Frequently Asked Questions About Felt Christmas Ornaments: 15 Easy Handmade Ideas
How do you make felt Christmas ornaments?
Cut two identical felt shapes, decorate the front piece, then assemble the ornament by stitching (blanket stitch is popular) or gluing around the edges. If you want dimension, leave a small gap, add a little polyfill stuffing, and close the opening. Add a ribbon loop at the top before finishing the seam so it is securely trapped inside the ornament.
Can you make felt ornaments without sewing?
Yes. Use fabric glue for the cleanest no-sew finish. Apply a thin, even line near the edge, press pieces together, and let them dry under a book so they stay flat. Hot glue works in a pinch, but it can create bumpy edges and strings. For kid-friendly crafting, stick to flat shapes and skip small embellishments that could pop off.
What felt is best for Christmas ornaments?
Wool or wool-blend felt is best if you want ornaments that hold their shape, resist pilling, and look more heirloom quality. Craft felt (usually polyester) is more affordable and comes in lots of colors, making it great for large batches and simple designs. For crisp cutting and less fuzz, choose a slightly thicker sheet and use very sharp scissors.
How do you stuff felt ornaments?
Use polyfill in tiny pinches, not one big clump. Push stuffing into narrow points first using a blunt tool like a chopstick or the capped end of a pen. The goal is an even, lightly padded shape. If the seam starts to gape or the ornament looks bumpy, remove some stuffing and redistribute it before closing.
How do you hang handmade felt ornaments?
Ribbon loops are the simplest. Cut 6 to 8 inches of ribbon, fold into a loop, and place the ends between the felt layers at the top. Stitch through the ribbon ends as you sew the seam for strength. If you’re gluing, overlap the ribbon ends by at least 1/2 inch inside the ornament and add an extra dab of glue to lock it in place.
How do I keep my felt pieces from shifting while I sew?
Clips work better than pins on thick felt. Use small sewing clips or even paper clips to hold layers aligned. If you are hand sewing, you can also baste with a few long running stitches near the edge, then remove them after you finish the blanket stitch. Cutting both layers at the same time also prevents mismatched edges.
My blanket stitch corners look messy. What’s the trick?
Slow down at corners and plan your stitch placement. On points (like stars), place a stitch very close to the tip, then take the next stitch on the other side of the point to “wrap” it cleanly. On rounded corners, make slightly smaller stitches and keep spacing consistent. If needed, lightly draw guide dots around the edge first.
What’s a good way to add names or dates neatly?
For beginners, cut small felt letters or a tiny tag and stitch it on rather than embroidering directly on the ornament. If you do embroider, use a simple backstitch with embroidery floss and write the name lightly in marker first. Keep letters bold and simple so they stay readable at ornament size.
Can I use glitter on felt ornaments?
Yes, but choose a method that won’t shed everywhere. Use glitter fabric paint or a thin layer of tacky glue, then sprinkle glitter over a tray and tap off the excess. Let it dry fully before handling. For a cleaner alternative, use metallic embroidery floss, sequins, or small beads to add sparkle without fallout.
How can I make ornaments that are pet-friendly?
Avoid dangling parts, bells, and small beads that could be chewed off. Choose flat, stitched ornaments without buttons or sequins. Use strong stitching rather than glue-only construction, and keep hangers short so ornaments sit closer to branches. If pets are especially curious, hang handmade felt christmas ornaments higher on the tree or display them on a wall garland instead.
Why does my glued ornament curl or warp as it dries?
This usually happens when glue is applied too thickly or unevenly. Use a thin bead close to the edge and spread it with a toothpick. Press the ornament under a book with parchment paper in between so it doesn’t stick. If it has already warped, you can sometimes flatten it by lightly warming it with your hands and pressing it again overnight.
Final thoughts
Felt christmas ornaments are a satisfying project because they are quick, customizable, and forgiving for beginners. Start with one or two simple shapes like a star or heart to practice clean cutting and even stitching, then move on to stuffed designs once you’re comfortable. Batch cutting and decorating makes it easy to create a coordinated set, and small personalized details turn them into keepsakes you’ll want to bring out every year.
Your next step: pick three designs from the list, choose a simple color palette, and make a mini set this week. Once you’ve got the basic technique down, you can confidently experiment with layers, embroidery, and fun characters.