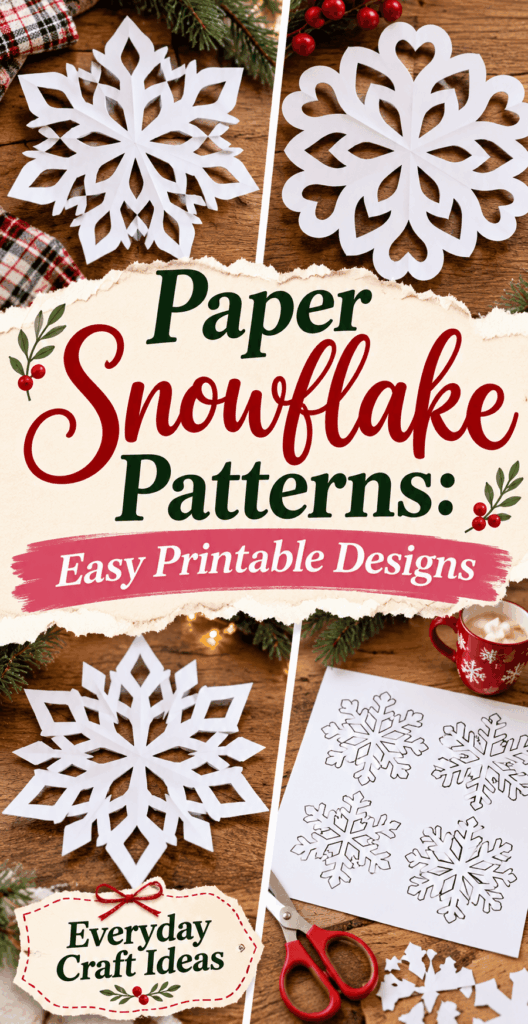
Paper Snowflake Patterns: Easy Printable Designs
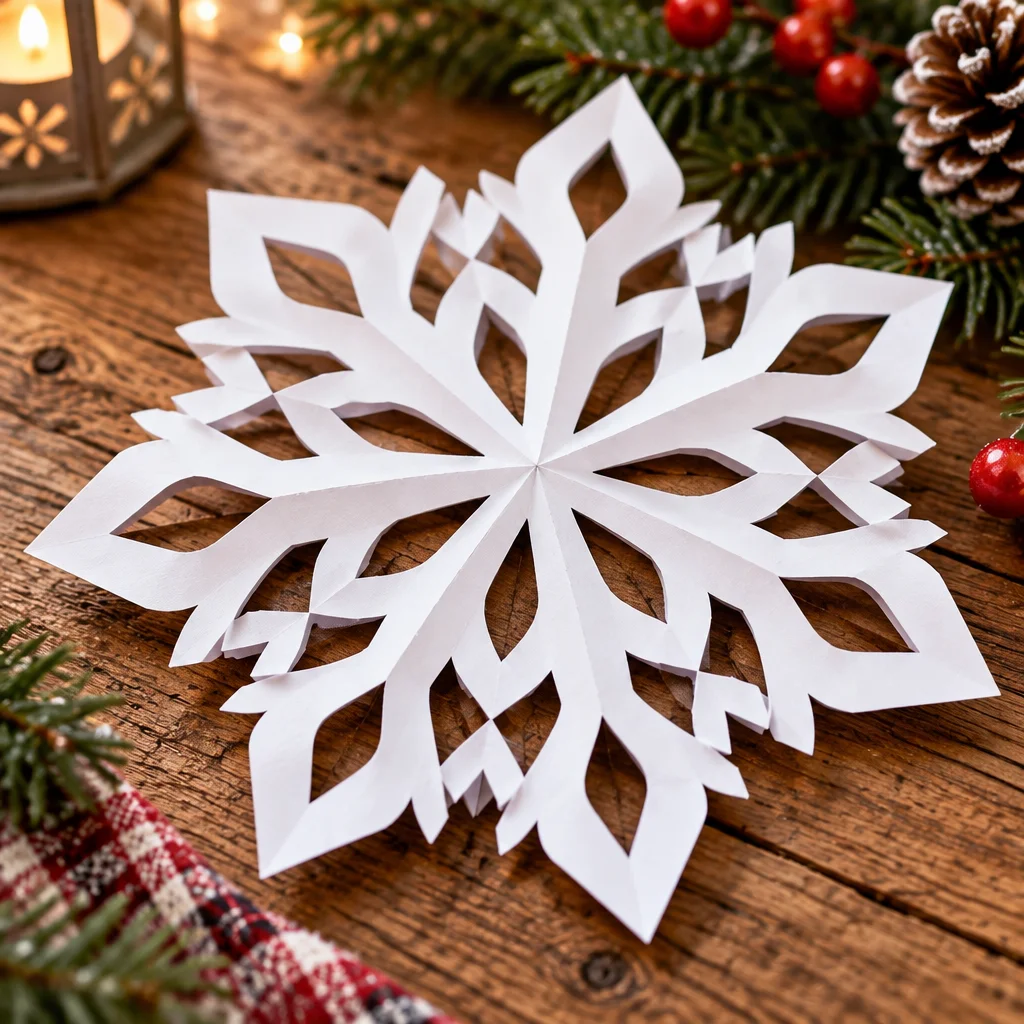
Paper snowflake patterns are one of the easiest ways to create winter decor that looks detailed and impressive without needing fancy supplies. If you have ever cut a basic snowflake as a kid and ended up with something that tore or looked lopsided, this guide will help you get consistent results using printable designs and simple folding methods. You will learn how to choose the right paper, how to size templates for different uses, and how to cut clean openings that unfold into crisp, symmetrical shapes.
This is a relaxing, low-mess project for decorating windows, classrooms, gift wrap, party backdrops, and holiday tables. If you are building a whole seasonal display, you might also like these Christmas paper crafts to make for more quick wins with paper. And if you enjoy paper details and slow crafting, browse paper quilling ideas for beginners for another beginner-friendly technique that pairs beautifully with snowflake decor.
In the sections below, I will cover materials, preparation, printing and sizing, step-by-step cutting, troubleshooting, finishing, and storage so your snowflakes come out clean and display-ready.
Materials and tools needed
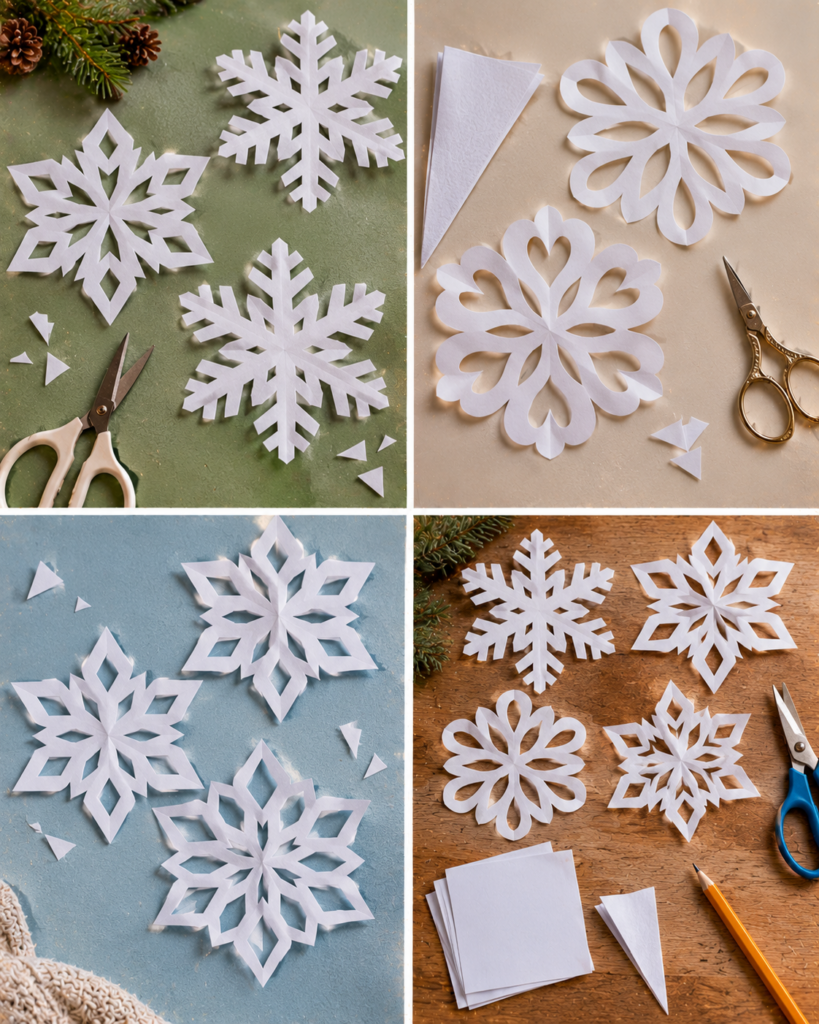
Great results come from the right combination of paper and cutting tools. The good news is that most supplies are already in a typical home or classroom. Your goal is to use paper that folds cleanly and scissors that can make tight curves without chewing the edges.
- Paper: Standard printer paper (20 lb) is the easiest for printing paper snowflake patterns and is simple to fold. Slightly heavier paper (24 lb to 28 lb) makes sturdier snowflakes for garlands, but can be harder for small details. Avoid thick cardstock for intricate templates because it can crack at folds and is difficult to cut cleanly.
- Printer: Any home printer works. If you do not have one, a library print station is perfect. Choose black-and-white drafts for quick batches.
- Scissors: Use small, sharp scissors for detail work. Kids’ safety scissors are fine for large, simple openings but struggle on tiny shapes.
- Craft knife and cutting mat (optional): Helpful for sharp interior angles, diamonds, and straight slits. Only for adults or supervised teens.
- Pencil and eraser: Useful if you are tracing patterns onto folded paper rather than printing directly.
- Ruler or bone folder (optional): Makes crisp folds, which improves symmetry.
- Paper clips or binder clips: Hold thick folded stacks steady while you cut.
- Clear tape, glue dots, or removable putty: For hanging and window displays without damage.
Choose two paper types if you can: printer paper for detailed printable paper snowflake patterns, and lightweight colored paper for bold, kid-friendly designs.
Skill level and estimated time
This project is very beginner-friendly, but the final look depends on how small and detailed your pattern is. Think of it like this: the folding is easy for everyone, while the cutting becomes more advanced as the openings get smaller and closer together.
Difficulty level: Beginner to intermediate. A simple template with large shapes is ideal for first-timers and kids. Intricate printable paper snowflake patterns with thin bridges and tiny cutouts are better for older kids, teens, and adults who are comfortable with precision cutting.
Estimated time: Plan on 5 to 12 minutes per snowflake once you get the hang of it. Your first couple might take 15 minutes while you learn the folding sequence and how to rotate the paper as you cut. If you are making a set (like 12 for a window wall), it goes faster when you fold all sheets first, then cut assembly-line style.
Project size and typical uses: Most snowflakes start with a square between 6 inches and 12 inches. Smaller squares create delicate ornaments and gift toppers, while larger squares make great window centerpieces, classroom bulletin boards, and photo backdrops.
For group crafting, choose 2 to 3 paper snowflake patterns at different difficulty levels so everyone can finish successfully and still feel challenged.
Preparation and safety tips
A few minutes of setup prevents tearing, uneven points, and accidental cuts. Preparation is especially important when you use printable paper snowflake patterns because the template lines can encourage very tight details that need support bridges to stay intact.
- Set up a clear cutting zone: Use a table with good lighting. Place a cutting mat or thick cardboard underneath if you plan to use a craft knife.
- Warm up your folds: Crisp folds equal crisp symmetry. Use a ruler edge or bone folder to press creases firmly. If folds are soft, layers shift and your points will not match.
- Choose age-appropriate tools: For kids, stick to blunt-tip scissors and simple patterns with large openings. Keep craft knives for adults only, and always cut away from fingers.
- Keep hands safe while cutting: Rotate the paper, not your wrist. This gives smoother curves and keeps fingertips away from scissor tips.
- Mind small paper scraps: Tiny pieces scatter easily. If you have pets or toddlers, sweep or vacuum afterward to prevent choking hazards.
- Test one template first: Print and complete a single snowflake before printing a whole stack. It is much easier to tweak size and complexity early.
If you plan to decorate for the holidays, pairing snowflakes with other simple projects makes a cohesive look. This collection of Christmas paper crafts to make is a good next step for coordinating a theme.
Project ideas and variations
Printable paper snowflake patterns are versatile because you can change the paper, scale, and finishing method without changing the basic technique. Below are three practical variations that keep the process beginner-friendly while giving you different final looks.
Beginner friendly option
Start with 8.5 inch by 8.5 inch squares cut from printer paper. Use patterns with bold shapes such as triangles, teardrops, and wide arches. Avoid templates with thin spokes until you are comfortable unfolding without tearing. After cutting, gently open the layers and flatten under a heavy book for a few minutes. This option is great for kids’ crafting sessions because the success rate is high and the results still look festive.
Budget friendly option
Use scrap paper, recycled printer paper, old book pages, or brown packing paper. You can also cut snowflakes from leftover wrapping paper, but test first because some glossy wraps crack at folds. If you want a “frosted” look without buying specialty paper, lightly dust finished snowflakes with white chalk or rub a white candle over raised fold lines for subtle highlights.
Creative and personalized option
Make a coordinated set: pick 3 paper snowflake patterns and repeat them in different sizes for a professional-looking window display. Add personalization by layering two snowflakes together (one slightly smaller) and offsetting the points. You can also string mini snowflakes into garlands, or use metallic markers to outline a few cut edges for sparkle. For a mixed-media winter craft day, pair your paper decor with another relaxing project like these easy beaded bracelet patterns for beginners for a cozy, make-and-take activity table.
Printing or pattern use instructions and sizing tips
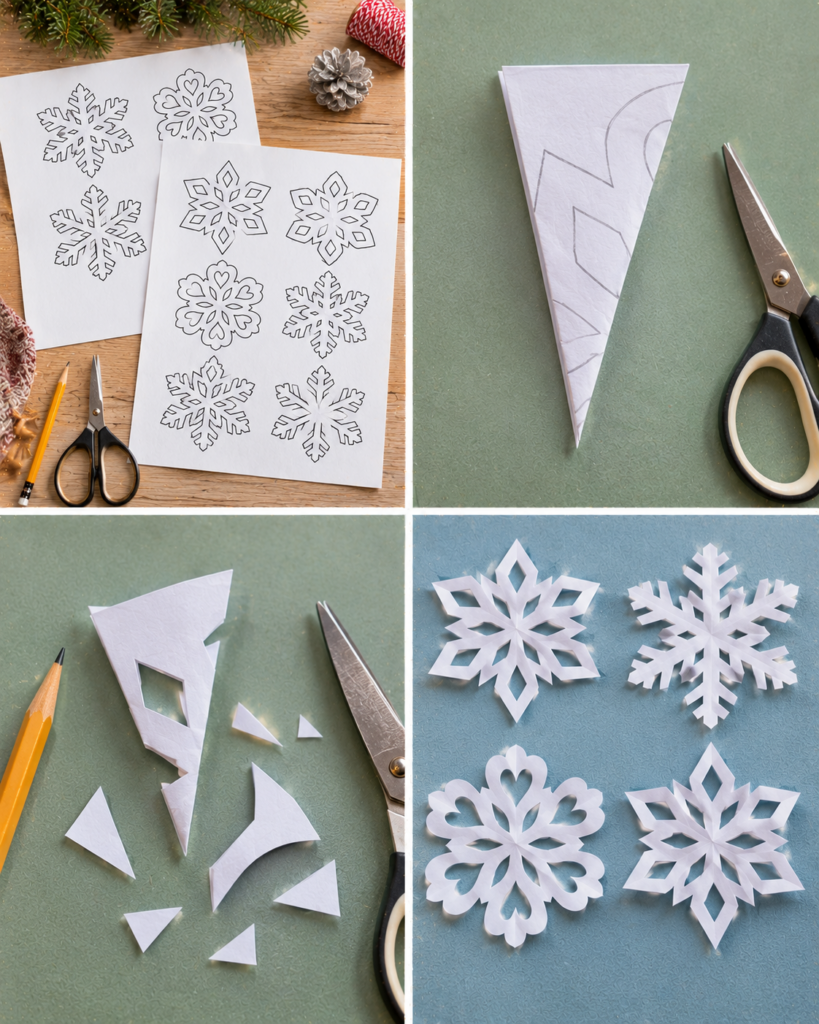
To get consistent results from paper snowflake patterns, treat the template like a cutting map. The two big keys are printing at the correct scale and folding in a way that keeps the pattern aligned with the folded wedge.
- Pick the right template format: Some printables are full-square “fold and cut” guides, while others are wedge templates meant to be traced onto a folded triangle. Read any notes on the printable and look for labels like “cut solid lines” or “fold on dashed lines.”
- Print at 100% scale: In printer settings, select “Actual size” or set scale to 100%. Avoid “Fit to page” if the template includes a border or measurement marks, because that can subtly distort symmetry.
- Choose your finished size: For windows, 10 to 12 inches is bold and visible. For gift toppers, 4 to 6 inches is ideal. To resize, adjust print percentage: 75% gives a noticeably smaller snowflake, while 125% creates a statement piece if your paper allows it.
- Make a perfect square first: If starting from letter-size paper, fold one corner to form a triangle and trim the extra strip to create a square. A true square is essential for even points.
- Trace if needed: If your printer ink is very dark or you plan to reuse a template, print the pattern once on cardstock, cut it out as a stencil, and trace onto folded plain paper.
- Do a “one-snowflake test”: Cut one snowflake and check if bridges are too thin. If it tears, scale up or choose a simpler design with wider connections.
Once you find a size that cuts cleanly, save those printer settings so you can batch-print matching paper snowflake patterns later.
Common mistakes and troubleshooting
Even simple paper snowflake patterns can go sideways if the folds shift or the cuts weaken the structure. Here are the most common problems and how to fix them without frustration.
- My snowflake looks uneven: This usually comes from an uneven square or sloppy folds. Re-cut your starting square carefully, and crease firmly. When folding into wedges, line up edges precisely before pressing the crease.
- It tore while unfolding: You likely cut too close to the center point or removed too much “bridge” material. Choose templates with wider connectors, scale the pattern up, or switch to slightly heavier paper like 24 lb.
- Small details are mushy or ragged: Dull scissors can chew the paper. Use sharper, smaller scissors and make fewer, longer cuts rather than lots of tiny snips. Rotating the paper helps you follow curves smoothly.
- Interior cuts are hard to reach: For tight interior shapes, use a craft knife on a mat (adult use only). Another option is to redesign: convert tiny circles into diamonds or triangles, which are easier to cut with scissors.
- The center hole is too big: Many templates include a center cut. Reduce it by trimming less near the tip of the folded wedge. Remember: the very tip becomes the center of the snowflake.
- My pattern “disappeared” while cutting: If you printed lightly or used thin lines, trace over cut lines with a pen before folding, or print with higher contrast.
Reader testimonial: “I printed three paper snowflake patterns and tried the simplest one first. The tip about making a true square changed everything. My first snowflake actually opened flat and looked symmetrical, and my kids kept asking for ‘one more’ to fill the window.”
Troubleshooting is part of learning. Keep your “not perfect” snowflakes for garlands where small flaws are hard to notice.
Finishing and styling tips
Cutting is only half the magic. A few finishing steps make paper snowflake patterns look crisp, bright, and intentionally styled rather than like quick classroom cutouts.
- Flatten for a professional look: After unfolding, press the snowflake between two clean sheets of paper inside a heavy book for 10 to 20 minutes. This reduces curled points.
- Strengthen delicate snowflakes: If a design has very thin spokes, lightly mist with spray starch (in a ventilated area) and press flat. Do not over-wet the paper or it can warp.
- Create dimension: Layer two snowflakes, rotate the top one slightly, and attach with a glue dot in the center. This looks especially good with contrasting colors like white over pale blue.
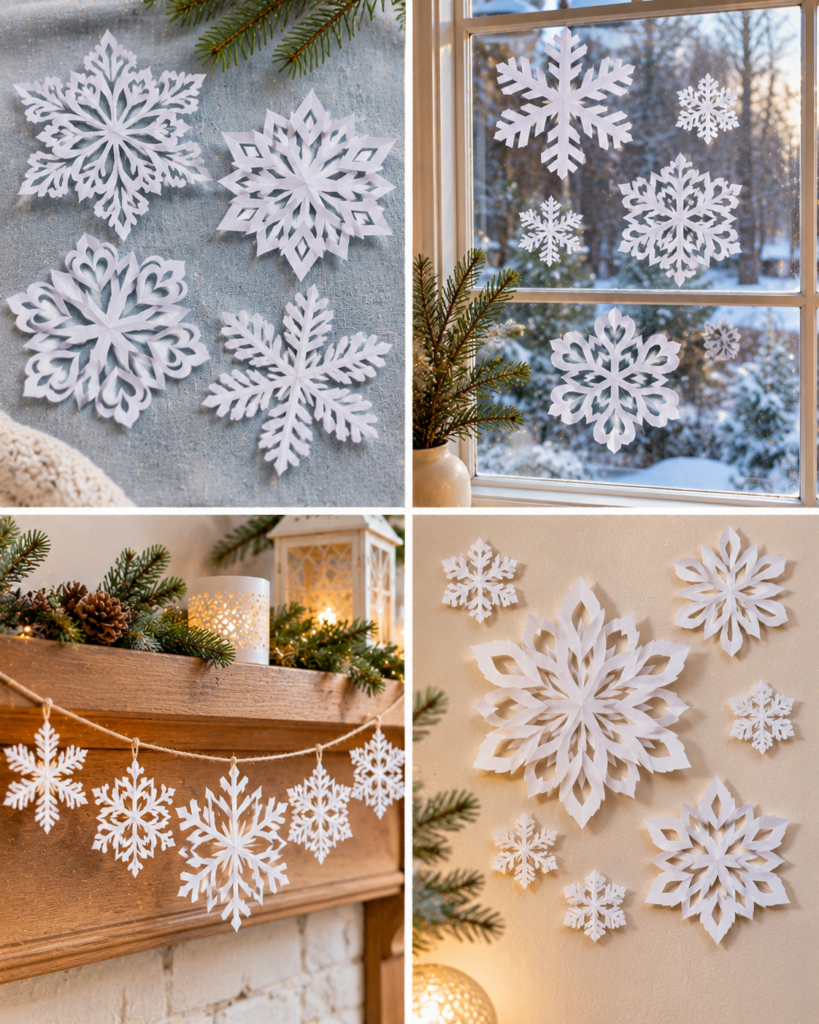
- Window displays: Use small rolled pieces of painter’s tape or removable putty so you do not damage glass or paint. For a “floating” look, hang snowflakes with clear thread from a curtain rod.
- Garlands and mobiles: Punch a tiny hole in one point and string with thread. If you want them to hang flat, add two attachment points instead of one.
- Coordinated craft themes: Combine your snowflakes with other paper techniques for a winter wall. Quilling snowflake centers looks beautiful, and these paper quilling ideas for beginners can help you get started.
If you are decorating a full room, repeat just a few paper snowflake patterns in multiple sizes. Repetition looks polished and avoids visual clutter.
Storage and care
Paper snowflakes are lightweight, which makes them easy to store and reuse if you protect them from crushing and moisture. With basic care, you can keep your favorite paper snowflake patterns as seasonal decor for years.
- Flatten before storing: Store only fully dry, flattened snowflakes. If they are still curled, they can “set” into that shape over time.
- Use rigid storage: Place snowflakes between two sheets of cardstock or inside a large folder, then slide into an under-bed plastic bin. Rigid support prevents bent points.
- Sort by size and design: Label envelopes or file folders by size (6 inch, 8 inch, 12 inch) and complexity. This makes it easy to grab the right set next season.
- Avoid humidity: Basements and damp garages can wrinkle paper. Add a silica gel packet to the bin if you live in a humid climate.
- Repair minor tears: Use tiny pieces of clear tape on the back side. For white paper, a small dab of glue stick can be less visible than glossy tape.
- Keep templates too: Store printed paper snowflake patterns in a binder sleeve. Jot notes like “best at 110%” or “too delicate at 75%” so you remember what worked.
When you take them out again, press briefly under a book and they are ready to hang.
Common Questions
Why does my snowflake lose its shape when I unfold it?
This usually happens when the design removes too much material near the center, leaving very thin connections. Choose paper snowflake patterns with thicker “bridges,” scale the template up, or switch to slightly heavier paper. Unfold slowly, supporting the center with your fingers. If you tug from an outer point, the stress concentrates on delicate areas and causes tears.
Can I cut multiple snowflakes at once by stacking paper?
You can, but keep the stack small. Two sheets of printer paper is manageable for many designs, especially larger patterns. More layers increase shifting and make it harder to cut cleanly. If you stack sheets, use binder clips to hold the folded wedge steady. Choose simpler paper snowflake patterns with larger openings so the scissors can cut through both layers without bending.
How do I make my snowflakes look more “lacy” without ripping them?
Go lacy gradually. Start by adding a few extra cutouts along the outer edge rather than carving out the center. Keep at least a few millimeters of paper between cutouts. Using sharp, small scissors helps a lot. If you want ultra-delicate lace effects, scale your paper snowflake patterns larger so the same shapes have stronger paper bridges.
What is the easiest way to get perfectly square paper from letter-size sheets?
Fold one corner of the letter-size paper over to the opposite edge to form a triangle, aligning edges carefully. The leftover strip along one side is the excess. Cut or tear off that strip to reveal a perfect square. This step is worth doing neatly because any unevenness in the square shows up as uneven points after you cut and unfold.
How can I keep ink from showing on the finished snowflake?
If you do not want template lines visible, print the pattern very lightly, trace only the cut lines on the back, or use a reusable wedge stencil. Another option is to print on one side and fold so the printed side ends up on the inside of the wedge. Any remaining marks are then hidden on the back of the finished snowflake.
Can I make snowflakes that are not white?
Absolutely. Pastel paper gives a frosty look, metallic paper adds sparkle, and recycled book pages create a vintage style. Just test foldability first because some coated or glossy papers crack on creases. If you are decorating a room, choose two to three colors and repeat the same paper snowflake patterns in each color for a coordinated, intentional display.
Frequently Asked Questions About Paper Snowflake Patterns: Easy Printable Designs
How do you fold paper for snowflakes?
Start with a perfect square. Fold in half diagonally to make a triangle, then fold again to make a smaller triangle. For a classic six-point snowflake, you will fold that triangle into thirds (like folding a letter into three parts) to create a narrow wedge. For an eight-point snowflake, you keep folding in half to create eight layers. Always align edges carefully and crease firmly for symmetry.
How do you cut a six pointed snowflake?
A six-point snowflake comes from a circle divided into six equal sections, which is why the “fold into thirds” step matters. After making a triangle (square folded diagonally twice), fold the triangle into thirds so the tip remains sharp and the wedge has straight sides. Trim the top edge into a point or angle, then cut shapes along the folded sides. When you unfold, you get six repeating sections.
What paper works best for snowflakes?
Regular printer paper is the easiest for most paper snowflake patterns because it folds cleanly and cuts smoothly. If you want stronger snowflakes for hanging, try slightly heavier paper (24 lb to 28 lb). Very thin tissue paper can tear during unfolding, and thick cardstock is hard to fold and cut for detailed templates. If you want color, choose lightweight construction paper or colored printer paper.
Where can I find printable snowflake templates?
Printable snowflake templates are often available on craft blogs, classroom resource sites, and printable libraries. Look for templates that clearly label fold lines and cut lines, and choose a difficulty level that matches your cutting tools. If you are building a full winter craft session, you can also explore coordinating decor in these Christmas paper crafts to make and then repeat a few snowflake templates at different sizes for a unified look.
How do you display paper snowflakes?
For windows, use removable putty or tiny loops of painter’s tape so the paper lies flat and removes cleanly. For a floating look, hang snowflakes from clear thread at different lengths. For parties, tape them to a backdrop or string them into a garland. If you want them to stay crisp, avoid placing them near heating vents or humidifiers, which can curl the paper.
Final thoughts
Paper snowflake patterns make it easy to create beautiful, symmetrical winter decor with simple supplies and a little patience. Focus on the basics first: start with a true square, crease your folds sharply, and choose templates that match your skill level. Once you have one snowflake you love, repeat it in a few sizes for a polished look, then mix in one or two more patterns for variety. Your next step is simple: print a beginner template, cut one test snowflake, and adjust size or paper weight until it unfolds cleanly. Then make a small set and start decorating a window or wall.