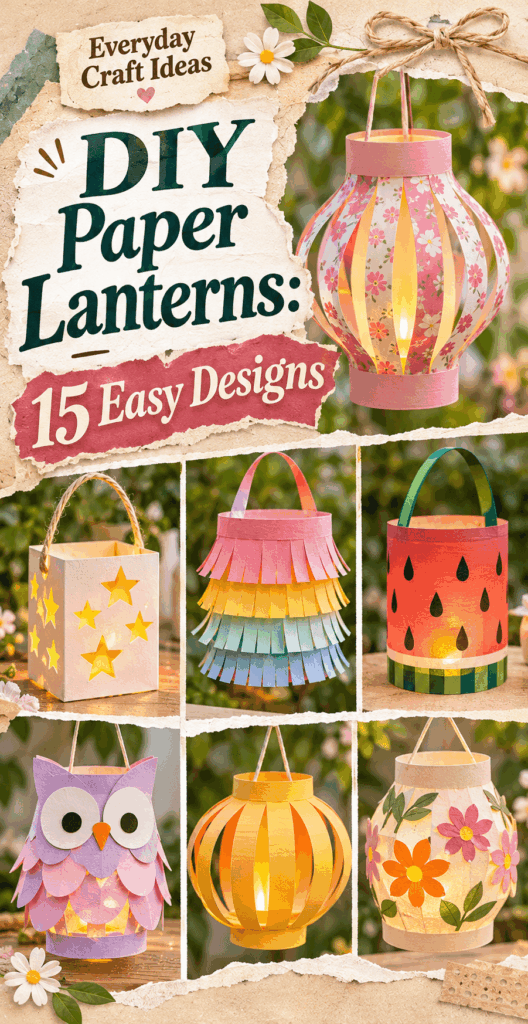
DIY Paper Lanterns: 15 Easy Designs
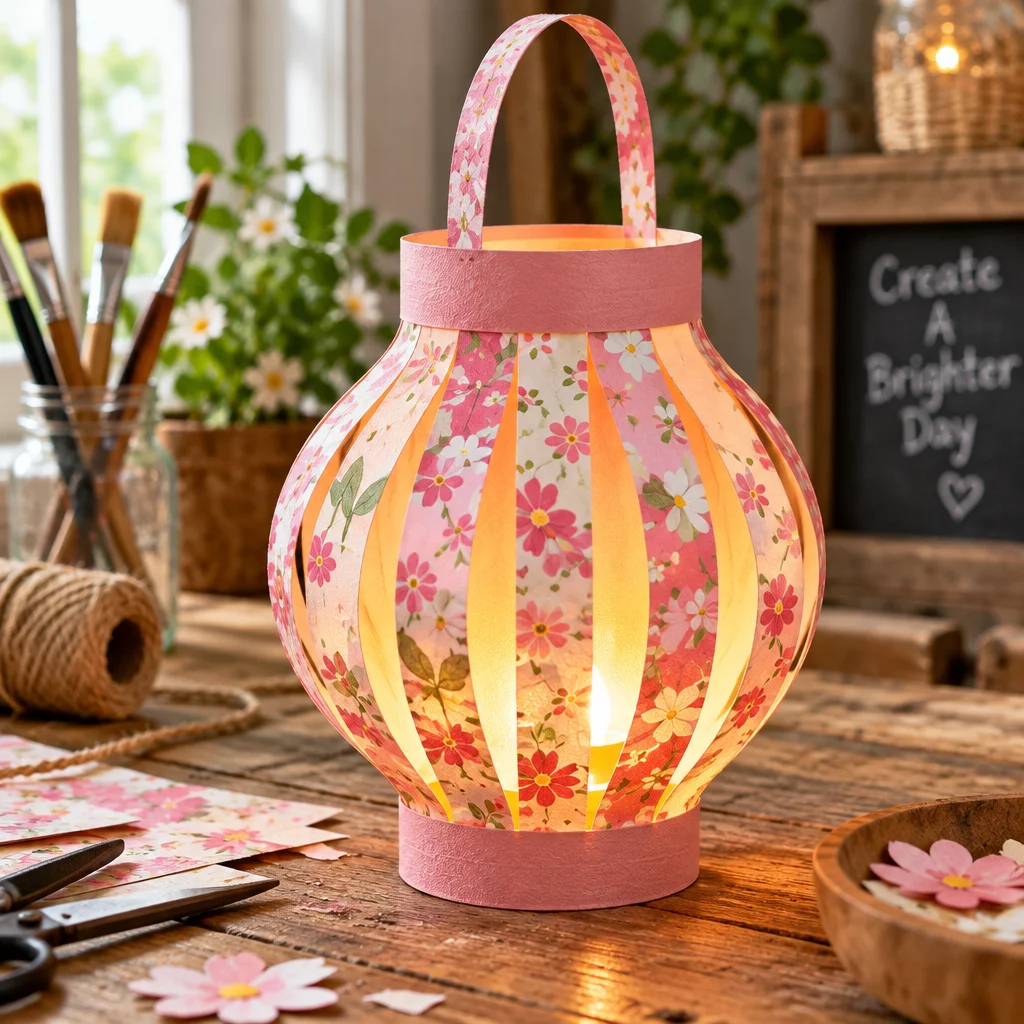
Paper Lanterns DIY projects are one of the fastest ways to add warm, festive light to a room, patio, or party table without expensive supplies or advanced crafting skills. If you can measure, fold, and make clean cuts, you can make lanterns that look store bought. In this guide, you will learn how to choose the right paper for the glow you want, which tools make cutting easier, and 15 beginner-friendly designs you can finish in an evening. If you are decorating for a seasonal event, pair these lanterns with simple paper décor from these Christmas paper crafts or mix in coordinated party details from these budget baby shower decoration ideas. Everything here is designed to be safe with LED lights and easy to troubleshoot.
Choosing a paper lantern design
Before cutting anything, decide how and where you will use your lantern. Hanging lanterns can be lighter and more open, while tabletop lanterns need a stable base and enough structure to stand upright. Also consider “glow style.” If you want crisp cutout patterns on the wall, choose a design with negative space like stars or snowflakes. If you want an even, soft glow, choose a sleeve style made from vellum or thin paper over a solid core.
Scale matters more than most beginners expect. Small lanterns (4 to 6 inches tall) are great for mantels and dinner tables, but they limit what lights fit inside. Medium lanterns (8 to 12 inches) work well for shelves, stair landings, and window sills. Larger lanterns (14 inches and up) look amazing hanging outdoors but need heavier paper or a simple internal frame to hold their shape.
Finally, choose a complexity level. For first-time Paper Lanterns DIY crafting, start with slit-cut, accordion, or sleeve lanterns. Save multi-panel houses and detailed silhouettes for when you are confident in clean scoring, consistent cutting, and gluing seams without warping the paper.
Cardstock, vellum, cutting tools and safe LED lights
Cardstock (65 to 110 lb) is the most forgiving material for structural lanterns because it holds curves and corners well. It is ideal for cube lanterns, house lanterns, and designs that need crisp edges. Standard printer paper works for lightweight hanging lanterns but can wrinkle if you use wet glue or handle it a lot.
Vellum is the secret for “glow.” It diffuses light beautifully and hides the individual LED points, especially if you use fairy lights. Vellum is usually used as an inner liner or an outer sleeve, not as the only structural layer. For adhesives, a glue stick reduces warping, while double-sided tape gives instant bonds for seams. Liquid craft glue works, but apply it sparingly and press with a clean scrap of paper to avoid ripples.
Tools that help most: a metal ruler, sharp craft knife, self-healing mat, and a scoring tool (or empty ballpoint pen) for crisp folds. For lights, stick to battery-operated LED tealights or micro-LED fairy lights. Avoid any heat source. If you want the lantern to sit on a table near real candles, use separate, non-paper holders such as ideas from these DIY candle holder projects.
15 DIY paper lantern designs
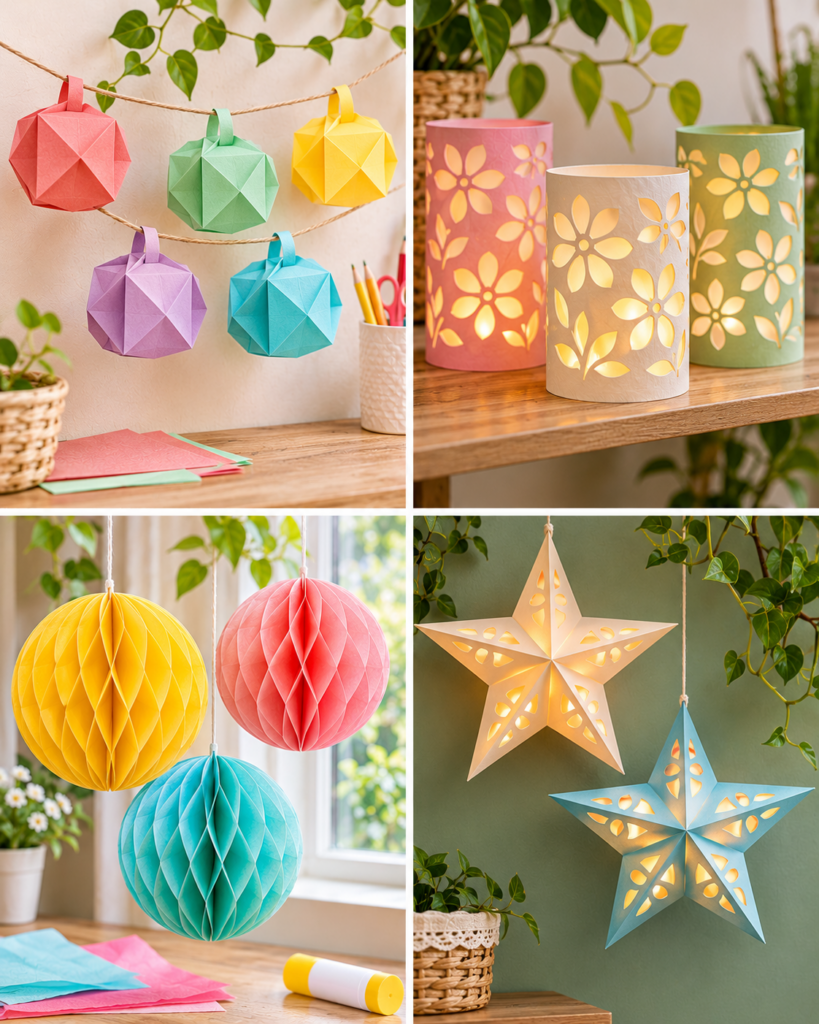
These Paper Lanterns DIY designs are grouped by style so you can pick one that matches your tools and time. Each can be made with basic supplies: paper, ruler, scissors or craft knife, adhesive, and LED lights. If you are crafting with kids, choose designs that use fewer knife cuts, like scalloped edges, accordion folds, or pre-punched patterns.
As you browse, think about your finishing details. Adding a thin handle, a hanging loop, or a simple rim at the top instantly makes the lantern look polished. A quick lining of vellum also elevates even the simplest slit-cut design. If you are making a coordinated display, repeat one color and vary the patterns, or repeat one pattern and vary the colors for a cleaner, modern look.
Slit-cut lanterns, scalloped lanterns and strip-globe lanterns
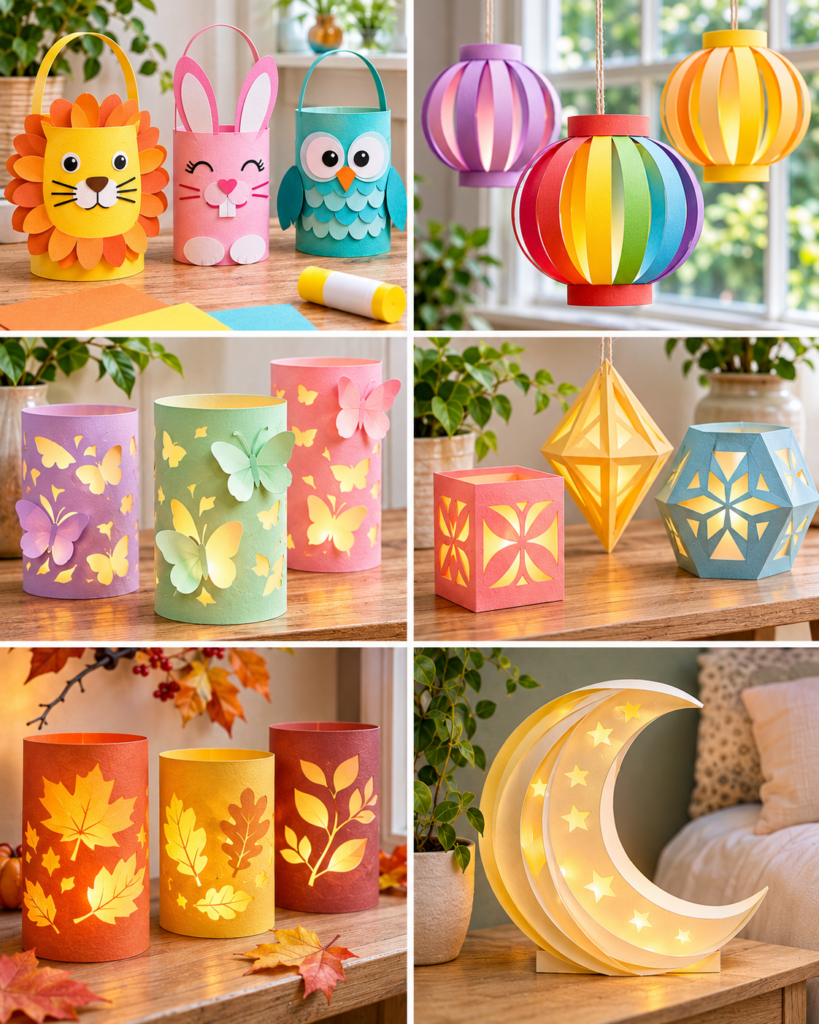
- Slit-cut lantern: The classic beginner design. Cut evenly spaced vertical slits, roll into a tube, and compress to bow the slits outward.
- Scalloped lantern: Use decorative scissors or trace a scallop edge along the top and bottom before assembling. Great for baby showers and spring parties.
- Strip-globe lantern: Cut 8 to 12 equal strips, attach both ends to two paper circles, then spread into a sphere. Works best with cardstock strips for stiffness.
Accordion lanterns, diamond lanterns and folded cube lanterns
- Accordion lantern: Fold a long strip back and forth, then connect the ends to form a ring. Add a vellum liner for a smooth glow.
- Diamond lantern: Create a diamond silhouette by scoring and folding panels, then pinching the top and bottom points. A tassel looks great at the bottom point.
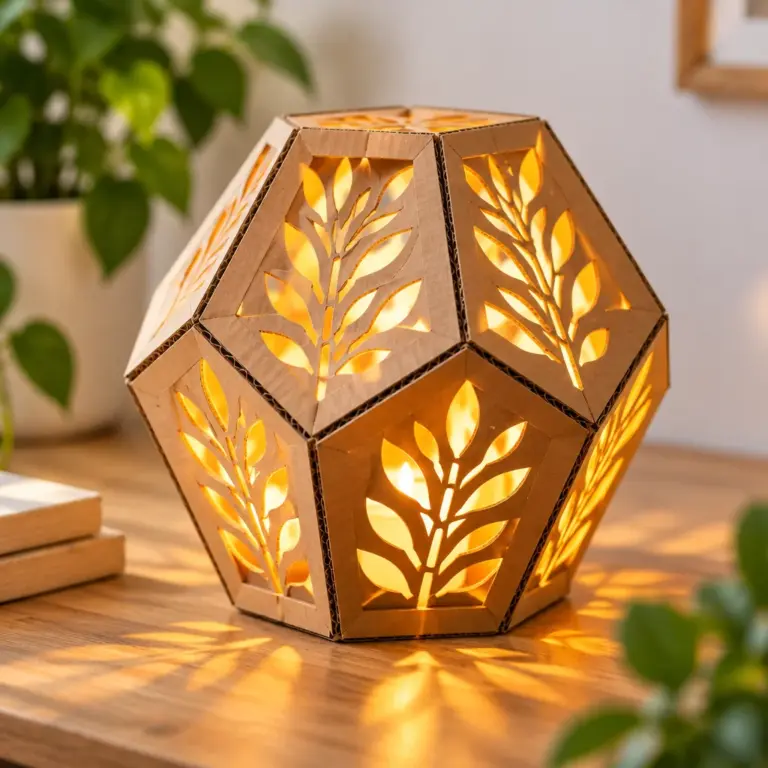
- Folded cube lantern: Make a paper cube template with tabs, cut window openings, then line with vellum. This is sturdy for tabletop use.
Tassel lanterns, flower lanterns and star-cutout lanterns
- Tassel lantern: Add tissue-paper tassels to the base of any tube lantern. Keep tassels above the light source to avoid discoloration.
- Flower lantern: Glue layered paper petals around a simple cylinder. Use a glue stick for clean bonding without wet spots.
- Star-cutout lantern: Punch or cut stars into the body, then line with vellum so the stars glow instead of showing harsh LED points.
Floral lanterns, Halloween silhouette lanterns and snowflake lanterns
- Floral patterned lantern: Use scrapbook paper as the outer layer over a plain cardstock frame. This is fast and hides seams.
- Halloween silhouette lantern: Cut simple shapes like bats, cats, or haunted houses into panels, then back with vellum. Use a craft knife for clean edges.
- Snowflake lantern: Fold and cut snowflakes, then mount them as windows. For durability, glue snowflakes onto a sturdier base panel.
If you want add-on elements like tiny tags, paper bows, or hanging ornaments, you can borrow ideas from these printable paper ornaments to coordinate your lantern set.
Vellum lantern sleeves, punched luminaries and paper-house lanterns
- Vellum lantern sleeve: Wrap vellum around a glass jar (or a cardstock tube), secure with double-sided tape, and add a patterned band at top and bottom.
- Punched luminary: Use a hole punch or decorative punch for repeated patterns. Mark a grid first so the spacing looks intentional.
- Paper-house lantern: Build a simple house shape with roof folds, cut windows, line with vellum, and use an LED tealight inside. Best with 110 lb cardstock.
How to make a simple paper lantern
This is the foundational Paper Lanterns DIY method that many other designs build on. It creates a bowed lantern shape from one sheet of paper and is easy to scale up or down. Use cardstock for a sturdier lantern or printer paper for a softer, more flexible look.
- Choose your size and cut the rectangle. Start with 8.5 x 11 inches for a medium lantern. Trim to 8.5 x 10 inches if you want a slightly shorter, wider shape. A clean rectangle ensures the seam meets neatly.
- Mark a “no-cut” margin. Along one long edge, draw a line 1 inch in from the edge. This is the stop line for your slits, keeping the lantern connected and strong.
- Fold lengthwise. Fold the rectangle in half lengthwise, right sides out, and crease firmly. This keeps your cuts symmetrical and speeds up slit cutting.
- Cut evenly spaced slits. Starting from the folded edge, cut slits every 1/2 to 3/4 inch, stopping at the margin line. Consistent spacing prevents lopsided bowing.
- Open and form a tube. Unfold, roll into a cylinder, and overlap the short ends by about 1/2 inch. Tape or glue the seam from top to bottom so it does not gap.
- Shape the lantern. Gently push the top and bottom toward each other to bow the slits outward. Do not crush it. Let the paper find an even curve.
- Add light safely. Place an LED tealight inside on the base or wrap micro-LED lights around a small jar placed inside the lantern for stability.
Measuring and cutting even slits
Even slits are what make the lantern look intentional rather than homemade. The simplest trick is to use a ruler to mark small dots along the folded edge at equal intervals. If you want a more delicate look, use 1/2-inch spacing. For a bolder, more graphic lantern, use 3/4-inch spacing. Always cut with sharp scissors or a craft knife; dull blades bend fibers and create fuzzy edges that show in the glow.
If your slits look uneven after unfolding, do not start over immediately. Minor differences often disappear once the lantern is curved. If a slit is noticeably longer, trim the neighboring slits to match, keeping the stop margin intact so the lantern stays strong.
Attaching the base, handle and hanging loop
A base is optional, but it helps if you are using the lantern on a table. Cut a cardstock circle slightly wider than the lantern opening. Add four small tabs around the circle, fold the tabs up, and glue the tabs inside the lantern bottom edge. For a handle, cut a 1/2-inch wide strip of cardstock, curve it, and glue each end inside the top rim. For hanging, use a small punched hole reinforced with a tiny cardstock ring, then tie on string or thin ribbon. Reinforcement matters because paper can tear over time under tension.
Styling paper lanterns safely
Paper lanterns look best when you treat them like lighting decor, not just crafts. Group them in odd numbers, vary sizes, and repeat one color family for cohesion. For tabletops, place lanterns along a runner with greenery or simple paper accents, keeping them away from food and drinks. For hanging displays, use different heights to add depth and avoid tangles.
For outdoor use, remember that paper is sensitive to moisture. Even “dry” evenings can bring dew. If you want to decorate a porch, keep lanterns under a covered area and bring them in afterward. If you are planning a party, assemble lanterns the day before, but store them flat until setup so they stay crisp and clean.
“I made the slit-cut lanterns for my sister’s baby shower using pastel cardstock and battery fairy lights. The tip about marking the slit spacing first saved me, and lining two lanterns with vellum made the glow look so much smoother in photos.”
Using battery-operated LED lights instead of flames
Use only battery-operated LED tealights or LED fairy lights in Paper Lanterns DIY projects. Real flames can ignite paper quickly, and even a small candle can scorch or brown paper from heat rising. LEDs also give you more options: warm white for cozy rooms, cool white for modern looks, or colored lights for themed parties. If you see hot spots from individual bulbs, add a vellum liner or wrap lights around a small glass jar inside the lantern so the light diffuses evenly.
Hanging lanterns and storing them flat
Hang lanterns with removable adhesive hooks, clear fishing line, or lightweight ribbon. Always test the hook on a small hidden area first if you are unsure about paint finish. To store, remove the light, gently compress the lantern back toward its original shape, and keep it in a shallow box with tissue paper between pieces. Avoid stacking heavy items on top; pressure can crease curved sections permanently.
Frequently Asked Questions About DIY Paper Lanterns: 15 Easy Designs
Can you put a real candle inside a paper lantern?
No. A real candle is not safe inside paper lanterns because the flame and rising heat can ignite or scorch the paper quickly. Even if the flame does not touch the paper, heat buildup inside a small lantern can cause browning, warping, or sudden ignition. Use a battery-operated LED tealight or LED fairy lights instead. If you want real candles nearby for ambiance, keep them in non-paper holders set several feet away.
What paper is best for glowing paper lanterns?
For the best glow, combine structure and diffusion. Use cardstock for the outer frame or the parts that need strength, and add vellum as a liner behind cutouts or as a full sleeve. Vellum softens harsh points of light and makes patterns look more even. If you do not have vellum, thin white tissue paper can work as a diffuser, but it tears more easily and wrinkles if you use wet glue.
How do you hang paper lanterns without damaging the ceiling?
Use removable adhesive ceiling hooks rated for more weight than your lantern setup. Clean the surface first so the adhesive bonds well. Hang lanterns with clear fishing line or light string, keeping knots small so they do not slip. If you cannot use adhesive, hang from existing fixtures like curtain rods, a tension rod, or a freestanding backdrop stand. Avoid tape directly on painted ceilings since it can peel paint.
Why is my lantern lopsided after I roll it?
Lopsided lanterns usually come from uneven slit spacing, an angled seam, or paper that creased off-center. Check that your rectangle is truly squared, and make sure the overlapped seam runs straight from top to bottom. If one side bows more, gently reshape by pressing the top and bottom edges together and rotating the lantern in your hands until the curve evens out. Switching to heavier cardstock also helps it hold a consistent shape.
What is the cleanest way to join seams without wrinkling?
Double-sided tape is the cleanest for seam joins because it bonds instantly and does not add moisture. If you prefer glue, use a glue stick, not liquid glue, and burnish the seam with a ruler edge or folded scrap paper. For high-stress seams, like paper-house lantern roofs, combine a thin line of glue stick with a small piece of tape inside the lantern where it will not show.
How can I make lanterns look professional for a party?
Focus on consistency and finishing. Cut all pieces with the same template, keep slit spacing identical, and hide seams at the back. Add a top and bottom rim strip (a 1/2-inch band of cardstock) to cover raw edges and strengthen the opening. Line cutouts with vellum so the light looks smooth in photos. Finally, choose a tight color palette and repeat it across lantern sizes for a coordinated display.
Final thoughts and easy lantern variations
Paper Lanterns DIY crafting is a rewarding project because small upgrades make a big difference. Once you have made one basic lantern, try variations like ombré paper, metallic cardstock accents, or layered cutouts backed with vellum for a more dramatic glow. You can also build sets for holidays, pastel scallops for spring, stars for summer nights, silhouettes for Halloween, and snowflakes for winter. Your next step is simple: pick one design from the list, gather cardstock, tape, and LED lights, and make a test lantern first. After that, batch-cut materials assembly-line style so you can create a matching group quickly and confidently.