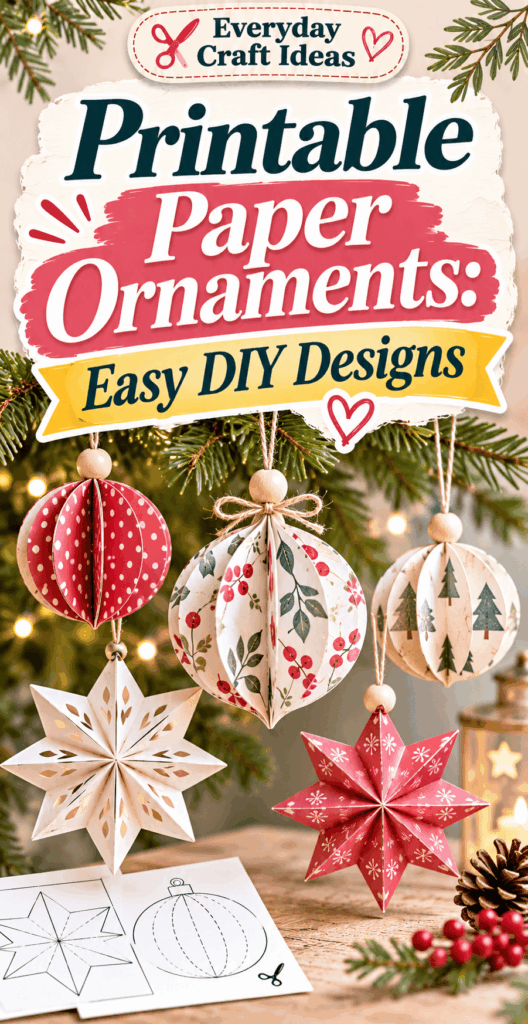
Printable Paper Ornaments: Easy DIY Designs
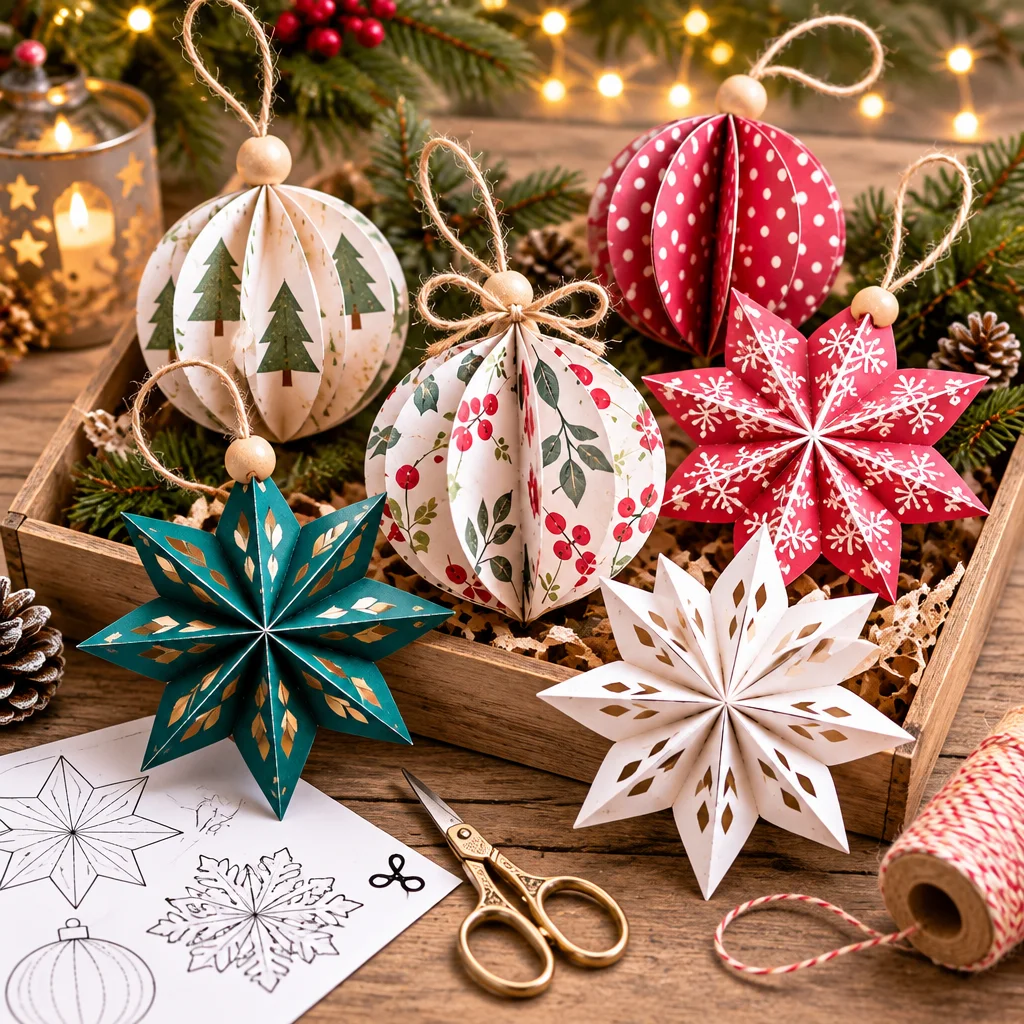
Printable paper ornaments are one of the fastest ways to decorate for the holidays, a party, or a cozy winter corner without buying a cart full of supplies. If you can print, cut, and fold, you can make a whole set in an afternoon, even with kids or as a low-mess classroom craft. In this guide, I will walk you through the best paper choices, beginner-friendly assembly tricks, and several easy designs that look surprisingly polished. If you want even more paper décor ideas, browse these Christmas paper crafts to make, or pair ornaments with window décor using easy printable paper snowflake patterns. By the end, you will know how to print cleanly, build sturdy 3D shapes, and hang or store everything without crushing your hard work.
What you need to get started
Before you hit “Print,” it helps to set yourself up for crisp cuts and strong folds. Most printable paper ornaments rely on accurate trimming and neat creases, so your tools matter more than you might think. You do not need a craft room, but you do need a clean cutting surface and a way to score folds if you want professional-looking results.
Start by choosing where the ornaments will be used. For a Christmas tree, you want lightweight pieces that hang straight and can survive a little handling. For gift toppers, you can go smaller and flatter. For classroom garlands, durability matters more than intricate detail. Planning the use helps you decide paper weight, size, and whether to laminate or reinforce pieces.
Keep a small “assembly station” nearby: scrap paper for glue testing, a paper towel for wiping excess glue, and a bin for tiny offcuts. It sounds simple, but it prevents smudges on the printed side and keeps little tabs from disappearing.
Printable paper ornament templates and materials
- Printer and real print files: Use true-to-size templates (PDF is ideal) so tabs and fold lines align. If your printer “fits to page” automatically, it can shrink pieces and cause gaps.
- Paper: 160 to 220 gsm cardstock is the sweet spot for most printable paper ornaments. Lighter copy paper (75 to 100 gsm) works for flat ornaments, but it can buckle with wet glue.
- Cutting tools: Sharp scissors for curves and a craft knife for inner cutouts. A metal ruler and cutting mat make straight lines quick and accurate.
- Adhesives: A glue stick is clean for large tabs, while tacky glue adds strength for seams. Double-sided tape is excellent for no-wrinkle assembly.
- Scoring tool: A bone folder, old gift card, or blunt butter knife helps make precise folds without cracking ink.
- Hangers: String, thin ribbon, embroidery floss, or ornament hooks. Add a paperclip loop if you want a hidden hanger.
- Optional finishing: Clear-drying glue for glitter accents, markers for edge coloring, and a hole punch for quick hanging points.
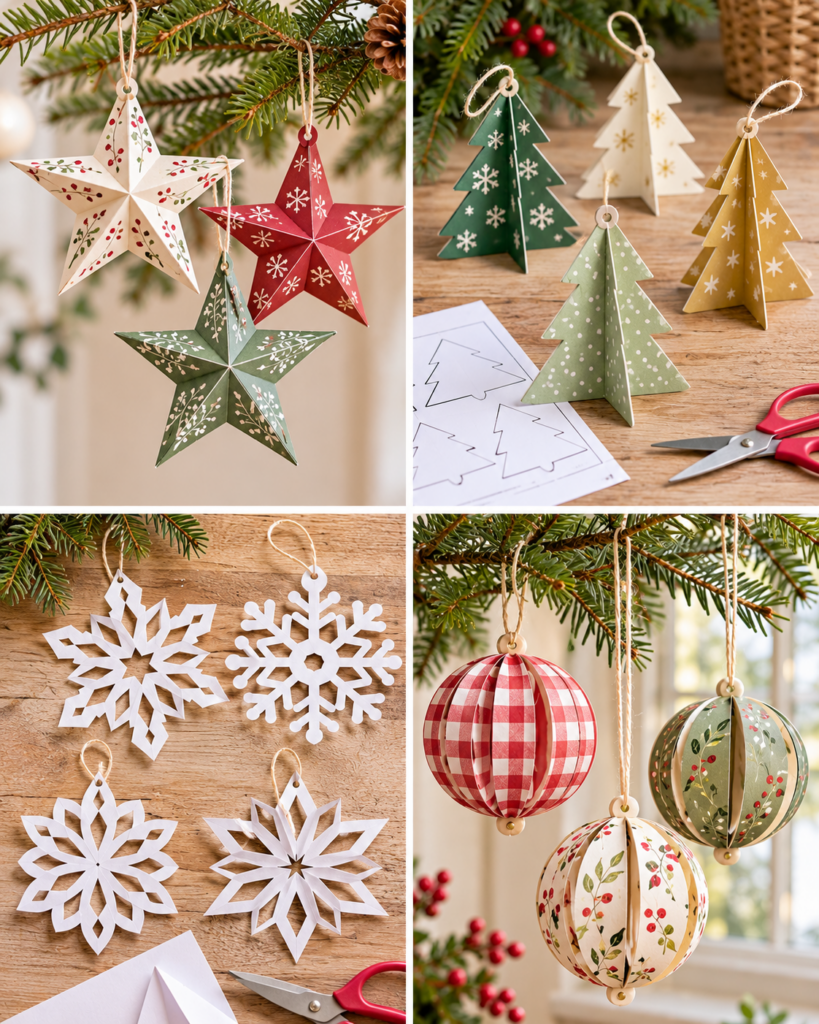
Ideas and projects to try
The best thing about printable paper ornaments is how flexible they are. You can print one design repeatedly for a coordinated tree, or mix shapes for a collected look. If you are decorating with kids, start with simple silhouettes and graduate to 3D builds once everyone has the hang of folding and gluing tabs.
Try choosing a theme before printing: classic red and green, icy blues and silvers, or modern neutrals with kraft cardstock. A theme makes even simple shapes look intentional. If you want more inspiration beyond paper, you can combine paper with fabric textures by browsing these felt Christmas ornaments and using paper ornaments as lightweight fillers on your tree.
For gift wrapping, mini paper stars and folded hearts make beautiful toppers. For windows, snowflakes and geometric diamonds catch light nicely, especially if printed on pearly cardstock. For garlands, use repeated shapes and keep them flatter so they do not twist as much.
Paper stars, baubles, snowflakes, 3D trees, folded hearts and hanging geometric ornaments
- Paper stars: Look great in metallic cardstock and are forgiving if your folds are not perfect. Use them as tree ornaments or string them into a garland.
- Baubles: Printable circles or teardrop segments glued into a sphere create a classic ornament shape. They are sturdy if you use cardstock.
- Snowflakes: Flat cutout snowflakes are quick and ideal for beginners. Pair them with these printable snowflake designs for variety.
- 3D trees: Slot-together trees are easy to assemble and stand up on a mantel, or you can add a string loop to hang them.
- Folded hearts: Great for winter weddings or Valentine’s Day. Print patterns on one side, then edge-color for a finished look.
- Hanging geometric ornaments: Diamonds, prisms, and faceted shapes feel modern. These usually include tabs and benefit from careful scoring.
How to make and customize the projects
This is the core workflow for most printable paper ornaments: print accurately, cut cleanly, score and fold precisely, then assemble without warping. Once you learn the rhythm, you can produce multiples assembly-line style. Print all pieces first, cut everything second, score and fold third, and glue last. That order keeps your hands cleaner and reduces accidental creases on finished pieces.
Customization is where paper ornaments really shine. You can recolor templates digitally before printing, or keep it analog by adding glitter, paint pen details, or tiny sticker accents after assembly. If you want a coordinated ornament set, stick to two to three repeating colors and one repeating motif (stars, dots, plaid) across different shapes.
If your printer ink tends to smear, let sheets dry for a few minutes before cutting. For super crisp edges, “edge color” after cutting by running a matching marker along the cut edge. It hides the white core of cardstock and makes ornaments look store-bought.
Print, cut, fold and assemble
- Open your file and set print scaling to 100%: In your print dialog, disable “fit to page.” Correct scale ensures tabs line up and the ornament closes cleanly.
- Choose the right print quality: Select “high quality” or “best” for saturated designs. It reduces banding that can make ornaments look streaky.
- Let ink dry and protect the surface: Place printed sheets on a flat surface for a few minutes. This prevents fingerprints and smears during folding.
- Cut outer shapes first, then inner details: For snowflakes and cutouts, remove inner shapes with a craft knife before you cut the outer edge. The paper stays more stable while you work.
- Score fold lines: Run a bone folder along a ruler to score. Scoring compresses fibers so folds are sharp and do not crack printed ink.
- Pre-fold every tab and crease: Dry-folding reveals where a piece wants to bend and prevents fighting the paper once glue is added.
- Use minimal adhesive: Apply a thin layer. Too much glue causes ripples and makes seams slippery, which leads to misalignment.
- Hold seams until tacky: For tacky glue, press for 10 to 20 seconds and set aside to cure. For tape, burnish with a finger to lock it down.
- Add the hanger before the final closure when possible: Tuck a knotted string inside a seam or glue a loop under a tab. It looks cleaner and is stronger than taping on later.
Paper weights, hanging methods and storage
Paper weight affects everything: how crisp the folds look, whether the ornament holds its shape, and how well it hangs. For flat printable paper ornaments like snowflakes or circles, 120 to 160 gsm is enough. For 3D ornaments with tabs, 180 to 220 gsm is more reliable. If you go heavier than 250 gsm, tiny tabs can become bulky and hard to close.
For hanging, a simple loop of embroidery floss works for most designs. If your ornament tips forward, shift the hanger point slightly backward by punching a hole closer to the center of gravity, or by adding a small paper “reinforcement patch” on the inside. Ornament hooks are convenient, but for paper they can tear through a single hole. Use a small metal eyelet or reinforce the hole with a ring of clear tape.
Storage is where many paper ornaments fail. Store them like fragile decorations: in a shallow box with tissue between layers. For 3D shapes, add “nests” made from crumpled tissue so pieces do not roll and crush each other. Keep away from damp basements or humid attics, since paper will warp and ink may run.
Supplies, cost, time and skill level
Most printable paper ornaments are a low-cost project with a high payoff. If you already own scissors and a printer, you can make a full set for the price of cardstock and a bit of glue. Expect to spend more time on your first ornament as you learn how the tabs align, then speed up quickly once you get into a rhythm.
- Estimated cost: Often $3 to $10 for cardstock, glue, and string if you already have a printer. Specialty paper (glitter cardstock, pearlescent cardstock) can raise the cost, but you can mix one specialty sheet with plain cardstock to stretch it.
- Time: Flat ornaments: 5 to 15 minutes each. 3D ornaments: 15 to 40 minutes each depending on complexity and drying time.
- Skill level: Beginner to confident beginner. The “hardest” part is neat cutting and patient assembly, not complicated techniques.
- Best project size: For a standard tree, 3 to 4 inch ornaments read well from a distance. For gift toppers, 2 to 3 inches is perfect.
If you want more ornament types to mix in with paper, this roundup of DIY Christmas ornaments is a great next click, especially if you like combining materials.
Beginner mistakes and troubleshooting
- Problem: tabs do not line up. Fix: confirm you printed at 100% scale. Also check you cut on the line, not next to it. A millimeter off on every edge adds up.
- Problem: paper wrinkles or bubbles. Fix: switch to a glue stick or tape for large areas, and use less adhesive. If you need wet glue for strength, dot it rather than spreading a thick layer.
- Problem: folds look cracked. Fix: always score first. Also consider printing on matte cardstock; glossy coatings can crack more visibly.
- Problem: ornament will not stay closed. Fix: hold seams longer or use clips (paper clips or clothespins) until set. For stubborn seams, use tacky glue instead of a glue stick.
- Problem: ornament hangs crooked. Fix: move the hanger point. You can also add a tiny counterweight inside, like a small scrap of cardstock glued opposite the hanger.
“I made a set of printable paper ornaments for my kids’ classroom tree, and your tip about scoring fold lines changed everything. The stars looked so much cleaner, and nothing popped open on the ride to school.”
Frequently Asked Questions About Printable Paper Ornaments: Easy DIY Designs
How do I print paper ornaments?
Use a PDF viewer if possible and set print scaling to 100% or “actual size.” Choose cardstock in your printer settings if you have that option, and print one test page first. If the design includes a measurement guide, measure it with a ruler to confirm scale. Let ink dry fully before cutting, especially on heavier paper where ink can sit on the surface longer.
What paper works best?
For most printable paper ornaments, 160 to 220 gsm cardstock is ideal because it folds cleanly and holds a 3D shape without drooping. For flat ornaments and garlands, 120 to 160 gsm is fine and easier for kids to cut. If you want a luxe look, try a matte metallic or pearlescent cardstock, but avoid very fibrous paper that can tear at small tabs.
How do you make 3D paper ornaments?
Most 3D ornaments are built from repeated segments or a faceted net with tabs. The key is scoring, pre-folding, and assembling in a logical order. Close small sections first, then larger ones, so you still have room to press seams from the inside. Add the hanging loop before the last seam closes. If your 3D ornament keeps springing open, switch from a glue stick to tacky glue and clamp briefly.
Can I make them with kids or in a classroom?
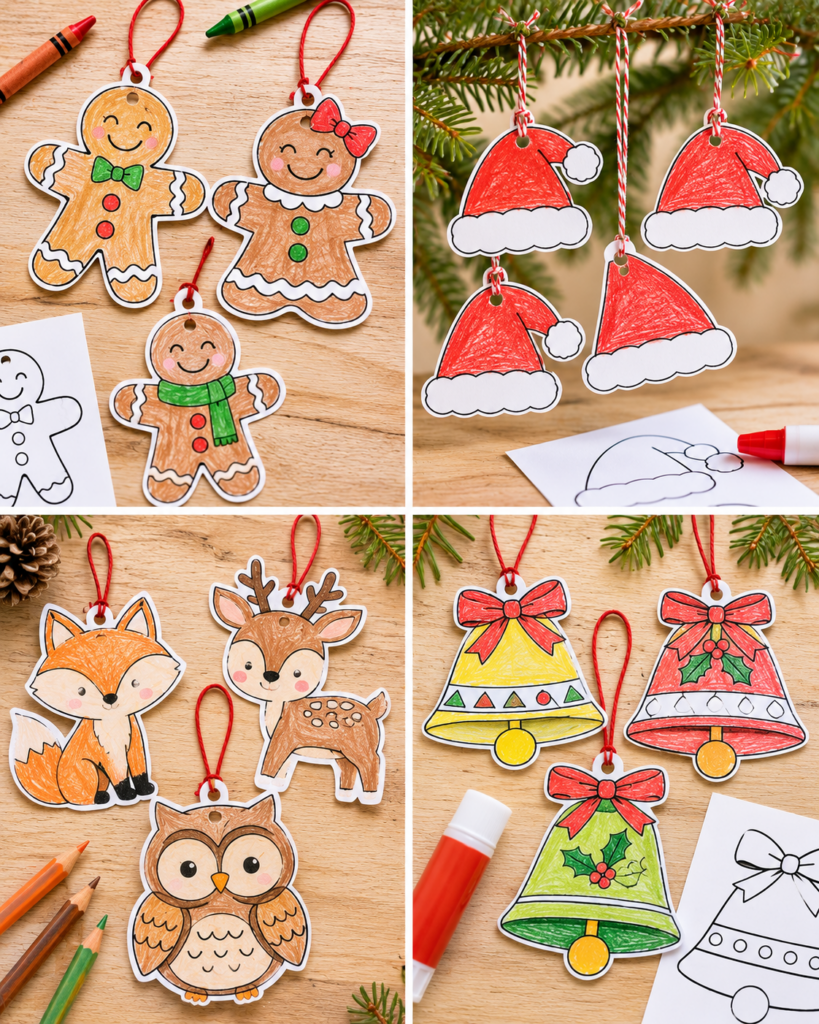
Yes, and it helps to choose the right designs. Flat cutouts, folded hearts, and simple 3D stars with larger tabs are the easiest for kids. Pre-cut tricky inner details with a craft knife yourself, then let kids handle folding and decorating. Use glue sticks instead of liquid glue to reduce mess and warping. Always supervise scissors and keep craft knives for adult use only.
How do I make them look more professional?
Three easy upgrades make a big difference: score every fold, edge-color cut edges with a matching marker, and keep glue very thin. Also consider printing on cardstock with a subtle texture (linen or matte) for a higher-end feel. Finally, use consistent hangers, like the same ribbon color across your set, so mixed shapes still look coordinated on the tree.
Will paper ornaments last and how do I store them?
They can last for many seasons if you keep them dry and store them carefully. Avoid humid storage areas and do not compress 3D ornaments under heavy decorations. Use a shallow box with tissue paper cushioning, and store by shape so points do not poke neighboring ornaments. If you live in a humid climate, add a small silica packet to the box (kept away from children and pets) to help control moisture.
Final tips and next projects
Printable paper ornaments are one of those crafts where small habits create big results: print at true size, score before folding, use minimal glue, and plan your hanger placement early. Start with two or three simple designs, make one test ornament, then batch-produce your favorites once you are confident. If you are ready to expand beyond ornaments, explore more Christmas paper crafts for decorating a whole room, or mix paper and fabric textures with these felt ornament projects. Your next step: pick one ornament style, print a single page, and practice on plain cardstock first. Once you nail the folds and seams, upgrade to your prettiest paper and make a full matching set.