Crochet Phone Pouch Pattern
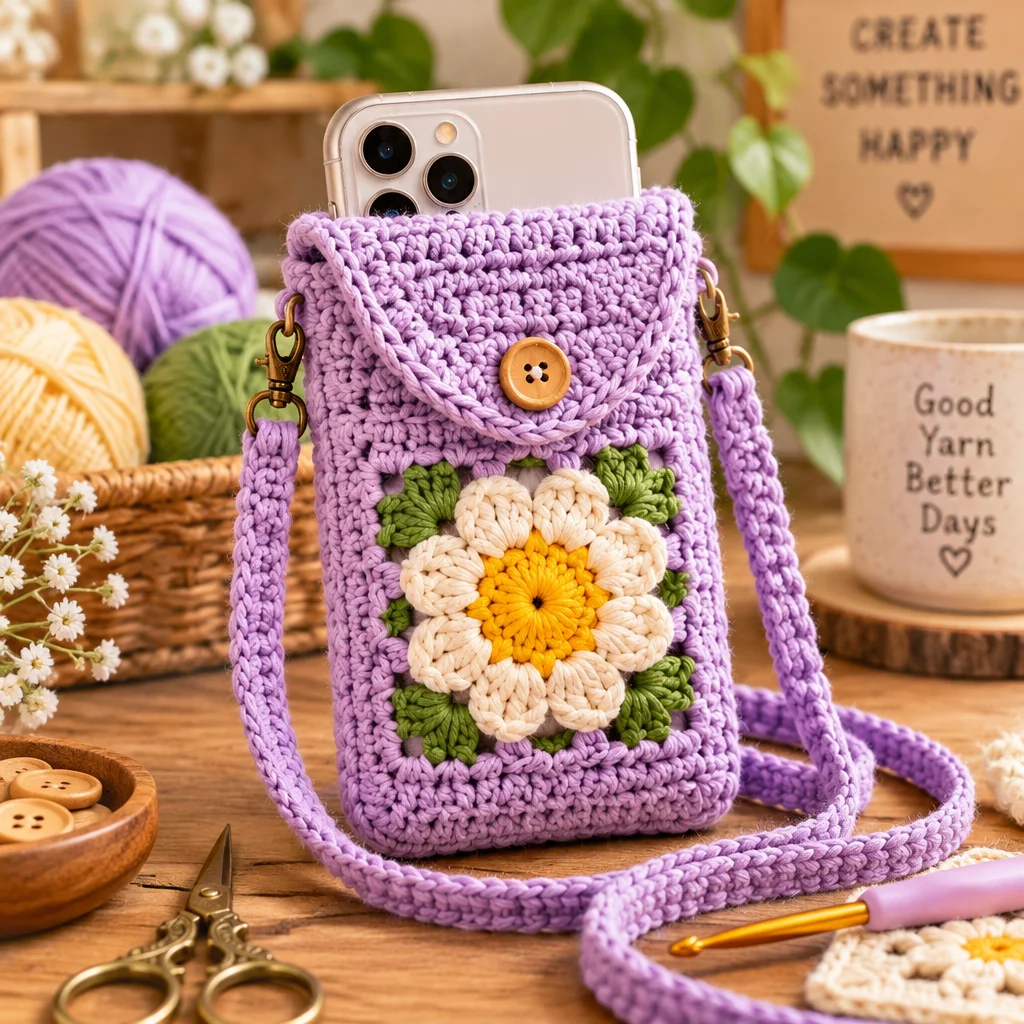
If you are searching for a Crochet Phone Pouch Pattern that actually fits your phone, stays secure, and looks neat even if you are a beginner, you are in the right place. A phone pouch is a small project with a big payoff: it protects your screen from scratches in your bag, keeps your hands free on walks, and makes a thoughtful handmade gift. It is also a great bridge project between small swatches and larger accessories. If you are loving wearable-style makes, you may also enjoy these beginner-friendly crochet bag patterns or this easy crochet bag pattern for more practice with shaping and straps. Below, you will learn how to measure, choose yarn and stitches, crochet the pouch step by step, and adjust it for different phone sizes.
Before You Start: Phone Dimensions and Pouch Style
A successful Crochet Phone Pouch Pattern starts with measuring, not guessing. Phone models vary by millimeters, and crochet fabric can stretch. Measure your phone with the case on if you use one daily. Write down three numbers: width (side to side), height (top to bottom), and depth (thickness). Depth matters because bulky cases need more circumference.
Next, choose a pouch style based on how you will use it:
- Simple sleeve: minimalist, fastest, best if you want a pouch inside a larger bag.
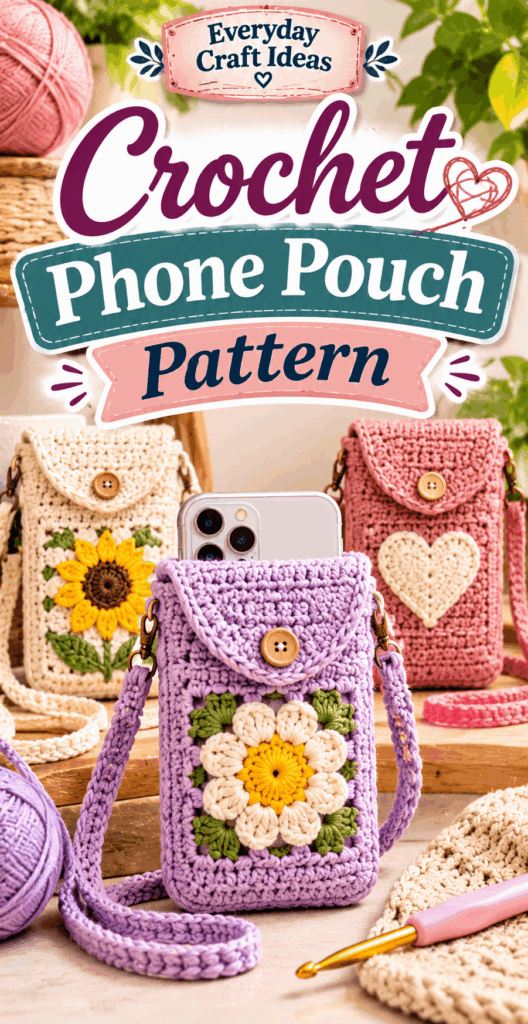
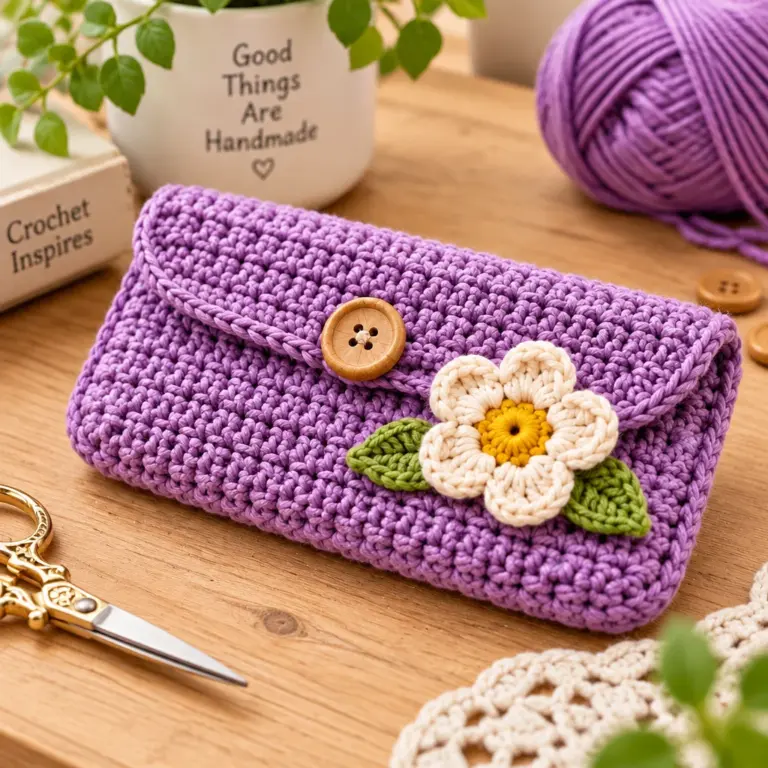
- Flap-and-button: good for commuting or travel because the closure is secure.
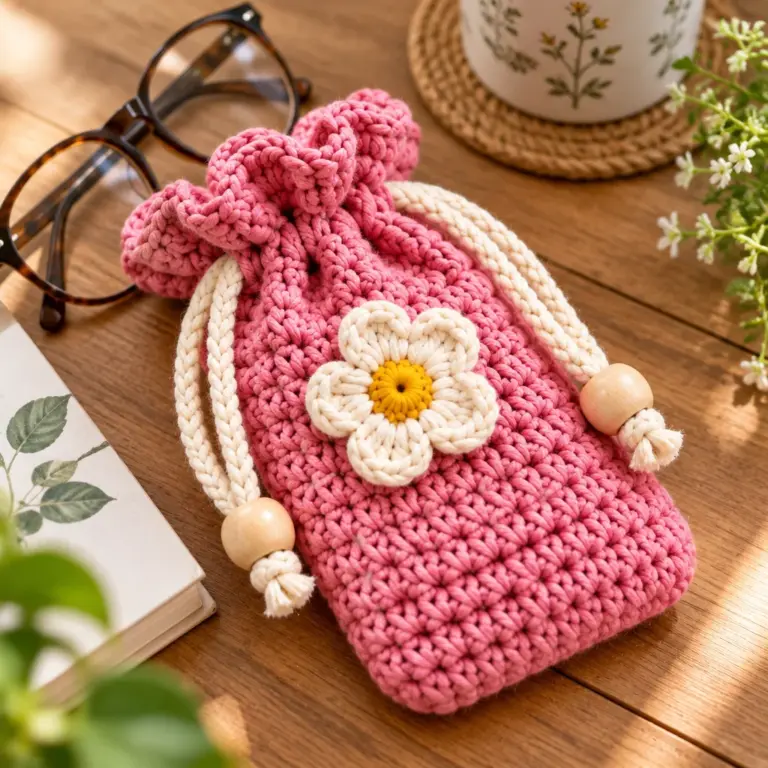
- Drawstring top: quick to open, but can create bulk around the opening.
- Crossbody pouch: great for walks, markets, or events where you need hands free.
Decide whether you want the phone to fit snug or slightly loose. For most yarns, a snug fit is safer because everyday handling loosens stitches over time. Also think about where you will place the strap attachment. Side attachments help the pouch hang flat; top attachments can cause the pouch to tilt.
Materials, Yarn, Hook and Gauge
For a durable Crochet Phone Pouch Pattern, pick materials that resist stretching and abrasion. A phone pouch gets handled constantly, so the wrong yarn can become limp quickly. Cotton and cotton blends are popular because they are washable and grippy, while some acrylics can pill and stretch more.
- Yarn: Worsted (medium) cotton or cotton blend is beginner-friendly and sturdy. Choose a smooth yarn to see stitches clearly.
- Hook: Typically 3.5 mm to 4.5 mm for worsted cotton, but use a smaller hook than the label suggests if you want a tighter fabric.
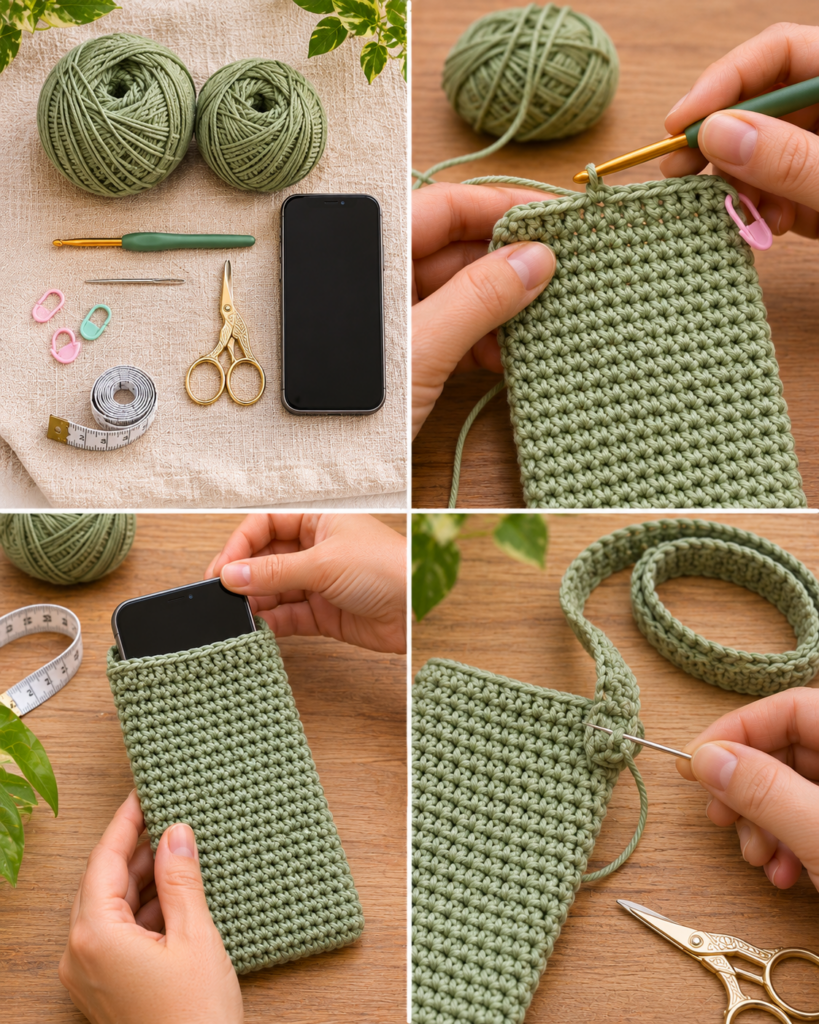
- Notions: Stitch markers, tapestry needle for weaving ends, scissors, and a button or cord if adding a closure.
- Optional: A small magnetic snap, fabric lining, or a swivel clasp for a detachable strap.
Gauge is not just for sweaters. A tighter gauge makes a pouch more protective and less likely to stretch. Crochet a small swatch in your chosen stitch (about 10 cm square), then gently tug it. If it grows a lot, go down a hook size or switch stitches.
Choosing a Soft but Firm Stitch
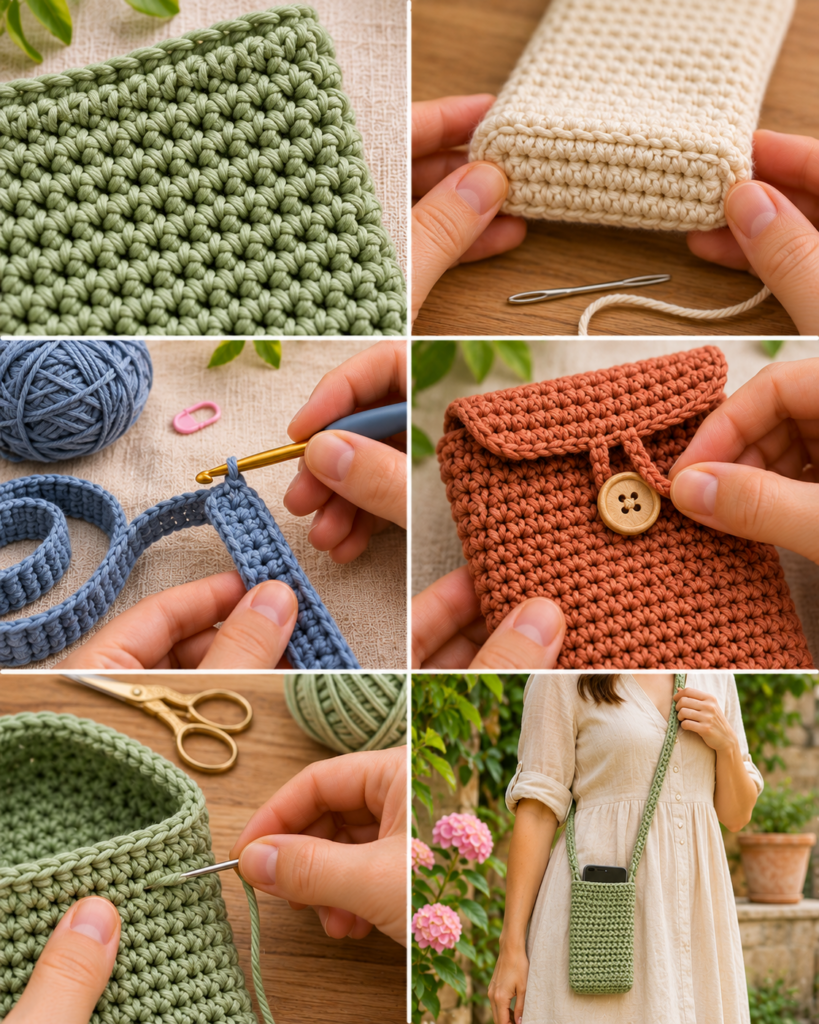
Stitch choice affects stretch, thickness, and how well the pouch protects corners. Single crochet (sc) is classic and dense. Half double crochet (hdc) is slightly faster but stretchier. A great compromise is waistcoat stitch (center single crochet) for a knit-like firmness, but it is harder for beginners. If you want texture without too many holes, try sc in the back loop only for subtle ribbing.
Planning Room for a Phone Case
Most phones live in a case, and many cases have raised edges that increase width and thickness. Add 3 to 6 mm to your measured width for a slim case, or 6 to 10 mm for a bulky protective case. If you plan to line the pouch, add a little more ease because lining reduces stretch. The best test is to slip the phone into a small crochet tube sample before committing to the full pouch.
Crochet Phone Pouch Pattern
This Crochet Phone Pouch Pattern is written to be adjustable, so you can match your exact phone width and height. Difficulty level is beginner to adventurous beginner. Expect about 1 to 2.5 hours depending on stitch choice and strap style. The method below creates a seamless-looking pouch by crocheting in the round after building an oval base.
Creating the Base to Match Phone Width
- Chain to phone width: Chain a number that measures about the width of your phone (with case) minus about 3 to 6 mm for a snug fit. Example: if the phone is 7.5 cm wide, make a chain that measures about 7.0 to 7.2 cm. This matters because crochet stretches with use.
- Single crochet along the chain: Starting in the second chain from the hook, sc across to the last chain. Keeping this first row neat makes the base symmetrical.
- Round the end: Work 3 sc into the last chain to curve the corner without puckering. Corners take wear, so a smooth curve is stronger than a sharp angle.
- Work back on the underside: Sc along the bottom of the chain back toward the start. This creates an oval foundation rather than a flat strip.
- Round the second end: Work 2 sc into the final chain (where you began) and join to the first sc with a slip stitch, or continue in a spiral if you prefer. Mark the first stitch of the round.
Working the Sides Without Bulky Seams
- Build the side wall: For the next round, sc in each stitch around, placing 3 sc in each curved end center stitch (the middle of those 3-sc clusters) to keep the oval shape. Avoid adding too many increases or the pouch will flare.
- Check fit early: After 2 to 3 rounds, fold the work and test the phone width by gently inserting it partway. If it is already tight, switch to hdc or add one increase at each end.
- Crochet to height: Continue rounds until the pouch reaches about 1 to 1.5 cm below the top of your phone. Leaving this space allows room for a flap or drawstring without covering the camera area awkwardly.
- Neaten the edge: Work one final round of slip stitches or crab stitch (reverse single crochet) for a firm opening. A stable edge keeps the pouch from stretching out.
Adding a Secure Flap, Button or Drawstring
- Flap option: Lay the pouch flat and mark the center back. Attach yarn at the back edge, then work rows of sc across about two-thirds of the pouch width for 6 to 10 rows, tapering the last two rows if desired. Add a buttonhole by chaining 2 to 3 stitches and skipping the same number in the next row.
- Button placement: Sew the button to the front about 1 to 1.5 cm below the opening so the flap pulls down snugly.
- Drawstring option: Work a round with chain spaces: (sc, ch 1, skip 1) repeated. Weave a cord through and knot the ends. Use a smooth cord so it does not snag yarn fibers.
Making a Wrist Strap or Crossbody Strap
- Wrist strap: Chain 35 to 50 (test around your wrist), then slip stitch back along the chain for thickness. Attach to the pouch with several tight whip stitches.
- Crossbody strap: Chain to your preferred length (often 100 to 130 cm). Work sc back along the chain for a strong strap. For extra durability, make a second row of sc. Attach at side points near the opening so the pouch hangs flat.
Custom Sizing for Different Phones
The easiest way to customize a Crochet Phone Pouch Pattern is to adjust in two directions: circumference (around the phone) and height (top to bottom). For circumference, your starting chain controls the width of the oval base. If your pouch comes out too narrow, add 2 chains and rework the base. If it is slightly wide, you can sometimes fix it by switching from hdc to sc for the sides, or by using a smaller hook.
For height, count rounds. Measure the pouch against the phone every few rounds. Most people prefer the pouch to cover the phone fully with a small margin for a closure. If you are adding a thick lining, crochet the outer pouch slightly taller, because the lining will steal a bit of vertical space when sewn in.
If your phone is very large, consider a stitch with good structure, such as sc or linked double crochet, rather than tall airy stitches. For very small phones or kids’ devices, thin yarn can reduce bulk, but remember that thinner yarn may need a lining for abrasion resistance. When adjusting, change one variable at a time, so you can repeat the size later if you want to make matching pouches for gifts.
Practical Variations: Pocket, Lining and Color
Once you have the basic Crochet Phone Pouch Pattern working, small upgrades can make it more functional. A front pocket is useful for earbuds, a key card, or folded cash. Crochet a small rectangle in sc, then sew it onto the pouch front with whip stitch, reinforcing the top corners because they take stress.
A lining adds polish and reduces stretch, especially if you used a springy yarn. Use cotton fabric, felt, or even an old shirt. Cut fabric slightly smaller than the pouch to avoid bunching, fold the top edge under, and hand stitch it inside with small whip stitches. Keep stitches shallow so they do not show on the outside.
Color ideas can be simple and striking. Try two-tone color blocking, a single stripe near the top, or a textured stitch panel on the front only. If you want more small projects that use scraps, browse these crochet keychain patterns and these easy crochet coaster designs. They are great for testing color combinations before committing to a pouch strap and body.
“I made this pouch with worsted cotton and a 4.0 mm hook, and measuring my phone with the case on made all the difference. The flap with a button feels secure, and after a week of use it has not stretched out. The strap tips were especially helpful.”
Troubleshooting Loose Fit and Stretching
Stretching is the most common issue with any Crochet Phone Pouch Pattern, especially if the pouch is used daily. If your pouch feels loose right after finishing, the cause is usually either a hook that is too large or a stitch that is too tall. Single crochet with a slightly smaller hook is the simplest fix. You can also add a slip-stitch edging around the opening to firm it up.
If the pouch starts snug but loosens over time, check your yarn fiber. Acrylic and superwash wool can relax a lot with friction and warmth. Switching to cotton, adding a lining, or crocheting the strap and opening tighter will help. Another fix is to crochet the pouch with negative ease, meaning slightly smaller than the phone, since it will loosen into the perfect fit.
If the base cups or ripples, you likely have too many or too few increases at the rounded ends. A flat oval base typically needs consistent increases centered at each end. If you see ripples, remove one increase per end. If it curls like a taco, add one increase per end for the next round.
Also watch for a twisting strap. If you crocheted into the back bumps of the starting chain for the strap, it often twists less. For crossbody straps, consider adding a swivel clasp so the strap can rotate without twisting the pouch body.
Care and Protection Limitations
A Crochet Phone Pouch Pattern offers scratch protection and light padding, but it is not the same as a hard case. Crochet fabric will not prevent damage from significant drops, and it is not waterproof. If you expect rain, consider a water-resistant lining or carry the pouch inside a jacket. Avoid storing wet items next to it because dye can bleed, especially with darker cottons.
For care, hand washing is gentlest. If you machine wash, place the pouch in a mesh laundry bag, use cold water, and lay flat to dry to reduce stretching. Buttons and metal hardware can snag other laundry items, so close the pouch before washing. If you used a magnetic snap, avoid slamming it shut near magnetic stripe cards stored in a pocket. If you add beads or charms, secure them firmly and keep them away from small children and pets due to choking hazards.
Finally, keep the opening edge firm. A saggy opening can let the phone slide out when you bend over. If you notice loosening, add a reinforcing round of slip stitches or sew a thin elastic thread inside the top edge for stability.
Frequently Asked Questions About Crochet Phone Pouch Pattern
Should the Pouch Be Lined?
Lining is optional, but it is helpful if you used a stretchy yarn, chose a lacy stitch, or want extra protection from abrasion. A lining also prevents small items like earbuds from poking through stitch gaps. Felt is the easiest lining for beginners because it does not fray. Fabric lining looks polished but takes more time. If your pouch is already snug, line with thin cotton to avoid making the fit too tight.
How Much Extra Space Does a Phone Case Need?
Most slim cases need about 3 to 6 mm of extra width allowance, while rugged cases may need 6 to 10 mm. Thickness matters too: a bulky case increases the circumference, so even if width seems fine, the phone can feel tight in the pouch. When in doubt, crochet the base, work two rounds, and test fit. That quick test saves you from finishing an entire pouch that is too small.
Which Closure Is Most Secure?
A flap with a button or a snap is usually the most secure for everyday use because it prevents the phone from bouncing out. Drawstrings are convenient but can loosen if the knot slips, especially with smooth cords. Magnetic snaps are tidy and quick, but choose a strong one and reinforce the attachment area with extra stitches or a small fabric patch. If you travel or move a lot, prioritize a closure that cannot open accidentally.
What is the best stitch for a beginner phone pouch?
Single crochet is the best starting point because it creates a dense, protective fabric and is easy to count. If you want a faster build, half double crochet works, but it can stretch more. Many beginners like working in continuous rounds because it avoids a visible seam. Use a stitch marker so you do not lose track of the round start.
How do I keep my pouch from leaning or twisting when worn crossbody?
Attach the strap at two side points near the opening, not at the very top edge. This keeps the pouch hanging flat against your body. Use reinforced attachment stitches and consider adding a small ring at each side, then clipping the strap on with swivel clasps. A slightly wider strap, such as 2 to 3 rows of single crochet, also reduces twisting.
Can I add a small pocket for a card or key?
Yes. Crochet a flat rectangle pocket in single crochet, about 1 to 2 cm shorter than the pouch height. Sew it on three sides, leaving the top open, and reinforce the top corners with extra stitches because they pull the most. If you want more tiny add-ons, these easy crochet dishcloth ideas are great practice for neat edges and straight seams.
Why does my base look wavy?
A wavy base almost always means too many increases around the rounded ends. Pull out the last round and repeat with fewer increases, placing them only at the very tip of each end curve. Another cause is inconsistent tension. Try using a smaller hook and pausing to straighten your starting chain before working into it so the foundation stays even.
How do I make it look more professional?
Choose a smooth yarn, keep your tension consistent, and block the finished pouch lightly if the fiber allows it. Add a clean edging round at the top and weave in ends securely along the inside. If you want a matched set, coordinate the pouch with one of these beginner-friendly bag patterns or this simple crochet bag tutorial using the same color palette.
How much yarn do I need?
Most phone pouches use a small amount of yarn, often 25 to 60 grams depending on phone size, stitch density, and whether you add a strap. Crossbody straps use the most yarn, especially if you make them thick for comfort. If you are using leftovers, make the pouch body first, then decide on a wrist strap if yarn is running low.
Final Thoughts
A well-fitting Crochet Phone Pouch Pattern is one of the most practical crochet projects you can make, and it is a smart way to build skills like measuring, shaping, and neat finishing. Take a few minutes to measure your phone with its case, choose a firm stitch, and test fit early in the process. Then personalize the pouch with a secure closure and a strap style that matches your routine. Your next step is simple: pick your yarn, crochet the adjustable oval base, and stop to test after a couple rounds. Once you nail the fit, you will be able to repeat the pattern confidently for gifts, travel, and everyday carry.