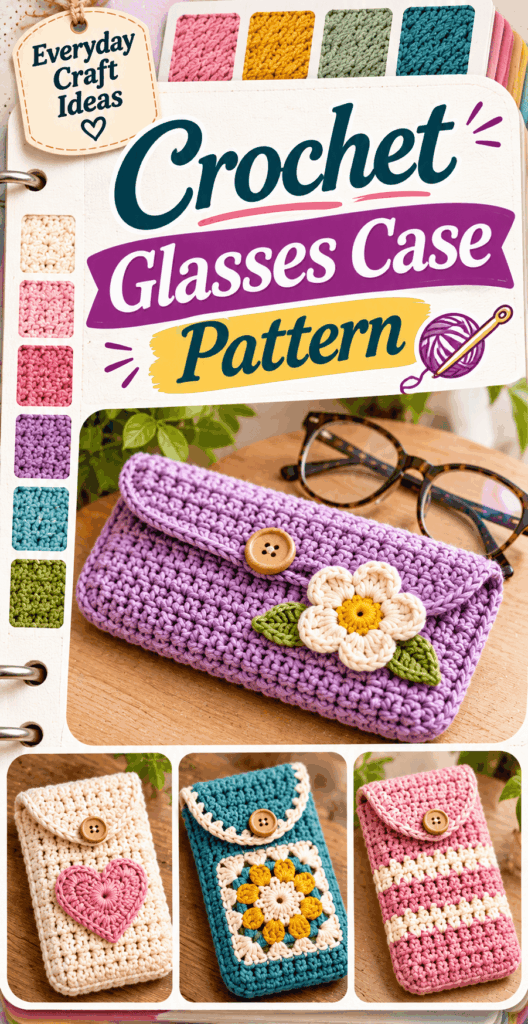
Crochet Glasses Case Pattern
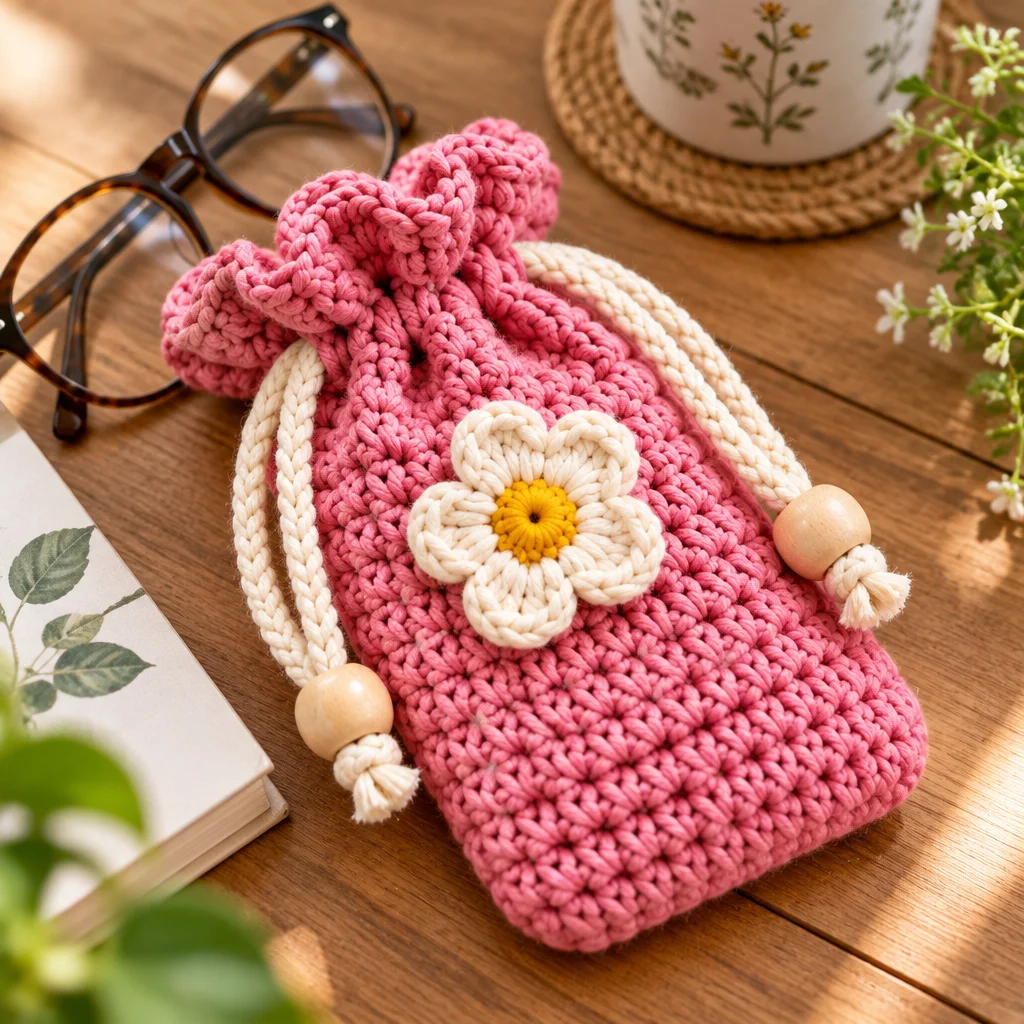
If you have ever tossed your glasses into a tote and found new smudges or tiny scratches later, a Crochet Glasses Case Pattern is a satisfying fix you can make in an evening. Crochet gives you a soft, flexible shell that keeps lenses from rubbing against keys, pens, or makeup, and it is easy to size for both sunglasses and reading glasses. In this tutorial, I will walk you through choosing a design, getting the right stitch density for protection, and crocheting a close fitting case with a secure closure. If you love quick, practical makes, you might also enjoy these crochet keychain ideas or browse easy crochet coaster patterns for more stash friendly projects.
Choosing a Crochet Glasses Case Design
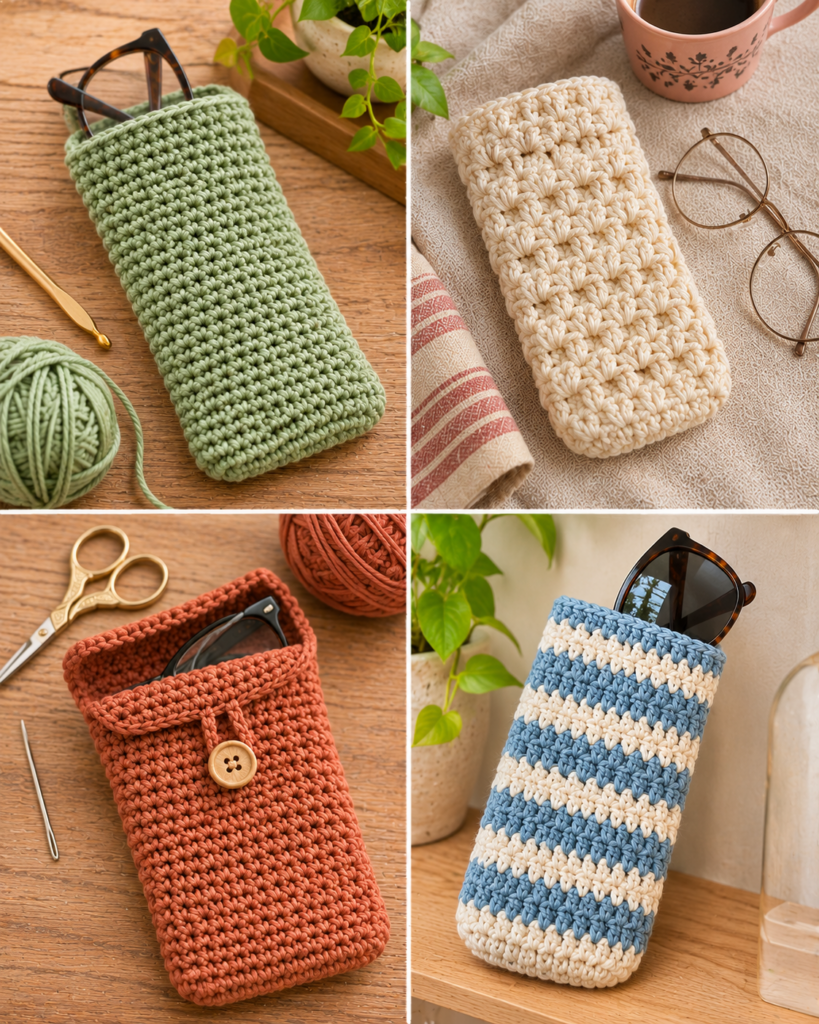
A good Crochet Glasses Case Pattern starts with one decision: do you want a snug sleeve or a slightly roomier pouch? A snug sleeve (with a flap or button) holds glasses in place and protects them from friction. A pouch with a drawstring is faster and forgiving, but it can allow glasses to slide if it is oversized.
For beginners, the most dependable design is a simple tube worked in the round with a dense stitch. It avoids side seams that can create ridges inside the case. If you prefer working flat, you can crochet a rectangle, fold it, and seam the sides, but pay extra attention to seam finishing so nothing pokes lenses.
Consider how you will carry it. If you throw it in a bag, add a flap and button so it cannot open accidentally. If you keep it on your desk, a simple open top sleeve can be enough. You can also add a small loop so the case can clip to a bag, similar to the style used in many easy crochet bag patterns, but scaled down.
Difficulty level: beginner to advanced beginner. Estimated time: 45 to 90 minutes depending on yarn weight and closure choice. The finished size is typically 6.5 to 7.5 inches tall and 3 to 3.5 inches wide, but you will customize it to your glasses.
Supplies, Stitch Density and Sizing
The “secret” to a protective Crochet Glasses Case Pattern is not complicated shaping. It is stitch density. Glasses cases work best when the fabric is tight, with minimal holes, so a corner of a frame cannot press through and so dust and grit are less likely to get inside. That means choosing the right yarn, hook size, and stitch.
- Yarn: Smooth, tightly spun yarn reduces fuzz and friction. A light worsted (category 3) or worsted (category 4) is ideal for most cases.
- Hook: Use a hook one size smaller than the yarn label suggests if your tension is average or loose. This creates a denser fabric.
- Tapestry needle: For weaving in ends neatly so there are no scratchy tails.
- Stitch marker: Helps you track rounds and prevents a spiral tube from creeping taller on one side.
- Closure notion: Button, snap, cord for drawstring, or none.
Plan for a small swatch. Even a 2 x 2 inch square in single crochet tells you whether your fabric is firm enough. If you can easily see light through the stitches, go down a hook size or switch to a denser stitch like waistcoat stitch (single crochet in the “V”).
Measuring Sunglasses Versus Reading Glasses
Measure your glasses at the widest point (usually the front frame width) and the height from the bottom edge to the top. For sunglasses, include any extra height from thicker frames. Add ease: about 0.25 to 0.5 inches for a snug sleeve, or up to 0.75 inches for a drawstring pouch. For length, add 1 inch beyond the folded glasses height so the opening is not stretched when you insert them.
Selecting Yarn That Will Not Scratch Lenses
Choose yarn that is smooth, not novelty textured. Avoid yarn with metallic strands, sequins, or stiff glitter because these can rub lenses. Many people like cotton for its smoothness, but 100% cotton can stretch open with use if the stitches are loose. A cotton blend or a smooth acrylic can work well too. If you are sensitive to fuzz, avoid very fuzzy wool yarns that may shed into the case.
Crochet Glasses Case Pattern
This Crochet Glasses Case Pattern is worked in the round from a close fitting oval base, then up the sides into a tube. The stitch is single crochet for a dense, protective fabric. You can adapt it easily by changing the base length and the number of rounds.
Abbreviations: ch (chain), sc (single crochet), inc (increase: 2 sc in same stitch), sl st (slip stitch), st(s) (stitch or stitches).
Notes: Work in continuous rounds (a spiral). Use a stitch marker in the first stitch of each round. If your fabric feels too flexible, go down a hook size.
Creating a Close-Fitting Base
- Chain to match your glasses length: Start with ch 12 to 16 for most adult glasses. As a rule, the chain should be close to the folded glasses width (front to back when folded), minus a little because crochet stretches. Do not worry if you are unsure, you can frog and adjust quickly.
- Round 1, build an oval: Sc in 2nd ch from hook and in each ch across. In the last ch, work 3 sc. Continue along the underside of the chain, sc in each remaining ch. In the last ch (the one you started from), work 2 sc. This creates a smooth oval that will fit the bottom curve of your frames better than a flat rectangle.
- Check the fit: Place your folded glasses on top of the oval. The oval should be slightly narrower than the glasses so the sides will hug when you build height.
Working a Dense, Protective Body
- Round 2: Sc in each st around, increasing at the curve points if the base starts to cup too tightly. Typically, add 2 inc spaced around the two ends of the oval.
- Rounds 3 and up: Sc in each st around until the tube reaches the height of your folded glasses, plus about 0.75 to 1 inch. This extra height prevents the opening from rubbing the lenses during insertion.
- Optional firm edge: For extra structure, work the last body round in sc through the back loop only. This makes a subtle ridge that helps the opening keep its shape.
Why single crochet? It is dense, durable, and beginner friendly. If you crochet loosely, consider linked single crochet or the waistcoat stitch for an even tighter fabric.
Shaping the Opening
- Decide the opening style: For a sleeve, keep it the same width. For a slightly tapered opening, work one decrease round (sc2tog two or three times evenly spaced) to snug the top edge.
- Finish the edge: Work one round of slip stitches for a firm lip, or keep it simple with one final sc round. Avoid very bumpy edging stitches that can press against lenses.
Adding a Flap, Button or Drawstring Closure
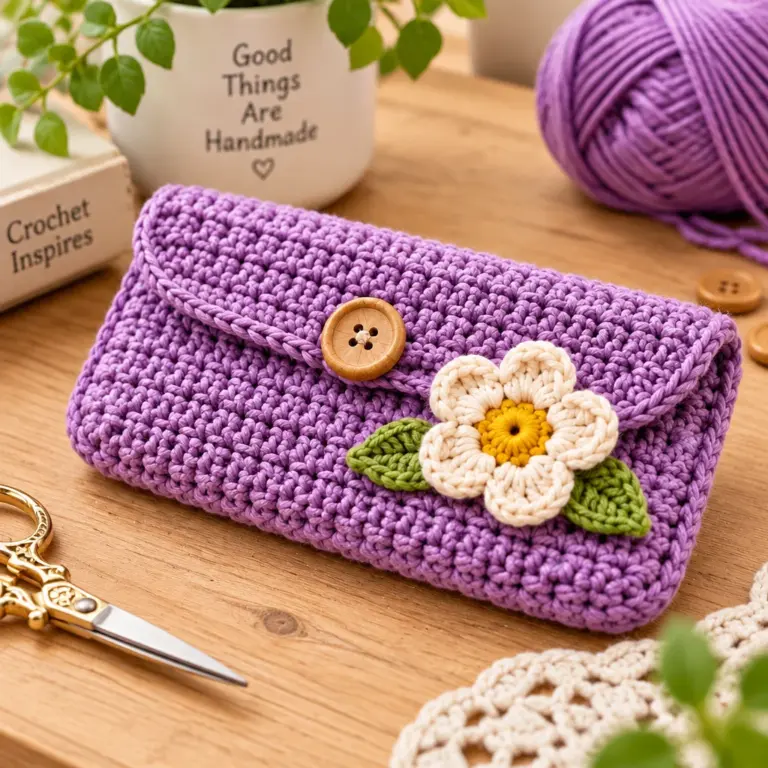
- Flap and button (secure for bags): Lay the case flat and mark the center back. Attach yarn there and work rows of sc back and forth across about half to two thirds of the case width. Continue until the flap reaches the front edge, then add a buttonhole row (ch 2, skip 2 sts, sc across) and one more sc row.
- Button placement: Insert glasses, fold flap over naturally, and sew the button where the flap lands. This prevents a too tight or too loose closure.
- Drawstring (fast and adjustable): Create a casing round by working (sc in next st, ch 1, skip 1) around near the top. Next round, sc in each sc and sc in each ch space. Thread cord or chained yarn through the holes.
If you enjoy making functional accessories, you can use leftover yarn from projects like these crochet dishcloth patterns to create a matching set in coordinating colors.
Optional Soft Lining and Seam Finishing
A lining is optional, but it can upgrade your Crochet Glasses Case Pattern in two ways: it reduces lint and it creates a smoother interior so lenses slide in without catching. If your yarn is slightly fuzzy, a lining is worth the extra 20 minutes.
No sew option: Crochet an inner sleeve in lightweight cotton thread or a smooth sport weight yarn using the same pattern but one hook size smaller. Insert it inside the case and tack it at the top with a few discreet stitches. This avoids fabric sewing entirely.
Simple fabric lining: Cut a rectangle of soft cotton (like quilting cotton or an old pillowcase) the width of your case plus 0.5 inches for seam allowance, and the height plus 0.75 inches. Fold right sides together, stitch the side and bottom seams, turn right side out, and press. Slip it into the crochet case, fold the top edge under, and whip stitch it to the inside top edge with sewing thread.
Seam finishing tips: If you crocheted flat and seamed, keep the seam on the outside if you plan to add a lining, or flatten and carefully weave ends so there are no hard knots. Always trim yarn tails after weaving, but do not cut so close that they pop out later.
Customization for Oversized Frames
Oversized frames and large sunglasses need two adjustments: more circumference and a deeper base. The easiest way to customize any Crochet Glasses Case Pattern is to start from your measurements and tweak early, before you crochet height.
Make a longer starting chain: If your frames are tall or thick when folded, add 2 chains to the starting chain. Rebuild the oval base and test again. A longer chain increases length and also slightly increases overall circumference once the oval is complete.
Add increase rounds strategically: If the case is the right length but too tight around the thickest point (often the hinge area), add a single increase round in the first 2 to 3 rounds of the body. For example, work “sc 6, inc” around once. This adds space without making the opening floppy.
Consider a gusset feel without sewing: To create extra depth, you can work one round in half double crochet after the base, then return to single crochet. That one taller round gives a bit more room for bulky frames while keeping the rest dense.
Closure matters more on large frames: Oversized glasses tend to pry open tight sleeves. A flap with a button or a snap is more reliable than leaving the top open. If you use a button, choose a smooth one with no sharp edges or metal burrs.
Troubleshooting Gaps and Loose Closures
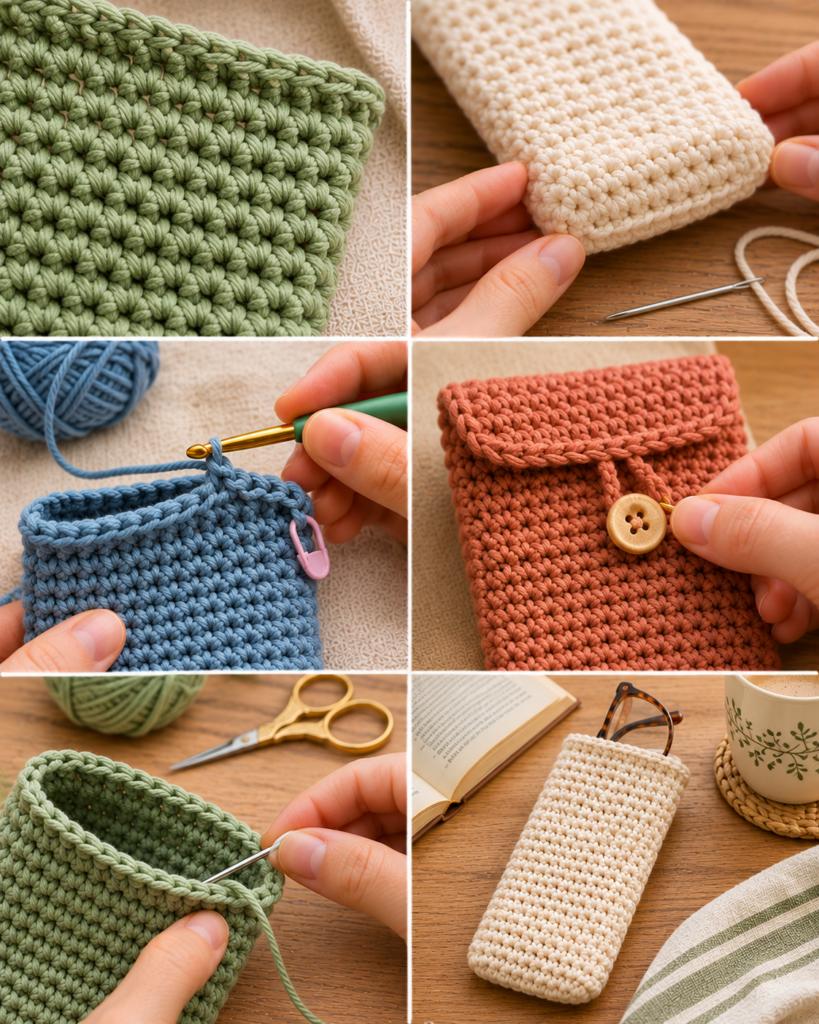
Even a well written Crochet Glasses Case Pattern can behave differently depending on yarn twist and personal tension. Here are the most common problems and how to fix them without starting over unless you want to.
- Problem: visible holes between stitches. Fix: go down one hook size and crochet a little tighter. If you are already far along, add a lining to block dust and reduce snag risk.
- Problem: case stretches out after a few uses. Fix: switch to a less stretchy yarn (cotton blend instead of super soft acrylic) and use a smaller hook. Adding a slip stitch round at the opening also helps it bounce back.
- Problem: glasses catch on the inside. Fix: check for internal yarn tails, knots, or a bumpy seam. Weave ends deeper and flatter. A lining is the fastest long term fix.
- Problem: flap does not reach or overlaps too much. Fix: add or remove a row on the flap. Always measure with the glasses inside because the case is taller when filled.
- Problem: drawstring does not close fully. Fix: make sure the eyelet round has enough holes (do not skip too many stitches). Use a smoother cord and thread it through every eyelet.
Practical test: Put glasses inside, shake the closed case gently upside down over a bed. If the glasses slide out, tighten the closure or switch to a flap and button.
“Mia, hobby crocheter”: “I used this Crochet Glasses Case Pattern with a smaller hook than usual and added a simple fabric lining. My reading glasses used to get scratched in my purse, and now they stay clean. The flap and button were easier than I expected once I marked the placement with the glasses inside.”
Care Tips and Protection Limitations
A crochet case is soft protection, not a crush proof shell. It is excellent for preventing rubbing, surface scuffs, and dust buildup, especially when paired with a smooth lining. However, if your glasses are expensive or you tend to sit on your bag, a hard case is still the safest choice.
Cleaning: Hand wash in cool water with mild soap, then squeeze gently in a towel. Avoid wringing, which can distort the shape. Reshape the case by inserting a folded towel or a cardboard form (smooth edges only) and let it air dry completely.
Keeping it lens friendly: Empty the case occasionally and shake out lint or sand. Tiny grit trapped in yarn can act like sandpaper over time. If you crocheted with fuzzy yarn, consider using a lint roller on the inside or add a lining.
Heat and sunlight: Do not leave the case on a hot dashboard. Heat can warp some plastic frames and may affect certain yarn fibers. If you used a snap or metal button, check that it has no sharp edges that could press into lenses.
Storage: Store glasses with lenses facing inward (toward the folded temples) when possible, and keep the closure fastened so the opening edge does not rub the lens surface.
Frequently Asked Questions About Crochet Glasses Case Pattern
Is a Crochet Case Enough Protection for Glasses?
For everyday scratch prevention inside a purse or backpack, a crochet case works well, especially if it is dense and has a closure. It protects from friction and minor bumps. It will not protect against heavy crushing force the way a hard shell case does. If you regularly carry glasses in a tightly packed bag or you have high prescription lenses you want to baby, use a hard case for travel and keep the crochet case for desk, nightstand, or gentle carry.
What Stitch Makes the Best Case?
Single crochet is the best starting point because it is dense, sturdy, and easy to control. If you crochet loosely, try linked single crochet (it reduces gaps) or waistcoat stitch for an even thicker fabric. Avoid lacy stitches or tall stitches like double crochet for the main body because they create holes that can catch hinges or let grit in. A tight gauge matters more than fancy texture for lens protection.
How Can I Prevent Snags on the Lenses?
First, weave in ends thoroughly and keep knots out of the interior. Second, choose smooth yarn and avoid metallic threads, sequins, or rough fibers. Third, consider adding a lining, either a simple sewn cotton lining or a crocheted inner sleeve in smooth thread. Finally, keep the case clean: shake out debris and do not store coins, hairpins, or other items in the case with your glasses.
How Do I Make Sure My Case Fits Before I Finish?
Test fit early and often. After you crochet the oval base and 2 to 3 body rounds, slide your folded glasses in partway. The fit should feel snug but not forced. If it is too tight, add increase stitches in the next round. If it is too loose, restart with a shorter starting chain or a smaller hook. It is much easier to adjust at the base than after you have crocheted height.
Can I Use Blanket Yarn or Super Bulky Yarn?
You can, but it is usually not ideal for glasses. Plush blanket yarn can shed fibers that end up on lenses, and the thick fabric can be too squishy to hold shape. If you want a bulkier look, choose a smooth bulky yarn (not fuzzy) and crochet very tightly. Also check the inside carefully for fuzz. Many crocheters prefer worsted weight cotton blends because they balance structure and smoothness.
How Can I Add a Matching Accessory Set?
Glasses cases are perfect stash busters, so consider coordinating small makes from the same yarn. A quick wristlet or mini pouch pairs nicely, and you can borrow ideas from these beginner friendly crochet bag patterns. For something even quicker, make a clip on accessory from these cute crochet keychain patterns. Coordinating colors make the set look intentional, even if you are using leftovers.
Final Thoughts
A well made Crochet Glasses Case Pattern is one of those small projects that pays off every day: your lenses stay cleaner, your bag stays more organized, and you get to practice neat tension and finishing skills. Focus on a dense stitch, smooth yarn, and a closure that matches how you carry your glasses. If your stitches have gaps or your yarn is a bit fuzzy, add a simple lining for a professional feel. Your next step is to measure your favorite pair of glasses, crochet the oval base, and test fit right away. Once you have one case you love, it is easy to make a second as a gift.