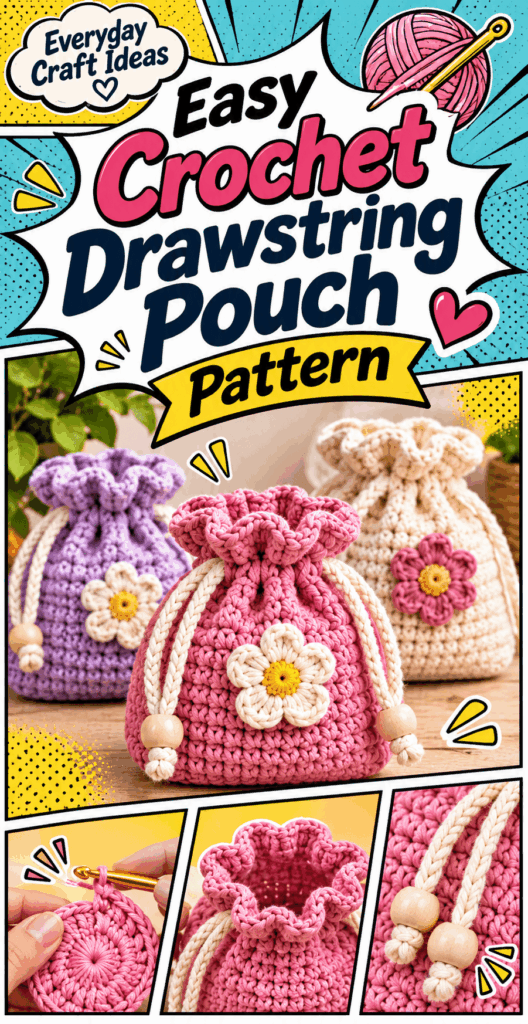
Easy Crochet Drawstring Pouch Pattern
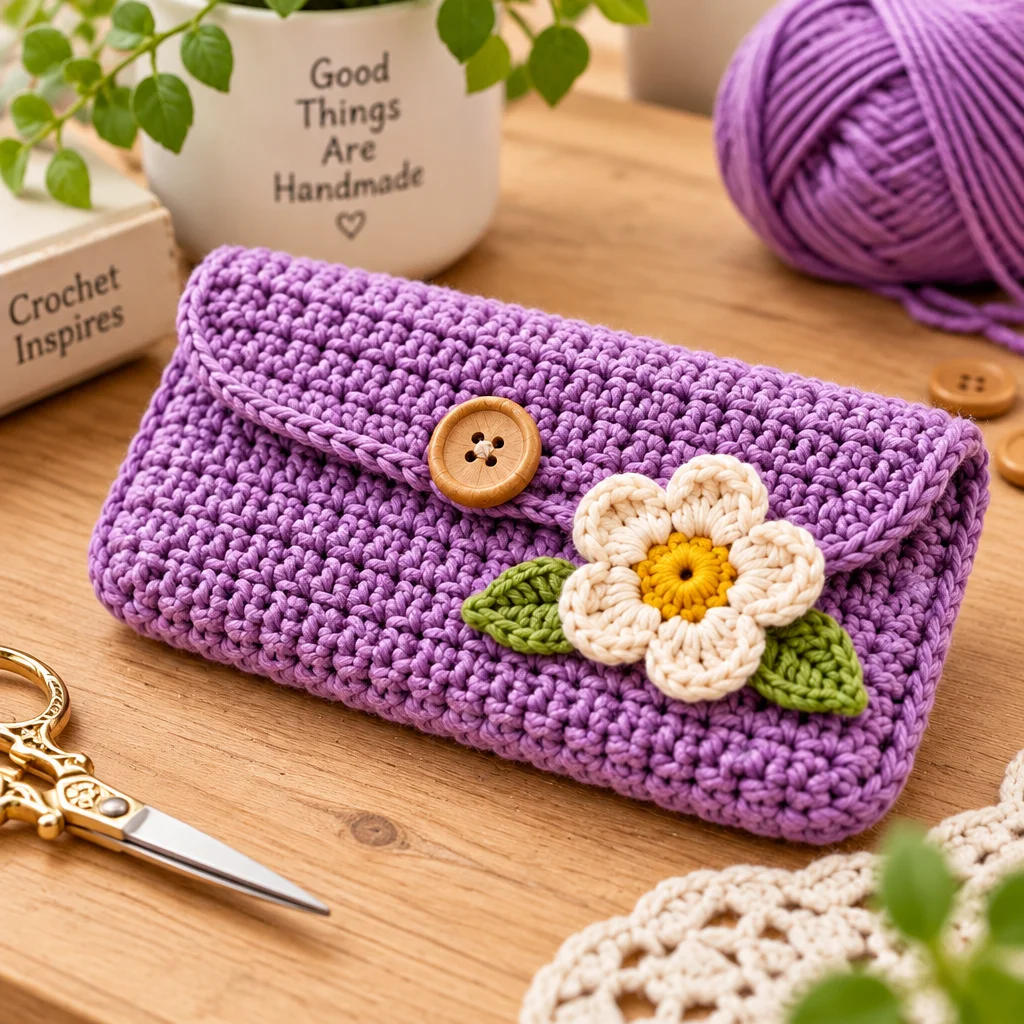
If you are searching for a reliable Crochet Drawstring Pouch Pattern that is genuinely beginner-friendly, you are in the right place. A drawstring pouch is one of those satisfying projects that works up quickly, uses a small amount of yarn, and teaches you core skills like crocheting in the round, shaping, and making a simple closure. You can use the finished pouch for jewelry, earbuds, lip balm, stitch markers, gift packaging, or even as a tiny project bag.
If you enjoy small, useful makes, you might also like these crochet keychain patterns or a slightly bigger accessory like this easy crochet bag pattern. For now, let’s focus on a pouch that closes neatly, holds its shape, and looks polished even if this is your first time making one.
Choosing a Pouch Size and Purpose
Before you pick up your hook, decide what the pouch is for. The purpose tells you the best size, yarn type, and how tight your stitches need to be. A jewelry pouch benefits from a soft drape and a tighter drawstring so small items do not slip out. A pouch for coins, earbuds, or dice needs a firmer fabric and smaller stitch gaps to prevent poking through.
Here are three practical size categories that work well with this Crochet Drawstring Pouch Pattern:
- Mini (about 3 to 4 inches wide): Great for rings, stitch markers, coins, and lip balm. Uses very little yarn and finishes fast.
- Small (about 4.5 to 5.5 inches wide): Ideal for earbuds, a small gift, travel medication, or a charging cable.
- Medium (about 6 to 7 inches wide): Works as a soap pouch, small project bag, or a tidy organizer inside a tote.
Think about the opening too. A pouch can be tall but still frustrating if the opening is narrow. If you want easy access, plan for a slightly wider top or a softer yarn that relaxes when cinched. For structured pouches, consider adding a lining later (covered below).
Yarn, Hook, Gauge and Drawstring Materials
Yarn choice matters because drawstring pouches are handled a lot: pulled open, cinched shut, tossed into bags, and sometimes washed. For everyday use, a smooth, plied yarn is easier to crochet evenly and shows stitches clearly.
- Yarn: Worsted weight (Category 4) is a sweet spot for beginners. Cotton makes a sturdy pouch with crisp stitches, while acrylic is softer and often more affordable. Cotton is excellent for a pouch that must hold its shape.
- Hook: Use the hook size recommended on your yarn label as a starting point, then adjust for a denser fabric. Many pouches look best when crocheted slightly tight to reduce gaps.
- Gauge: Exact gauge is not critical for a pouch, but stitch density is. If you can easily see daylight through the fabric, go down a hook size or switch from double crochet to half double crochet or single crochet.
- Drawstring: Options include a crochet cord, a braided cord, satin ribbon, or a shoelace-style string. Crochet cord matches perfectly and can be washed with the pouch.
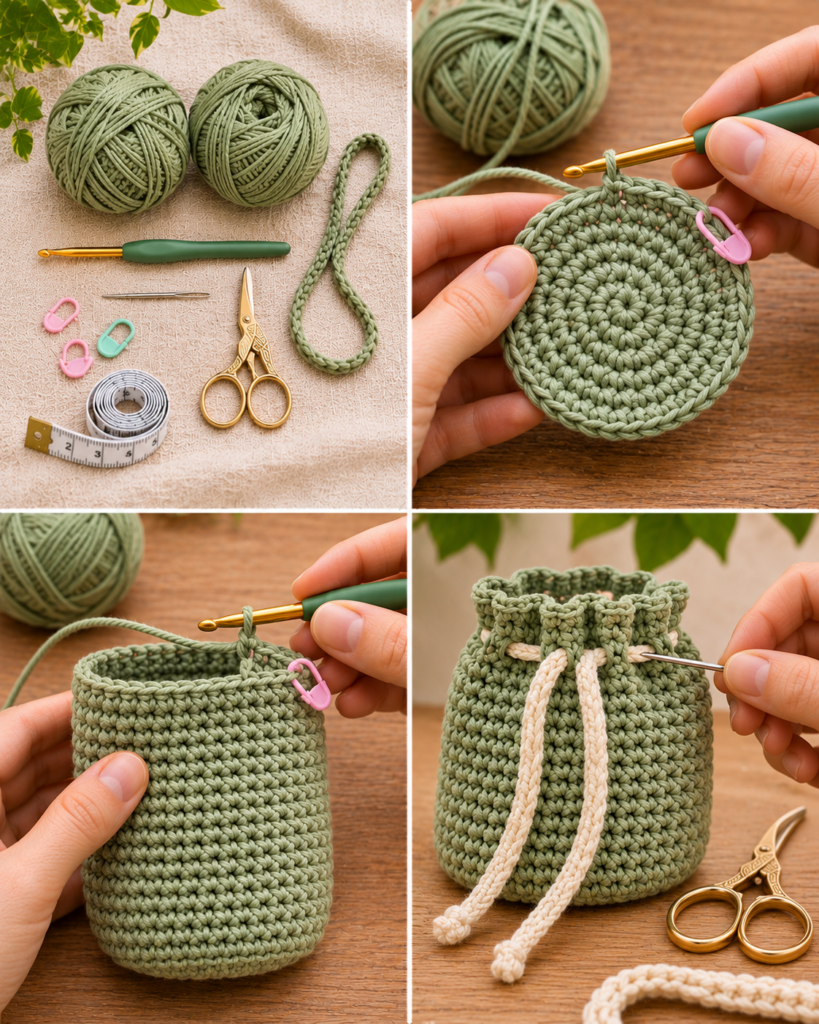
- Tools: Yarn needle for weaving in ends, scissors, and a stitch marker to track rounds. A safety pin can help thread the cord if you do not have a bodkin.
For more stash-busting ideas that practice tension and stitch consistency, these crochet dishcloth patterns are also excellent skill builders.
Easy Crochet Drawstring Pouch Pattern
This Crochet Drawstring Pouch Pattern is written for a simple round-based pouch worked in continuous rounds (a spiral) to avoid a visible seam. The sample makes a small pouch about 5 inches wide and 6 inches tall using worsted weight yarn.
Stitches and abbreviations: ch (chain), sl st (slip stitch), sc (single crochet), hdc (half double crochet), dc (double crochet), st(s) (stitch(es)).
Pattern notes: Use a stitch marker in the first stitch of each round. Move it up as you go. Work tightly enough that small items do not slip through. If you want a looser, drapier pouch for gifts, you can use dc for the sides.
Crocheting a Stable Round Base
- Start with a magic ring (or ch 4 and join): Into the ring, work 8 sc. Pull tight. This creates a closed center so coins and beads do not escape.
- Increase round: Work 2 sc in each stitch around (16 sc). This expands evenly without ruffling.
- Continue increasing: Next round, (1 sc, 2 sc in next) repeat around (24 sc). Next round, (2 sc, 2 sc in next) repeat around (32 sc).
- Check diameter: At 32 sc, the base is often about 3.5 to 4 inches across in worsted weight. If you want wider, add one more increase round: (3 sc, 2 sc in next) around (40 sc).
Why this matters: a flat, even base prevents wobbling and helps the pouch stand up when filled. If the base bowls up, you need more increases. If it ripples, you have too many. Adjust now before you build height.
Building Even Pouch Sides
- Create the “turn” round: Work 1 round even in back loops only (sc in each st). This makes a crisp edge where the base meets the sides.
- Choose your side stitch: For a dense fabric, continue in sc rounds. For faster height with moderate density, use hdc. Work even (one stitch in each stitch) until the pouch is about 1.5 inches shorter than your final desired height.
- Optional stripe change: Change colors at the start of a round for clean stripes. Carry yarn inside only if you plan to add a lining, otherwise fasten off and weave ends for a neat interior.
Why this matters: working evenly keeps the tube straight. If your stitch count drifts, the pouch can twist or taper unintentionally. Count occasionally, especially after color changes.
Making Eyelets for the Drawstring Channel
- Set the channel height: When you are close to full height, work one round: (sc 2, ch 1, skip 1) repeat around. This creates evenly spaced holes.
- Reinforce: Next round, sc in each sc and also sc into each ch-1 space. This locks the eyelets in place so they do not stretch out over time.
- Add a simple top edge: Work 1 to 2 more rounds of sc for a clean finish. If you want a slightly decorative edge, do a final round of (sl st, ch 1) repeated, but keep it flexible so it cinches easily.
Why this matters: eyelets placed too close to the top can cause the fabric to bunch. Leaving 2 to 3 rounds above the eyelets gives a nicer gathered look when closed.
Crocheting and Threading the Cord
- Crochet a cord: Chain about 2.5 times the pouch circumference (usually 28 to 36 inches for a small pouch). Then slip stitch into the back bump of each chain to thicken it. Fasten off, leaving tails for tying.
- Thread it: Use a yarn needle or safety pin. Weave in and out through the eyelets all the way around.
- Optional two-cord method: For a smoother cinch, use two cords. Thread the first starting at the front and the second starting at the back, going opposite directions. When you pull both ends, the pouch closes more evenly.
Securing Ends and Testing the Closure
- Weave in yarn ends: Use a yarn needle and weave through several stitches, changing direction once to lock the tail. Trim close.
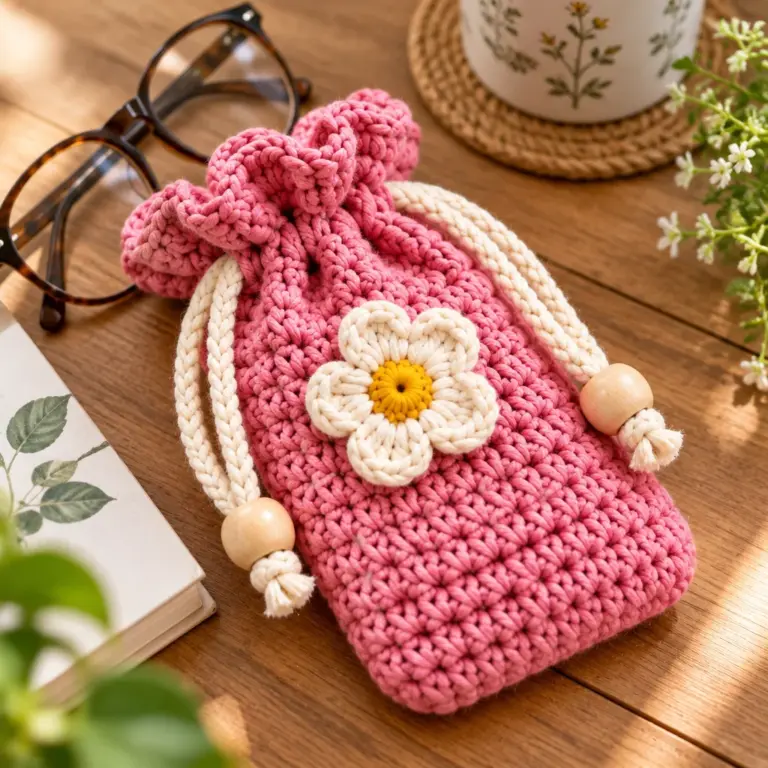
- Finish cord ends: Tie sturdy knots or add small beads (if the pouch is not for small children). If using ribbon, seal ends carefully by folding and stitching, or use a fray check product as directed.
- Test: Put a few items inside, cinch closed, shake gently, and open again. The cord should slide without snagging, and the eyelets should stay firm.
If you love making practical crochet items, browse these beginner-friendly crochet bag patterns next. They use the same ideas of shaping and sturdy edges, just on a bigger scale.
Size Adjustments for Jewelry, Gifts and Small Essentials
The easiest way to resize this Crochet Drawstring Pouch Pattern is to adjust two things: the base diameter and the side height. Keep the eyelet round near the top, and remember that a taller pouch needs a slightly longer cord.
- For a jewelry pouch: Use a smaller base, like stopping at 24 sc (or even 18 sc if your yarn is thick). Work sides in sc to minimize gaps. Add a second reinforcement round above the eyelets for extra durability.
- For gift packaging: Choose hdc or dc sides so it works up fast. A slightly looser fabric looks pretty when cinched, especially with a ribbon drawstring. Consider adding a scalloped top edge, but keep it flexible.
- For small essentials: Go sturdier. Cotton yarn plus sc sides makes a pouch that holds lip balm, keys, or earbuds without stretching out. You can also switch to a smaller hook for a firmer feel.
As a quick rule, each increase round adds noticeable width. If you add one increase round to the base (for example from 32 sc to 40 sc), the pouch circumference grows, and you should also add length to your drawstring so it ties comfortably.
Design Options: Stripes, Texture and Lining
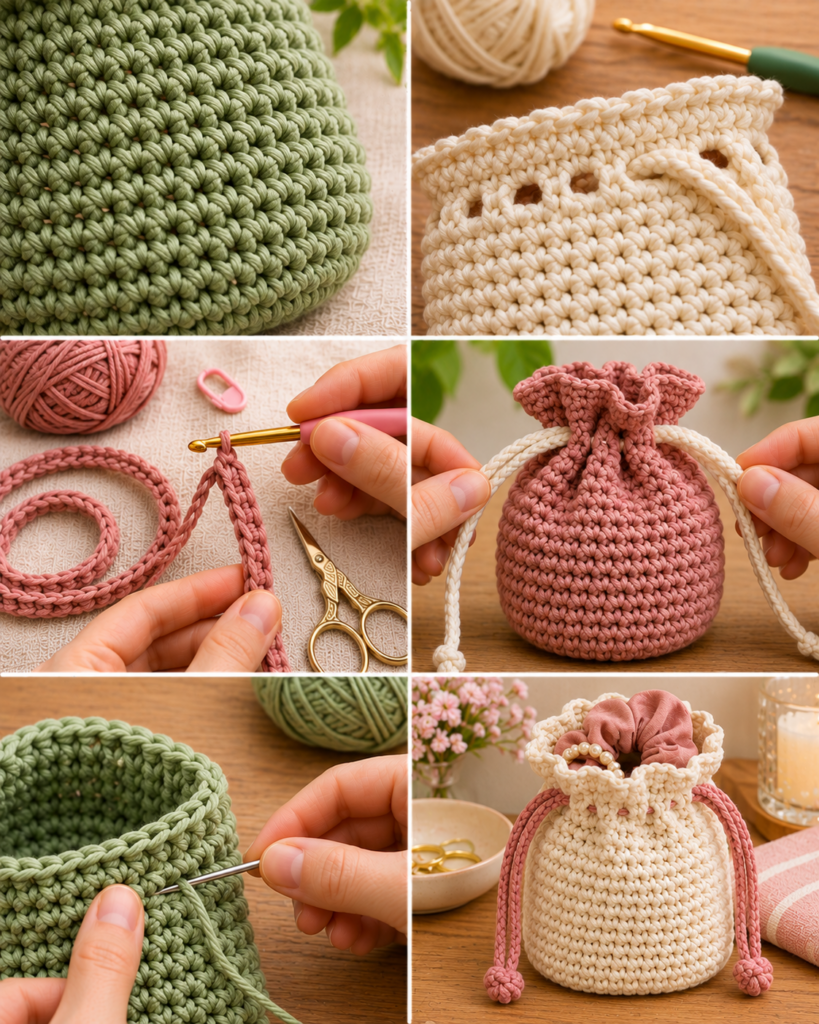
Once you have the basic Crochet Drawstring Pouch Pattern working, customizing it is the fun part. Stripes are the simplest upgrade: change colors every few rounds or create a single contrast band near the top to highlight the drawstring channel. For a clean stripe, complete the last stitch of the round with the new color, then continue.
Texture is another easy win. Try alternating rounds of sc and hdc to create subtle ridges, or use a stitch like the waistcoat stitch (single crochet worked into the “V” of the stitch below) for a knit-like look. Keep in mind that highly textured stitches can make the cord drag through the eyelets, so keep the channel rounds in plain sc.
A lining is optional but useful if you are storing tiny items or you used a lacier stitch. A simple fabric circle plus a rectangle can be hand-sewn into a pouch shape and stitched inside near the top. Use small whip stitches and avoid sewing through to the outside if you want an invisible finish. If you want more small crochet accessories to match your pouch, these easy crochet coaster designs make great coordinated gifts.
“I tried this Crochet Drawstring Pouch Pattern as my first project in the round. The back-loop round made the sides look so professional. I used cotton yarn and the pouch is sturdy enough for my earbuds and charger. Threading two cords was the best tip because it closes evenly.”
Troubleshooting Gaps, Curling and a Stuck Cord
Most pouch problems come from tension, stitch choice, or where the eyelets were placed. The good news is that small fixes usually solve it without starting over.
- Gaps between stitches: Switch to sc for the sides, go down one hook size, or choose a less “splitty” yarn. Also check if you are accidentally adding chain spaces between stitches.
- Base curling like a bowl: You need more increases. Add an increase round or two until the circle lies flat. If it is only slightly curled, blocking can help, but structure starts with correct increases.
- Base rippling or wavy: Too many increases or tension is too loose. Rip back one round and increase less frequently. A tighter hook can also calm the wave.
- Pouch twisting: Continuous rounds can slant slightly. This is normal. If it bothers you, switch to joined rounds for the sides (join with a sl st, ch 1, then start the next round). The seam will be visible but straighter.
- Cord gets stuck: Eyelets might be too tight, or the cord too thick. Try a slimmer cord, use chain spaces (ch 2, skip 1) for larger eyelets, or wax a cotton cord lightly by rubbing it with beeswax for smoother glide.
Troubleshooting is part of learning. Keep notes on hook size and yarn so you can repeat your best results next time.
Washing and Storing the Pouch
Care depends mostly on fiber content and whether you added a lining. Acrylic pouches are often machine washable, while cotton can handle washing well but may shrink slightly if dried with heat. Always check your yarn label and treat embellishments accordingly.
For a simple unlined pouch, hand washing is the gentlest: soak in cool water with mild soap, squeeze gently (do not wring), and reshape. If you machine wash, place the pouch in a mesh laundry bag so the drawstring does not tangle. Air dry flat to keep the base round and prevent stretching.
If you used ribbon as a drawstring, keep it out of high heat to avoid warping. If you added beads, remove them before washing if possible, or hand wash carefully and dry thoroughly. For storage, loosen the drawstring so the top edge is not permanently puckered. Store flat or lightly stuffed with tissue to keep the pouch shape, especially if the yarn is soft.
Frequently Asked Questions About Easy Crochet Drawstring Pouch Pattern
How Do I Make the Pouch Larger?
To make this Crochet Drawstring Pouch Pattern larger, increase the base diameter first by adding more increase rounds. Each extra increase round widens the pouch and increases the stitch count. Once the base is the size you want, keep the same stitch count and simply crochet more rounds for height. Do not forget to lengthen the drawstring as the circumference grows, otherwise tying a bow will feel cramped.
Can Beginners Make This Pattern?
Yes. This project is a strong beginner choice because it repeats the same motions and gives quick progress. The key beginner skills are: working in the round with a stitch marker, making basic increases, and keeping stitch counts consistent. If the magic ring feels tricky, start with chain 4 and slip stitch into a ring, then crochet the first round into that ring. Your center may be slightly less closed, but still usable.
How Do I Stop the Drawstring From Slipping Out?
The simplest fix is to add stoppers at the cord ends: tie secure knots close to the ends, add beads with knots behind them, or stitch the cord ends into small tabs. Also make sure your cord is long enough; very short cords can get pulled entirely into the channel. If you use the two-cord method, both cords are less likely to slip because each cord’s tension helps keep the other in place.
What If My Eyelets Look Uneven?
Uneven eyelets usually come from inconsistent tension on the chain spaces or accidentally skipping the wrong stitch. Use stitch markers every 8 or 10 stitches to keep repeats aligned, especially on larger pouches. After making the eyelet round, the reinforcement round is important: crocheting into each chain space evens out the openings and makes them look more uniform. Blocking can also help the holes settle into place.
Can I Use Double Crochet for a Faster Pouch?
You can, but expect a more open fabric. Double crochet is great for gift pouches where you will tuck in tissue paper, or for holding larger items that will not poke through. If you want speed without too many gaps, half double crochet is a nice compromise. For coin or jewelry pouches, single crochet is the most secure. You can also combine: sc base and lower sides, then hdc for the upper section.
Do I Need to Block the Finished Pouch?
Blocking is optional, but it improves the look, especially if your base is slightly wavy or your sides have minor tension changes. For acrylic yarn, use gentle steam blocking without pressing hard. For cotton, wet blocking works well: dampen, shape the base into a circle, straighten the sides, and let dry completely. Do not block with high heat if you used ribbon or synthetic cords that could deform.
Final Thoughts
This Crochet Drawstring Pouch Pattern is a small project with big payoff: it teaches round shaping, tidy edges, and a functional closure you can reuse in many crochet accessories. Make one in sturdy cotton for everyday essentials, then try a softer yarn and ribbon for quick gift packaging. As a next step, pick a purpose, choose a size, and crochet a test pouch with stash yarn so you can fine-tune your hook size and stitch density without pressure. Once you finish, you will have a practical handmade item and a pattern you can confidently repeat in different colors, textures, and sizes.