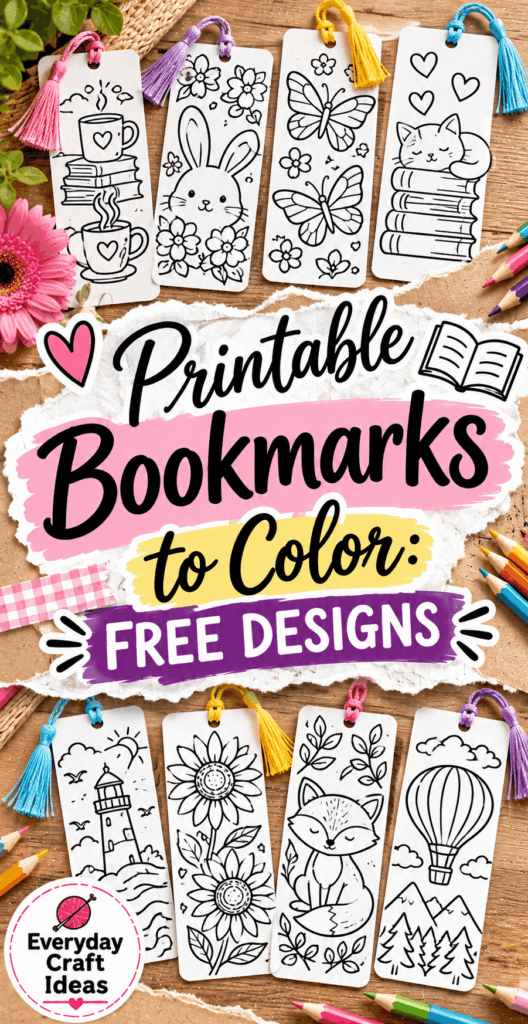
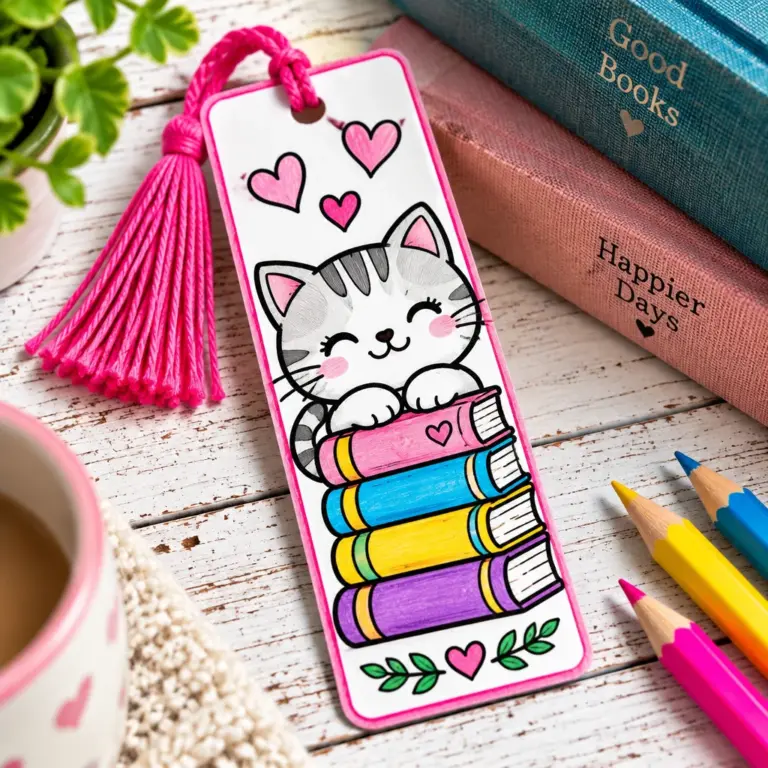
Printable Bookmarks to Color: Free Designs
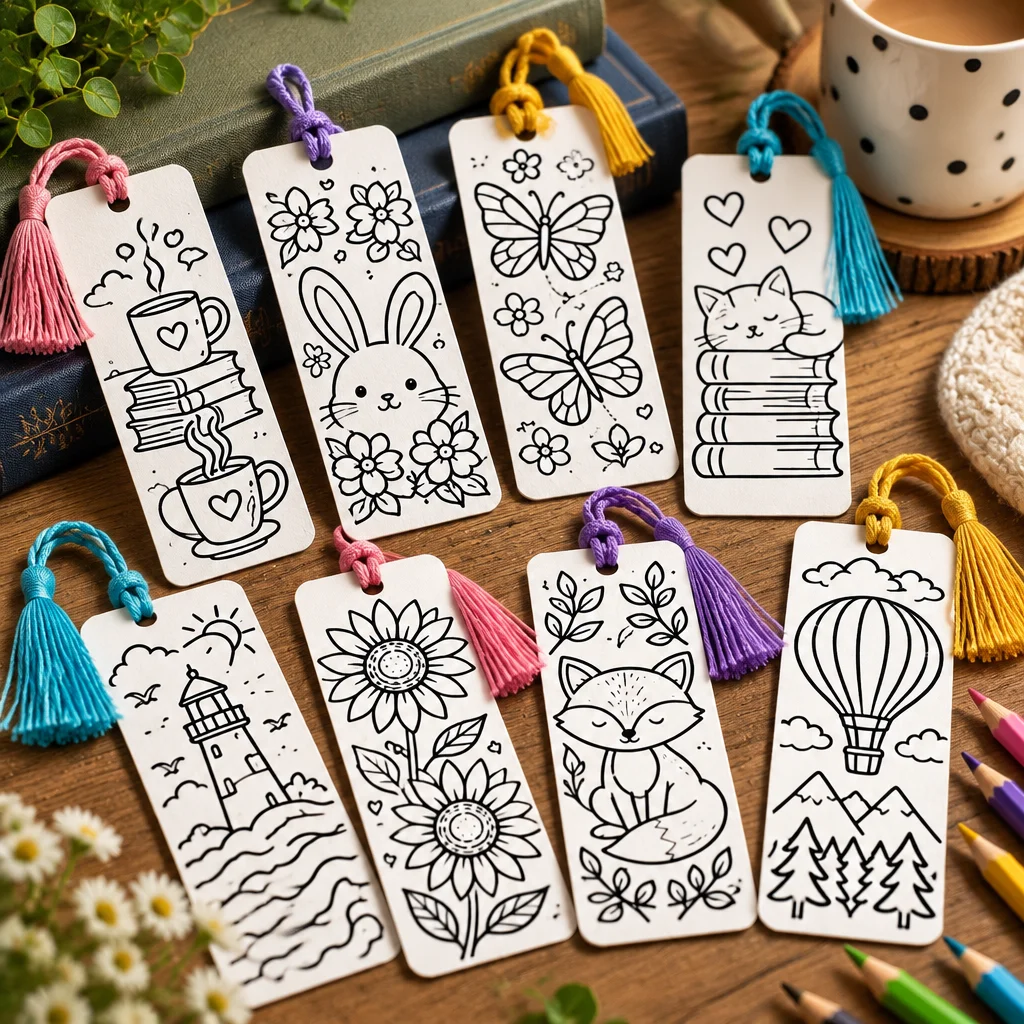
If you are searching for printable bookmarks to color in English, you are in the right place. Coloring bookmarks are one of my favorite quick paper crafts because they are useful, inexpensive, and easy to customize for any reader, age, or theme. You can print a whole page of designs, relax with markers or colored pencils, and end up with little pieces of art that actually get used. They also make thoughtful gifts for book lovers, teachers, and classmates, especially when paired with a handwritten note. If you enjoy seasonal crafting, you can also coordinate your bookmarks with other simple projects like easy Christmas paper crafts or browse Easter craft ideas for adults for matching gift bundles.
What you need to get started
Before you print, decide how you want your finished bookmark to feel in a book: thin and flexible, or sturdier like a store-bought bookmark. Most printable bookmarks to color are designed to be cut out and used immediately, but a few simple choices make a big difference in durability and color quality.
- Printer: Inkjet printers typically handle thicker paper and produce rich color lines; laser printers are fast and smudge-resistant. Either works for black-and-white outlines.
- Paper or cardstock: Regular copy paper is fine for quick use. Cardstock (ideally 65 lb to 110 lb) feels more professional and stands up to frequent handling.
- Coloring tools: Colored pencils give smooth blending and less bleed-through. Markers are bright but can ghost through thin paper. Gel pens add shine but may smear without drying time.
- Cutting tools: Sharp scissors work, but a craft knife and ruler give the cleanest edges on straight designs.
- Optional finishing: Laminating sheets or a laminator, a hole punch, and embroidery floss or thin ribbon for tassels.
Set up a clean, flat workspace and keep a scrap sheet underneath if you will be using markers. That one step saves your table and prevents ink transfer to the back of your bookmarks.
Printing settings, paper sizes and cardstock
For best results, open the PDF or image file and check the print dialog carefully. Choose Actual Size or set scaling to 100% so the bookmark stays the intended proportions. If you pick “Fit to Page,” narrow borders can shrink designs slightly, which is fine, but it may make small text harder to read.
Common paper sizes include US Letter (8.5 x 11 in) and A4. Most free printable bookmarks to color are formatted for one or both. If your design seems slightly off-center, adjust your printer margins or select “Center on page.”
Cardstock tips: if your printer struggles to feed thick stock, use the rear tray if available and choose a heavier media setting like “Cardstock” or “Heavy Paper.” Print one test page first. If you plan to laminate, you can print on regular paper and laminate for thickness, but cardstock plus lamination creates a very sturdy bookmark that lasts in backpacks and library books.
ideas and projects to try
The fun part about printable bookmarks to color is that you can match them to a person, a mood, or a season in minutes. If you are printing for a group like a class, a book club, or a library event, offering a variety of themes helps everyone find something they actually want to finish. Below are a few reliable categories that work well for all ages, plus some project ideas to make them feel more “finished” than a simple cut-out.
- Mini collection set: Print a page with 4 to 8 bookmarks, color them in a coordinated palette, and tie them together as a gift bundle.
- Book journal companion: Pick two designs, color them to match a reading journal cover, and laminate both.
- Seasonal swap: Make a spring set, a summer set, and a winter set so you can rotate bookmarks through the year.
- Motivation pack: Choose designs with quotes and gift them to students or coworkers during exam season or busy work periods.
If you love gifting paper crafts around the holidays, you can pair bookmarks with small handmade items from Christmas crafts to sell or add a matching tag and envelope for a polished look.
Floral, animal, motivational, seasonal and geometric coloring bookmark designs
Floral designs are the easiest to make look impressive because repeating petals and leaves hide small coloring “mistakes.” Try blending two pencil shades on each petal for a soft gradient. Animal designs are great for kids and classroom rewards. Keep fur simple by layering light strokes in one direction, then adding darker shading near edges.
Motivational quote bookmarks benefit from high contrast. Color the background lightly and make the lettering bold, or keep the background white and fill the letters with patterns. For seasonal designs, think beyond obvious holidays. Winter can be snowflakes and cozy mugs; spring can be rain boots and blooms. If you want holiday-themed add-ons, check DIY Christmas ornament ideas for simple paper-friendly motifs you can echo in your bookmark colors.
Geometric bookmarks are perfect for markers because crisp shapes look clean with solid fills. Use a ruler to add extra line details like borders, stripes, or tiny triangles if the design feels too open.
How to make and customize the projects
This is the section that turns “a printed sheet” into a bookmark that survives real life. The core process is print, color, cut, and finish, but each stage has a couple of small choices that prevent smudges, crooked cuts, and curling.
How to color, cut, laminate and add tassels
- Print a test page first. Check line thickness and size. If the outlines look fuzzy, switch to a “Best” or “High Quality” print setting. Clean lines make coloring easier and prevent muddy edges.
- Color before you cut. Keeping the full sheet intact gives your hand a stable surface. For markers, place a scrap sheet underneath to stop bleed-through from transferring to the back of the bookmark.
- Let ink fully dry. Gel pens and some markers need extra time. If you laminate too soon, you can trap moisture and create smears that will never go away.
- Cut with intention. Scissors are fine for rounded shapes. For straight edges, use a ruler and craft knife on a cutting mat. A clean edge makes lamination seal better.
- Laminate with a generous border. Leave at least 1/8 inch (about 3 mm) of laminate around the paper so it stays sealed. If you cut flush to the paper, the laminate can peel over time.
- Round the corners. Use a corner rounder punch, or trim carefully with scissors. Rounded corners slide into books without catching or bending.
- Add a tassel. Punch a hole about 1/4 inch below the top edge. Thread embroidery floss, twine, or thin ribbon and knot securely. For extra durability, reinforce the hole with a small clear sticker dot before punching.
Safety note: If you use a craft knife, cut away from your body, keep fingers clear of the blade path, and work on a proper cutting mat. For kids, pre-cut bookmarks or supervise closely.
Classroom, library and gift uses
Printable bookmarks to color are excellent “fast finish” activities for group settings because everyone can personalize a design without needing advanced craft skills. For classrooms, print a class set and offer a limited palette (for example, 8 shared colored pencils per table). That keeps cleanup easy and prevents marker bleed on desks. You can also have students write their name on the back and add a favorite book title to encourage reading conversations.
For libraries, set up a small coloring station with seasonal designs and a sample finished bookmark on display. Laminated bookmarks are ideal here because they hold up to frequent use. For gifts, tuck a finished bookmark into a book cover, or pair it with a mug of tea and a handwritten note. If you enjoy creating small handmade gift bundles, consider adding a second craft like DIY polymer clay coasters in matching colors for a cozy reading theme.
“I printed a sheet of printable bookmarks to color for my daughter’s class reading day. Laminating them and adding tassels made them feel store-bought, and the kids were so proud to use something they made themselves.”
download/print section
When you find free printable bookmarks to color in English, download the file to your device instead of printing from a browser preview. Browser printing can change margins, crop edges, or lower resolution. If the file is a PDF, open it in a PDF reader and print from there for the most consistent results.
Use these quick checks before you hit Print:
- Preview each page to confirm the designs are not cut off and that any quote text is readable.
- Select black-and-white or grayscale unless the file includes colored elements you want to keep. Grayscale saves ink and keeps lines crisp.
- Choose single-sided printing for marker projects. Double-sided is fine for colored pencil if you are careful, but ink can transfer.
- Print multiples efficiently by setting copies to 2 to 4 and using “collate” if you want complete sets for groups.
If you are preparing for an event, print a few extra sheets. Someone will make a “test bookmark,” change their mind on colors halfway through, or want to take an extra design home.
Supplies, cost, time and skill level
Skill level: Beginner-friendly. If you can print, color, and cut, you can make these. Lamination and tassels are optional upgrades.
Time estimate: For one bookmark, plan 10 to 25 minutes depending on design complexity and whether you laminate. For a set of 4, you can often color assembly-line style and finish in about 45 to 75 minutes.
Cost: Low. If you already have a printer and basic coloring supplies, the cost per bookmark is mostly paper and ink. Cardstock costs more than copy paper, and lamination adds a bit, but you still get multiple bookmarks per sheet. Tassels can be made from embroidery floss, which is inexpensive and lasts through many projects.
Project size/use: A standard bookmark is narrow enough to fit comfortably inside most novels without bending pages. Laminated versions are sturdy enough for backpacks and library bags, while unlaminated cardstock is great for at-home reading.
Beginner mistakes and troubleshooting
- Problem: The bookmark prints too small. Fix: Check print scaling and switch to “Actual Size” or 100%.
- Problem: Marker bleeds through. Fix: Use thicker cardstock, switch to colored pencils, or color lighter. Always put scrap paper underneath.
- Problem: Laminate peels at the edges. Fix: Leave a sealed border around the paper and avoid cutting flush to the design.
- Problem: Curling after lamination. Fix: Let the laminate cool flat under a heavy book for a few minutes. Curling often happens if the laminate is still warm.
- Problem: Hole punch tears the top. Fix: Punch farther from the edge, reinforce with a clear sticker dot, or laminate before punching for strength.
Frequently Asked Questions About Printable Bookmarks to Color: Free Designs
What paper is best for printable bookmarks?
For most printable bookmarks to color, light cardstock (around 65 lb to 80 lb) is the sweet spot. It is thick enough that colored pencils look smooth and markers are less likely to bleed through, but still feeds through most home printers. If you plan to laminate, you can use regular copy paper and rely on the laminate for structure, but cardstock plus lamination gives the most durable result.
What size should bookmarks be?
A common finished size is about 2 inches wide by 6 inches tall (roughly 5 x 15 cm), but there is flexibility. Taller bookmarks are easier to spot in a book, while shorter ones fit better in smaller paperbacks. If you are making designs for kids, a slightly wider bookmark is easier to color and cut. When in doubt, print one test page and hold it inside a book you use often.
Can I print bookmarks at home?
Yes, home printing is usually the easiest way to make printable bookmarks to color. Use your printer’s best quality setting for crisp outlines, and select the correct paper type so ink adheres properly. If your printer smears, give the page extra drying time before touching it. For thicker cardstock, try the rear feed tray and print one sheet at a time to avoid jams.
How do I keep colors from smudging?
Smudging usually happens with gel pens, some markers, or heavy-handed coloring on smooth paper. Work left-to-right if you are right-handed (reverse if left-handed) so your hand does not drag across fresh ink. Let each section dry before resting your palm on it. If you plan to laminate, wait a few minutes longer than you think you need, because lamination can “lock in” any smears permanently.
Is lamination necessary?
Lamination is optional, but it is worth it for bookmarks that will be used daily or carried in a backpack. It protects the surface from spills and sweaty hands, keeps corners from fraying, and makes tassel holes stronger. If you do not have a laminator, self-adhesive laminating sheets work well. Just apply slowly and smooth with a ruler or old gift card to push out air bubbles.
Can kids make these safely?
Kids can absolutely enjoy printable bookmarks to color with a few adjustments. Choose coloring tools appropriate for their age, like crayons or colored pencils. For cutting, younger kids do best with child-safe scissors and simpler shapes. If you want tassels, an adult can handle the hole punch or craft knife steps. Always supervise lamination and any sharp tools, and keep small tassel beads away from toddlers.
Final tips and next projects
Printable bookmarks to color are one of those crafts that look charming at every skill level, whether you keep them simple or go all-in with blending, lamination, and tassels. Start by printing one page on the paper you have, color a single design, and decide what upgrade would make it feel “just right” for your use. If you love the process, make a themed set and keep a few finished bookmarks on hand for last-minute gifts. For a fun next step, try coordinating bookmarks with seasonal paper crafts, or create a small gift bundle for a fellow reader using ideas from handmade Christmas crafts to sell. Your next step is simple: choose a design, print at 100%, and make your first bookmark today.