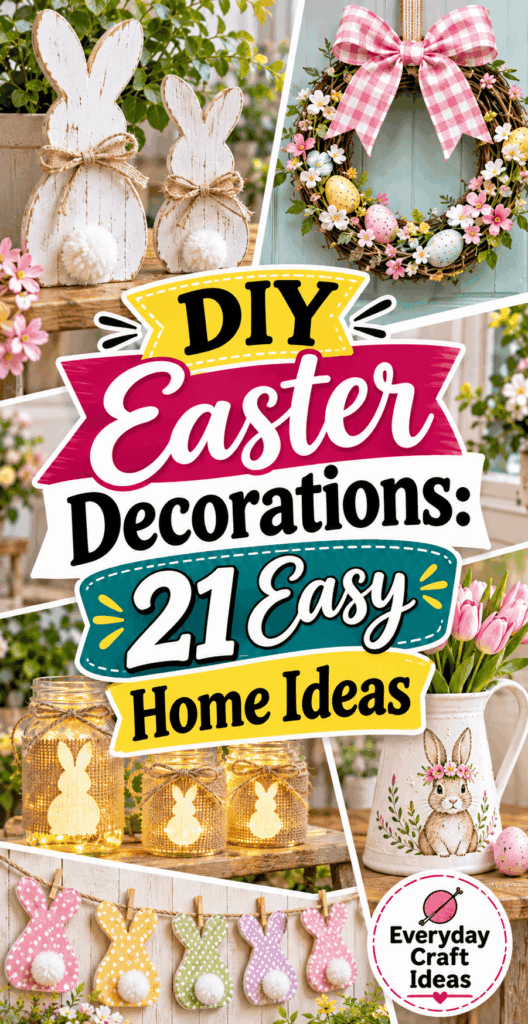
DIY Easter Decorations: 21 Easy Home Ideas
If you are searching for diy easter decorations that look cheerful but do not require advanced crafting skills, you are in the right place. Easter decor is at its best when it feels light, fresh, and personal, and that is exactly what simple DIY projects can deliver. In this guide, I will walk you through what to prep, how to plan your decorating by room, and 21 easy projects you can finish in an afternoon or over a weekend. If you are also putting together gifts and baskets, you may like these DIY Easter basket ideas for kids and adults because they pair perfectly with handmade decor. And if you enjoy budget-friendly party style, bookmark these DIY baby shower decorations on a budget for more thrifty techniques you can reuse.
What you need to get started
The best diy easter decorations start with a small, repeatable supply kit. You do not need a craft room. You just need a few reliable basics, plus a plan for where your finished pieces will go. Choose materials that match how you actually live: if you have kids or pets, favor shatterproof, soft, and washable items over glass and loose glitter.
- Adhesives: A hot glue gun (low-temp is safer for beginners), tacky glue for paper and felt, and double-sided tape for quick wall-safe placement.
- Cutting tools: Sharp scissors, a craft knife with a cutting mat (optional but helpful for clean sign edges), and a hole punch for garlands.
- Core materials: Cardstock, felt, twine or ribbon, craft paint (acrylic), paintbrushes, and a few neutral baskets or trays you can reuse every year.
- Texture builders: Faux moss, raffia, pom-poms, and fabric scraps. These add “spring” without a big budget.
- Safety basics: Finger protectors for hot glue, good ventilation for spray paint, and a heat-safe surface.
Planning Easter decor by room
Before you cut anything, walk through your home and decide on 2 to 3 “decor zones.” This keeps your diy easter decorations from turning into clutter. A simple plan is: front door or entryway, dining table, and one vertical feature like a mantel or staircase rail. Then choose a color palette, usually one neutral plus two accents (for example: white, sage, and soft yellow). Finally, measure your surfaces. Knowing your door’s wreath size, your table runner length, and your mantel width prevents projects that look too small or overwhelm the space. Save time by batching: cut all garland shapes at once, paint all eggs at once, and let everything dry overnight.
21 ideas and projects to try
These diy easter decorations are designed to be mix-and-match, so you can create a coordinated look without making all 21. Most use overlapping supplies like twine, paint, cardstock, and recycled jars. I’m listing each idea with a quick snapshot of difficulty, time, and where it works best.
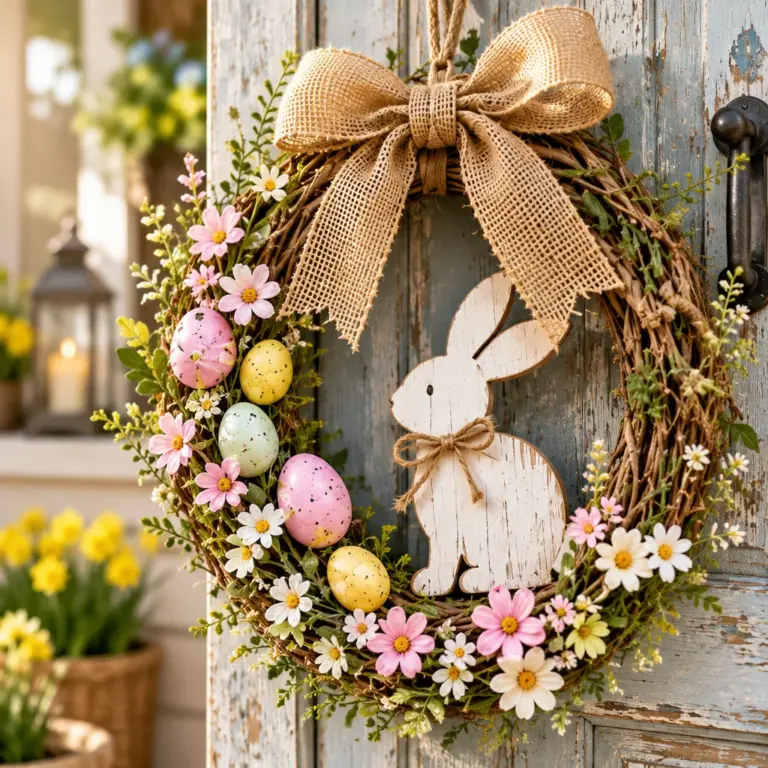
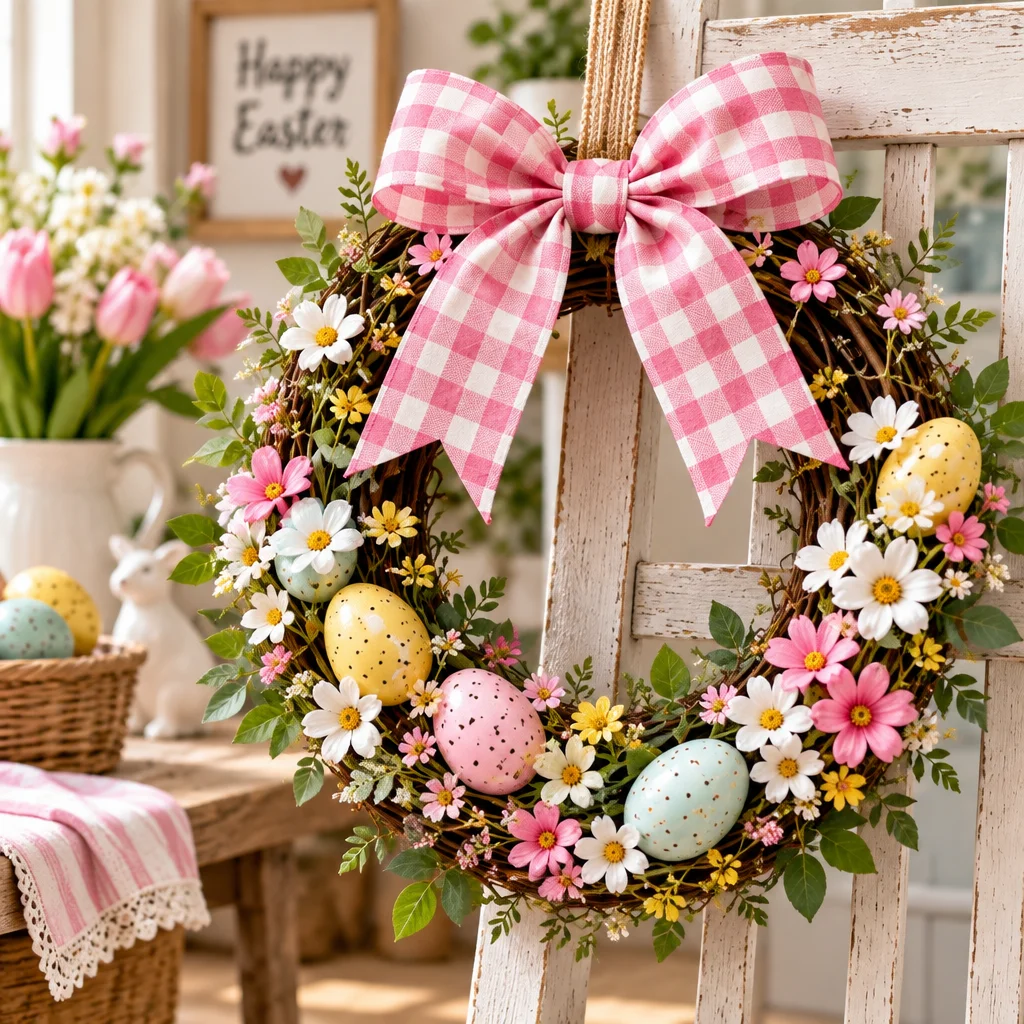
- Ribbon-and-greenery door wreath: Wrap a grapevine or foam wreath form with ribbon, tuck faux greenery, and add a bow. Easy, 30 to 45 minutes.
- Speckled “robin’s egg” vase filler: Paint wooden eggs blue, flick brown paint speckles with a stiff brush. Easy, 45 minutes plus drying.
- Carrot bundle porch/entry accent: Roll orange felt into cones, tie with twine, add faux greenery tops. Easy, 30 minutes.
- Eggshell seedling cups: Crack eggs carefully, rinse, let dry, then nest in an egg carton for a table display. Easy, 20 minutes.
- Paper bunny silhouette garland: Cut bunny shapes from cardstock, string on twine. Easy, 30 to 60 minutes.
- Yarn-wrapped eggs: Wrap yarn around plastic or wooden eggs using tacky glue. Easy, 45 minutes.
- Mason jar “spring meadow” centerpieces: Fill jars with faux grass and a few eggs, tie ribbon around the rim. Easy, 20 minutes.
- Painted terra-cotta pot “bunny bum” planters: Paint pots white, add pom-pom tail, draw feet. Easy to medium, 60 minutes.
- Mini egg topiary: Glue small eggs onto a foam cone, wrap base in moss. Medium, 60 to 90 minutes.
- Book-page folded bunnies: Fold old book pages into standing bunny shapes for a mantel. Medium, 60 minutes.
- Fabric scrap egg ornaments: Mod Podge fabric scraps onto eggs and seal. Medium, 60 minutes plus drying.
- Chalkboard-style Easter sign: Paint a small board black, letter “Hello Spring” with a paint pen. Medium, 60 minutes.
- Nested basket vignette: Layer a small basket inside a larger one with grass, eggs, and a bunny figure. Easy, 15 minutes.
- Napkin ring bunny ears: Cut felt ears, hot glue to simple rings or twine loops. Easy, 30 minutes.
- Pastel dyed coffee filter flowers: Tint filters with watercolor, pinch and tie into blossoms. Easy, 45 minutes.
- Egg carton flower picks: Cut carton cups into petals, paint, and glue to skewers. Medium, 60 minutes.
- Window “egg sun-catchers”: Tissue paper mosaics inside egg outlines; tape to windows. Easy, 30 minutes.
- Cloche display: Place a nest, eggs, and moss under a glass cloche or upside-down bowl. Easy, 10 minutes.
- Neutral spring garland with beads: String wood beads with felt bunnies or carrots. Medium, 60 minutes.
- Paint-dipped taper candles: Dip the bottom inch in pastel paint for a subtle table look. Medium, 30 minutes plus drying.
- Entryway “egg hunt” bowl: Decorate a bowl with a ribbon and fill with soft eggs or felt carrots for guests. Easy, 10 minutes.
Door wreaths, table centerpieces, mantel garlands, bunny signs, egg displays and entryway decor
If you only pick five projects, pick one from each “impact zone.” For the door wreath, make it weather-resistant by using faux florals and wiring heavier pieces to the form before hot gluing accents. For a table centerpiece, keep height below eye level so you can talk across the table: trays, low jars, and small pots work best. For a mantel garland, vary shapes (bunny, egg, carrot) but keep the palette consistent. Bunny signs look most professional when you sand lightly between paint coats and use painter’s tape for crisp stripes. For egg displays, nest eggs in moss, raffia, or fabric, and avoid loose glitter if you will place food nearby. Finally, for the entryway, use a “catch-all” basket or bowl that can later hold mail, so your diy easter decorations earn their keep.
How to make and customize the projects
Most diy easter decorations follow the same build logic: choose a base, add color, add texture, then finish with a hanger or stable bottom. When you understand that pattern, you can improvise confidently. Below is a reliable, beginner-friendly process you can use for wreaths, garlands, table trays, and signs.
- Pick the base that matches the use: Foam forms are lightweight, grapevine is sturdy, and trays are great for centerpieces because you can carry them without pieces sliding around.
- Dry-fit first: Arrange everything before gluing. This prevents the “too busy” look and helps you spot gaps.
- Secure heavy items with mechanical help: Use floral wire, pipe cleaners, or zip ties on wreaths and garlands. Hot glue alone can fail on textured surfaces.
- Add color in layers: Start with one large color block (like ribbon), then add a second color in smaller pieces (like eggs), then a third as tiny accents (like mini flowers).
- Finish edges and hiding spots: Cover glue blobs with moss, raffia, or a small bow tail. On signs, paint the sides to look intentional.
- Test placement: Hang the wreath, set the centerpiece on the table, then adjust. Many projects look different at standing height than on your craft table.
Dollar-store and recycled material options
You can make diy easter decorations almost entirely from dollar-store items and household recycling. Turn cereal boxes into sturdy sign backing by gluing two pieces together with grains running opposite directions to reduce warping. Save glass jars for “meadow” centerpieces, and wrap the rims with twine or ribbon for a finished look. Cardboard tubes become carrot cones when covered with orange paper. Scrap fabric becomes patchwork egg wraps. If you are repainting items, wash them first to remove oils, then scuff glossy plastic with fine sandpaper so acrylic paint grips better. For eco-friendly confetti, use hole punches on leftover paper rather than plastic.
How to style cohesive colors without clutter
The fastest way to keep diy easter decorations cohesive is repetition. Repeat one texture (moss or twine), one shape (eggs), and one neutral (white, kraft, or natural wood) in every zone. Then limit “character pieces” like bunny figurines to one or two per room. Use odd-number groupings (3 eggs in a bowl, 5 flowers in a jar) and keep breathing space around each display. If your mantel already has frames or candles, remove one item before adding a garland. For table styling inspiration beyond Easter, these easy holiday table centerpiece ideas include great tips on height and layering that work year-round.
Supplies, cost, time and skill level
Most diy easter decorations in this list fall into three categories: quick accents (10 to 30 minutes), medium makes (45 to 90 minutes), and paint-and-dry builds (spread over a day). A realistic budget for a coordinated set (wreath, garland, and centerpiece) is often $15 to $40 if you thrift or dollar-store your bases, and $40 to $80 if you buy new wreath forms, faux florals, and specialty eggs. Skill level is mostly beginner, but a few projects become “medium” when they require neat lettering, clean cuts, or a lot of repeated gluing like topiaries.
To keep costs down, buy one “hero” material (a floral pick bundle or a bead strand) and build the rest from basics. If you enjoy seasonal crafting, store leftover supplies in a clear bin labeled “Spring” so next year’s diy easter decorations are quicker. If you also like making keepsakes and small presents, you might enjoy these DIY holiday gifts people actually want because many of the same techniques apply (tag making, ribbon finishing, and neat paint details).
Beginner mistakes and troubleshooting
- Wreath keeps shedding pieces: Wire heavy items first. Then glue lighter accents. If it will hang outdoors, use weather-resistant floral wire and avoid paper elements.
- Paint looks streaky: Apply two thin coats rather than one thick coat. Let the first coat fully dry. For plastic, lightly sand first.
- Garland droops in the middle: Use thicker twine, add a midpoint hook, or string shapes closer together to reduce sag.
- Hot glue strings everywhere: Let the glue cool a few seconds before pressing. Use a silicone fingertip tool, not bare fingers. Snip glue strings with small scissors after cooling.
- Centerpiece feels messy: Put everything on a tray. Trays create a boundary and instantly look intentional.
Reader testimonial: “I tried the paper bunny garland and the mason jar meadow centerpieces with my kids. Dry-fitting everything first made a huge difference, and using a tray stopped the table from looking cluttered. We finished both in one afternoon and reused the jars for a spring birthday the next week.”
Frequently Asked Questions About DIY Easter Decorations: 21 Easy Home Ideas
How do I make Easter decorations at home?
Start with one high-impact spot, like the front door or dining table, and choose a simple base: a wreath form, a tray, or a bowl. Build your diy easter decorations by layering: one main color (ribbon or paint), then texture (moss, twine, or fabric), then a focal point (bunny, eggs, or a small sign). Dry-fit before gluing and keep your palette limited to avoid a cluttered look. Most projects need only scissors, glue, and basic paint.
What can I use instead of plastic eggs?
If you want alternatives for diy easter decorations, try wooden craft eggs (sturdy and paintable), papier-mache eggs (lightweight and easy to decorate), fabric eggs (kid-friendly and soft), or natural options like blown eggshells if you are comfortable handling them carefully. You can also use egg shapes cut from felt or cardstock for garlands and table scatter. For homes with pets or toddlers, fabric or felt eggs are the safest choice.
When should I put up Easter decor?
Many people put up diy easter decorations in the early spring window, about 2 to 4 weeks before Easter, especially if the decor is more “spring” than specifically holiday-themed. If you use bunnies and eggs, you might prefer 1 to 2 weeks before Easter so it feels seasonal and fresh. A practical approach is to swap winter decor for neutral spring items first, then add eggs and bunny accents closer to the holiday weekend.
How do I make DIY Easter decorations look classy, not childish?
Choose muted or neutral colors (cream, sage, blush, light gray), repeat materials like natural wood beads or linen ribbon, and avoid too many novelty prints in one space. For diy easter decorations that feel elevated, focus on clean shapes and good finishing: paint the edges of signs, hide glue with moss or ribbon tails, and use fewer, larger accents instead of many tiny ones. A simple cloche or tray display often looks more “styled” than scattered items.
What is the easiest Easter decoration for beginners?
A tray centerpiece is often the easiest: place a jar or two, add faux moss, nest a few eggs, and finish with a ribbon. You can adjust it without committing to glue, and it is hard to “mess up.” Another beginner favorite is a paper garland, since the steps are repetitive and forgiving. Both options make diy easter decorations that store flat or compact, which helps if you do not have much storage space.
How do I store Easter decorations so they last?
Let everything cure fully (paint and glue) before packing. Store diy easter decorations in a sturdy bin with tissue or kraft paper between layers to prevent scuffs. Wreaths do best in a wreath box or hung inside a closet bag to avoid crushing. Keep paper garlands flat in a folder. Avoid hot attics if you used hot glue, because heat can soften adhesives over time. Label bins by season so you can find pieces quickly next year.
Final tips and next projects
The secret to successful diy easter decorations is not making everything. It is choosing a few projects that repeat colors and textures across your entryway, table, and one vertical spot like a mantel. Start with a wreath or garland, add one tray centerpiece, then sprinkle in smaller accents like napkin rings or a bowl of eggs. Take a quick photo once you are done. It helps you spot clutter and remember what worked for next year. If you love seasonal crafting, you can carry these same skills into other holidays with projects like these beautiful DIY ornament ideas. Pick one project from the list above and gather supplies today, then set a 60-minute timer and enjoy the process.